
In this guide we look at how to create Gentoo droplet in DigitalOcean. DigitalOcean is a popular cloud infrastructure environment that enables you to run Linux operating systems with ease. You can also upload custom images not provided in ready templates and spin virtual machines from them.
Before uploading an image to DigitalOcean it must meet the following requirements:
- Operating system. Images must have a Unix-like OS.
- File format. Images must be in one of the following file formats:
- Raw (
.img) with an MBR or GPT partition table - qcow2
- VHDX
- VDI
- VMDK
- Raw (
- Size. Images must be 100 GB or less when uncompressed, including the filesystem.
- Filesystem. Images must support the ext3 or ext4 filesystems.
cloud-init. Images must have cloud-init 0.7.7 or higher, cloudbase-init, coreos-cloudinit, ignition, or bsd-cloudinit installed and configured correctly.- SSH configuration. Images must have sshd installed and configured to run on boot.
Upload Gentoo qcow2 image to DigitalOcean
Gentoo has QCOW2 images available for OpenStack and KVM based virtualization environments.
Below is the direct image URL for downloading from command line:
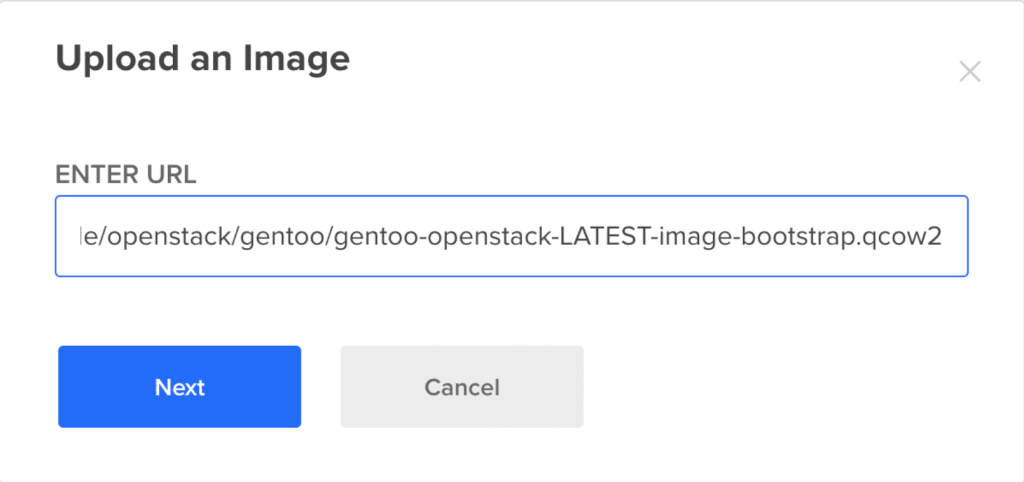
https://linuximages.de/openstack/gentoo/gentoo-openstack-LATEST-image-bootstrap.qcow2To upload the Gentoo image to DigitalOcean, Login to the management console and then navigate to Images > Custom Images > Import via URL

In the “ENTER URL” box paste below URL which contains Gentoo qcow2 image for OpenStack.
https://linuximages.de/openstack/gentoo/gentoo-openstack-LATEST-image-bootstrap.qcow2Hit the “Next” button to initiate the upload process.
Set image name, Distribution, data center region and optional Tags or Notes.
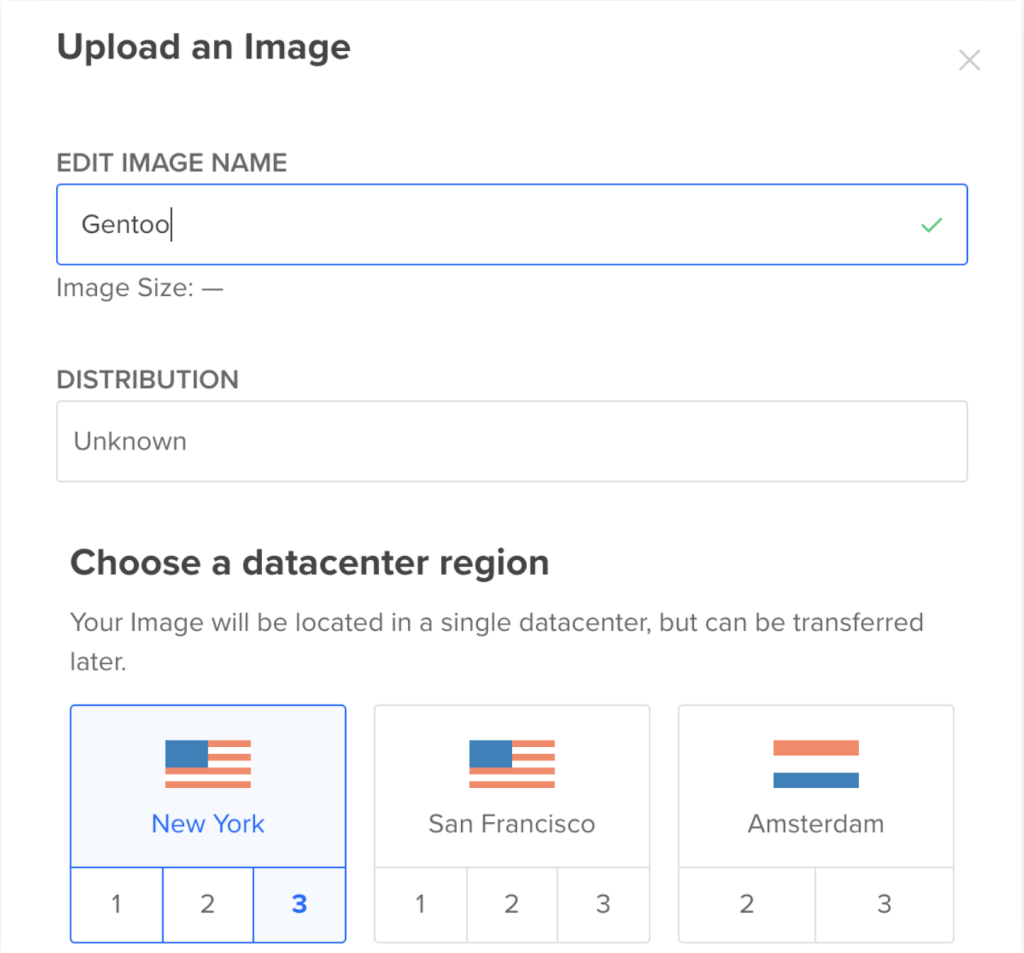
When done with the details upload the image and it should appear in few minutes.

Create Gentoo droplet on DigitalOcean
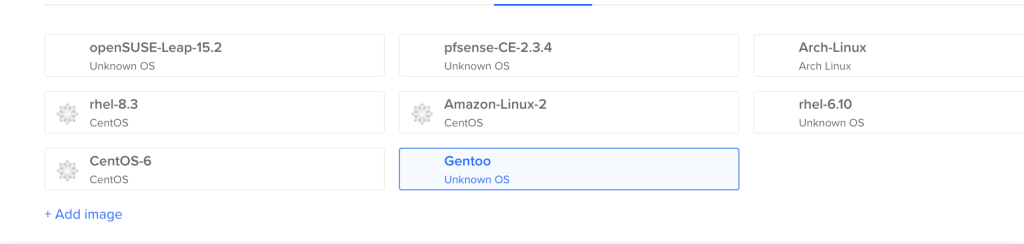
Confirm that the image has been uploaded under the Images section then go Droplets > Create > Droplets > Custom images and choose Gentoo image.
Choose instance plan, data center region, SSH Keys and any other options fit to run the VM.

Create the Droplet when all settings required have been provided. Take note of the Public IP address given to the instance as this is used for SSH access.

The default SSH user is called gentoo.
$ ssh [email protected]
Warning: Permanently added '104.236.4.175' (ECDSA) to the list of known hosts.
Confirm OS details.
$ cat /etc/os-release
$ cat /etc/os-release
NAME=Gentoo
ID=gentoo
PRETTY_NAME="Gentoo/Linux"
ANSI_COLOR="1;32"
HOME_URL="https://www.gentoo.org/"
SUPPORT_URL="https://www.gentoo.org/support/"
BUG_REPORT_URL="https://bugs.gentoo.org/"
We can test functionality by installing zsh SHELL.
$ sudo emerge --ask app-shells/zshSamle output:
....
>>> Recording app-shells/zsh in "world" favorites file...

 * Messages for package app-shells/zsh-5.8:

 * If you want to enable Portage completions and Gentoo prompt,
 * emerge app-shells/gentoo-zsh-completions and add
 * 	autoload -U compinit promptinit
 * 	compinit
 * 	promptinit; prompt gentoo
 * to your ~/.zshrc
 * Also, if you want to enable cache for the completions, add
 * 	zstyle ':completion::complete:*' use-cache 1
 * to your ~/.zshrc
 * Note that a system zprofile startup file is installed. This will override
 * PATH and possibly other variables that a user may set in ~/.zshenv.
 * Custom PATH settings and similar overridden variables can be moved to ~/.zprofile
 * or other user startup files that are sourced after the system zprofile.
 * If PATH must be set in ~/.zshenv to affect things like non-login ssh shells,
 * one method is to use a separate path-setting file that is conditionally sourced
 * in ~/.zshenv and also sourced from ~/.zprofile. For more information, see the
 * zshenv example in /usr/share/doc/zsh-5.8/StartupFiles/.
 * See https://wiki.gentoo.org/wiki/Zsh/HOWTO for more introduction documentation.
>>> Auto-cleaning packages...

>>> No outdated packages were found on your system.

 * GNU info directory index is up-to-date.
Visit Gentoo documentation pages to learn more about Gentoo administration, tuning and optimizations.
More guides available in our website:


