The problem of uploading large media files, themes, and plugins is common in every WordPress website. This upload size limit can be an obstacle when you are building a media-heavy website, in such cases, it is so necessary to increase the maximum upload limit on your web server(Apache|Nginx) or WordPress, and in some cases, you may be required to increase in both. The main reasons as to why you may want to increase the maximum upload size in Nginx, Apache, and WordPress are:
- Incase you want to install large themes or plugins directly into the WordPress admin dashboard
- If you want to upload videos and large images to your site.
- Incase you have a plan of selling digital files i.e photographs, ebooks, videos e.t.c on your site
- Update your site i.e WordPress regularly by uploading images and videos to keep yopur viewers always returning for more
In this guide, we will walk through how to increase the maximum file upload size in Nginx, Apache, and WordPress.
What is the default Maximum Upload Size in WordPress?
To prevent users from causing timeouts on the server since uploading large files consumes a lot of the server’s resources the default maximum upload size on any WordPress ranges between 4 MB to 128 MB. Verify this by going to your WordPress Media Library and try to upload a media file more than the maximum upload limit.
The maximum upload size differs depending on your web hosting provider. There are several ways to increase this maximum upload size in WordPress.
- Contacting your Hosting Provider for Help
- Using Multisite
- WordPress Plugin Method
- Increasing the Maximum File Upload Size in Apache using the .htaccess file
- Using the php.ini method
- Increasing the Maximum File Upload Size in Nginx using the nginx.conf file
Let’s dive in!
1. Contacting your Hosting Provider for Help
One of the ways on how to increase the maximum upload size in WordPress is by contacting your WordPress host provider. It is one of the quickest solutions done by the tech support in most web hosting companies. Configuring a site can always be a challenge and time-consuming task therefore consider this as the first option.
2. Increase the Maximum Upload File Size in WordPress Multisite
Another easy way to increase the maximum upload size in WordPress is by using the WordPress Multisite. This is achieved by navigating to Settings→Network Settings while here, scroll down to the Upload settings, and change to your desired value under the Max upload file size segment.
After changing to the desired maximum upload file size value, click on save changes.
3. Use a WordPress Plugin Method
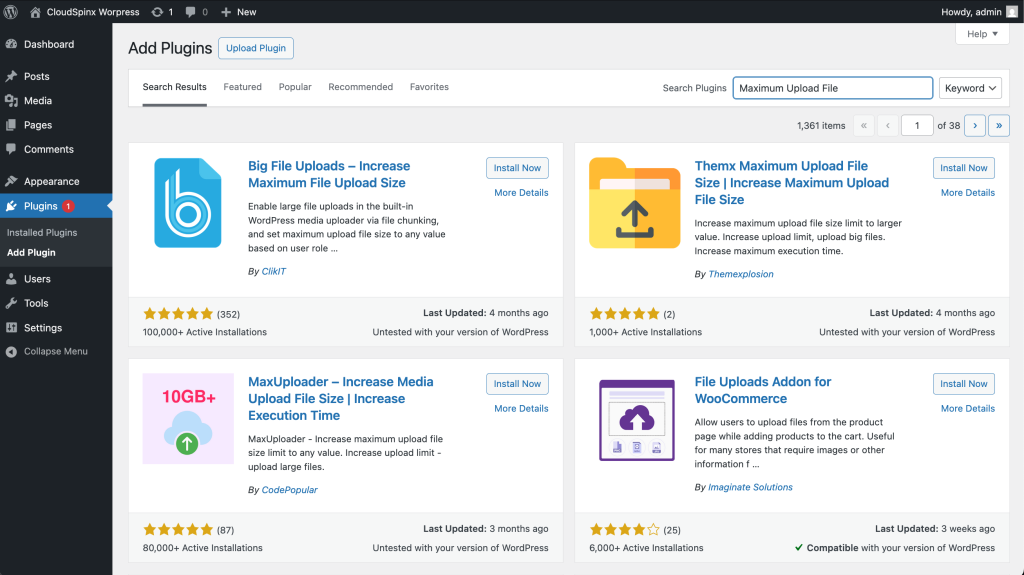
There is also another simple method to increase the maximum upload size in WordPress, this method suits those who aren’t comfortable with writing and editing codes. You can use a WordPress plugin. Navigate to Plugins as shown.
There are several plugins to increase the maximum file upload size, search “Maximum Upload Size” and choose one that suits you from the searched list.
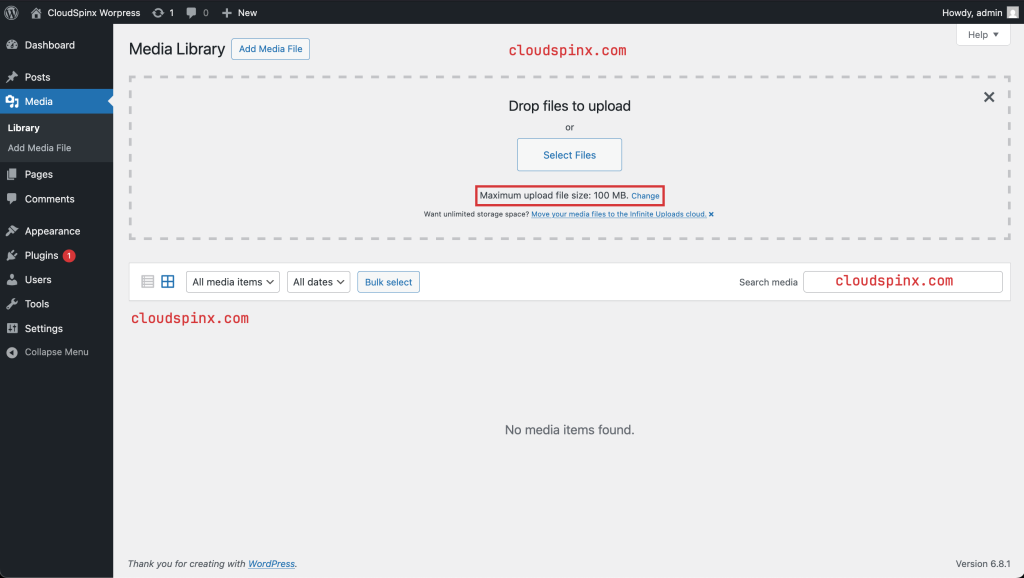
Activate the plugin after installing it and navigate to your Media Library. On that page, you’ll see an option to change the Maximum upload file size.
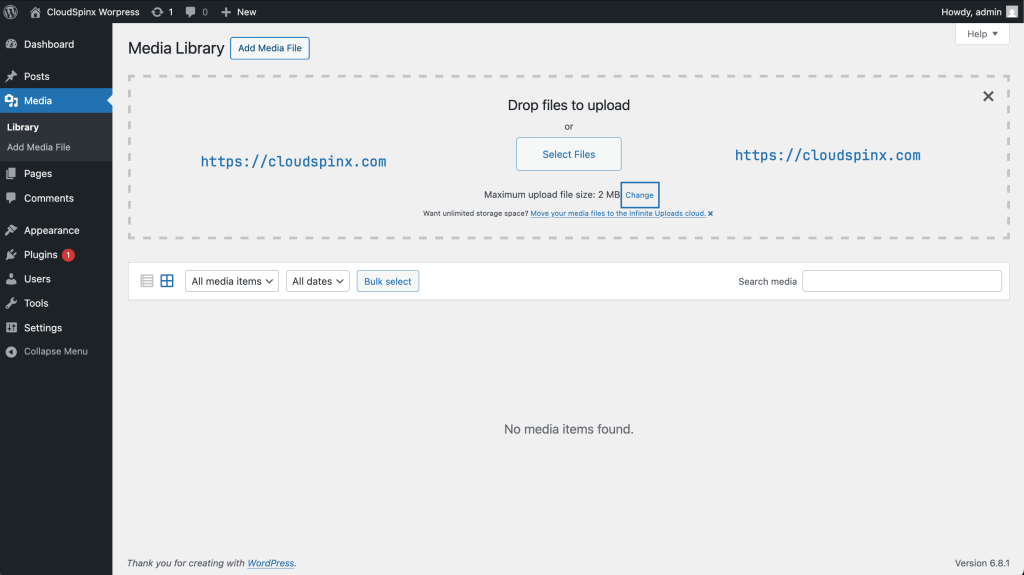
Click on it and change it to your desired size, upto what your hosting provider can handle.
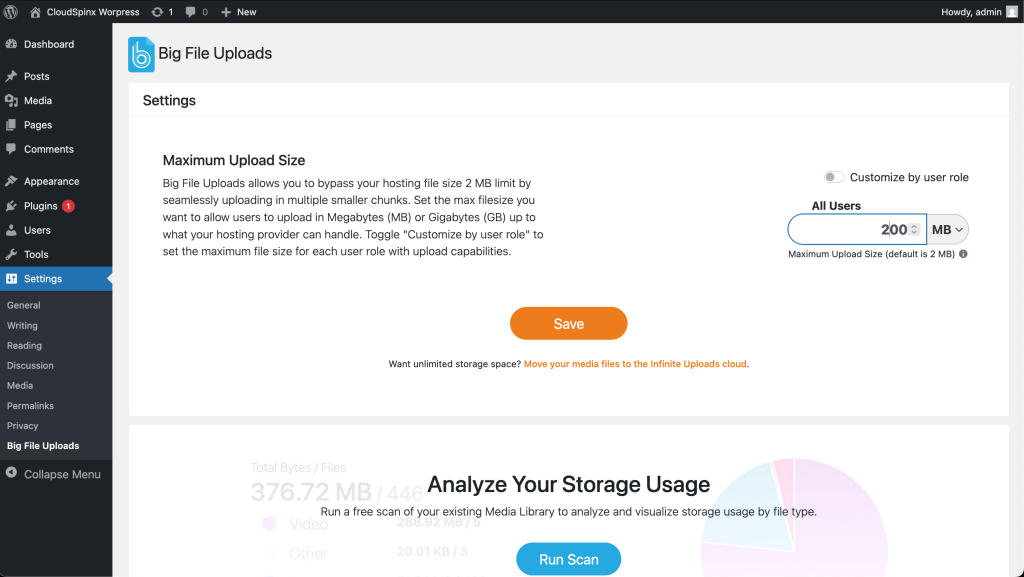
Then save your changes.
4. Increase the Maximum File Upload Size in Nginx and Apache using the php.ini method
Another method to increase the maximum upload size for your site(WordPress) is by increasing the maximum upload size in your Web Server. It is possible to increase the maximum upload size on your site by editing the php.ini file.
The php.ini file is found at /etc/php.ini depending on the version of PHP installed and also the webserver you are using (in this case I am using PHP 8.0). Using your favorite text editor, edit the below contents of the file.
upload_max_filesize = 100M
post_max_size = 100M
memory_limit = 512M
In the file, you can change the upload_max_filesize, and memory_limit to your desired values i.e 500M, 1G e.t.c
Restart PHP fpm for the changes made to apply:
sudo systemctl restart php-fpm5. Increase the Maximum File Upload Size in Apache using the .htaccess file
If you are using Apache Webserver to run your site i.e WordPress, you can also increase the maximum upload size by editing the .htaccess file for Apache as below.
php_value upload_max_filesize 100M
php_value post_max_size 100M
php_value memory_limit 512M
php_value max_execution_time 300
php_value max_input_time 300
Edit the php_value upload_max_filesize 100M to a desired maximum upload size. You can also edit the other values as desired.
Restart Apache for the changes to apply:
##on RHEL/CentOS/Rocky Linux
sudo systemctl restart httpd

##On Debian/Ubuntu
sudo systemctl restart apache2
6. Increase the Maximum File Upload Size in Nginx using the nginx.conf file
In case you increased the maximum upload size using the php.ini method and your Nginx upload stopped, you will be required to add the below line to your nginx.conf file.
By default, the maximum upload size is 1 MB. Increase this value by adding the below lines in the configuration file
http {
    ...
    client_max_body_size 100M;
}
Now increase the maximum upload size of your site(WordPress) by adding the lines below in your configuration file.
server {
    ...
    client_max_body_size 100M;
}
You can also increase the maximum upload size for a specific directory let’s say the uploads directory by adding the lines below:
location /uploads {
    ...
    client_max_body_size 100M;
}
Remember to edit 100M to your desired upload size i.e 500M, 1G e.t.c
Restart Nginx.
sudo systenctl restart nginxVerify your Sites’s( WordPress) Maximum upload Size
Now that you have changes the maximum upload size of WordPress to the desired value, you can now verify the made changes by navigating to the media library and check if the maximum upload size was changed to your set value.
Conclusion.
That is it! We have come to the end of this guide on how to increase maximum file upload size in Nginx, Apache, and WordPress. I hope you benefitted.
See more guides on this page:

