

A control panel can be used to monitor and manage systems services. It makes it easy to monitor the services by proving a central console to get more information on the system resources and a system administrator can identify an issue easily from the console. Apart from the normal control panel that you know of that is used by an operating system, there are other control panels for hosting web services called web hosting control panels. They make the management and automation tasks easier for sysadmins & ISPs.
Web hosting control panels came to assist website administrators in making tasks like managing emails, users, and DNS easier. It might be hectic to keep control of web usage especially if it is a busy website like an e-commerce one. Web hosting control panels are graphical user interfaces mostly web-based ( can be accessed through the browser) that include features and tools that assist in managing a website and sometimes servers. These tasks include creating new accounts, managing databases, management of files, Backups, Support, and Domain management.
There are a couple of web hosting panels that are available and they depend on their reliability. Some require advanced technical knowledge to get a niche of how tow to use and others are simple and easy to use even for someone new to hosting. Also, it’s good to look for control panels that have regular updates and continuous fix rolls to make the host control panel reliable. They include; Plesk, cPanel, Webmin, hPanel, DirectAdmin, and ISPManager. In this guide, we are going to look at ISPConfig Control Panel.
ISPConfig Control Panel
ISPConfig Host Control Panel is a free and open-source web hosting control panel that allows a user to easily manage their servers directly through a browser. It is a stable and secure platform that can manage one or more multiple servers at the same time. It supports many Linux Distributions including Debian, CentOS, and Ubuntu distributions. It is translated t over 20 languages including French, Spanish, Italian, and Czech. It has 4 access levels including Administrator, Reseller, Client, and Email Login.
Some ISPConfig features are:
- Manage multiple servers from one control panel
- Web server management (Apache2 and Nginx)
- Mail server management (with virtual mail users)
- DNS server management (BIND and PowerDNS)
- Virtualization (OpenVZ)
- Administrator, reseller, and client login
- Configuration mirroring and clusters
- Open Source software
ISP config is supported on Debian 9 – 12 and testing, Ubuntu 20.04 – 24.04, and CentOS 7 – 8. Some of the websites managed services that ISPConfig support includes, Name-based and IP-based virtual hosts, SSL websites, SNI support, which allows more than one, SL vhost per IP address, CGI, and PHP. Other services include IPv4 support, IPv6 support, Virtualization (through OpenVZ), Firewall Webalizer, GoAccess & AWStats statistics, and Quota/Traffic Limits.
Install and Configure ISPConfig Control Panel on Debian 12
Log in to the root user
sudo su -Then edit the hostname of your server in the hosts file.
vim /etc/hostsIt should look like the following
127.0.0.1 localhost.localdomain   localhost
# This line should be changed to the correct servername:
127.0.1.1 ispserver.example.com ispserver

# The following lines are desirable for IPv6 capable hosts
::1     localhost ip6-localhost ip6-loopback
ff02::1 ip6-allnodes
ff02::2 ip6-allrouters
Save and exit the file.
Then reboot your server to apply changes
systemctl rebootAfter reboot check, if the hostname is correct with the following commands
# hostname
ispserver

# hostname -f
ispserver.cloudspinx.com
Update the system
apt update -y && apt upgrade -yInstall ISPConfig on Debian 12
Run the installer with the following command.
wget -O - https://get.ispconfig.org | sh -s -- --use-ftp-ports=40110-40210 --unattended-upgradesThis will install the software package plus all its dependencies including Apache 2, MariaDB, and PHP.
To use Nginx instead of Apache, pass the argument –use-nginx to the installer command.
wget -O - https://get.ispconfig.org | sh -s -- --use-nginx --use-ftp-ports=40110-40210 --unattended-upgradesA warning script appears. Type ‘yes’ to continue.
WARNING! This script will reconfigure your complete server!
It should be run on a freshly installed server and all current configuration that you have done will most likely be lost!
Type 'yes' if you really want to continue: yes
When the installer is finished it will show you the ISPConfig admin and MySQL root password like this.
[INFO] Installing packages quota, quotatool
[INFO] Installed packages quota, quotatool
[INFO] Adding quota to fstab.
[INFO] Installing packages pure-ftpd-common, pure-ftpd-mysql
[INFO] Installed packages pure-ftpd-common, pure-ftpd-mysql
[INFO] Enabling TLS for pureftpd
[INFO] Installing packages awstats, goaccess, awffull
[INFO] Installed packages awstats, goaccess, awffull
[INFO] Disabling awstats cron.
[INFO] Installing packages fail2ban, ufw
[INFO] Installed packages fail2ban, ufw
[INFO] Configuring SSHd
[INFO] Installing UnattendedUpgrades
[INFO] Installing packages unattended-upgrades, apt-listchanges
[INFO] Installed packages unattended-upgrades, apt-listchanges
[INFO] Installing roundcube.
[INFO] Installing packages roundcube, roundcube-core, roundcube-mysql, roundcube-plugins
[INFO] Installed packages roundcube, roundcube-core, roundcube-mysql, roundcube-plugins
[INFO] Installing ISPConfig3.
[INFO] Adding PHP version(s) to ISPConfig.
[INFO] Checking all services are running.
[INFO] mysql: OK
[INFO] clamav-daemon: OK
[INFO] postfix: OK
[INFO] bind9: OK
[INFO] pureftpd: OK
[INFO] apache2: OK
[INFO] rspamd: OK
[INFO] redis-server: OK
[INFO] dovecot: OK
[INFO] Installation ready.
[INFO] Your ISPConfig admin password is: 7s1xFa7B18VxdyJ
[INFO] Your MySQL root password is: JCMVxTeGjgGvQV24YxRe
[INFO] Warning: Please delete the log files in /tmp/ispconfig-ai/var/log/setup-* once you don't need them anymore because they contain your passwords!
Note them down for later use.
Access ISPConfig Control Panel
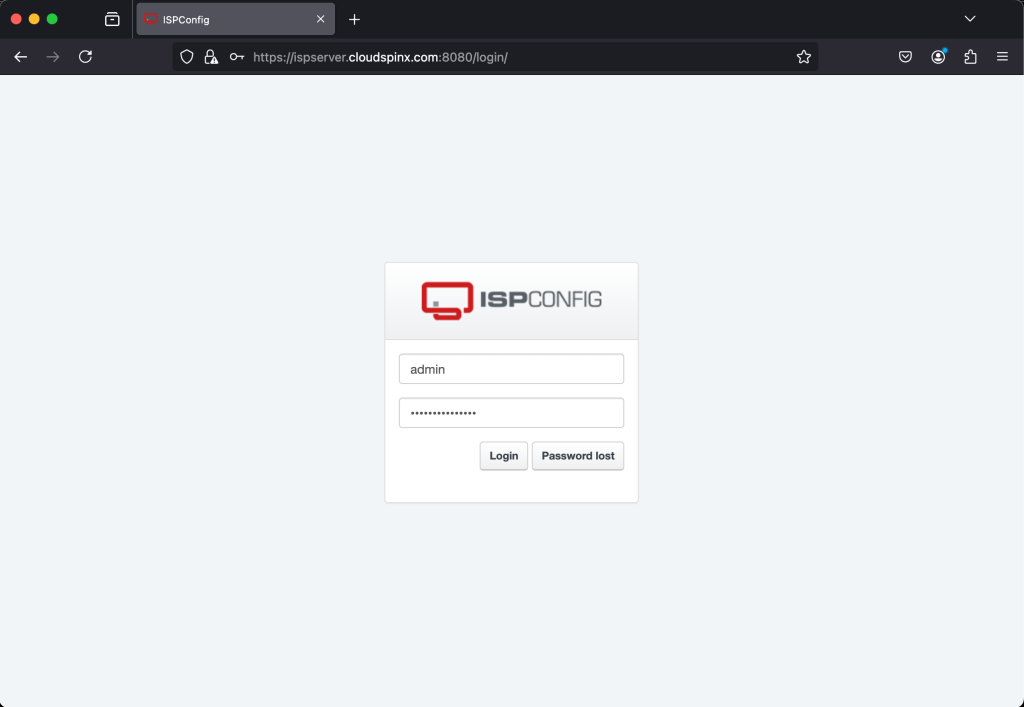
Your server is now set up and ready for use. You can log in at https://ispserver.example.com:8080. Enter the admin as the username and the password that we got after installation. Click Login.
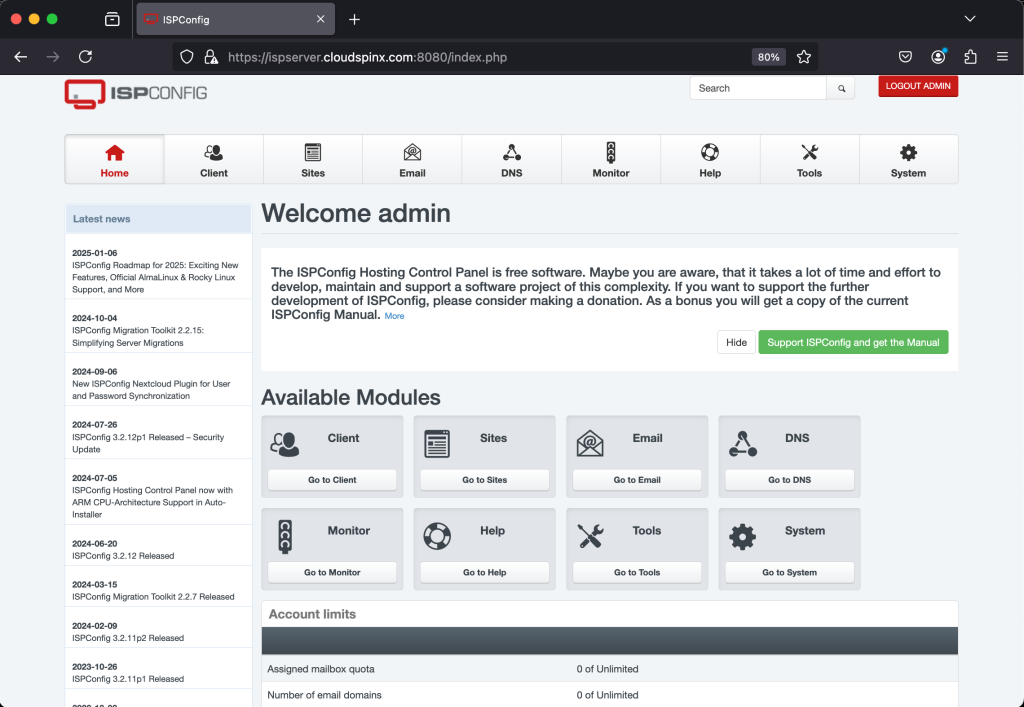
The ISPConfig Homepage opens as shown below.
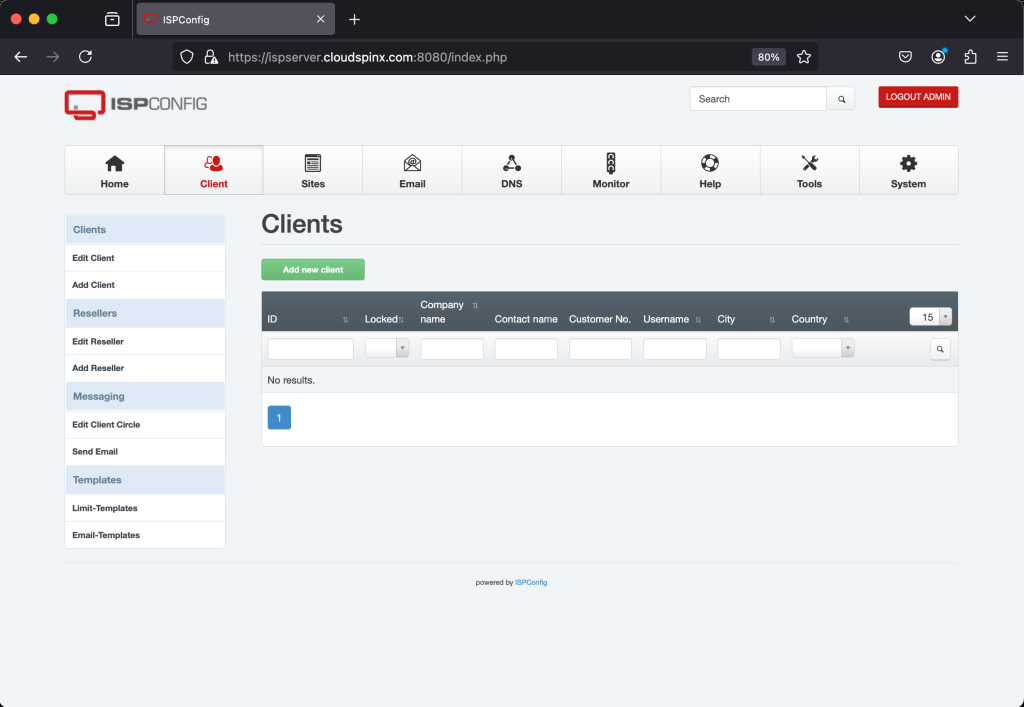
The Client menu tab allows you to add Clients and Resellers.
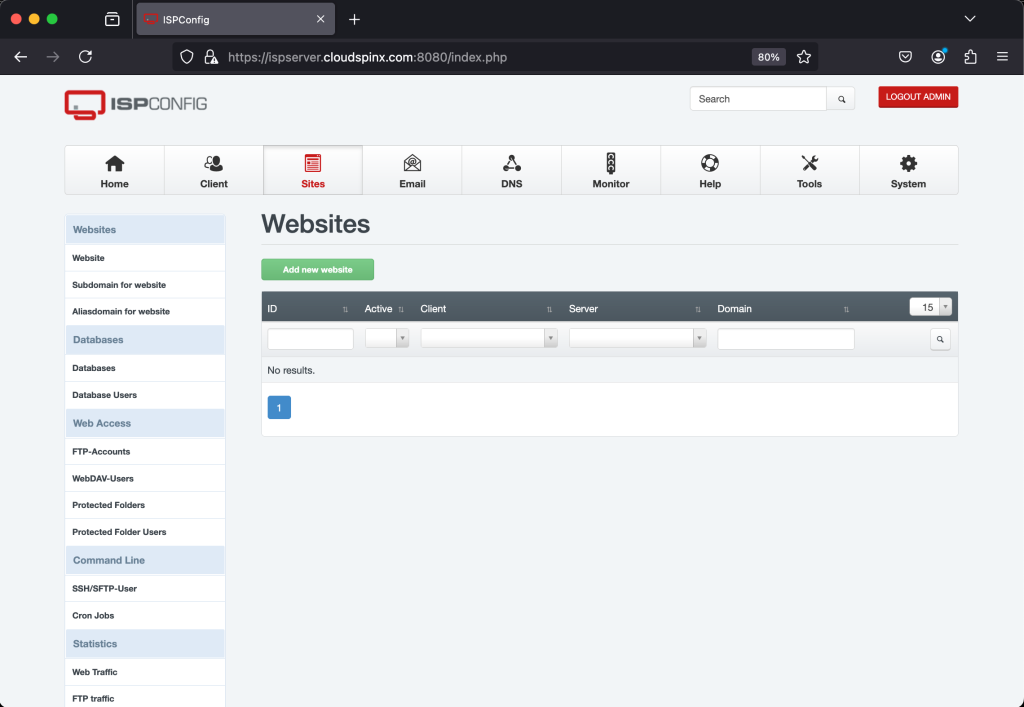
The Sites menu tab allows you to add different websites.
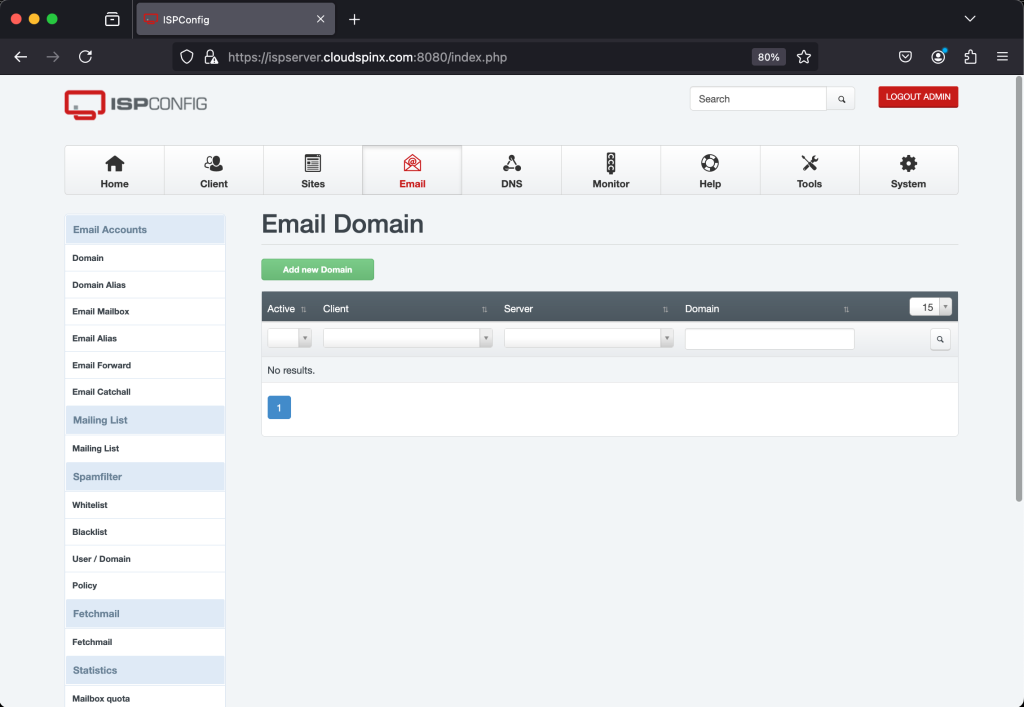
You can add a new Email domain under the Email menu tab.
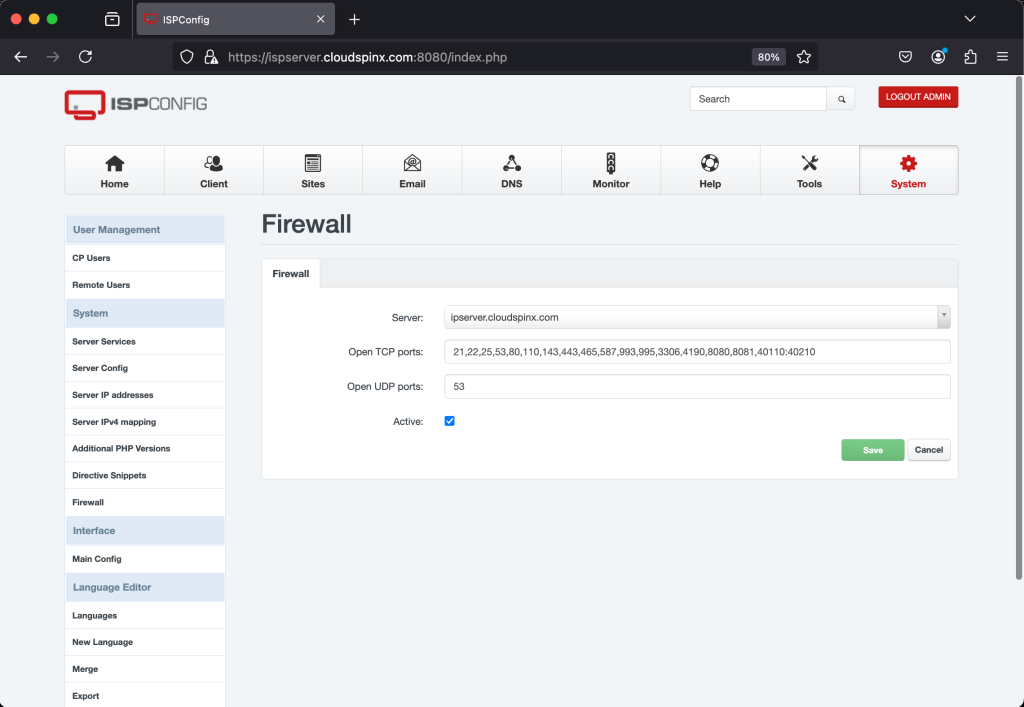
Setup Firewall
Setup the Firewall with the necessary ports for every service
- Web: 20, 21, 22, 80, 443 and 40110:40210 (All TCP, no UDP)
- Mail: 25, 110, 143, 465, 587, 993, and 995 (All TCP, no UDP)
- DNS: 53 (TCP and UDP)
- Panel: 8080 and 8081 (All TCP, no UDP)
For TCP, Add the following
20,21,22,25,80,443,40110:40210,110,143,465,587,993,995,53,8080,8081For UDP:
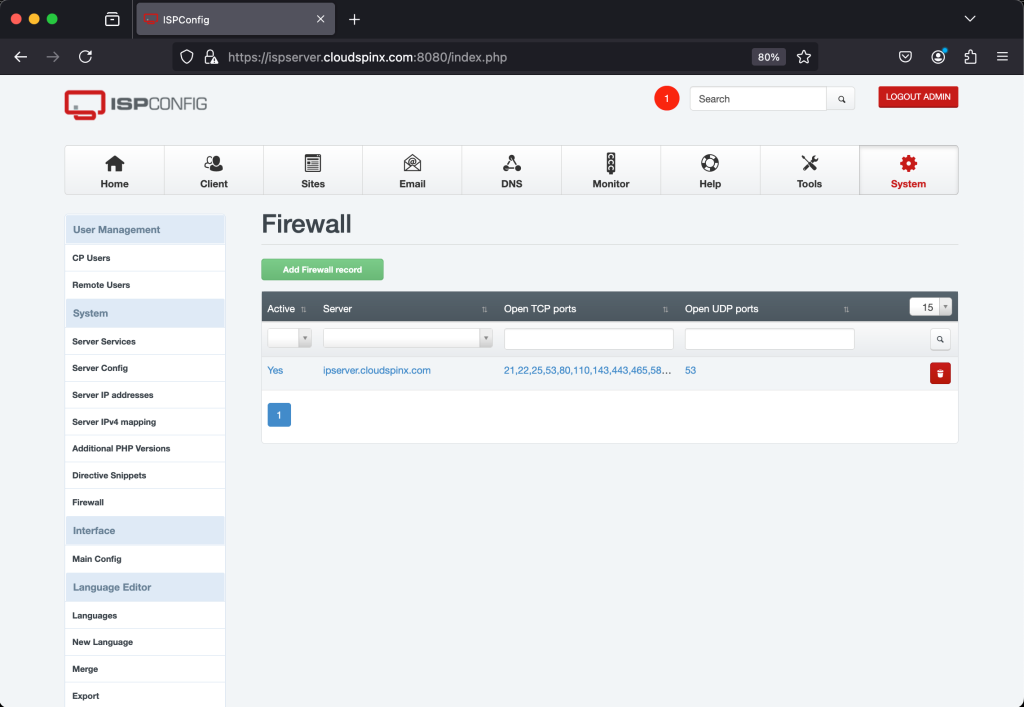
53Log in to the ISPConfig UI, and go to System -> Firewall. Then click “Add new firewall record”. They are automatically populated as shown. Click Save.
The record is saved successfully.
Update ISPConfig Control Panel
To Update ISPConfig, run the following command as the root.
ispconfig_update.shThe ISPConfig updater will then check for new releases and guide you through the update process.
Wrap Up
ISPConfig control panel is a simple, secure, and ultra-fast web hosting control panel. It is in continuous development with a huge community forum making it have continuous rolls of bug fixes and updates. Other managed services that ISPConfig supports are FTP users, MySQL databases, Shell users (jailed and non-jailed), SFTP, SCP; password- and key-based logins, and Email. ISPConfig is free and open-source licensed under the BSD license.
More guides:


