
Welcome to our today’s article, the intention of this article is to help you understand the installation and configuration of Caddy web server on Ubuntu | Debian. Caddy is an open-source, efficiency application that is designed to be quick, simple to use, and increase productivity. Caddy is compatible with Operating Systems such Linux, BSD, Windows, Mac, Solaris, and Android platforms.
Caddy Web Server Features
- It’s suitable for both dynamic and static websites.
- Caddy reloads with no downtime.
- Caddyfile allows for simple configuration and management.
- It is safe to use – By default, HTTPS is enabled (through Let’s Encrypt).
- Caddy is developed in the Go programming language and has no external dependencies . The binary is self-contained and may be executed on any platform, including containers.
- Cady is set up to use HTTP/2 by default.
- Using virtual hosting, you may host several websites.
- For more secure communications, TLS session ticket key rotation is used.
- Plugins can be used to enhance its capabilities.
Install Caddy Web Server on Ubuntu | Debian
1. Install Caddy Web Server
Caddy may be installed in a number of methods, including through Docker, official repositories, or compiling from source. If you need functionality that can only be introduced via a third-party module/plugin, the building from source technique is handy.
We’ll use the official Caddy repository for Ubuntu/Debian-based computers in this tutorial.
Install dependencies:
sudo apt install -y debian-keyring debian-archive-keyring apt-transport-httpsImport repository GPG key:
curl -1sLf 'https://dl.cloudsmith.io/public/caddy/stable/gpg.key' | sudo gpg --dearmor -o /usr/share/keyrings/caddy-stable-archive-keyring.gpgAdd the Repository to the top of the list for the Stable release of Caddy:
curl -1sLf 'https://dl.cloudsmith.io/public/caddy/stable/debian.deb.txt' | sudo tee /etc/apt/sources.list.d/caddy-stable.listInstall Caddy Web Server:
sudo apt update && sudo apt install caddyThe following command can be used to validate the installation;
$ caddy version
v2.9.1 h1:OEYiZ7DbCzAWVb6TNEkjRcSCRGHVoZsJinoDR/n9oaY=
Check Caddy binary location.
$ which caddy
/usr/bin/caddy
Running Caddy as not-root user
As a non-root user, allow the caddy binary to connect to privileged ports (e.g. 80, 443):
sudo setcap 'cap_net_bind_service=+ep' /usr/bin/caddyRun the following command to create the necessary users, groups, and directories:
sudo groupadd -g 33 www-data
sudo useradd \
  -g www-data --no-user-group \
  --home-dir /var/www --no-create-home \
  --shell /usr/sbin/nologin \
  --system --uid 33 www-data

sudo mkdir /etc/caddy
sudo chown -R root:root /etc/caddy
sudo mkdir /etc/ssl/caddy
sudo chown -R root:www-data /etc/ssl/caddy
sudo chmod 0770 /etc/ssl/caddy
After successful installation of Caddy web server, check the status as follows;
$ sudo systemctl status caddy.service
● caddy.service - Caddy
     Loaded: loaded (/usr/lib/systemd/system/caddy.service; enabled; preset: enabled)
     Active: active (running) since Fri 2025-03-28 17:42:05 UTC; 7min ago
       Docs: https://caddyserver.com/docs/
   Main PID: 1846 (caddy)
      Tasks: 7 (limit: 4614)
     Memory: 11.0M (peak: 12.2M)
        CPU: 69ms
     CGroup: /system.slice/caddy.service
             └─1846 /usr/bin/caddy run --environ --config /etc/caddy/Caddyfile

Mar 28 17:42:05 ubuntu-01 caddy[1846]: {"level":"warn","ts":1743183725.0463705,"logger":"http.auto_https","msg":"server is listening only on the HTTP port, so no automatic HTTPS will >
Mar 28 17:42:05 ubuntu-01 caddy[1846]: {"level":"info","ts":1743183725.0464666,"logger":"tls.cache.maintenance","msg":"started background certificate maintenance","cache":"0xc000363f0>
Mar 28 17:42:05 ubuntu-01 caddy[1846]: {"level":"warn","ts":1743183725.0466588,"logger":"http","msg":"HTTP/2 skipped because it requires TLS","network":"tcp","addr":":80"}
Mar 28 17:42:05 ubuntu-01 caddy[1846]: {"level":"warn","ts":1743183725.0466678,"logger":"http","msg":"HTTP/3 skipped because it requires TLS","network":"tcp","addr":":80"}
Mar 28 17:42:05 ubuntu-01 caddy[1846]: {"level":"info","ts":1743183725.0466733,"logger":"http.log","msg":"server running","name":"srv0","protocols":["h1","h2","h3"]}
Mar 28 17:42:05 ubuntu-01 caddy[1846]: {"level":"info","ts":1743183725.0468793,"msg":"autosaved config (load with --resume flag)","file":"/var/lib/caddy/.config/caddy/autosave.json"}
Mar 28 17:42:05 ubuntu-01 caddy[1846]: {"level":"info","ts":1743183725.0469365,"msg":"serving initial configuration"}
Mar 28 17:42:05 ubuntu-01 systemd[1]: Started caddy.service - Caddy.
Mar 28 17:42:05 ubuntu-01 caddy[1846]: {"level":"info","ts":1743183725.0568397,"logger":"tls","msg":"cleaning storage unit","storage":"FileStorage:/var/lib/caddy/.local/share/caddy"}
Mar 28 17:42:05 ubuntu-01 caddy[1846]: {"level":"info","ts":1743183725.0603573,"logger":"tls","msg":"finished cleaning storage units"}
2. Using Caddy Web Server to Host Applications
To host applications using Caddy Web Server, you need to install PHP and Database i.e MariaDB.
Install PHP
Run the following commands to install PHP and its plugins.
sudo apt install php-fpm php-mysql php-curl php-gd php-mbstring php-common php-xml php-xmlrpcInstall MariaDB Database Server
Install and configure MariaDB database server as follow;
sudo apt install mariadb-server mariadb-clientConfigure MariaDB Database.
$ sudo mariadb-secure-installation

NOTE: RUNNING ALL PARTS OF THIS SCRIPT IS RECOMMENDED FOR ALL MariaDB
      SERVERS IN PRODUCTION USE!  PLEASE READ EACH STEP CAREFULLY!

In order to log into MariaDB to secure it, we'll need the current
password for the root user. If you've just installed MariaDB, and
haven't set the root password yet, you should just press enter here.

Enter current password for root (enter for none):  <ENTER>
OK, successfully used password, moving on...

Setting the root password or using the unix_socket ensures that nobody
can log into the MariaDB root user without the proper authorisation.

You already have your root account protected, so you can safely answer 'n'.

Switch to unix_socket authentication [Y/n] y
Enabled successfully!
Reloading privilege tables..
 ... Success!


You already have your root account protected, so you can safely answer 'n'.

Change the root password? [Y/n] y
New password: <INPUT-PASSWORD>
Re-enter new password: <CONFIRM-PASSWORD>
Password updated successfully!
Reloading privilege tables..
 ... Success!


By default, a MariaDB installation has an anonymous user, allowing anyone
to log into MariaDB without having to have a user account created for
them.  This is intended only for testing, and to make the installation
go a bit smoother.  You should remove them before moving into a
production environment.

Remove anonymous users? [Y/n] y
 ... Success!

Normally, root should only be allowed to connect from 'localhost'.  This
ensures that someone cannot guess at the root password from the network.

Disallow root login remotely? [Y/n] y
 ... Success!

By default, MariaDB comes with a database named 'test' that anyone can
access.  This is also intended only for testing, and should be removed
before moving into a production environment.

Remove test database and access to it? [Y/n] y
 - Dropping test database...
 ... Success!
 - Removing privileges on test database...
 ... Success!

Reloading the privilege tables will ensure that all changes made so far
will take effect immediately.

Reload privilege tables now? [Y/n] y
 ... Success!

Cleaning up...

All done!  If you've completed all of the above steps, your MariaDB
installation should now be secure.

Thanks for using MariaDB!
After installing MariaDB database, you can check if it’s running using the following command:
$ sudo systemctl status mariadb
● mariadb.service - MariaDB 10.11.8 database server
     Loaded: loaded (/usr/lib/systemd/system/mariadb.service; enabled; preset: enabled)
     Active: active (running) since Fri 2025-03-28 17:51:05 UTC; 1min 5s ago
       Docs: man:mariadbd(8)
             https://mariadb.com/kb/en/library/systemd/
   Main PID: 13070 (mariadbd)
     Status: "Taking your SQL requests now..."
      Tasks: 10 (limit: 30453)
     Memory: 78.8M (peak: 81.9M)
        CPU: 376ms
     CGroup: /system.slice/mariadb.service
             └─13070 /usr/sbin/mariadbd

Mar 28 17:51:05 ubuntu-01 mariadbd[13070]: 2025-03-28 17:51:05 0 [Note] Plugin 'FEEDBACK' is disabled.
Mar 28 17:51:05 ubuntu-01 mariadbd[13070]: 2025-03-28 17:51:05 0 [Note] InnoDB: Loading buffer pool(s) from /var/lib/mysql/ib_buffer_pool
Mar 28 17:51:05 ubuntu-01 mariadbd[13070]: 2025-03-28 17:51:05 0 [Warning] You need to use --log-bin to make --expire-logs-days or --binlog-expire-logs-seconds work.
Mar 28 17:51:05 ubuntu-01 mariadbd[13070]: 2025-03-28 17:51:05 0 [Note] InnoDB: Buffer pool(s) load completed at 250328 17:51:05
Mar 28 17:51:05 ubuntu-01 mariadbd[13070]: 2025-03-28 17:51:05 0 [Note] Server socket created on IP: '127.0.0.1'.
Mar 28 17:51:05 ubuntu-01 mariadbd[13070]: 2025-03-28 17:51:05 0 [Note] /usr/sbin/mariadbd: ready for connections.
Mar 28 17:51:05 ubuntu-01 mariadbd[13070]: Version: '10.11.8-MariaDB-0ubuntu0.24.04.1'  socket: '/run/mysqld/mysqld.sock'  port: 3306  Ubuntu 24.04
Mar 28 17:51:05 ubuntu-01 systemd[1]: Started mariadb.service - MariaDB 10.11.8 database server.
Mar 28 17:51:05 ubuntu-01 /etc/mysql/debian-start[13087]: Upgrading MariaDB tables if necessary.
Mar 28 17:51:05 ubuntu-01 /etc/mysql/debian-start[13098]: Checking for insecure root accounts.
Hosting PHP Application on Caddy Web Server
The file /etc/php/Version/fpm/pool.d/www.conf must be configured. To edit the file, open it;
sudo vim /etc/php/*/fpm/pool.d/www.confFind the lines in the file that say user=www-data and group=www-data and change them to caddy;
user = caddy
group = caddy
Also, in the file, change the lines listen.owner=www-data and listen.group=www-data to caddy;
listen.owner = caddy
listen.group = caddy
Now restart the PHP-fpm process;
sudo systemctl restart php8.3-fpmConfigure Caddy to Host PHP File
Create the site’s root directory first:
sudo mkdir -p /var/www/html/phpCaddy created a default Caddyfile at /etc/caddy/Caddyfile during installation. Edit it as follows:
sudo vim /etc/caddy/CaddyfileAdd the following contents to the file;
example.com {
    root * /var/www/html/php
    encode gzip zstd
    php_fastcgi unix//run/php/php-fpm.sock

    tls [email protected] {
    	protocols tls1.2 tls1.3
    }
}
Caddy server must be restarted in order for the changes in the Caddyfile we created above to take effect:
sudo systemctl restart caddyRun the PHP application i.e Hello World on Caddy as follows, create a PHP file app.php on /var/www/html/php directory;
sudo vim /var/www/html/php/app.phpAdd the following contents to the file created above;
<html>
<body>
<div style="width: 100%; font-size: 40px; font-weight: bold; text-align:center;">
<?php
    print "Hello World";
?>
</div>
</body>
</html>
In your web browser, go to https://example.com/app.php and you should see something like this:
Using Caddy Web Server to host WordPress Website
On Ubuntu | Debian, we’ll look at an example of hosting a WordPress-powered website with Caddy web server.
Login to the server:
$ mysql -u root -p
Enter password:<ENTER PASSWORD>
Welcome to the MariaDB monitor.  Commands end with ; or \g.
Your MariaDB connection id is 31
Server version: 10.6.12-MariaDB-0ubuntu0.22.04.1 Ubuntu 22.04

Copyright (c) 2000, 2018, Oracle, MariaDB Corporation Ab and others.

Type 'help;' or '\h' for help. Type '\c' to clear the current input statement.

MariaDB [(none)]>
Create a database for WordPress in MariaDB as the root user:
CREATE DATABASE WordPressDB;
GRANT ALL PRIVILEGES ON WordPressDB.* to 'wp_user'@'localhost' IDENTIFIED BY 'StrongPassword';
FLUSH PRIVILEGES;
QUIT;
Download WordPress and Install
Now download WordPress and unzip the archive:
sudo wget http://wordpress.org/latest.tar.gz
tar xvf latest.tar.gz
The tar command above will extract the whole contents of the tarball to the wordpress folder in your working directory.
Move the wordpress folder to /var/www/html directory:
sudo mv wordpress /var/www/htmlChange the user and group ownership permissions to www-data:
sudo chown -R www-data:www-data /var/www/html/wordpressNow we’ll set up the database connection for WordPress:
sudo mv /var/www/html/wordpress/wp-config-sample.php /var/www/html/wordpress/wp-config.phpEdit the file wp-config.php to configure:
sudo vim /var/www/html/wordpress/wp-config.phpConfigure as follows:
// ** MySQL settings - You can get this info from your web host ** //
/** The name of the database for WordPress */
define('DB_NAME', 'WordPressDB');

/** MySQL database username */
define('DB_USER', 'wp_user');

/** MySQL database password */
define('DB_PASSWORD', 'StrongPassword');

/** MySQL hostname */
define('DB_HOST', 'localhost');

/** Database Charset to use in creating database tables. */
define('DB_CHARSET', 'utf8');

/** The Database Collate type. Don't change this if in doubt. */
define('DB_COLLATE', '');
Configuring Caddy to Serve the WordPress Site
We now need to configure Caddy Web server to serve our WordPress website, as we have completed the WordPress installation. Create a Caddy configuration file in /etc/caddy/Caddyfile to begin.
sudo vim /etc/caddy/CaddyfileAdd the content below:
example.com {
    root * /var/www/html/wordpress
    encode gzip zstd
    php_fastcgi unix//run/php/php-fpm.sock

    tls [email protected] {
        protocols tls1.2 tls1.3
    }
}
Replace example.com with your WordPress website’s actual domain and [email protected] with the email address you used to get the Let’s Encrypt certificate. To support php, we use php-fpm via fastcgi.
Restart caddy service:
sudo systemctl restart caddy.serviceIf the start was successful, you should get a successful message:
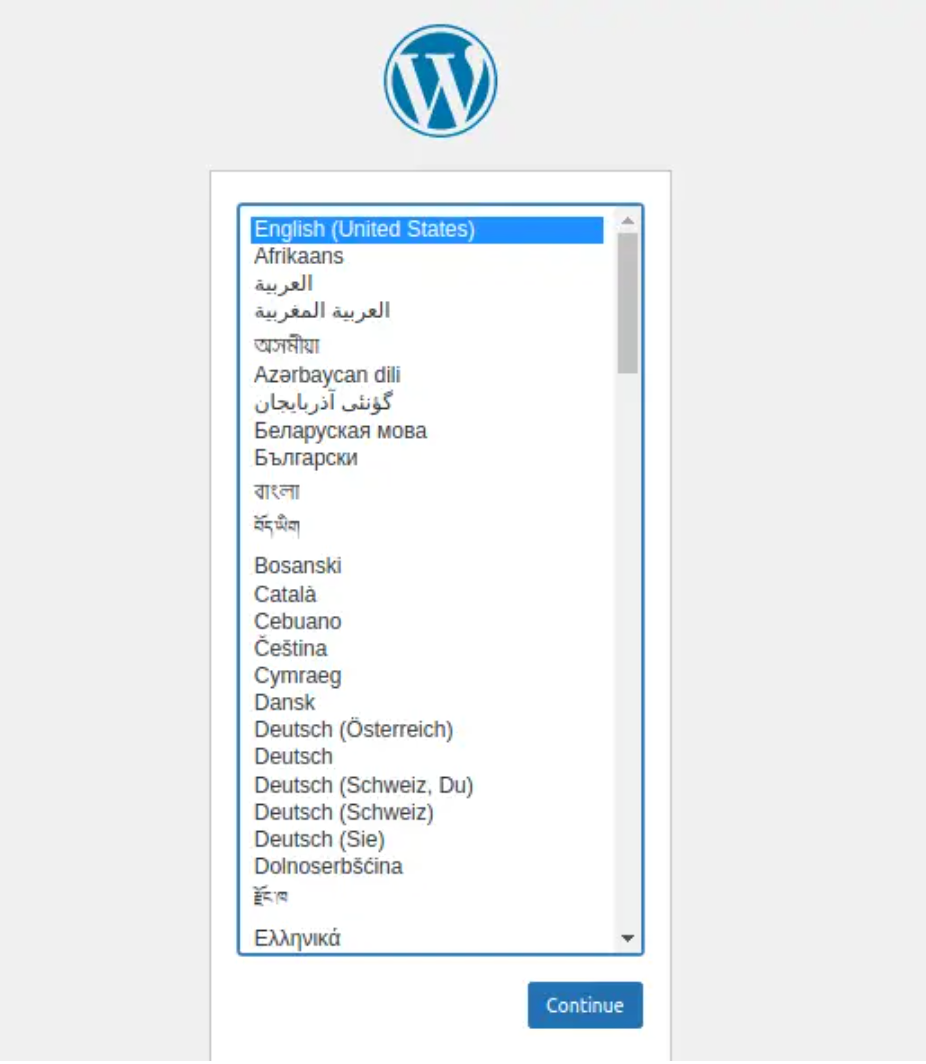
systemctl status caddy.serviceVisit https://example.com to get to the WordPress dashboard. You should go to the WordPress setup page for the first time:
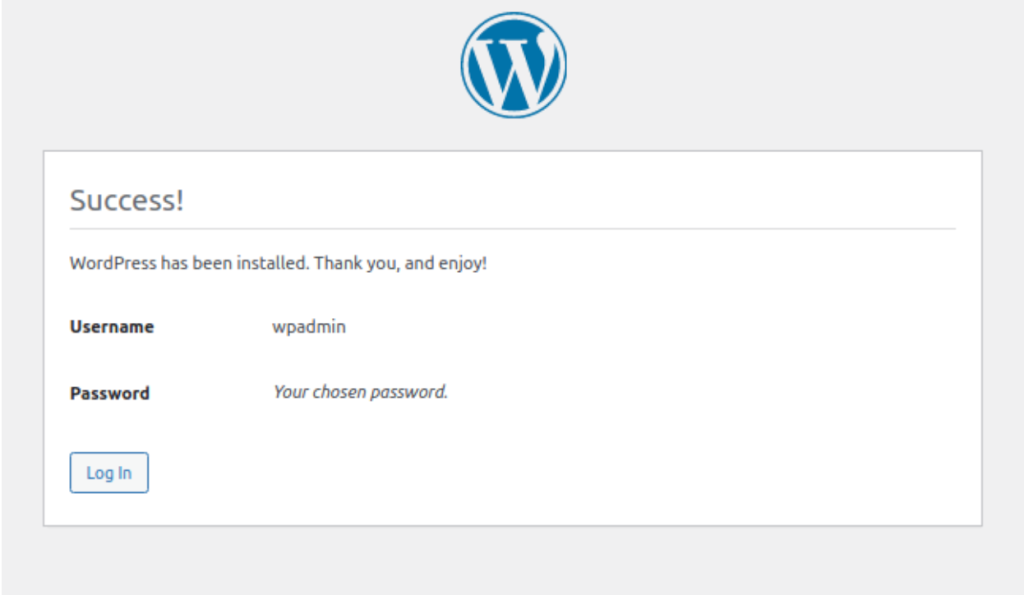
Finally, provider username and password to login:
Conclusion
Thank you for taking the time to read our tutorial on how to set up Caddy web server on Ubuntu 24.04 and Debian 12. Caddy appeals to me because of its simplicity, robustness, and the fact that it defaults to HTTPS. To host your website, you won’t require any routing or redirects.
🔑 Unlock the complete Ubuntu Desktop learning journey by purchasing our best selling ebook: The Ultimate Ubuntu Desktop Handbook.
Cool Articles:


