

CiviCRM is a powerful, web-based constituent relationship management (CRM) system that allows organizations to record and manage all the information about the various people and organizations they interact with. The information recorded includes; contacts, donations, event registrations, memberships, activities, cases, campaigns, mailings, and more. CiviCRM is built by a non-profit organization and focuses on the needs of non-profits, NGOs, and civic sector organizations by empowering communications, community engagement, activism, outreach, donor management, and much more.
It is absolutely free and open-source with no license costs or user fees associated with downloading, installing, or using the software. Being open-source allows you to modify the source code and distribute copies of the original source to any person or organization. CiviCRM integrates with standard content management systems like Joomla, WordPress, Drupal, and BackDrop to provide additional functionalities like renewing membership, signing up for events, requesting email updates, and donating money.
CiviCRM is a modular system that records basic contact information such as name, home or postal address, email address, and phone number. It also defines relationships between your contacts, sends emails, and keeps a record of your interactions with your contacts.
CiviCRM is composed of different components that provide more tools to interact with your contacts. They are;
- CiviContribute is an online fundraising and donor management component that tracks and manages contributions to your organization.
- CiviMail mass-mailing component that allows you to engage your constituents with personalized email blasts and newsletters.
- CiviMember is a membership management component that includes convenient online signup and renewal.
- CiviEvent is an integrated online event registration and management for paid and free events.
- Civireport provides information on the data in your CiviCRM installation.
- CiviCampaign links events to track the progress of one programmatic goal or campaign.
- CiviCase automates case timelines and configures audit reports.
- CiviGrant is used to distribute funds to others.
CiviCRM is used by different organizations in the real world that have referenced CiviCRM features such as CiviEmail, CiviMember, CiviPledge, CiviCRM Profiles, and others. They include; The American Friends Service Committee (AFSC), Schoolhouse Supplies (SHS), The New York State Nursery Landscape Association (NYSNLA), The Green Party of Aotearoa New Zealand, The San Francisco School (SFS), and QuestBridge.
CiviCRM is installed as a release module for a Content management system. A recommended server environment should typically meet these guidelines:
- Operating system: Ubuntu | Debian Linux
- CMS: Backdrop, Drupal 7, Drupal 9, Joomla, or WordPress.
- PHP: 8.2, 8.3, 8.4 — with configuration and extension requirements.
- MySQL: MySQL 5.7.5+ or MariaDB 10.2+ — with configuration requirements.
Set up CiviCRM Environment on Debian / Ubuntu
We will do an initial setup of the environment. Update your system packages.
sudo apt update && sudo apt upgrade -yIf a reboot is required proceed to perform one.
[ -e /var/run/reboot-required ] && sudo reboot1.1 Install Apache
Install Apache with the following command:
sudo apt install apache2 -yStart and enable Apache at boot time.
sudo systemctl enable --now apache21.2 Install MariaDB Database
Install MariaDB with the following command.
sudo apt install mariadb-server -ySecure the MariaDB database with the following command
$ sudo mariadb-secure-installation
NOTE: MariaDB is secure by default in Debian. Running this script is
      useless at best, and misleading at worst. This script will be
      removed in a future MariaDB release in Debian. Please read
      mariadb-server.README.Debian for details.

Enter root user password or leave blank:

Enter current password for root (enter for none):
OK, successfully used password, moving on...

Setting the root password or using the unix_socket ensures that nobody
can log into the MariaDB root user without the proper authorisation.

You already have your root account protected, so you can safely answer 'n'.

Switch to unix_socket authentication [Y/n] n
 ... skipping.

You already have your root account protected, so you can safely answer 'n'.

Change the root password? [Y/n] Y
New password:
Re-enter new password:
Password updated successfully!
Reloading privilege tables..
 ... Success!


By default, a MariaDB installation has an anonymous user, allowing anyone
to log into MariaDB without having to have a user account created for
them.  This is intended only for testing, and to make the installation
go a bit smoother.  You should remove them before moving into a
production environment.

Remove anonymous users? [Y/n] Y
SQL executed without errors!
The operation might have been successful, or it might have not done anything.

Normally, root should only be allowed to connect from 'localhost'.  This
ensures that someone cannot guess at the root password from the network.

Disallow root login remotely? [Y/n] Y
SQL executed without errors!
The operation might have been successful, or it might have not done anything.

By default, MariaDB comes with a database named 'test' that anyone can
access.  This is also intended only for testing, and should be removed
before moving into a production environment.

Remove test database and access to it? [Y/n] Y
 - Dropping test database...
SQL executed without errors!
The operation might have been successful, or it might have not done anything.
 - Removing privileges on test database...
SQL executed without errors!
The operation might have been successful, or it might have not done anything.

Reloading the privilege tables will ensure that all changes made so far
will take effect immediately.

Reload privilege tables now? [Y/n] Y
 ... Success!

Cleaning up...

All done!  If you've completed all of the above steps, your MariaDB
installation should now be secure.

Thanks for using MariaDB!
Next is to create the databases for WordPress and CiviCRM. Log in to the Database shell.
$ sudo mariadb -u root -p
Enter password:
Welcome to the MariaDB monitor.  Commands end with ; or \g.
Your MariaDB connection id is 39
Server version: 11.8.3-MariaDB-0+deb13u1 from Debian -- Please help get to 10k stars at https://github.com/MariaDB/Server

Copyright (c) 2000, 2018, Oracle, MariaDB Corporation Ab and others.

Type 'help;' or '\h' for help. Type '\c' to clear the current input statement.

MariaDB [(none)]>
Create a WordPress & CiviCRM database.
#### Create WordPress DB ###
CREATE DATABASE wp;
GRANT ALL PRIVILEGES ON wp.* TO 'wp'@'localhost' IDENTIFIED BY 'StrongDBPassWord';
FLUSH PRIVILEGES;

#### Create CiviCRM DB ###
CREATE DATABASE civicrm;
GRANT ALL PRIVILEGES ON civicrm.* TO 'civicrm'@'localhost' IDENTIFIED BY 'StrongDBPassWord';
FLUSH PRIVILEGES;
QUIT;
1.3 Install PHP and required extensions
Install PHP and the required packages for CiviCRM with the following command
sudo apt-get install -y vim php php-curl php-gd php-mbstring php-mysql php-zip libapache2-mod-php php-common php-xmlrpc php-soap php-xml php-intl php-cli php-bcmath php-pear unzipInstall the PHP “mcrypt” module on the server using pecl channel:
sudo apt-get install -y php-dev libmcrypt-dev build-essential
sudo pecl channel-update pecl.php.net
sudo pecl install mcrypt
Check for the PHP version to confirm successful installation
$ php -v
PHP 8.4.16 (cli) (built: Dec 18 2025 21:19:25) (NTS)
Copyright (c) The PHP Group
Built by Debian
Zend Engine v4.4.16, Copyright (c) Zend Technologies
    with Zend OPcache v8.4.16, Copyright (c), by Zend Technologies
Check the enabled extensions.
php -mEdit the php.ini configuration file:
sudo vim /etc/php/*/cli/php.iniAdd or modify the following properties.
memory_limit=256M
max_execution_time=240
max_input_time=120
post_max_size=50M
upload_max_filesize=50M
Under Dynamic extension add the following line to activate the extension.
extension=mcrypt.soSave and exit the file then restart Apache to apply changes
sudo a2enmod rewrite
sudo systemctl restart apache2
1.4 Install WordPress on Ubuntu|Debian
I will use WordPress as my choice for the Content Management system (CMS) for this guide.
Download the latest Wordpess file and extract it to your preferred root directory for the site. Example /var/www/html/your-domain.com. replace the domain with your actual server name.
cd ~/
wget https://wordpress.org/latest.tar.gz
tar xvf latest.tar.gz
sudo mv wordpress /var/www/html/civicrm/
sudo chown -R www-data:www-data /var/www/html/civicrm
rm latest.tar.gz
1.5 Configure Apache for WordPress
Create a new virtual host for your site.
sudo vim /etc/apache2/sites-available/civicrm.conf<VirtualHost *:80>
ServerAdmin [email protected]
ServerName crm.example.com
ServerAlias www.crm.example.com
DocumentRoot /var/www/html/civicrm
<Directory /var/www/html/civicrm>
Options Indexes FollowSymLinks
AllowOverride All
Require all granted
</Directory>
ErrorLog ${APACHE_LOG_DIR}/civicrm_error.log
CustomLog ${APACHE_LOG_DIR}/civicrm_access.log combined
</VirtualHost>Save and close the file. Enable the virtual host just created with the following command.
sudo a2ensite civicrm.confDisable the default apache configuration file.
sudo a2dissite 000-default.confRestart the Apache service for the changes to take effect.
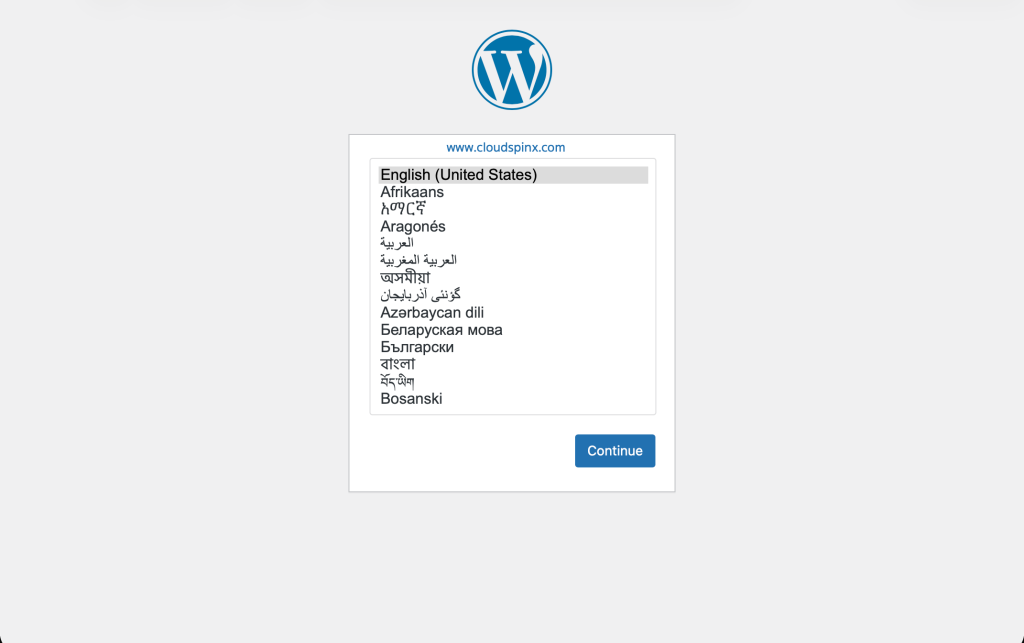
sudo systemctl reload apache2Open http://your-domain.com in a web browser and finish the WordPress installation. I will go to http://crm.cloudspinx.dpdns.org. Select Language and continue:
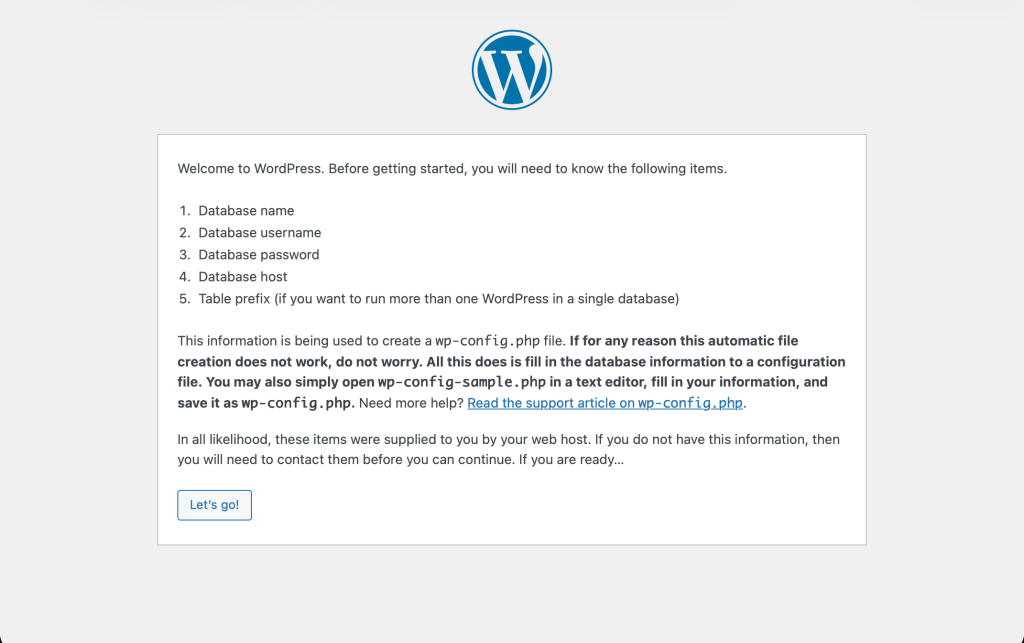
The next step is to set up the WordPress Database.
Enter the details of the database we created above and click on submit:

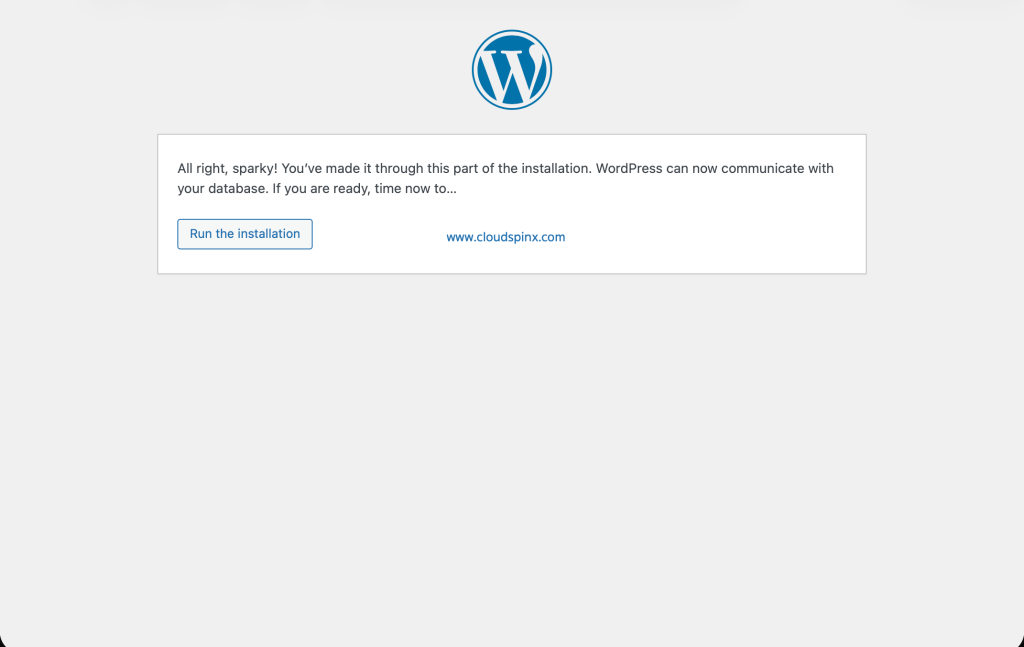
With a successful connection, the following dialogue is shown. Click on Run the Installation.
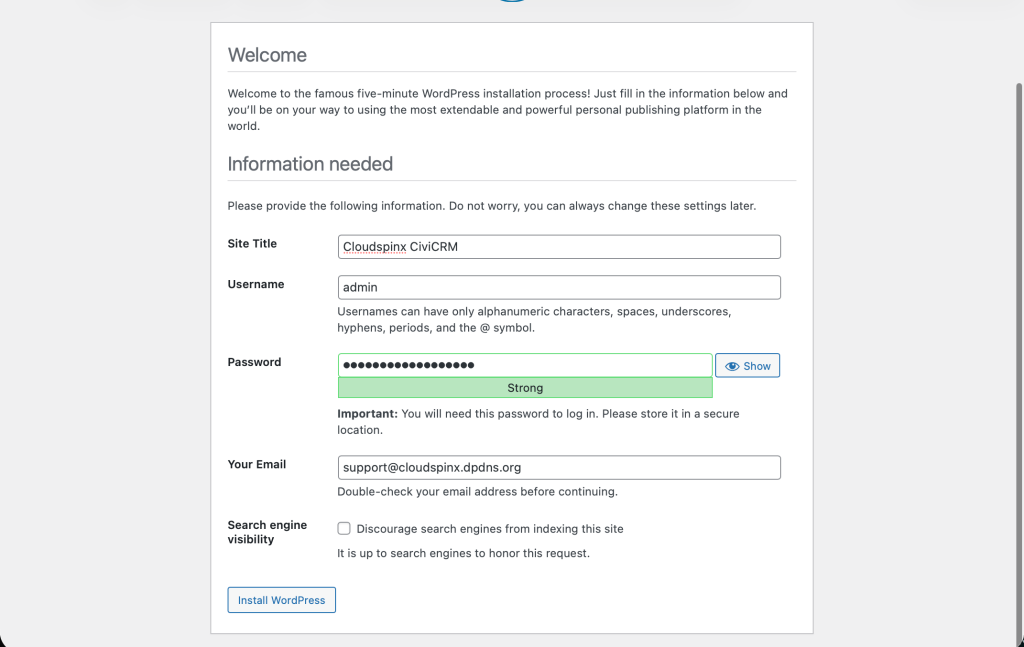
Enter the details of your site then click on Install WordPress.
Successful installation. Click on Log in.
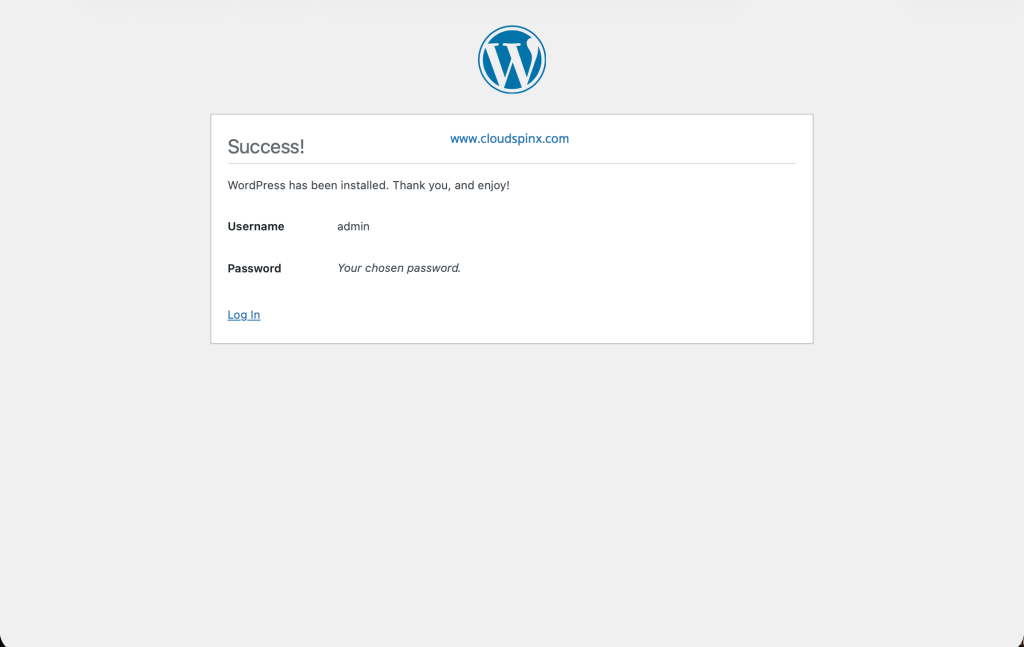
Then log in with your details.

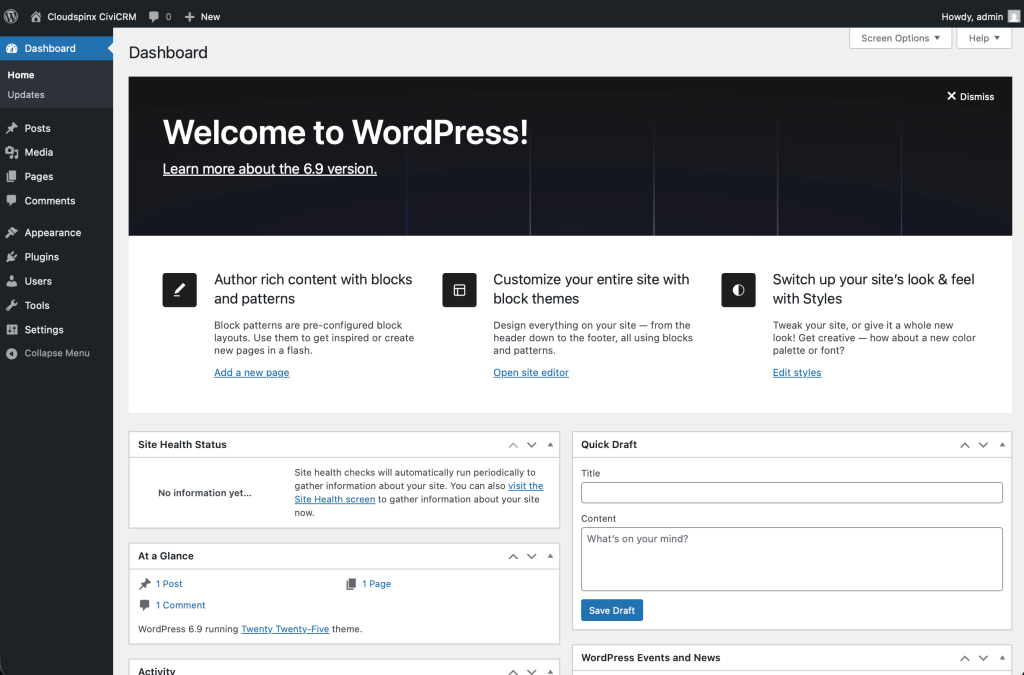
The Dashboard opens with a welcome page. Once the Welcome banner is dismissed you have the dashboard as shown.
1.6 Install CiviCRM on Ubuntu / Debian
With the server environment configured, the next thing is to install CiviCRM. Download the latest CiviCRM for WordPress for the CiviCRM Website.
VER=6.9.1
wget https://storage.googleapis.com/civicrm/civicrm-stable/${VER}/civicrm-${VER}-wordpress.zip
unzip civicrm-${VER}-wordpress.zip
Set the appropriate permission on the files and move them to WordPress’s plugin directory of your site:
sudo mv civicrm/ /var/www/html/civicrm/wp-content/plugins/
sudo chown www-data:www-data -R /var/www/html/civicrm/wp-content/plugins/
1.7 Access CiviCRM on WordPress
Login to your WordPress site with Administrator level permissions and head to the plugins page http://your-domain/wp-admin/plugins.php to activate the CiviCRM Plugin.
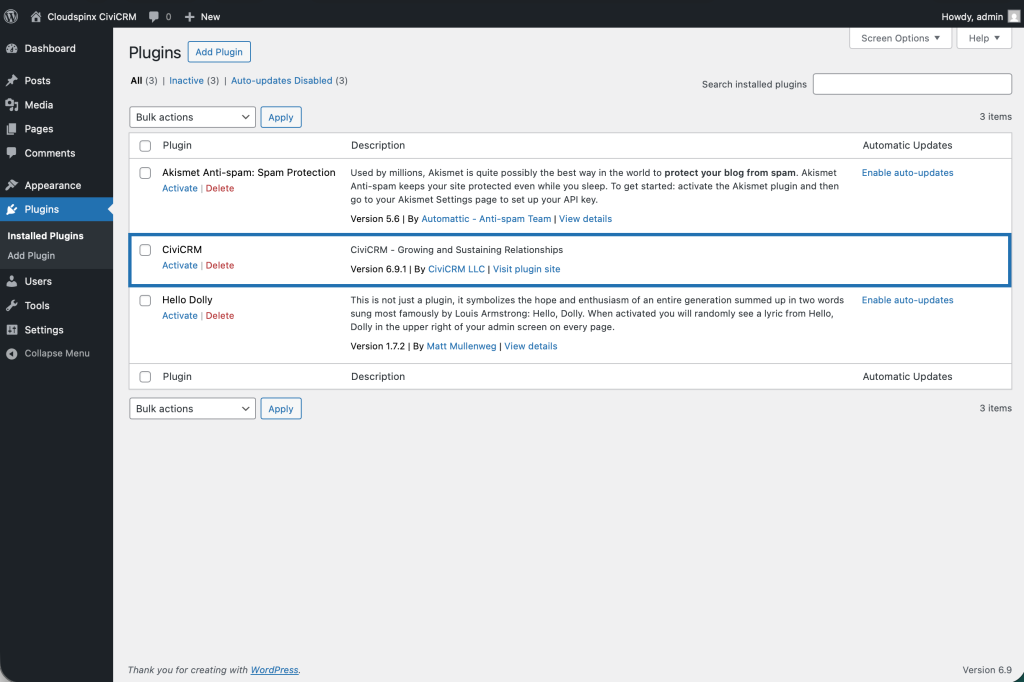
Click on Activate which will open the following page for installation.
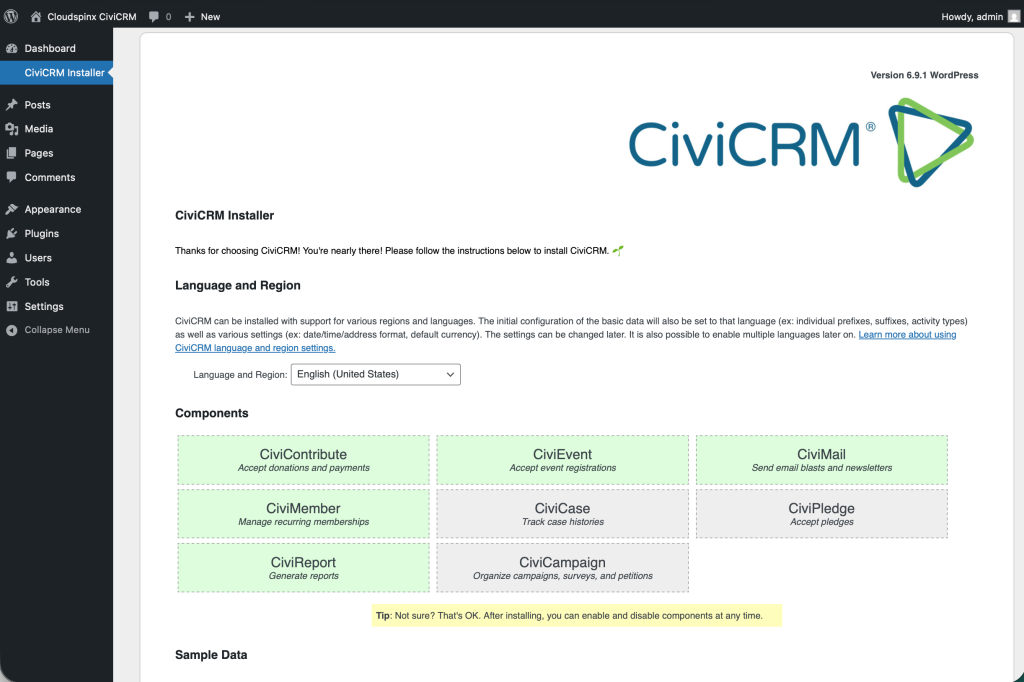
Scroll down and check the sample data checkbox to populate sample data and then select the components you want to install. You can also do this after installation.
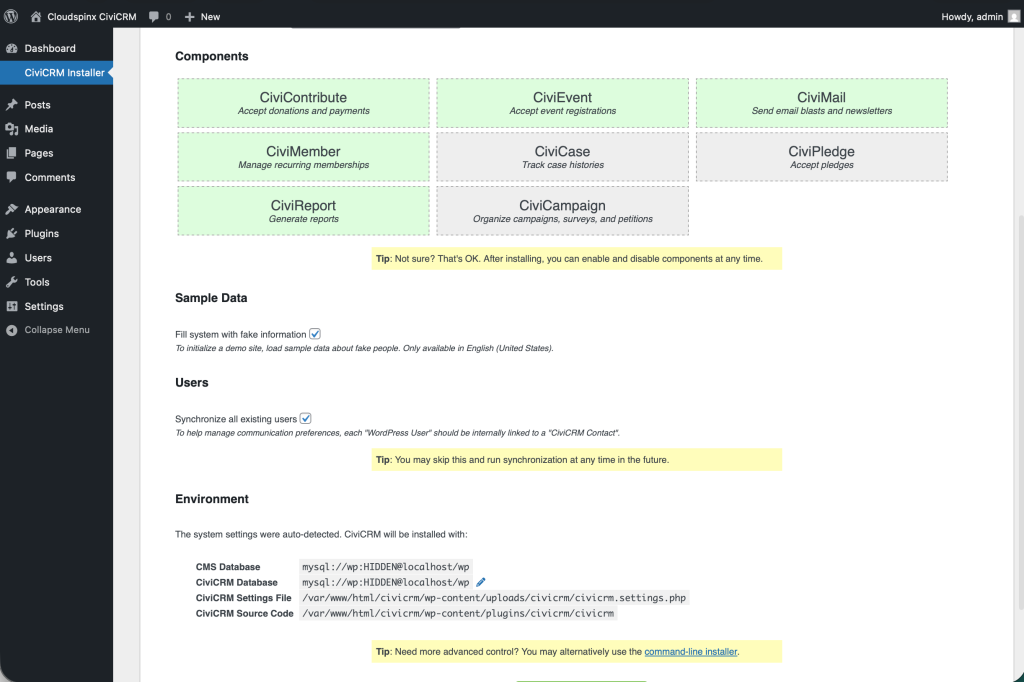
You can choose to continue with the default database for WordPress as that for CiviCRM but it is recommended to use a different database. Remember the database we created above, use that. Click on the edit icon.
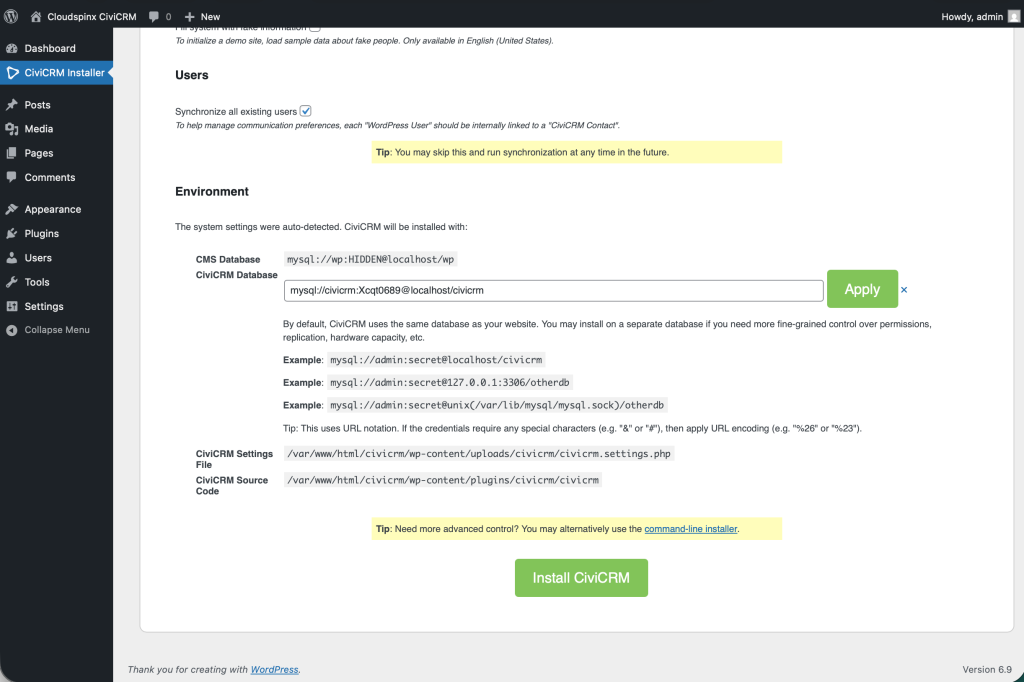
Enter the Database details then click Apply. It will connect to the database and appear as shown below. Then finally click on Install CiviCRM.
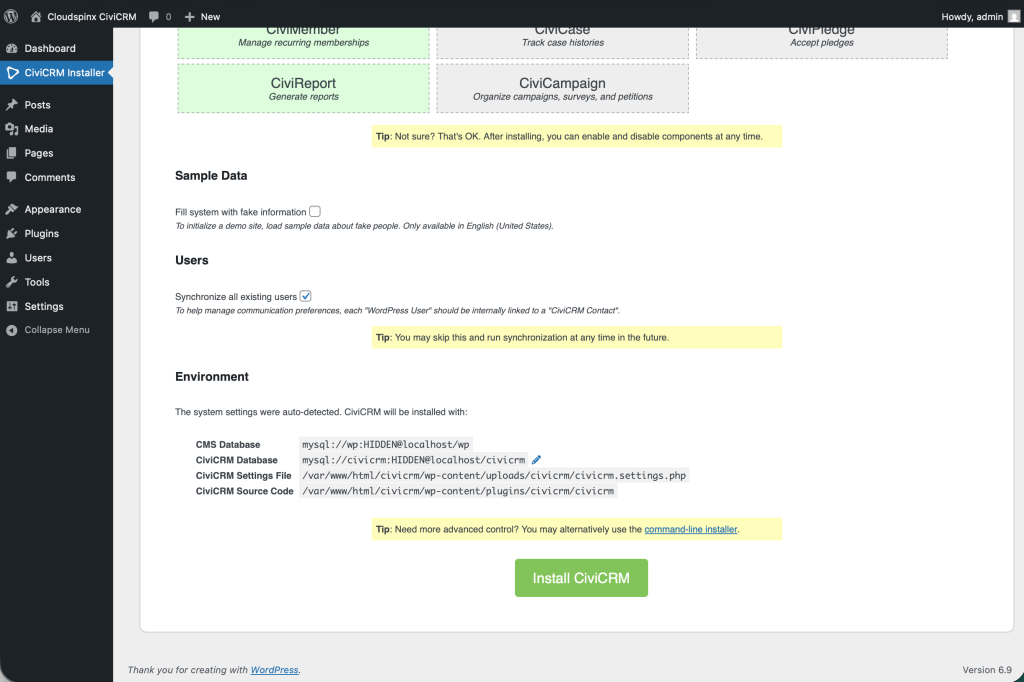
The installation does not take a lot of time and it finishes successfully to open the following Dashboard.
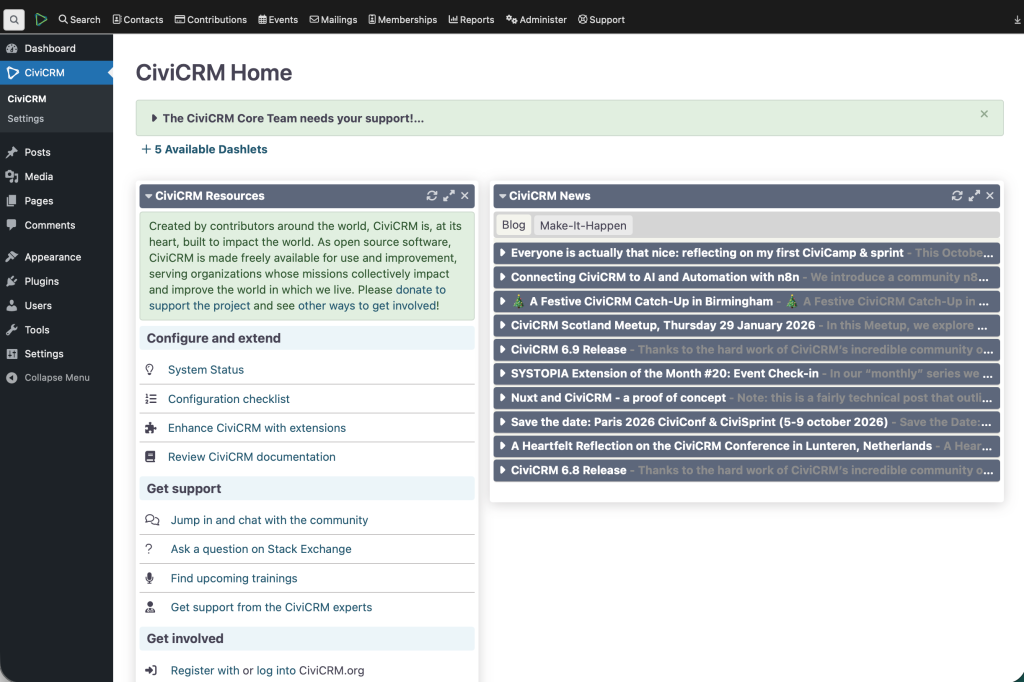
CiviCRM is now integrated with your site and you can now use its components.
Conclusion
CiviCRM is a free and open-source constituent relationship management system designed to meet the needs of non-profit organizations. It includes integrations with Content management systems like Drupal, Joomla, Backdrop, and WordPress to allow you to share parts of your CRM data, for example, event information, with visitors to your website. It also includes extensions that provide additional functionality by creating new features and changing the way that CiviCRM works.


