
A helpdesk plays an important role in a company or organization. It acts as a one-stop point of contact that offers centralized information and support management service capable of handling the internal and external queries in an organization. It helps resolve the clients’ grievances in a timely manner by automating the process with a ticket management system.
Helpdesk is important in a company due to the following:
- Customer Satisfaction: clients are able to be attended to quickly with minimal effort.
- Agent Productivity: it automates repetitive tasks that increases the production by helping agents perform complex tasks in little time.
- IT Helpdesk: it helps the organization handle internal technical queries
- Business Operations: It helps streamline the operation to meet the SLAs as well as prioritize required actions.
FreeScout is a free, open-source and lightweight helpdesk with a shared inbox written in PHP7+ (Laravel framework). This self-hosted clone of HelpScout helps users enjoy free Zendesk & Help Scout with full service control and privacy.
FreeScout acts as a perfect solution for organizations that require professional customer support but are unable to subscribe to Zendesk or Help Scout. One of the amazing features of FreeScout is that it can be easily deployed even on a shared hosting.
Other features associated with FreeScout are:
- It is 100% Mobile-friendly.
- Supports several languages that include Croatian, English, Czech, Danish, French, Dutch, German, Italian, Japanese, Persian, Korean, Polish, Portuguese, Russian, Spanish, Slovak, Swedish
- Unlimited support agents, tickets, mailboxes, etc.
- Web installer & updater.
- Suppports modern Microsoft Exchange authentication.
- Seamless email integration.
- Auto reply.
- Open tracking.
- Configuring notifications on a per user basis.
- Pasting screenshots from the clipboard into the reply area.
- Collision detection – notice is shown when two agents open the same conversation.
- Phone conversations.
- LDAP integration.
- Spam filter.
- Forwarding, merging and moving conversations between mailboxes.
- Sending conversations to multiple recipients at once.
- Editing / hiding threads.
In this guide, we will comb through how to install FreeScout Help Desk on CentOS / Rocky / RHEL.
Setup Requirements
FreeScout is a pure PHP/MySQL application. The following are required:
- Database: MySQL 5.0+ / MariaDB 5.0+ / PostgreSQL
- PHP: 7.1 – 8.x, except 8.1
- Webserver: Nginx / Apache / IIS
Step 1: Install and Configure Database Server
For this guide, we will use MySQL/MariaDB database. This can be installed on CentOS / Rocky / RHEL using the guides below:
Once installed, create a database for FreeScout. First login to the root user using the created password:
mariadb -u root -pCreate a database as shown:
CREATE DATABASE freescout CHARSET utf8mb4 COLLATE utf8mb4_unicode_ci;
GRANT ALL PRIVILEGES ON freescout.* TO freescout@localhost IDENTIFIED BY 'P@ssWord';
FLUSH PRIVILEGES;
EXIT;
Step 2: Install and Configure PHP
FreeScout requires PHP 7.1 – 8.x. For this guide, we will install PHP from the REMI repositories added to the system with the command:
##On CentOS Stream 10/ Rocky Linux 10/ RHEL 10
sudo dnf install -y https://rpms.remirepo.net/enterprise/remi-release-10.rpm

##On CentOS Stream 9 / Rocky Linux 9/ RHEL 9
sudo dnf install -y https://rpms.remirepo.net/enterprise/remi-release-9.rpm
Once the REMI repositories have been added install the prerffered versions of PHP.
$ sudo dnf module list php
Updating Subscription Management repositories.
Remi's Modular repository for Enterprise Linux 10 - x86_64                                                                                                           109 kB/s | 212 kB     00:01
Safe Remi's RPM repository for Enterprise Linux 10 - x86_64                                                                                                               138 kB/s | 390 kB     00:02
Remi's Modular repository for Enterprise Linux 10 - x86_64
Name                                   Stream                                      Profiles                                                      Summary
php                                    remi-7.4                                    common [d], devel, minimal                                  PHP scripting language
php                                    remi-8.0                                    common [d], devel, minimal                                    PHP scripting language
php                                    remi-8.1                                    common [d], devel, minimal                                    PHP scripting language
php                                    remi-8.2                                    common [d], devel, minimal                                    PHP scripting language
php                                    remi-8.3                                    common [d], devel, minimal                                    PHP scripting language
php                                    remi-8.4                                    common [d], devel, minimal                                PHP scripting language

Hint: [d]efault, [e]nabled, [x]disabled, [i]nstalled
To install PHP 8.3 enable the repository:
sudo dnf module enable php:remi-8.3 -yrequired dependencies, use the command:
sudo yum install php-{mysqli,fpm,mbstring,xml,imap,zip,gd,curl,pdo,intl,cli,gmp,common}Once installed, verify the version.
$ php --version
PHP 8.3.23 (cli) (built: Jul  1 2025 16:52:12) (NTS gcc x86_64)
Copyright (c) The PHP Group
Zend Engine v4.3.23, Copyright (c) Zend Technologies
Once installed, make the below adjustments:
sudo -- "$SHELL" -c "echo 'cgi.fix_pathinfo=0' >> /etc/php.ini"For the changes to apply, start and enable PHP-FPM:
sudo systemctl enable --now php-fpmStep 3: Download FreeScout Help Desk
Download the latest archive from the FreeScout downloads page. It is also possible to download the archive using the command:
sudo yum install git -y
cd /var/www/html
sudo git clone https://github.com/freescout-help-desk/freescout.git
Configure SELinux as shown:
sudo semanage fcontext -a -t httpd_sys_rw_content_t "/var/www/html/freescout(/.*)?"
sudo restorecon -Rv /var/www/html/freescout
Step 4: Install and Configure Apache
We will the APache webserver with the command;
sudo yum install httpd -yCreate a virtualhost file:
sudo vim /etc/httpd/conf.d/freescout.confAdd the lines to the file:
<VirtualHost *:80>
  ServerName freescout.example.com
  DocumentRoot "/var/www/html/freescout/public"
  Options Indexes FollowSymLinks
  ErrorLog /var/www/html/freescout/storage/logs/web-server.log
  <Directory "/var/www/html/freescout/public">
    AllowOverride All
    Require all granted
  </Directory>
</VirtualHost>
Set the correct permissions of the directory:
sudo chown -R apache:apache /var/www/html/freescout
sudo chmod -R 775 /var/www/html/freescout
Restart Apache:
sudo systemctl restart httpdAllow the service through the firewall:
sudo firewall-cmd --add-service={http,https} --permanent
sudo firewall-cmd --reload
Step 5: Access the FreeScout Help Desk webUI
Now access FreeScout from your browser using the URL http://server_domain_or_ip:
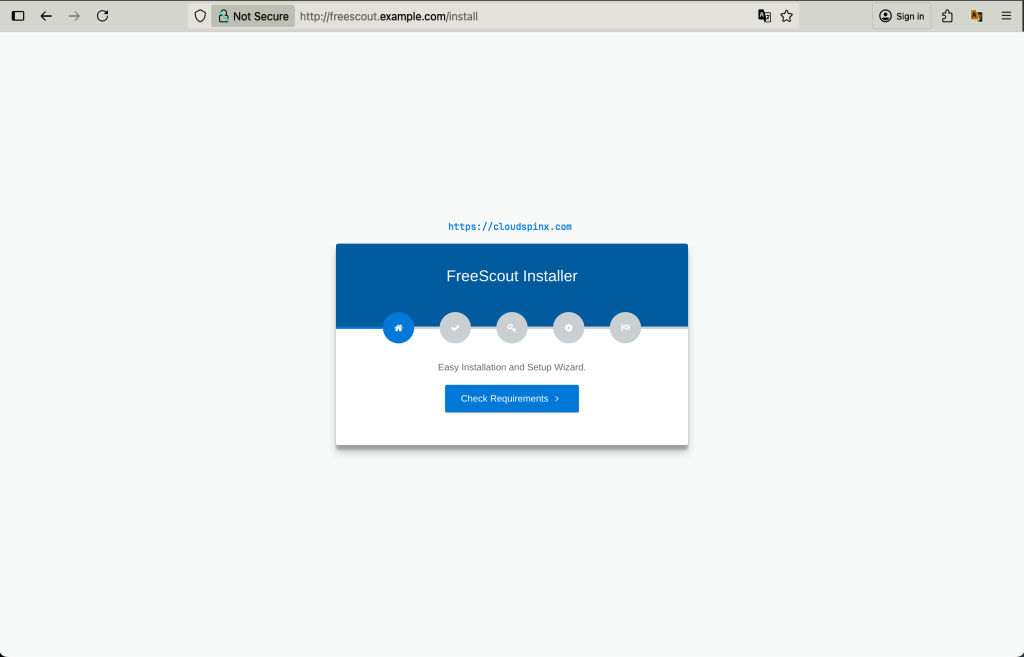
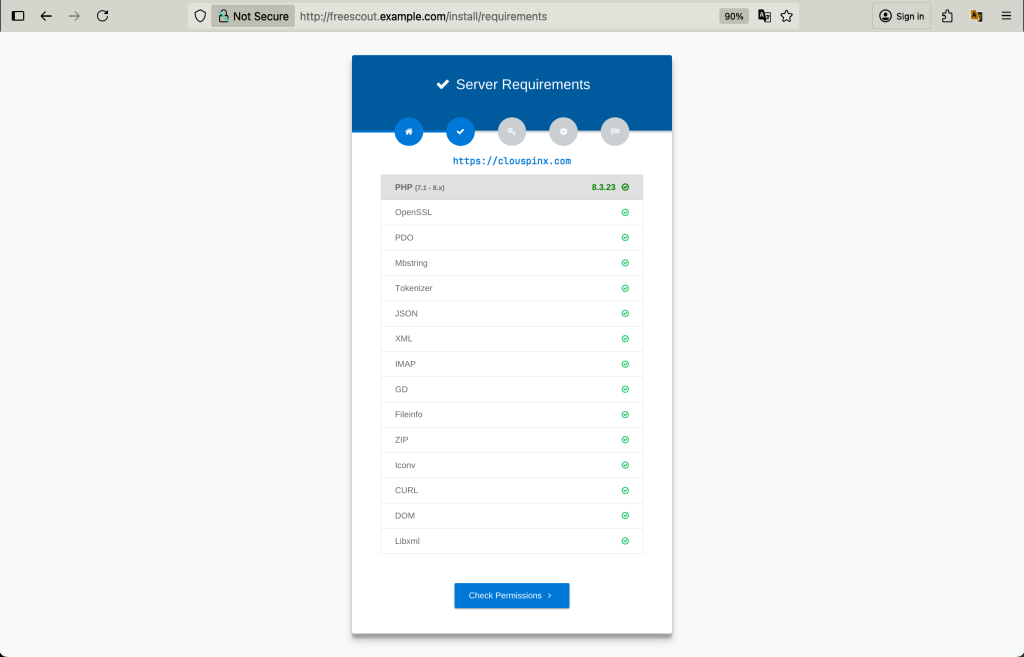
Start by checking the requirements.
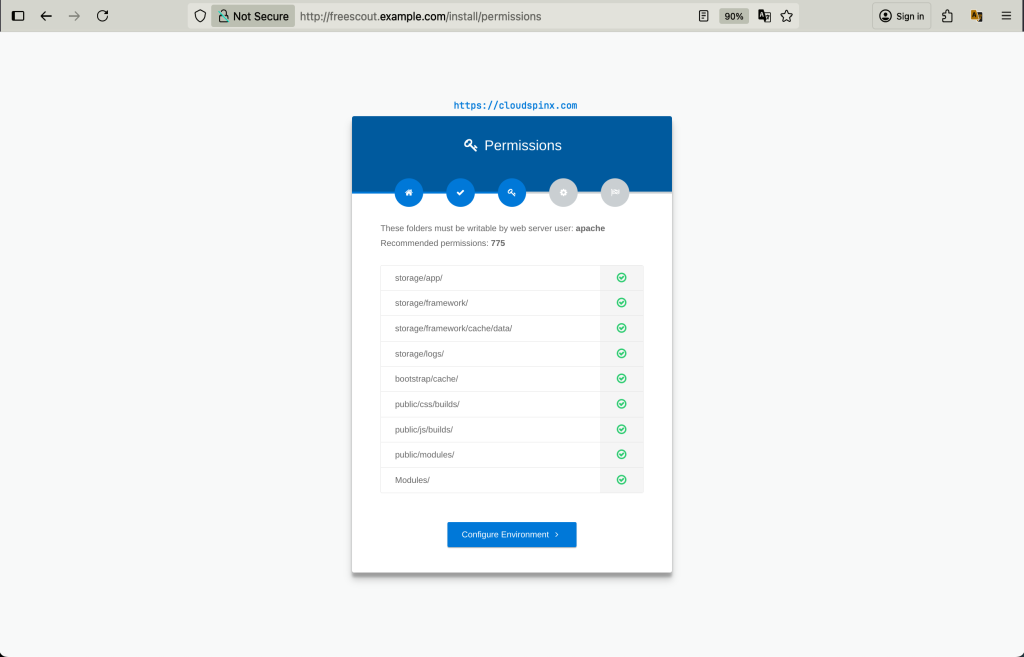
Check for the permissions.
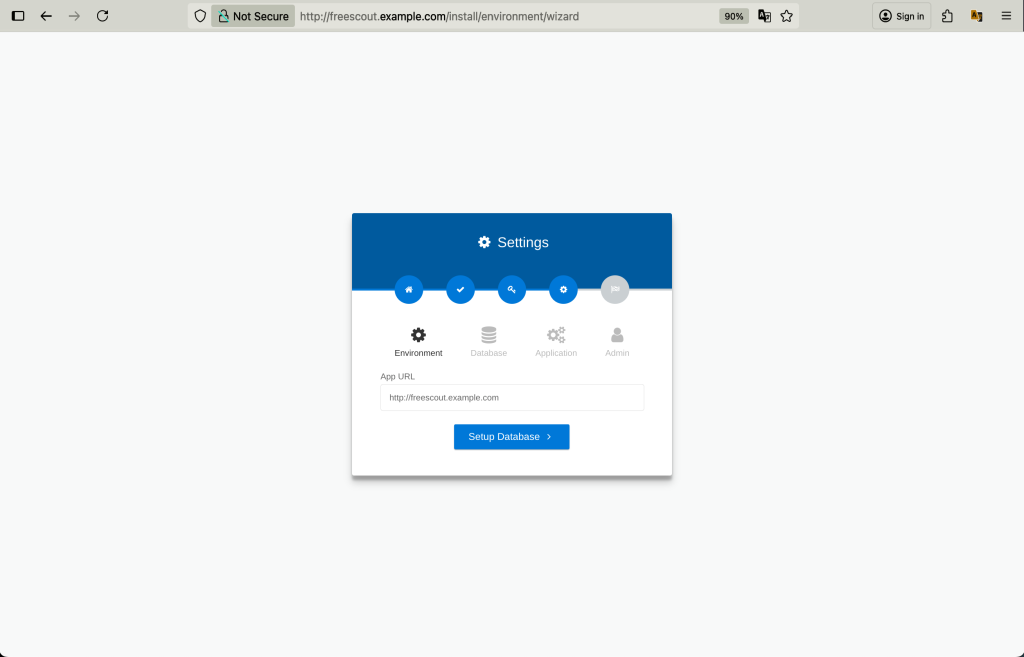
Now configure your FreeScout environment. Start by setting the URL and the protocol to use.
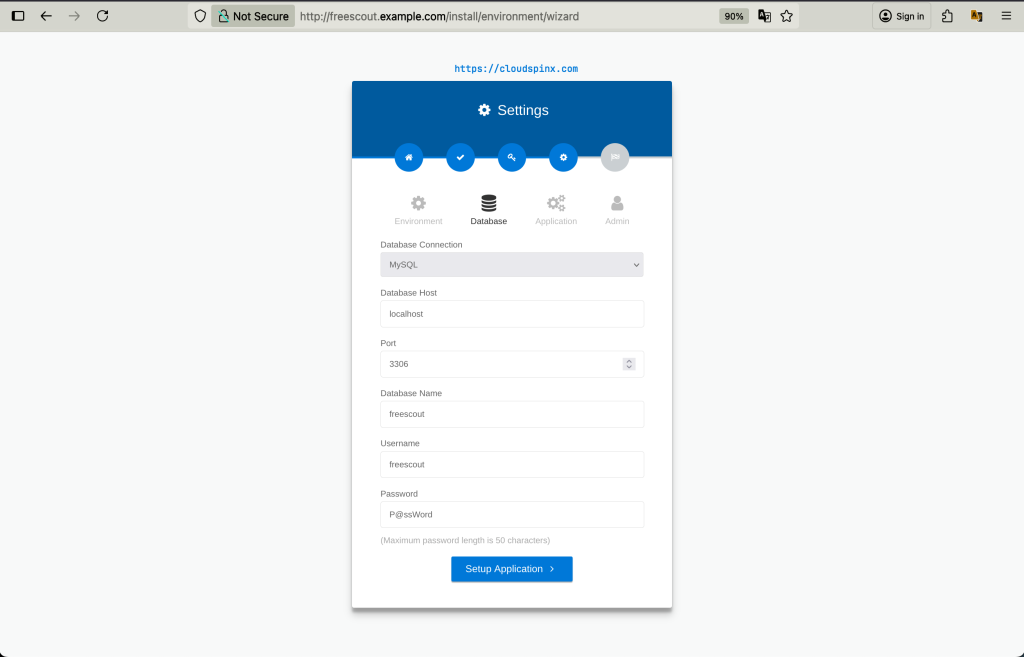
Configure the database by providing the details of the database created earlier.
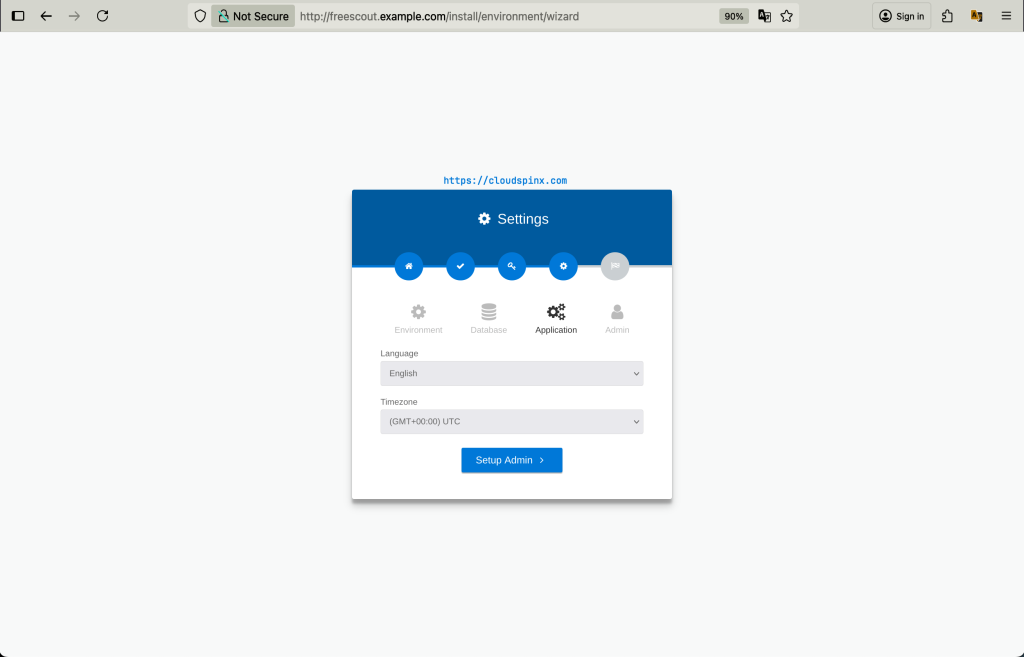
Proceed and set up your FreeScout application. Set the preferred language and TimeZone.
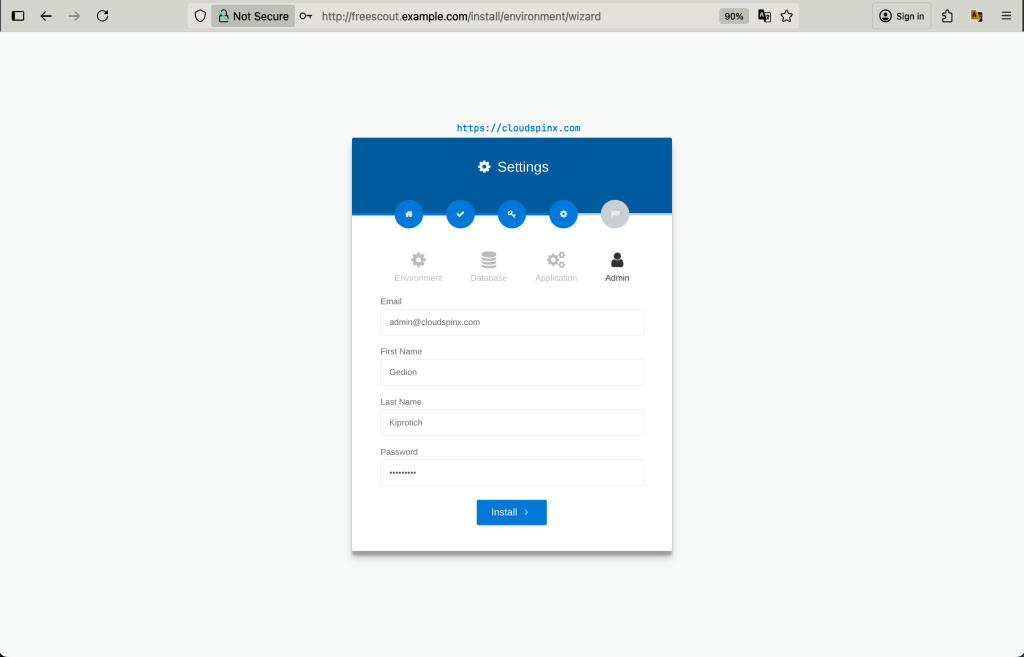
Create the admin user by providing the required credentials.
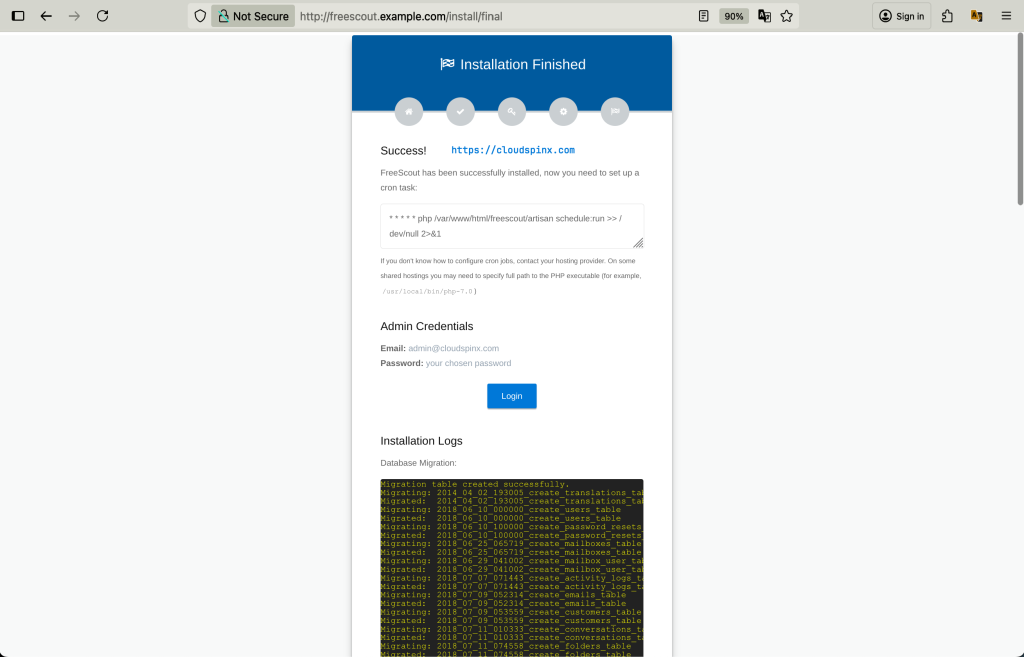
Finally, install FreeScout. Once complete, you will see this.
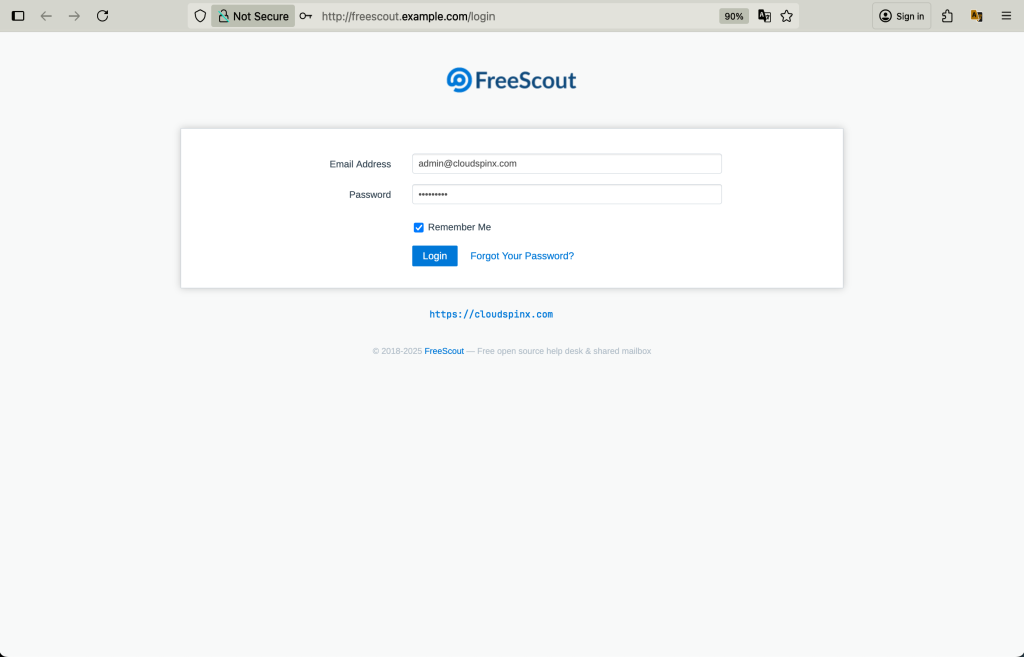
Login and enjoy the awesomeness of FreeScout Help Desk.
On successful login, you will see the below page.
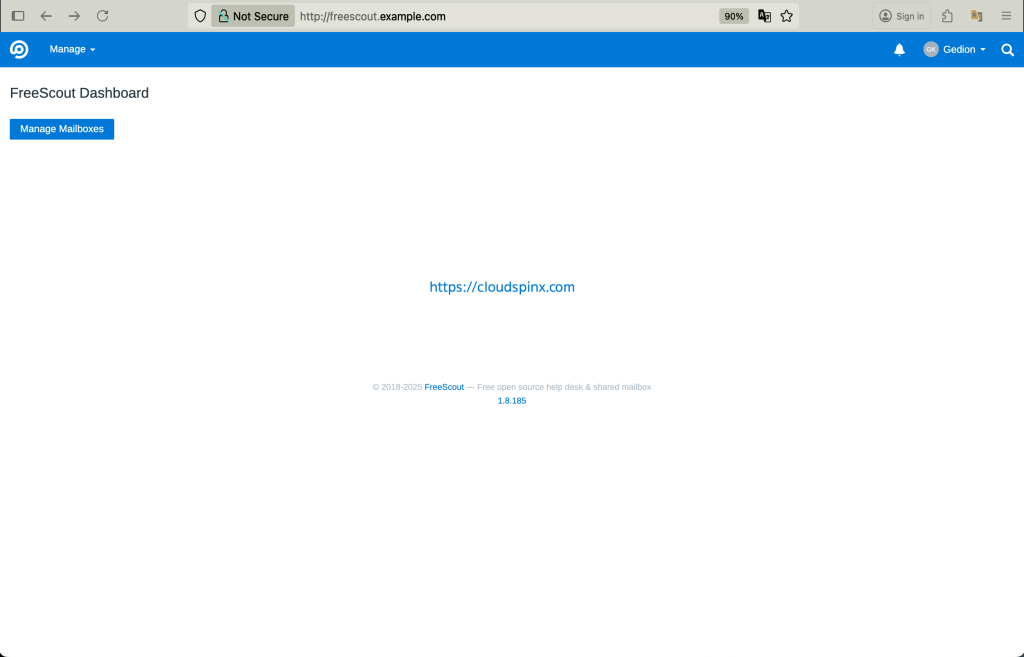
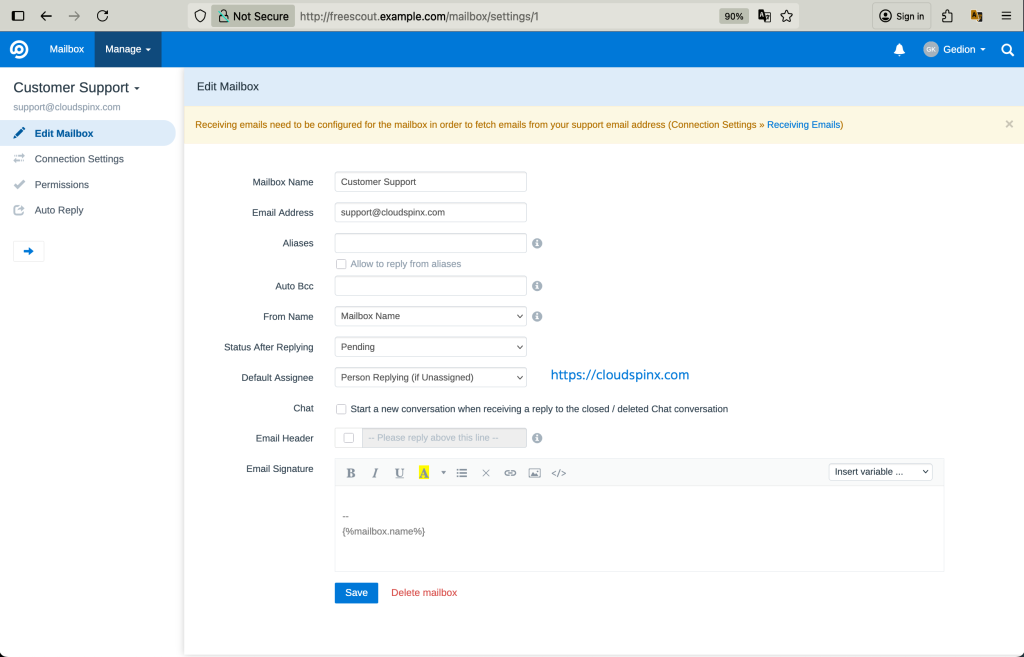
Create a Mailbox by clicking on Manage Mailboxes-> New Mailbox:
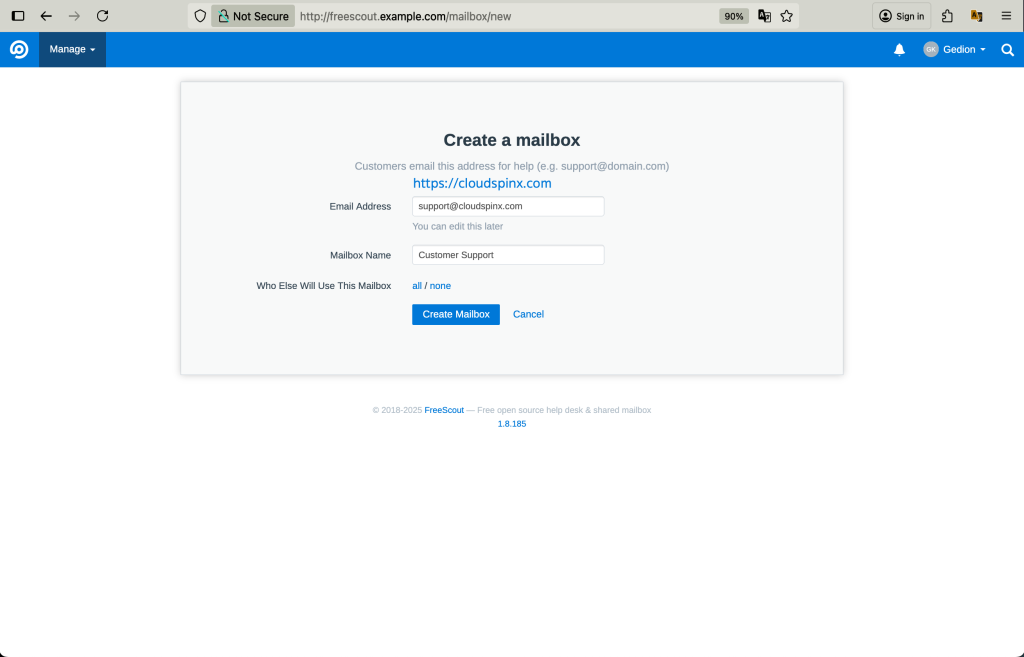
Once created, the Mailbox will appear as shown:
Step 6: Install FreeScout Modules
Module are enabled on FreeScout by navigating to Manage->Modules. But first, you need to configure Selinux as shown below:
sudo setsebool -P httpd_can_network_connect trueYou can also create a Cron job for fetching emails on FreeScout
$ sudo crontab -u apache -e
* * * * * php /var/www/html/freescout/artisan schedule:run >> /dev/null 2>&1
Now to enable a module, you need to obtain a Lincense Key from FreeScout. Once you have the License key for the required module, navigate to Manage->Modules, then provide the license and install the preferred module.
Step 7: Install FreeScout Help Desk using Docker
It is also possible to install FreeScout using Docker. Begin by installing Docker on CentOS Stream | Rocky Linux | RHEL:
sudo dnf -y install dnf-plugins-core
sudo dnf config-manager --add-repo https://download.docker.com/linux/centos/docker-ce.repo
sudo dnf install docker-ce docker-ce-cli containerd.io docker-buildx-plugin docker-compose-plugin
sudo systemctl enable --now docker
Once docker has been installed, ensure that the system user has been added to the docker group.
sudo usermod -aG docker $USER
newgrp docker
Verify the installation.
$ docker compose version
Docker Compose version v2.38.2
Now clone into the FreeScout Docker repository:
sudo yum install git -y
git clone https://github.com/tiredofit/docker-freescout.git
Now navigate to the below directory:
cd docker-freescout/examplesModify the docker-compose YAML file:
vim docker-compose-no-proxy.ymlMake adjustments where required, for example:
$ vim docker-compose.yml
services:
  freescout-app:
    image: tiredofit/freescout
    container_name: freescout-app
    ports:
    - 81:80
    links:
    - freescout-db
    volumes:
    ### If you want to perform customizations to the source and have access to it, then uncomment this line - This includes modules
    #- ./data:/www/html
    ### Or, if you just want to use Stock Freescout and hold onto persistent files like cache and session use this, one or the other.
    - ./data:/data
    ### If you want to just keep the original source and add additional modules uncomment this line
    #- ./modules:/www/html/Modules
    - ./logs/:/www/logs
    environment:
    - CONTAINER_NAME=freescout-app
    - DB_HOST=freescout-db
    - DB_NAME=freescout
    - DB_USER=freescout
    - DB_PASS=P@ssWord
    - SITE_URL=http://freescout.example.com:81
    - ADMIN_EMAIL=[email protected]
    - ADMIN_PASS=StrongPassword
    - ENABLE_SSL_PROXY=FALSE
    - DISPLAY_ERRORS=FALSE
    - TIMEZONE=Africa/Nairobi
    restart: always

  freescout-db:
    image: tiredofit/mariadb
    container_name: freescout-db
    volumes:
      - ./db:/var/lib/mysql
    environment:
      - ROOT_PASS=password
      - DB_NAME=freescout
      - DB_USER=freescout
      - DB_PASS=P@ssWord
      - CONTAINER_NAME=freescout-db
    restart: always

  freescout-db-backup:
    container_name: freescout-db-backup
    image: tiredofit/db-backup
    links:
     - freescout-db
    volumes:
      - ./dbbackup:/backup
    environment:
      - CONTAINER_NAME=freescout-db-backup
      - DB_HOST=freescout-db
      - DB_TYPE=mariadb
      - DB_NAME=freescout
      - DB_USER=freescout
      - DB_PASS=P@ssWord
      - DB_DUMP_FREQ=1440
      - DB_DUMP_BEGIN=0000
      - DB_CLEANUP_TIME=8640
      - COMPRESSION=BZ
      - MD5=TRUE
    restart: always
If you have an FQDN, you can use an HTTPS site URL and enable SSL proxy by using the file docker-compose.yml
Once the desired changes have been made, save the file and run the containers with the command:
docker compose -f docker-compose-no-proxy.yml up -d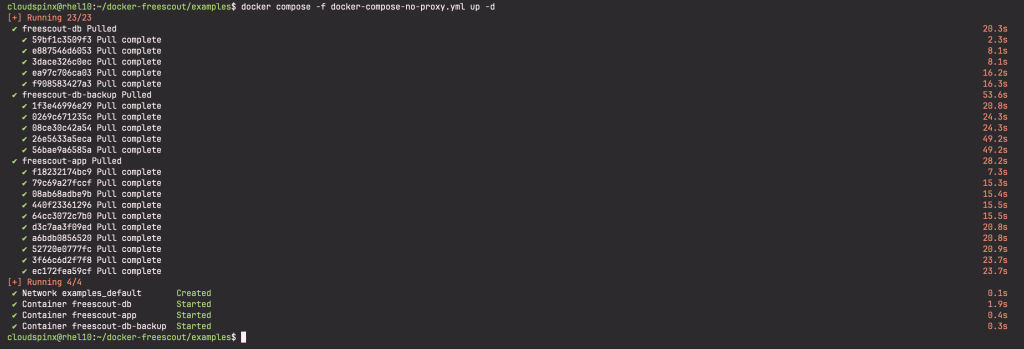
You need to specify the YAML file to be used if you want to run an HTTP site. Once started, check the status:
$ docker ps
Now allow HTTP and HTTPS through the firewall:
sudo firewall-cmd --add-service={http,https} --permanent
sudo firewall-cmd --reload
Acces the an enjoy FreeScout using the URL http:/domain_name or https://domain_name:
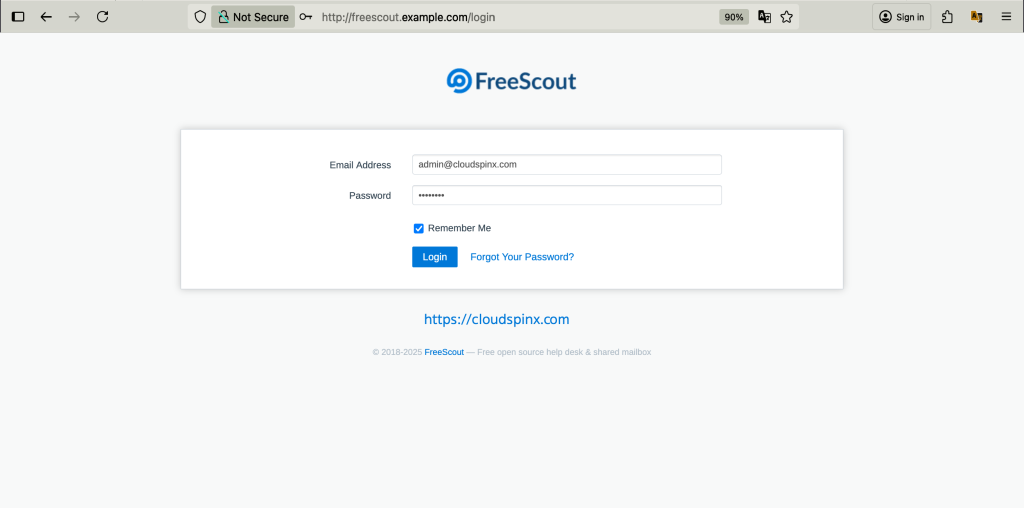
Then login with the credentials you set in the docker-compose-no-proxy.yaml file. Enjoy!
Conclusion
That marks the end of this guide on how to install FreeScout Help Desk on CentOS Stream | Rocky Linux | RHEL. Yo are now set to enjoy free Zendesk & Help Scout with full service control and privacy. I hope this was helpful.
See more:


