
Garuda Linux is a rolling distribution based on the powerful Arch Linux OS. Unlike Arch Linux Operating System, Garuda Linux OS comes with a graphical installer for straightforward installation, and other modern graphical tools used in system management. Garuda Linux OS is a highly performance-oriented distribution with many performance enhancing tweaks. Various tweaks provided by this OS include using zram, a performance CPU governor, in conjunction with custom memory management software. Garuda Linux Operating System has striven excellently to supply system stability by including the Timeshift backup utility.
By default, Garuda Linux comes with a diversity of desktop environments:
- KDE – Dragonized (Dr460nized)
- Xfce
- GNOME
- LXQt-kwin
- Wayfire
- Qtile
- BSPWM
- i3wm
In this guide, we are going to look at a step-by-step installation of Garuda Linux on Physical server, VirtualBox and KVM. Before we do installation, let’s see the system requirements.
System Requirements
The hardware requirements for Garuda Linux Operating System initially sound high, but thanks to Calamares taking tons of RAM during installation and a few other performance enhancing applications used. For window managers the particular needed specs are less than KDE requirements. A flash drive of 4 Gigabytes is required for normal versions while the gaming edition needs 8 Gigabytes space.
Minimum Requirements
- 30 GB storage space
- 4 GB RAM
- Video card with OpenGL 3.3 or better
- 64-bit system
Step 1: Download Garuda Linux ISO image
Visit Garuda Linux Download Page and download Garuda Linux edition of your choice i.e KDE – Dragonized , Xfce, GNOME, LXQt-kwin, Wayfire, Qtile, BSPWM, i3wm.
Here we are going to download KDE Dranozied Edition or Xfce edition using wget command. All distributions ISO files are available via these links:
#KDE Dragonized
sudo wget -O garuda-linux-kde-dr460nized.iso https://iso.builds.garudalinux.org/iso/latest/garuda/dr460nized/latest.iso

#Garuda GNOME
sudo wget -O garuda-linux-gnome.iso https://iso.builds.garudalinux.org/iso/latest/garuda/gnome/latest.iso

#Garuda Cinnamon
sudo wget -O garuda-linux-cinnamon.iso https://iso.builds.garudalinux.org/iso/latest/garuda/cinnamon/latest.iso

#Xfce
sudo wget -O garuda-linux-xfce.iso https://iso.builds.garudalinux.org/iso/latest/garuda/xfce/latest.iso

#Garuda Sway
sudo wget -O garuda-linux-sway.iso https://iso.builds.garudalinux.org/iso/latest/garuda/sway/latest.iso

#Garuda i3WM
sudo wget -O garuda-linux-i3wm.iso https://iso.builds.garudalinux.org/iso/latest/garuda/i3/latest.iso
Step 2: Create Bootable USB Stick
Now that we have downloaded an ISO image, using dd command burn the ISO image in USB drive of your choice for installation on Laptops and Desktops. Before you do so we need to identify the USB drive using lsblk command.
#Check USB drive
sudo lsblk

#Burn Garuda Linux OS to USB drive
sudo dd bs=4M if=./garuda-<variant>.iso of=/dev/sdX status=progress oflag=sync
In the above command;
./garuda-<variant>.isois the ISO image location in the system/dev/sdxis the path to USB drive as shown bylsblkcommand
For Windows OS and Mac OS we can use tools such rufus and Etcher.
Create Garuda Linux VM In Virtualized Environment
For a Virtualized environment – KVM you’ll initiate creation of a Virtual Machine with hardware specs that fit your desired use and fasten ISO image for installation.
KVM – virt-install
To quickky provision your VM from the terminal, you can use virt-install, and access the console on cockpit:
sudo virt-install \
  --name Garuda-Linux \
  --vcpus 4 \
  --memory 8192 \
  --disk path=/var/lib/libvirt/images/garuda-linux-dr406nized.qcow2,size=40,format=qcow2 \
  --os-variant archlinux \
  --network network=bridged-network \
  --graphics vnc,listen=0.0.0.0,port=-1 \
  --cdrom  /var/lib/libvirt/images/garuda-linux-dr460nized.iso \
  --boot uefi \
  --description "GarudaLinux VM for Guide Demo" \
Sample Output:
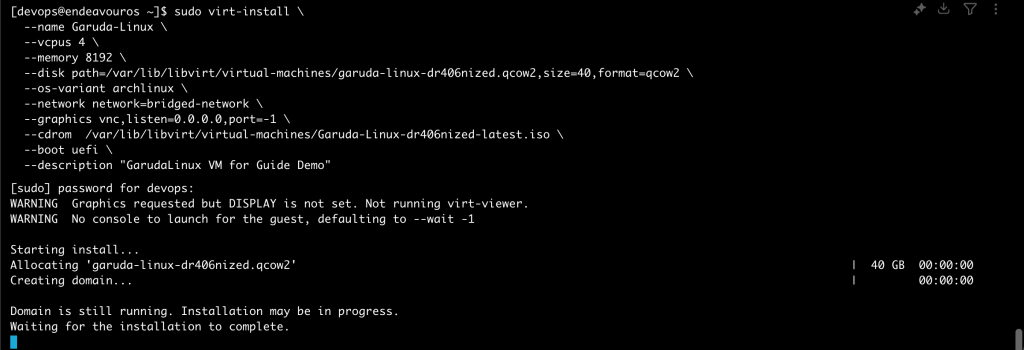
Then login to cockpit to access the VM and continue with installation.
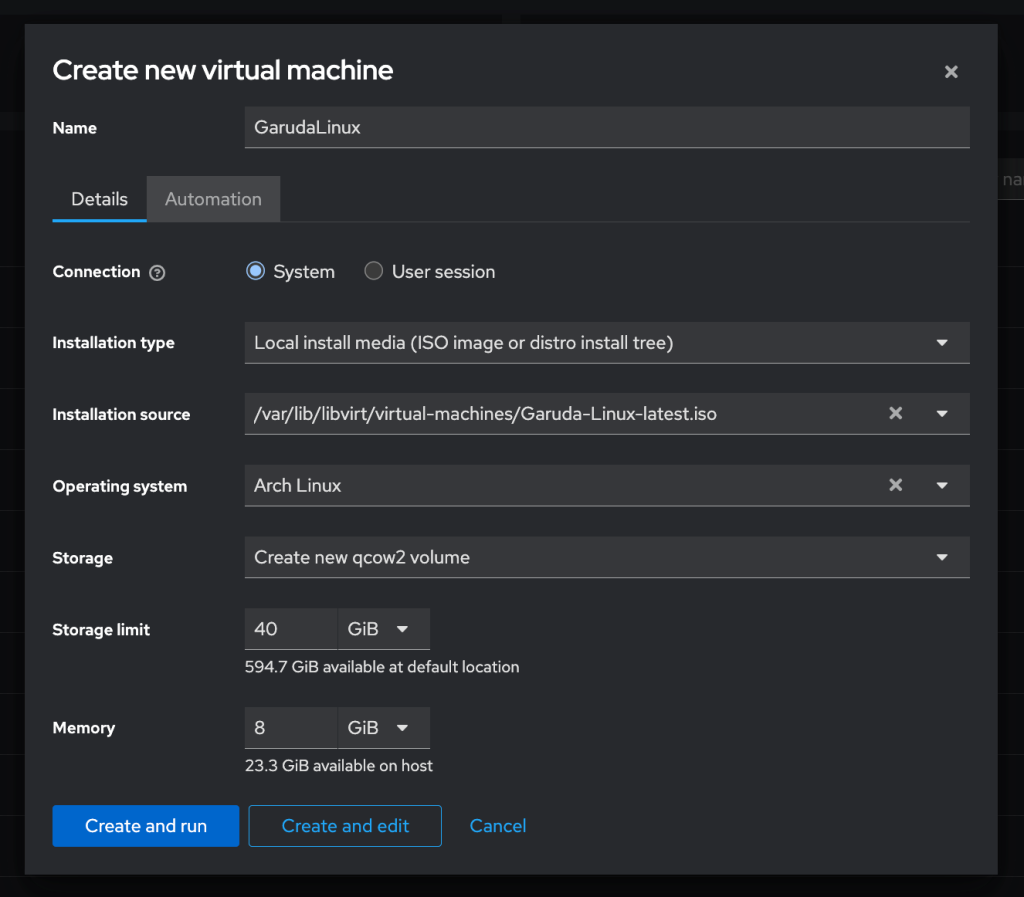
KVM – Cockpit
If you don’t want to use terminal, you can use cockpit web UI:
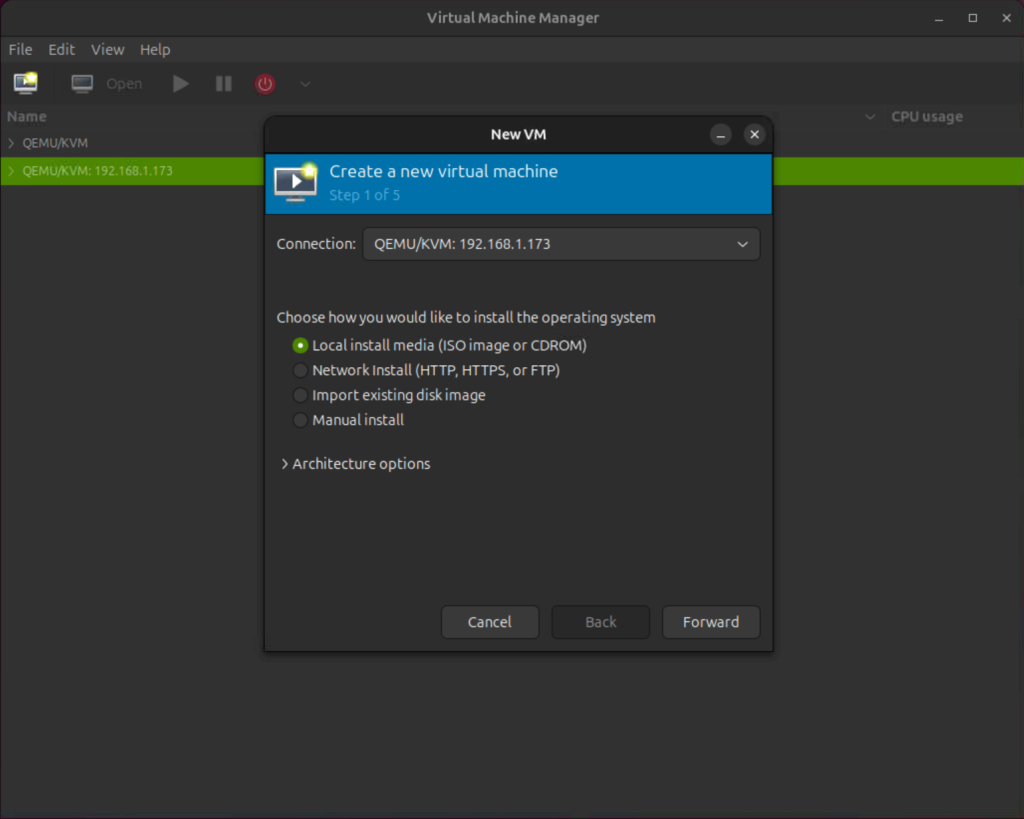
KVM – Virtual Machine Manager
To create a new virtual machine click on the VM icon and you will get the page below. Choose local install media and click forward.
Browse to your image location in your system and click forward.

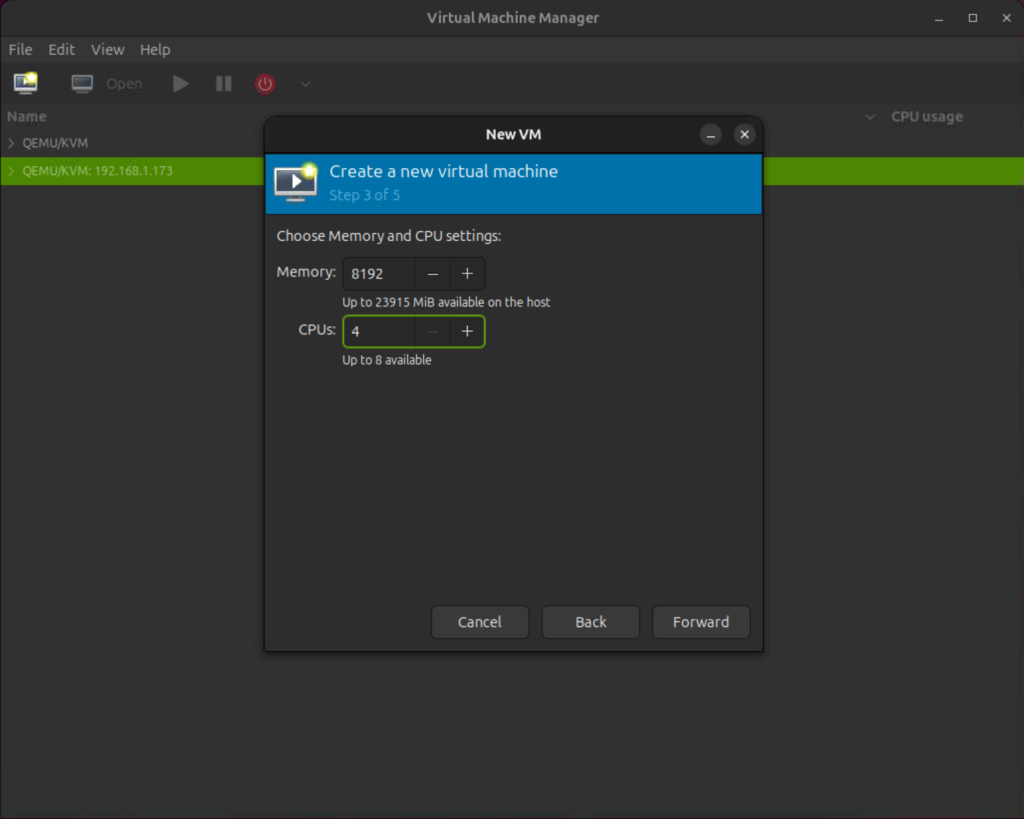
Allocate Memory and CPUs as shown below then click forward.
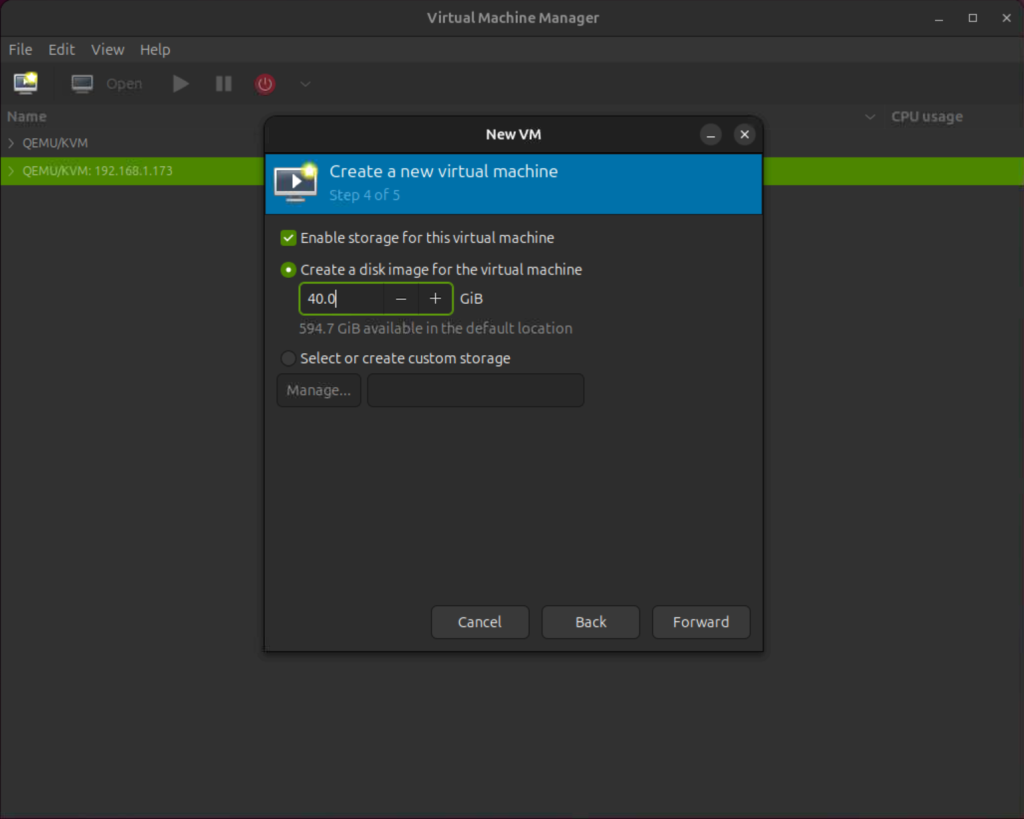
Allocate enough storage space for Garuda Linux as per System requirements and click forward.
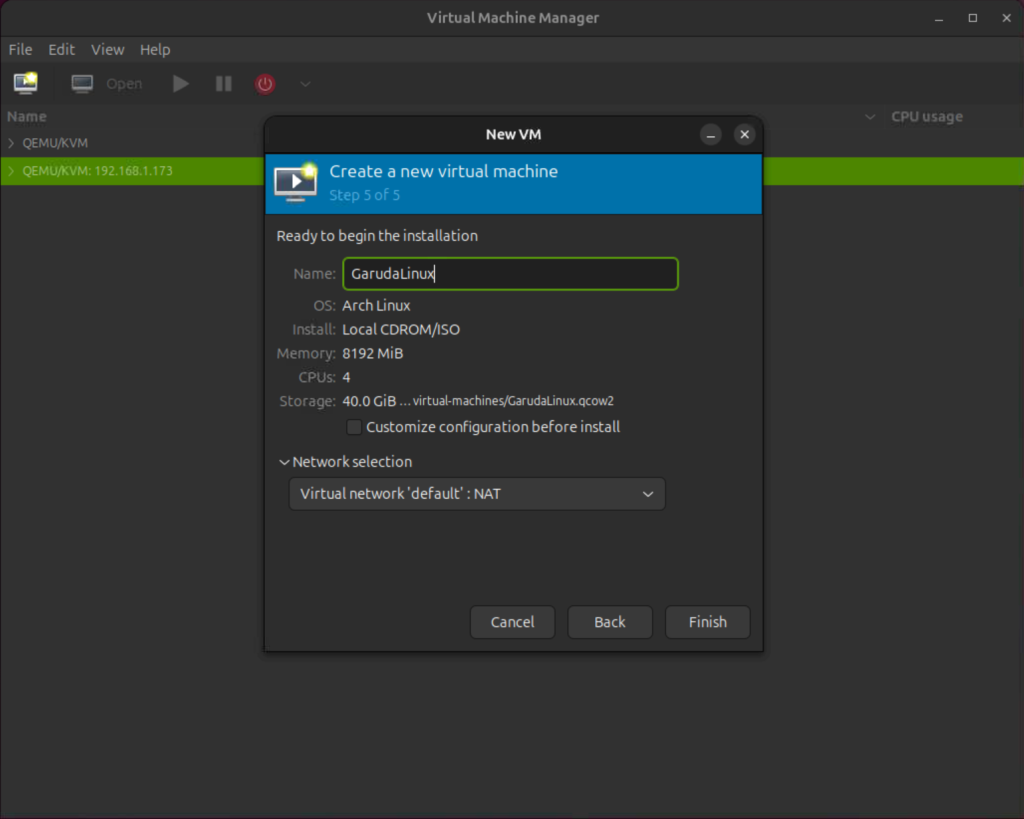
Finally, verify the requirements provided above and click Finish.
Step 3: Install Garuda Linux
Now we have finished resource allocations to the Virtual Machine start it. On a physical box, insert bootable USB stick and modify your boot options to boot from it.
Welcome to Garuda Linux Installation
Allow Garuda Linux to boot and click Install Garuda Linux to start installation.

Choose Garuda Linux language to be used during installation.
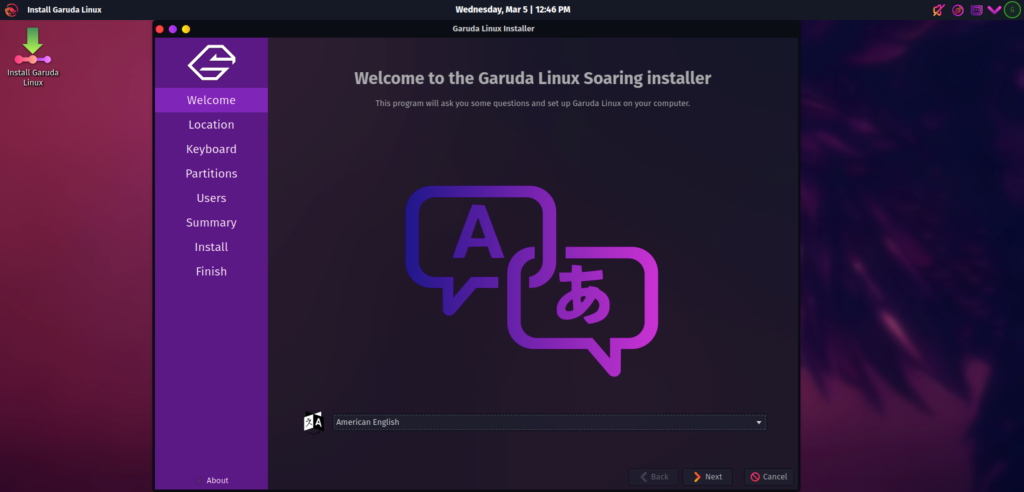
After choosing the language, click Next.
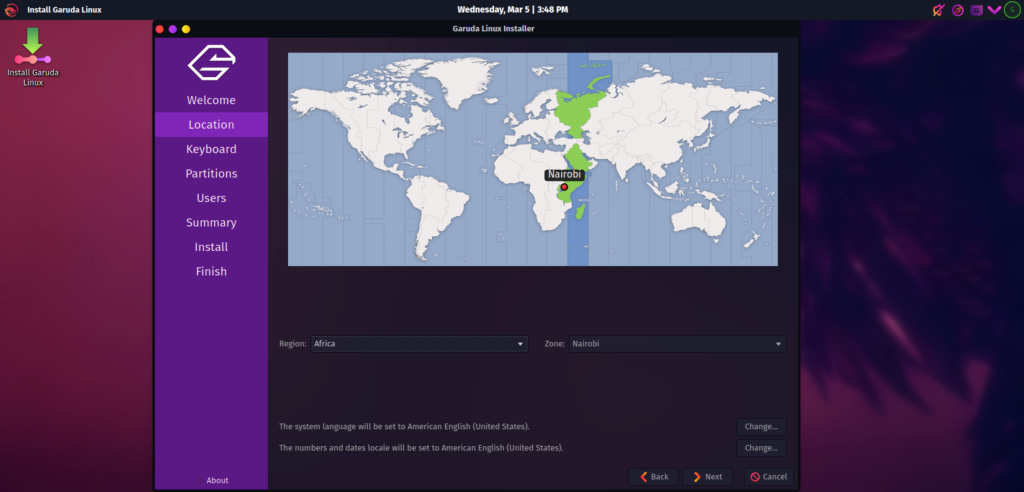
Region and Zone
Set your region and zone and click Next.
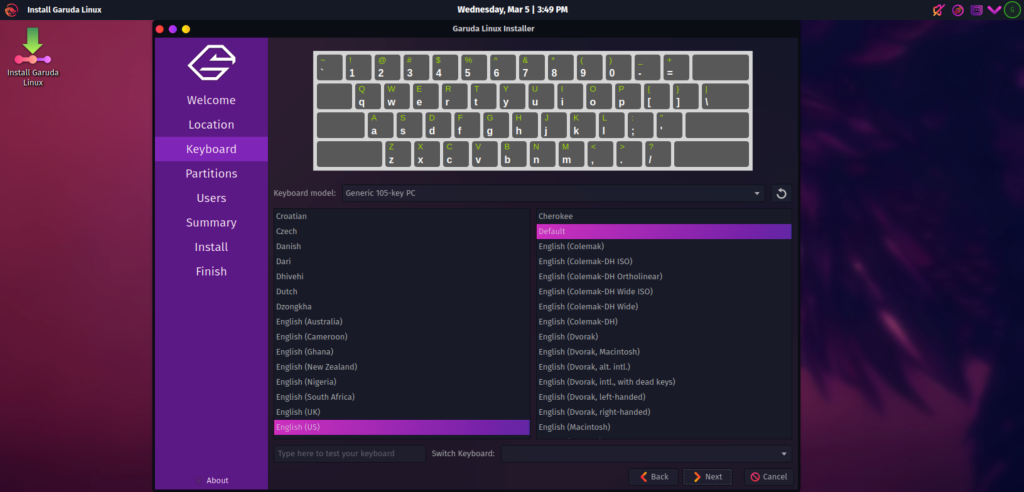
Keyboard
Choose your favorite keyboard and click Next.
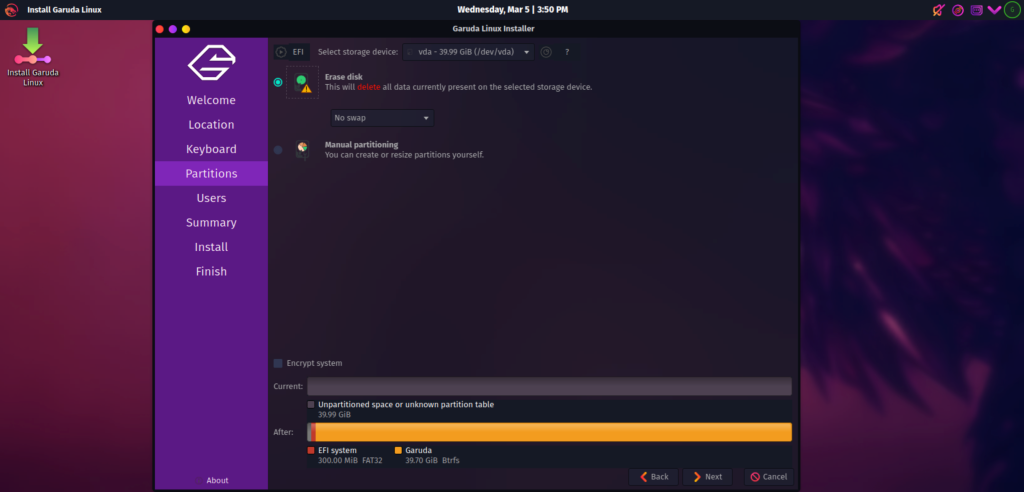
Partitioning
Here you can choose to set swap for storage configuration and click Next.
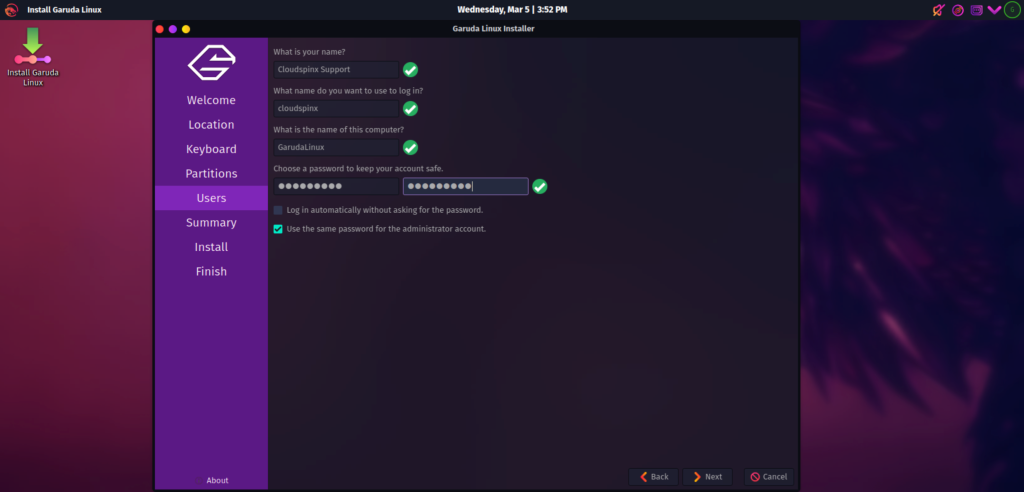
Create User
Input all required user information and set password.
Summary
Now you can check the summary of all information you provided before you begin installation. If the information is correct click Install.

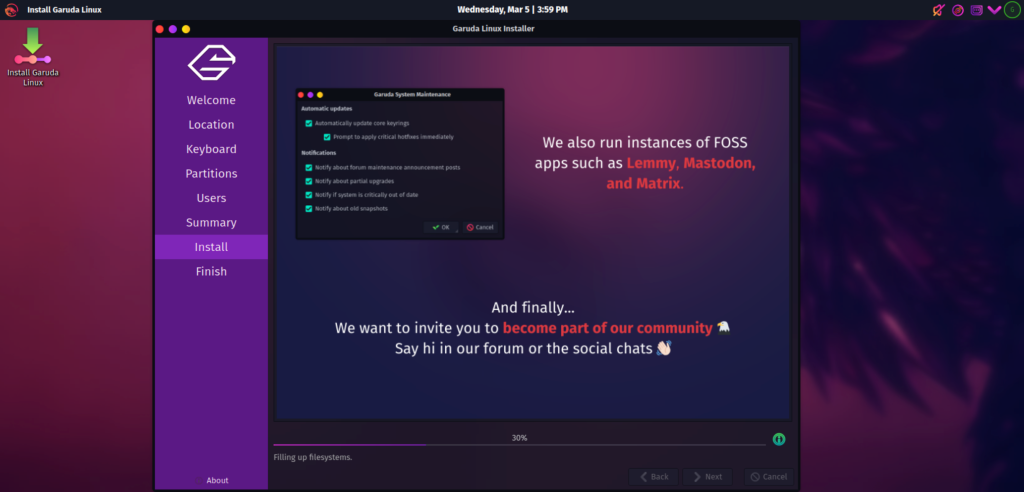
Installation
This is where the system installation begins, be patient.
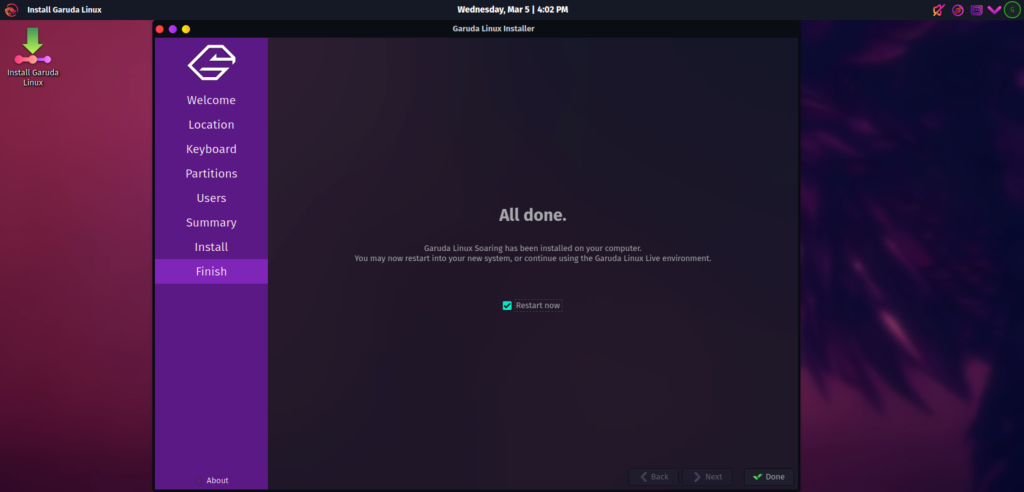
Finish Installation
Now Garuda Linux is installed, check the Restart Now button and click done and to restart the system.
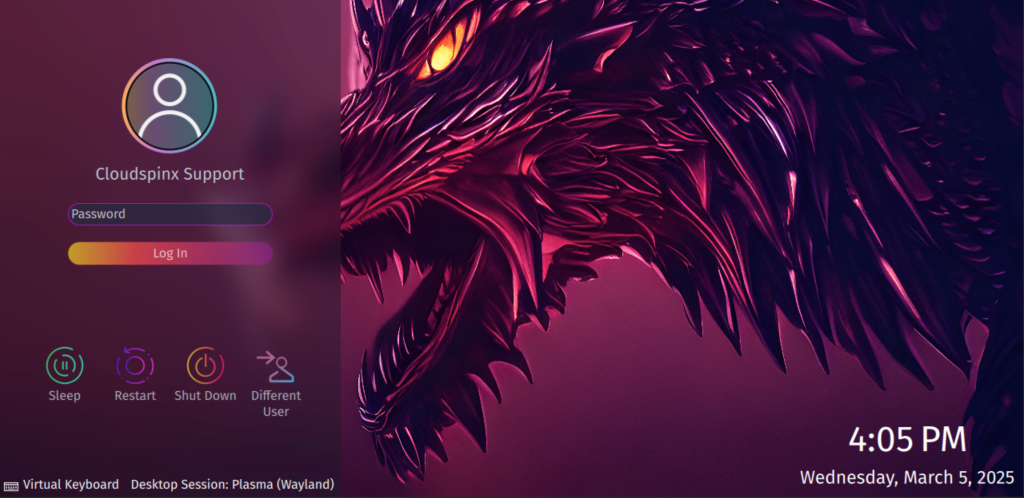
You can now login with username and password as configured above.
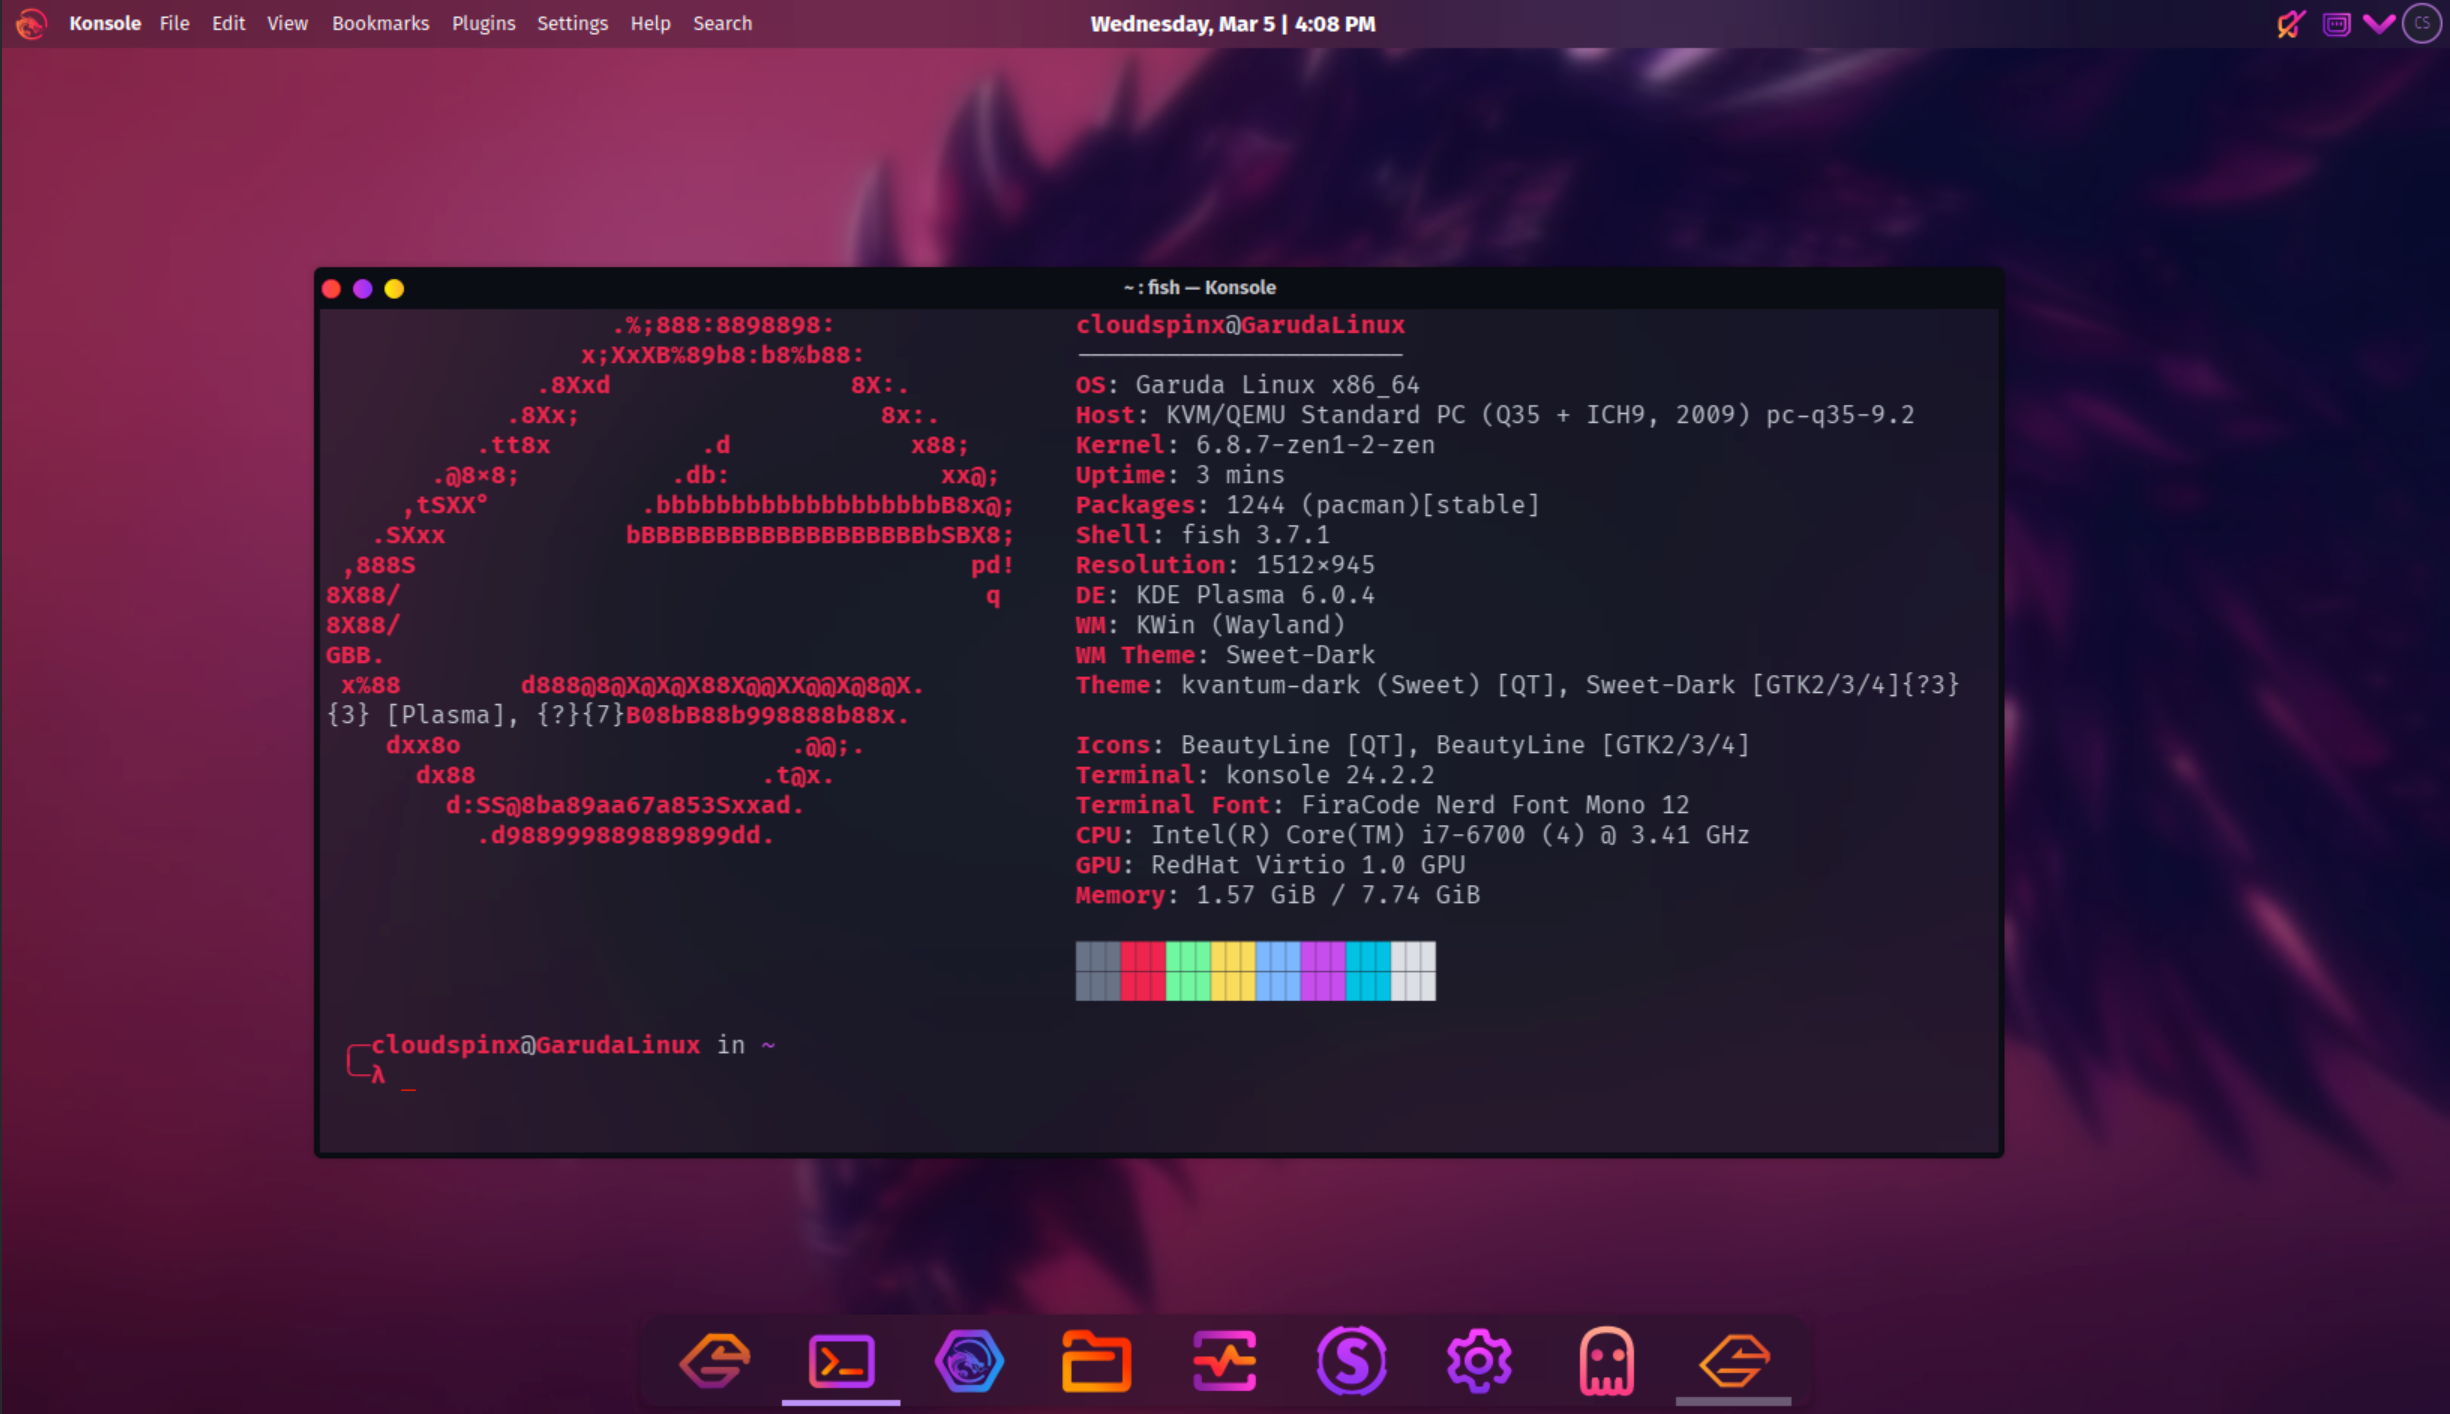
After successful login, we can see that Garuda Linux(GNOME) has FISH terminal shell installed.

Check operating system release details from Garuda Linux OS terminal in /etc/os-release file with cat command.
$ cat /etc/os-release
File: /etc/os-release
NAME="Garuda Linux"
PRETTY_NAME="Garuda Linux"
ID=garuda
ID_LIKE=arch
BUILD_ID=rolling
ANSI_COLOR="38;2;23;147;209"
HOME_URL="https://garudalinux.org/"
DOCUMENTATION_URL="https://wiki.garudalinux.org/"
SUPPORT_URL="https://forum.garudalinux.org/"
BUG_REPORT_URL="https://gitlab.com/groups/garuda-linux/"
LOGO=garudalinux
Update your Garuda Linux system:
sudo pacman -SyuThat’s all about installing Garuda Linux(GNOME) you can now enjoy using this Arch-based system after successful installation.
More articles on Garuda:


