Github desktop is an electron-based application from Github written in TypeScript and React. It is a super flexible tool for anyone who finds the CLI as complex. It offers a beautiful and structured User Interface for the new comers to keep them from using the black screen. In other words, Github Desktop extends and simplifies your Git and Github workflow using a visual interface. Github Desktop is supported by various operating systems i.e Windows 64-bit or later, macOS , Linux e.t.c.
Github Desktop, has the following features:
- Expanded Image diff support.
- Power of visualization.
- Effective Team Management
- Improved Code Writing
- Increased Code Safety.
- Easy Code Hosting.
- Checkout branches with pull requests and view CI requests.
- Ability to add changes to your commit interactively.
- Increased Safety With Packages
Follow the next steps to install and run GitHub Desktop on Rocky / CentOS / Alma / RHEL operating systems.
Step 1 – Add Github Desktop repository
Before we install the package on our system, we need to add Shiftkey repository so that we can easily download and install Github Desktop using the YUM command.
Import repository GPG key:
sudo rpm --import https://rpm.packages.shiftkey.dev/gpg.keyAdd the repository into the system.
sudo tee /etc/yum.repos.d/shiftkey.repo <<EOF
[shiftkey]
name=shiftkey Repository
baseurl=https://rpm.packages.shiftkey.dev/rpm/
enabled=1
gpgcheck=0
gpgkey=https://apt.packages.shiftkey.dev/gpg.key
EOF
Confirm repolist.
sudo dnf repolist -yStep 2 – Install GitHub Desktop
With the repository added sucessfully, proceed and install Github desktop:
sudo yum install github-desktopAccept the installation prompt:
Transaction Summary
======================================================================================================================================================================================================
Install  6 Packages

Total download size: 111 M
Installed size: 351 M
Is this ok [y/N]: y
Also one can check on the Github desktop release page for the latest available version.
Step 3 – Launch GitHub Desktop
We have now installed GitHub Desktop on our system. Navigate to the App Menu and launch it as below.
GitHub Desktop welcomes you to its fine interface.
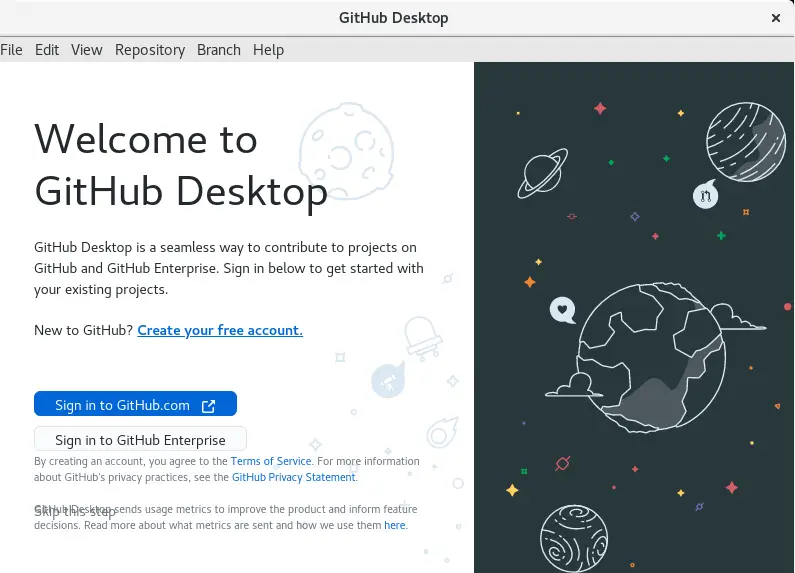
One is required to sign in to GitHub from GitHub Desktop. If you do not have an account, create it using the link provided.
When you click sign in to GitHub.com or GitHub Enterprise, the link redirects in a browser where you enter your username or email and password.
On successful login, you will see GitHub Desktop interface as below with your account logged in, click finish and get started:
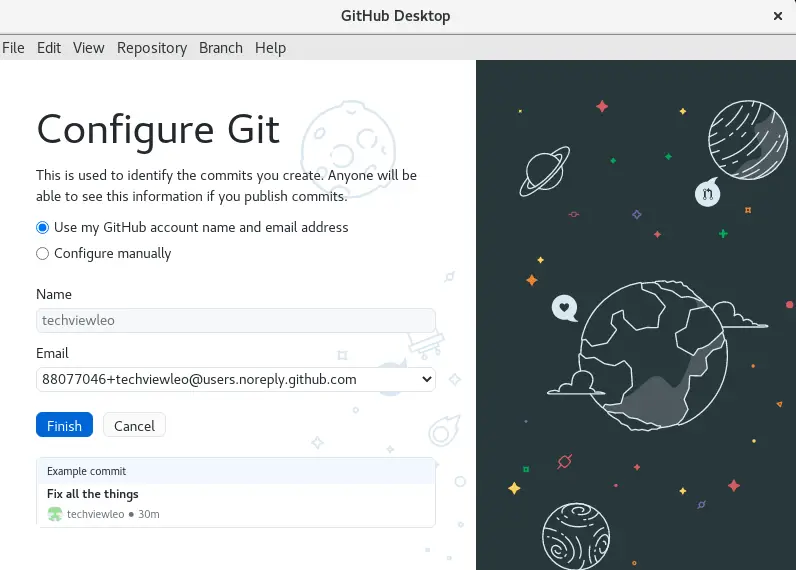
Step 4 – Using GitHub Desktop
After clicking finish in the above page, this is the page that comes next.
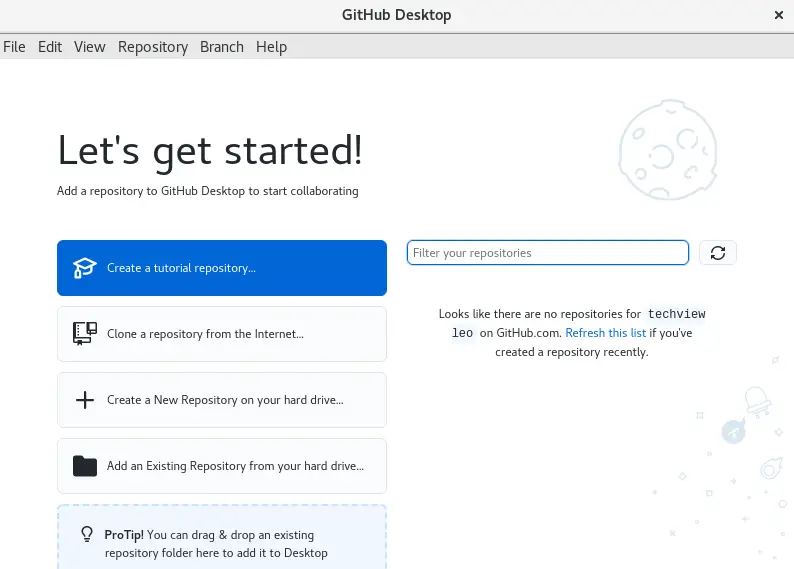
Let’s see a few things we can do in GitHub Desktop:
1. Cloning a GitHub repo
Cloning a repo with GitHub Desktop is so easy, one just needs to click. Here there are no commands to memorize.
Click clone a repository from the internet.
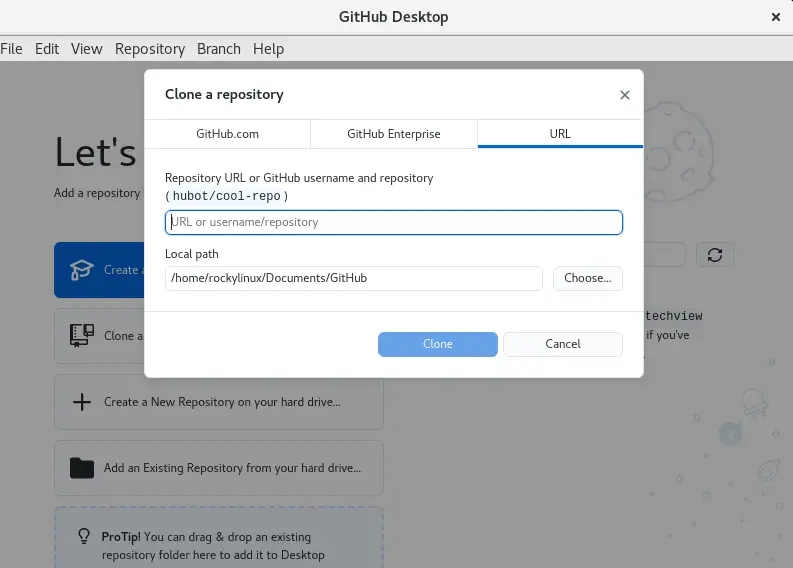
Here, there are a couple of choices, cloning from GitHub.com, GitHub Enterprise or using a URL. I chose cloning from a URL. Put in the URL and click Clone
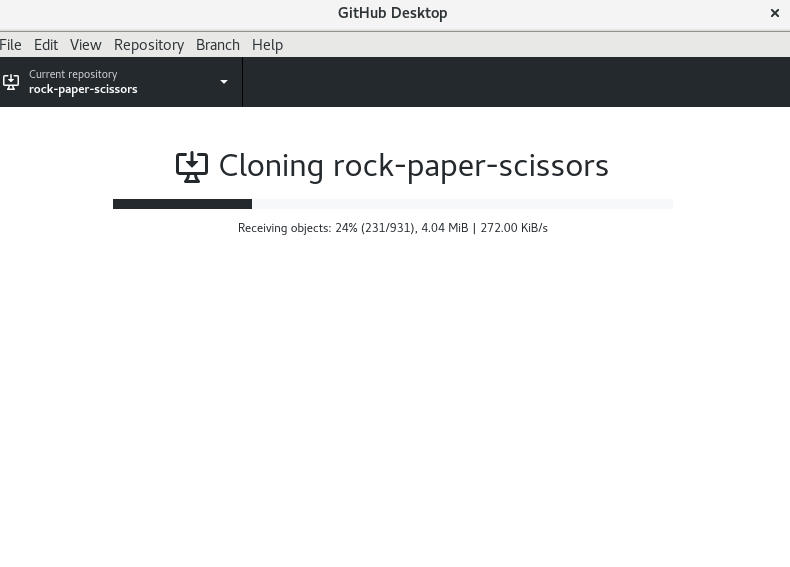
With this done, you will have the repo locally available.
2. Creating a Branch
In the black screen, creating a branch is so confusing and with a series of commands to memorize, but in GitHub Desktop, it is simply done by clicking branch, then New branch.
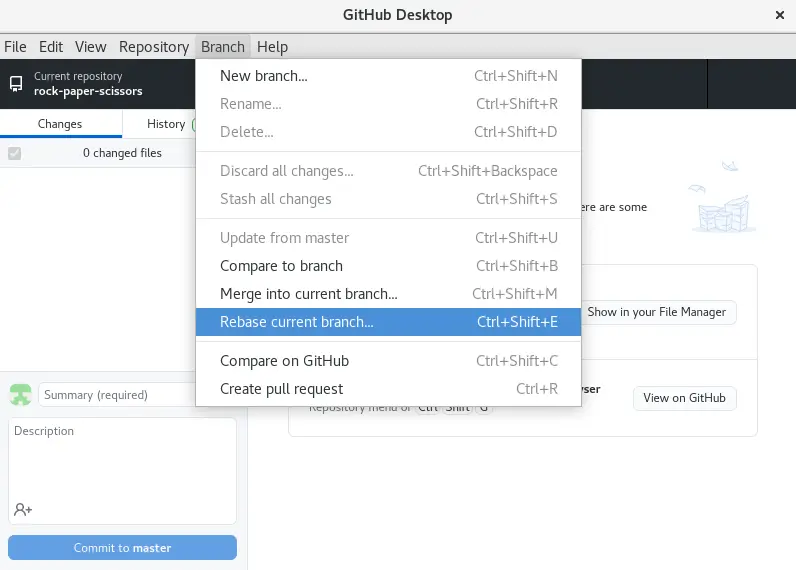
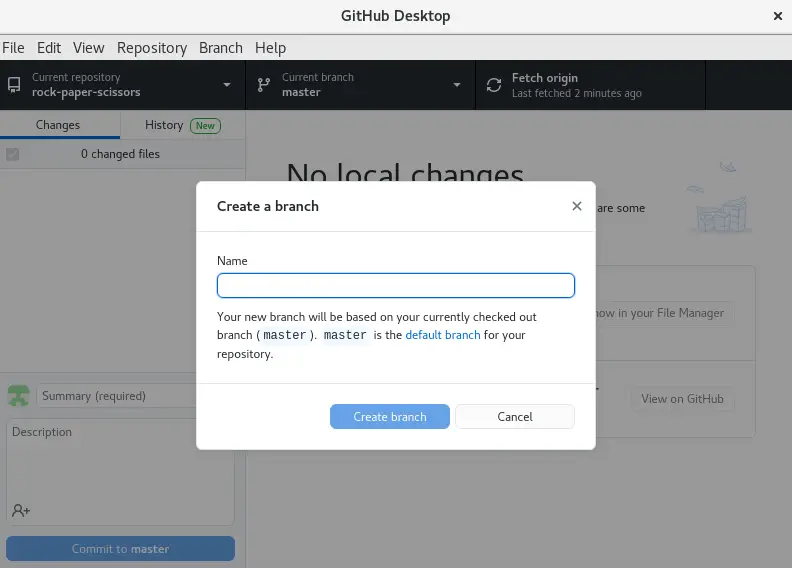
Enter the name of the branch and click Create branch. That is it, you’ll have your branch ready.
3. Merge into other branch
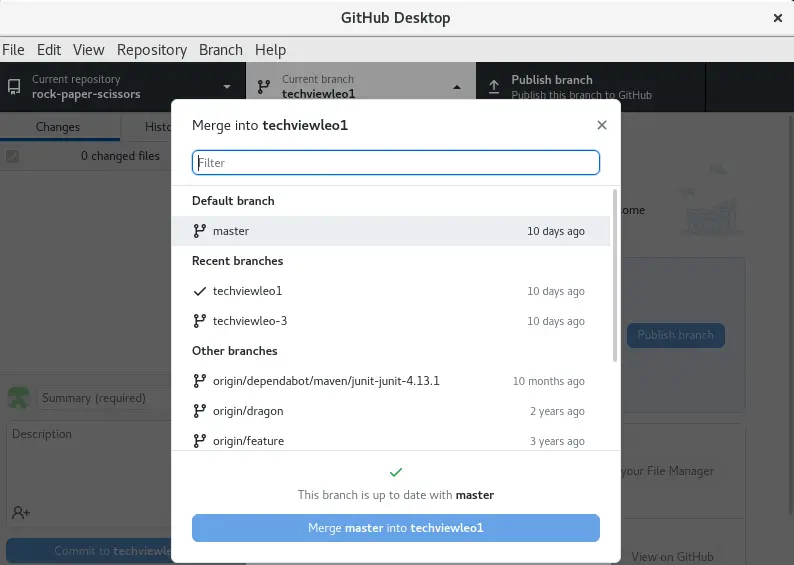
Merging into other branch is done by navigating to the branch tab. Select merge into current branch. You with be required to choose the branch you want to merge to the current one.
4. View History in GitHub Desktop
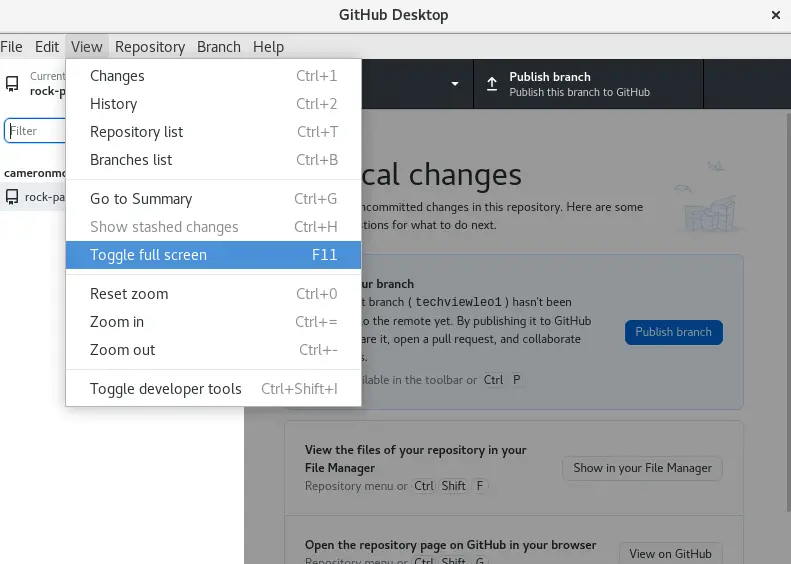
In GitHub Desktop, you have a very clean interface laid for you to view the history of the repository. Navigate to the view tab and select history as shown
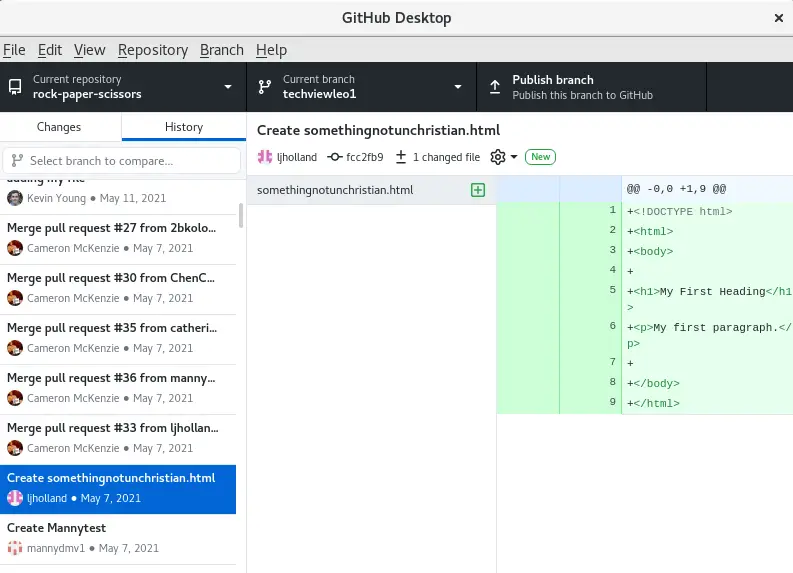
In the history, you can view the contribution on the left and details of the contributions on the right.
Conclusion
In this guide, we have successfully installed GitHub Desktop on Rocky Linux / CentOS / AlmaLinux system. We have also demonstrated how to clone a repo, create and switch branches e.t.c. I hope this Guide was helpful.
Looking to streamline your tech stack? At CloudSpinx, we deliver robust solutions tailored to your needs.
Check out the following articles:

