GitLab has evolved to be a complete DevOps platform delivered as a single application. With GitLab you can comfortably do source code management, project planning, CI/CD pipelines and monitoring of deployments triggered from GitLab. GitLab provides a Git-repository manager with built-in issue-tracking, wiki, and continuous integration and deployment pipeline features. The software is developed by GitLab Inc and released under open-source license.
In this short guide we will be installing GitLab CE on an Amazon Linux EC2 instance server. For this installation you need to have an SSH access to the EC2 instance with sudo, a domain name or subdomain used to install GitLab CE on Amazon Linux and an email address that will be used for notifications on expiry of Let’s Encrypt SSL Certificates.
Install GitLab CE on Amazon Linux 2023
I have an EC2 server with below specifications:
- Public IP Address: 13.220.171.126
- Server Hostname: gitlab.cloudspinx.dpdns.org
- Login Username: ec2-user
Ensure that there is an A record matching the server IP address to the domain name of the server.
Step 1: Update Amazon Linux Server
Initiate an SSH session to your instance:
$ ssh [email protected]
The authenticity of host '13.220.171.126 (13.220.171.126)' can't be established.
ED25519 key fingerprint is SHA256:b0ANKlnkHzwWtUNcHL2LCe18sSnx9KkvbJGB0IxaFzs.
This key is not known by any other names.
Are you sure you want to continue connecting (yes/no/[fingerprint])? yes
Warning: Permanently added '13.220.171.126' (ED25519) to the list of known hosts.
   ,     #_
   ~\_  ####_        Amazon Linux 2023
  ~~  \_#####\
  ~~     \###|
  ~~       \#/ ___   https://aws.amazon.com/linux/amazon-linux-2023
   ~~       V~' '->
    ~~~         /
      ~~._.   _/
         _/ _/
       _/m/'
[ec2-user@ip-172-16-10-35 ~]$
Update all the system packages to the latest versions available in repositories.
sudo yum -y updateIt is always recommended to reboot the system once the upgrade is done.
sudo rebootSteo 2: Enable SSH and open firewall ports
If you have firewalld enabled, open the needed firewall ports (80, 443, 22) and be able to access GitLab:
sudo firewall-cmd --permanent --add-service={http,https,ssh}
sudo systemctl reload firewalld
Step 3: Set correct server hostname
Once the server is rebooted login and set correct server hostname.
sudo hostnamectl set-hostname gitlab.cloudspinx.dpdns.org --static
sudo hostnamectl set-hostname gitlab.cloudspinx.dpdns.org --transient
Update cloud init configuration to persist hostname across server reboots.
sudo vim /etc/cloud/cloud.cfgAdd below line at the end.
preserve_hostname: trueReboot the server to validate the change is persistent.
sudo systemctl rebootCheck current server hostname.
[ec2-user@gitlab ~]$ hostnamectl
 Static hostname: gitlab.cloudspinx.dpdns.org
       Icon name: computer-vm
         Chassis: vm 🖴
      Machine ID: ec23cc2581d880e34778110168494ab3
         Boot ID: 660fe4a1ae474ab28c214c7a186e4106
  Virtualization: amazon
Operating System: Amazon Linux 2023.10.20260120
     CPE OS Name: cpe:2.3:o:amazon:amazon_linux:2023
          Kernel: Linux 6.12.64-87.122.amzn2023.x86_64
    Architecture: x86-64
 Hardware Vendor: Amazon EC2
  Hardware Model: t3.micro
Firmware Version: 1.0
It means we’re good to go to the next step.
Step 4: Add GitLab CE Repository to Amazon Linux 2023
The next step is addition of GitLab on to our Amazon Linux 2023 server. Use the following script to add the GitLab repository:
# COMMUNITY EDITION
curl "https://packages.gitlab.com/install/repositories/gitlab/gitlab-ce/script.rpm.sh" | sudo bash

# ENTERPRISE EDITION
curl "https://packages.gitlab.com/install/repositories/gitlab/gitlab-ee/script.rpm.sh" | sudo bash
This command creates repository file /etc/yum.repos.d/gitlab_gitlab-ce.repo.
Step 5: Install GitLab CE on Amazon Linux 2023
If the repository is added to the system you can start the installation of GitLab CE on Amazon Linux 2023 instance.
# COMMUNITY EDITION
sudo EXTERNAL_URL="https://gitlab.cloudspinx.dpdns.org" dnf install gitlab-ce

# ENTERPRISE EDITION
sudo EXTERNAL_URL="https://gitlab.cloudspinx.dpdns.org" dnf install gitlab-ee
Setting the EXTERNAL_URL is optional but recommended, so ensure to set it right now because we won’t be doing it afterwards. Review the dependency tree and accept installation of GitLab CE on Amazon Linux 2023 server.
Last metadata expiration check: 0:01:04 ago on Tue Feb  3 16:37:59 2026.
Dependencies resolved.
==========================================================================================================================================================================================================================
 Package                                         Architecture                                 Version                                                        Repository                                              Size
==========================================================================================================================================================================================================================
Installing:
 gitlab-ce                                       x86_64                                       18.8.2-ce.0.amazon2023                                         gitlab_gitlab-ce                                       1.3 G

Transaction Summary
==========================================================================================================================================================================================================================
Install  1 Package

Total download size: 1.3 G
Installed size: 3.4 G
Is this ok [y/N]: y
Import GPG keys when prompted to do so.
Importing GPG key 0x51312F3F:
 Userid     : "GitLab B.V. (package repository signing key) <[email protected]>"
 Fingerprint: F640 3F65 44A3 8863 DAA0 B6E0 3F01 618A 5131 2F3F
 From       : https://packages.gitlab.com/gitlab/gitlab-ce/gpgkey
Is this ok [y/N]: y
Key imported successfully
gitlab_gitlab-ce                                                                                                                                                                           95 kB/s | 7.0 kB     00:00
Importing GPG key 0xF27EAB47:
 Userid     : "GitLab, Inc. <[email protected]>"
 Fingerprint: DBEF 8977 4DDB 9EB3 7D9F C3A0 3CFC F9BA F27E AB47
 From       : https://packages.gitlab.com/gitlab/gitlab-ce/gpgkey/gitlab-gitlab-ce-3D645A26AB9FBD22.pub.gpg
Is this ok [y/N]: y
Key imported successfully
gitlab_gitlab-ce                                                                                                                                                                           69 kB/s | 3.8 kB     00:00
Importing GPG key 0x82DD593D:
 Userid     : "GitLab, Inc. <[email protected]>"
 Fingerprint: 98BF DB87 FCF1 0076 416C 1E0B AD99 7ACC 82DD 593D
 From       : https://packages.gitlab.com/gitlab/gitlab-ce/gpgkey/gitlab-gitlab-ce-CB947AD886C8E8FD.pub.gpg
Is this ok [y/N]: y
GitLab generates a random password and email address for the root administrator account stored in /etc/gitlab/initial_root_password for 24 hours. After 24 hours, this file is automatically removed for security reasons.
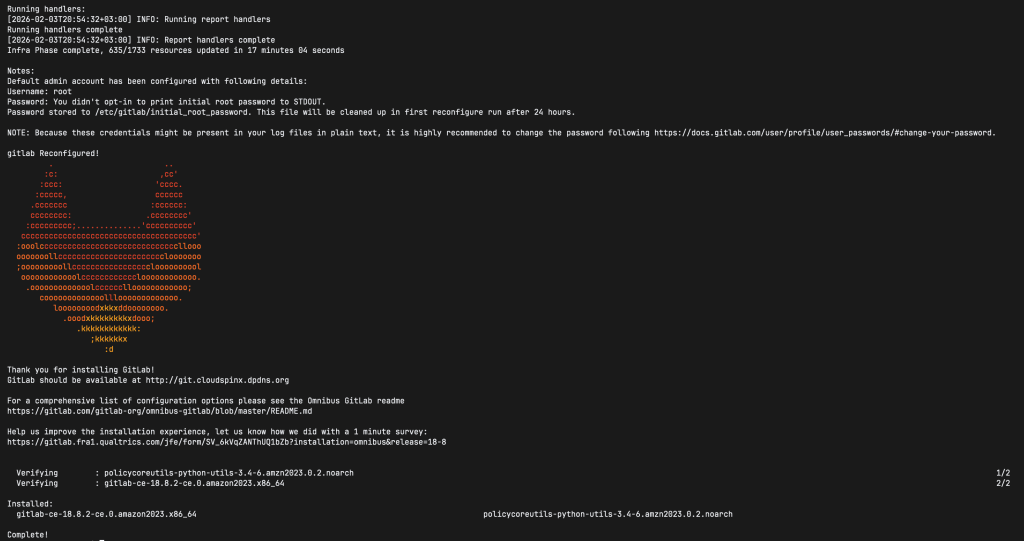
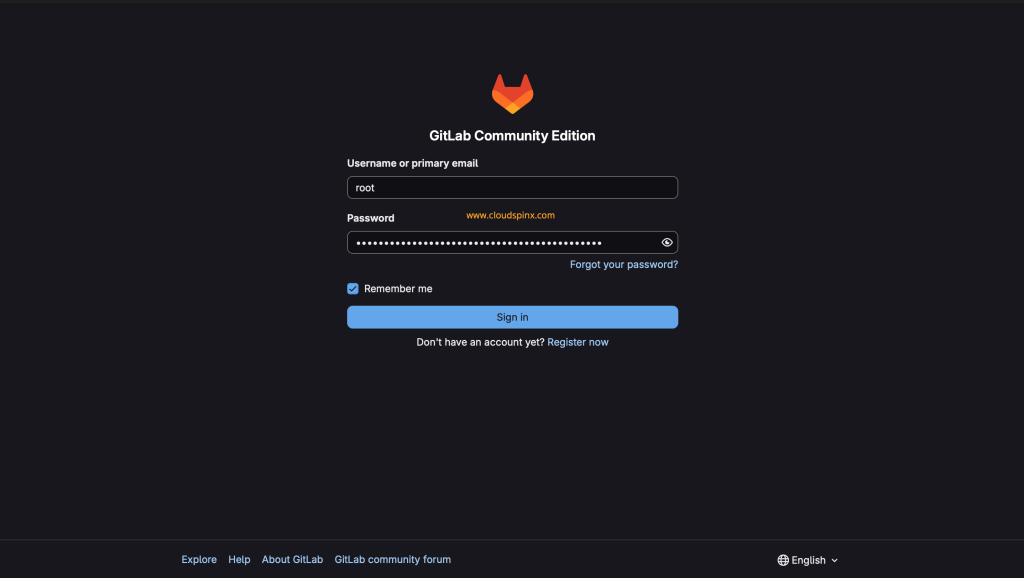
Step 6: Initial Sign In
After GitLab is installed, go to the URL you set up and use the following credentials to sign in:
- Username:
root - Password: See
/etc/gitlab/initial_root_password
cat /etc/gitlab/initial_root_password
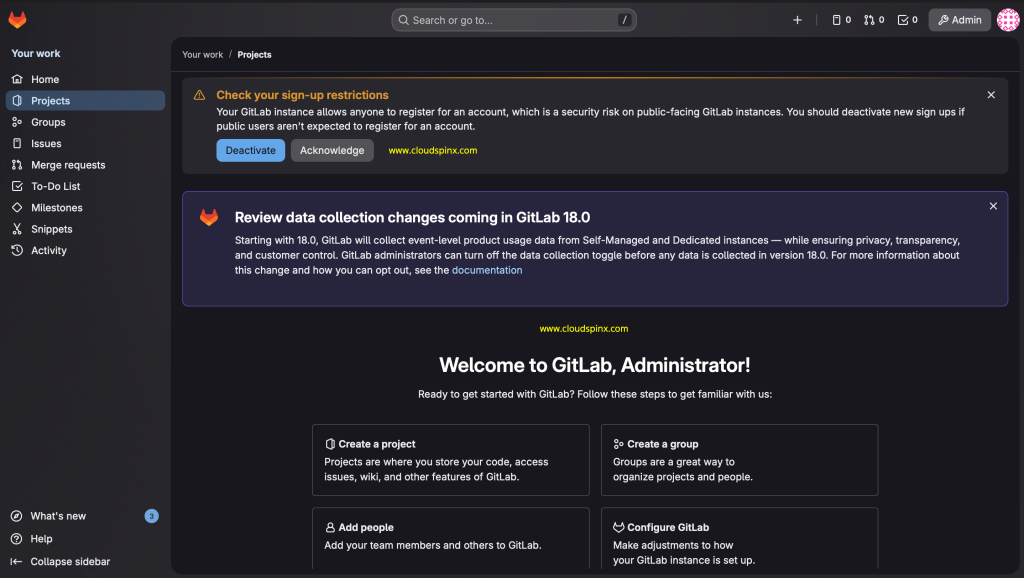
On the AWS Security group add the http and https protocol to list of allowed services in Inbound rules. Save the rules once done.
After signing in, change your password and email address.
Let’s Encrypt is enabled and SSL is automatically configred if external_url is set with the HTTPS protocol and no other certificates are configured. If you did not set EXTERNAL_URL with https, then you should look at the next step for securing GitLab with Let’s Encrypt SSL.
Step 6: Secure GitLab CE with Let’s Encrypt SSL
Stop GitLab services.
$ sudo gitlab-ctl stop
ok: down: alertmanager: 0s, normally up
ok: down: gitaly: 0s, normally up
ok: down: gitlab-exporter: 0s, normally up
ok: down: gitlab-workhorse: 1s, normally up
ok: down: grafana: 0s, normally up
ok: down: logrotate: 0s, normally up
ok: down: nginx: 1s, normally up
ok: down: node-exporter: 0s, normally up
ok: down: postgres-exporter: 1s, normally up
ok: down: postgresql: 0s, normally up
ok: down: prometheus: 1s, normally up
ok: down: puma: 0s, normally up
ok: down: redis: 0s, normally up
ok: down: redis-exporter: 1s, normally up
ok: down: sidekiq: 0s, normally up
Edit the configuration and set Let’s Encrypt Settings.
$ sudo vim /etc/gitlab/gitlab.rb
# Let's Encrypt integration
letsencrypt['enable'] = true
letsencrypt['contact_emails'] = ['[email protected]'] # This should be an array of email addresses to add as contacts
letsencrypt['auto_renew'] = true
Enable HTTPS and set External URL like below:
external_url 'https://gitlab.cloudspinx.dpdns.org'Under the ## GitLab NGINX section, enable Nginx and redirect http traffic to https:
nginx['enable'] = true
nginx['redirect_http_to_https'] = true
Reconfigure GitLab services.
sudo gitlab-ctl reconfigureConfirm it is successfully reconfigured.
...
Recipe: letsencrypt::enable
  * crond_job[letsencrypt-renew] action create
    * file[/var/opt/gitlab/crond/letsencrypt-renew] action create
      - create new file /var/opt/gitlab/crond/letsencrypt-renew
      - update content in file /var/opt/gitlab/crond/letsencrypt-renew from none to bf6734
      --- /var/opt/gitlab/crond/letsencrypt-renew	2020-10-10 07:47:54.466643024 +0000
      +++ /var/opt/gitlab/crond/.chef-letsencrypt-renew20201010-7771-qt1ffz	2020-10-10 07:47:54.466643024 +0000
      @@ -1 +1,2 @@
      +25 0 */4 * * root /opt/gitlab/bin/gitlab-ctl renew-le-certs
      - change owner from '' to 'root'
      - change group from '' to 'root'

  * ruby_block[display_le_message] action nothing (skipped due to action :nothing)
  * ruby_block[save_auto_enabled] action run
    - execute the ruby block save_auto_enabled
Recipe: gitlab::gitlab-rails
  * execute[clear the gitlab-rails cache] action run (skipped due to not_if)
Recipe: registry::enable
  * runit_service[registry] action restart (up to date)
Recipe: nginx::enable
  * execute[reload nginx] action run
    - execute gitlab-ctl hup nginx
Recipe: letsencrypt::enable
  * ruby_block[display_le_message] action run
    - execute the ruby block display_le_message
Recipe: crond::enable
  * runit_service[crond] action restart (up to date)

Running handlers:
Running handlers complete
Chef Infra Client finished, 80/955 resources updated in 37 seconds
gitlab Reconfigured!
Start all GitLab services.
sudo gitlab-ctl restartConfirm status:
$ sudo gitlab-ctl status
run: alertmanager: (pid 3513) 20s; run: log: (pid 3509) 20s
run: crond: (pid 3524) 20s; run: log: (pid 3522) 20s
run: gitaly: (pid 3476) 20s; run: log: (pid 3475) 20s
run: gitlab-exporter: (pid 3517) 20s; run: log: (pid 3516) 20s
run: gitlab-workhorse: (pid 3503) 20s; run: log: (pid 3502) 20s
run: grafana: (pid 3514) 20s; run: log: (pid 3510) 20s
run: logrotate: (pid 3518) 20s; run: log: (pid 3515) 20s
run: nginx: (pid 3499) 20s; run: log: (pid 3498) 20s
run: node-exporter: (pid 3501) 20s; run: log: (pid 3500) 20s
run: postgres-exporter: (pid 3512) 20s; run: log: (pid 3508) 20s
run: postgresql: (pid 3488) 20s; run: log: (pid 3487) 20s
run: prometheus: (pid 3520) 20s; run: log: (pid 3519) 20s
run: puma: (pid 3490) 20s; run: log: (pid 3489) 20s
run: redis: (pid 3478) 20s; run: log: (pid 3477) 20s
run: redis-exporter: (pid 3511) 20s; run: log: (pid 3507) 20s
run: registry: (pid 3525) 20s; run: log: (pid 3523) 20s
run: sidekiq: (pid 3491) 20s; run: log: (pid 3483) 20s
Next open the GitLab CE Web console, for me this is https://gitlab.cloudspinx.dpdns.org and the connection shoule now be secured with Let’s Encrypt SSL.
Next read is GitLab self monitoring project page.
Below are other interesting guides you can check in out website.