

Jellyfin is a free to use and open source media streaming server created to enable you build a powerful home media system. Jellyfin is a true alternative to the proprietary media streaming systems such Plex and Emby. With Jellyfin you can easily add and organize your media – Music, Movies, Books, Podcasts which can be accessed through a web interface from any place at any time. The media content can be accessed on mobile device, web browser or desktop application.
In this blog post you’ll learn to install and configure Jellyfin Media server on most of the RHEL-based Linux distributions for daily home media streaming operations. We assume you have a running RHEL-based Linux server ready for the installation. In the installation steps we’ll also capture the setup pre-requisites.
Step 1: Prepare the System
The first step will be to set SELinux in permissive mode by editing its configuration file using the commands below:
    sudo setenforce 0
    sudo sed -i 's/^SELINUX=.*/SELINUX=permissive/g' /etc/selinux/config
Then update your system packages and install required package dependencies:
sudo dnf upate -y
sudo dnf install -y dnf-utils device-mapper-persistent-data lvm2
Step 2: Install Docker CE
To install Docker on RHEL, run the following commands:
## Uninstall Older Versions
sudo dnf remove -y docker \
  docker-client \
  docker-client-latest \
  docker-common \
  docker-latest \
  docker-latest-logrotate \
  docker-logrotate \
  docker-engine

## Set up the Repository
sudo dnf -y install dnf-plugins-core
sudo dnf config-manager --add-repo https://download.docker.com/linux/rhel/docker-ce.repo

## Install the latest Docker Packages
sudo dnf install docker-ce docker-ce-cli containerd.io docker-buildx-plugin docker-compose-plugin

## Starte the Docker Engine
sudo systemctl enable --now docker

## Add user to docker group
sudo usermod -aG docker $USER
sudo newgrp docker
To install Docker CE on CentOS Stream and all the other RHEL-based distributions, run the following commands:
## Unistall Older versions
sudo dnf remove docker \
  docker-client \
  docker-client-latest \
  docker-common \
  docker-latest \
  docker-latest-logrotate \
  docker-logrotate \
  docker-engine

## Set up the Repo
sudo dnf -y install dnf-plugins-core
sudo dnf config-manager --add-repo https://download.docker.com/linux/centos/docker-ce.repo

## Install the Docker Packages
sudo dnf install docker-ce docker-ce-cli containerd.io docker-buildx-plugin docker-compose-plugin

## Start Docker Engine
sudo systemctl enable --now docker

## Add user to docker group
sudo usermod -aG docker $USER
sudo newgrp docker
Step 3: Create Jellyfin Directory Structure
Choose a location to store Jellyfin configuration and media. A common approach is under /opt:
sudo mkdir -p /opt/jellyfin/{config,cache,media}
sudo chown -R $USER:$USER /opt/jellyfin
Place your movies, TV shows, and music inside the media directory.
Step 4: Create Docker Compose File
Create a docker-compose.yaml file inside the project directory:
cd /opt/jellyfin
sudo vim docker-compose.yaml
Place the following configurations inside the docker-compose.yaml file:
services:
  jellyfin:
    image: jellyfin/jellyfin
    container_name: jellyfin
    # Optional - specify the uid and gid you would like Jellyfin to use instead of root
    user: 1000:1000
    ports:
      - 8096:8096/tcp
      - 7359:7359/udp
    volumes:
      - ./config:/config
      - ./cache:/cache
      - type: bind
        source: ./media
        target: /media
    restart: 'unless-stopped'
    # Optional - alternative address used for autodiscovery
    environment:
      - TZ=Africa/Nairobi
    # Optional - may be necessary for docker healthcheck to pass if running in host network mode
    extra_hosts:
      - 'host.docker.internal:host-gateway'
Step 5: Start Jellyfin Media Server
To start the Jellyfin Media Server, run the following inside the directory that contains the docker-compose file:
docker compose up -d
Check the container status and the Jellyfin logs:
docker ps
docker logs jellyfin
Step 6: Allow Jellyfin through the firewall
If you have firewall enabled, you should allow connections to the server through the port 8096:
sudo firewall-cmd --permanent --add-port=8096/tcp
sudo firewall-cmd --permanent --add-port=8920/tcp  # Optional for HTTPS
sudo firewall-cmd --reload
Step 7: Configure Jellyfin Media Server
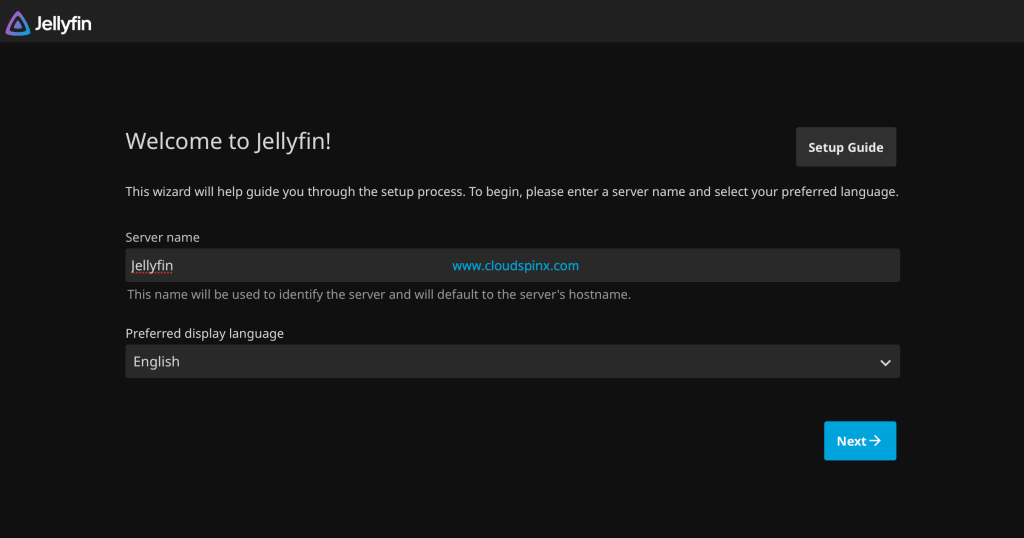
After installing Jellyfin Media server, launch your favorite web browser and browse to:
http://[serverIP_or_hostname]:8096To start the configuration of Jellyfin Media server. Povide a Server Name and then click Next to continue.
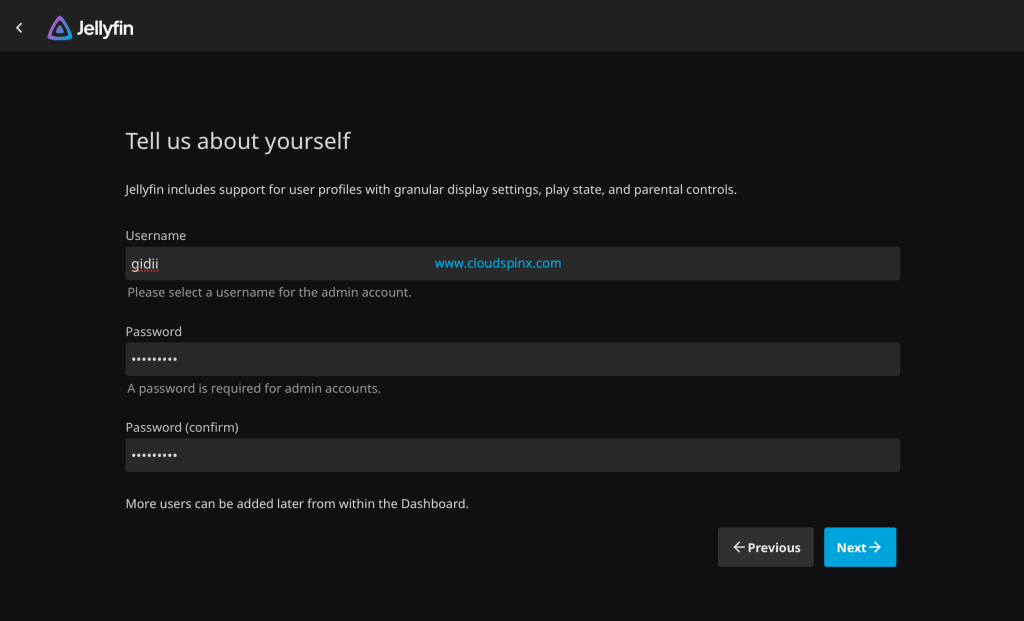
You need to create a first account which will have Admin privileges for management purposes.
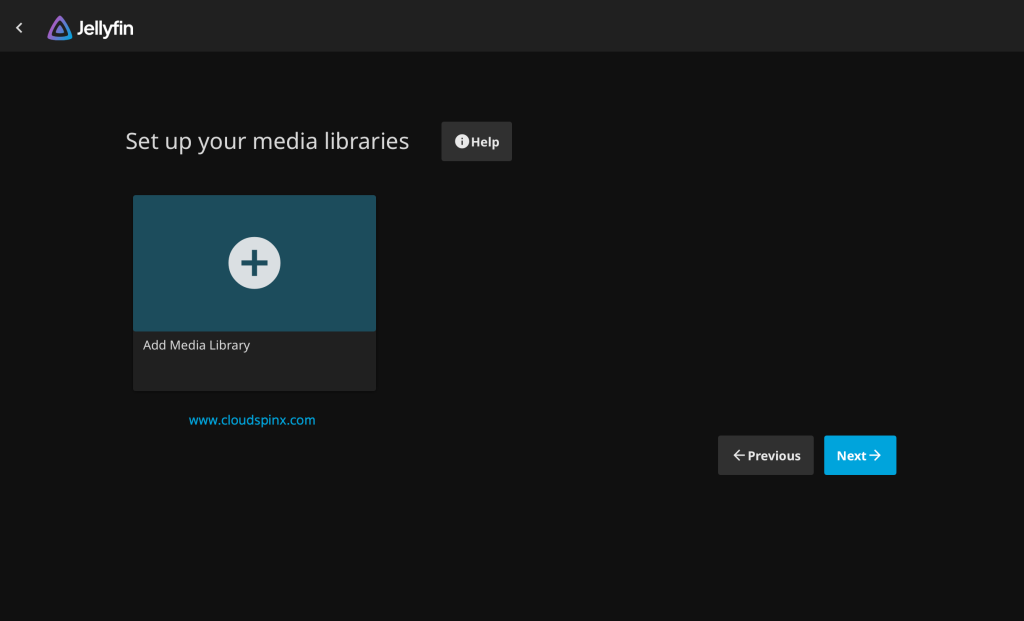
Setup your media library after admin user creation. Click Add Media Library and set media libraries for Music and Movies:
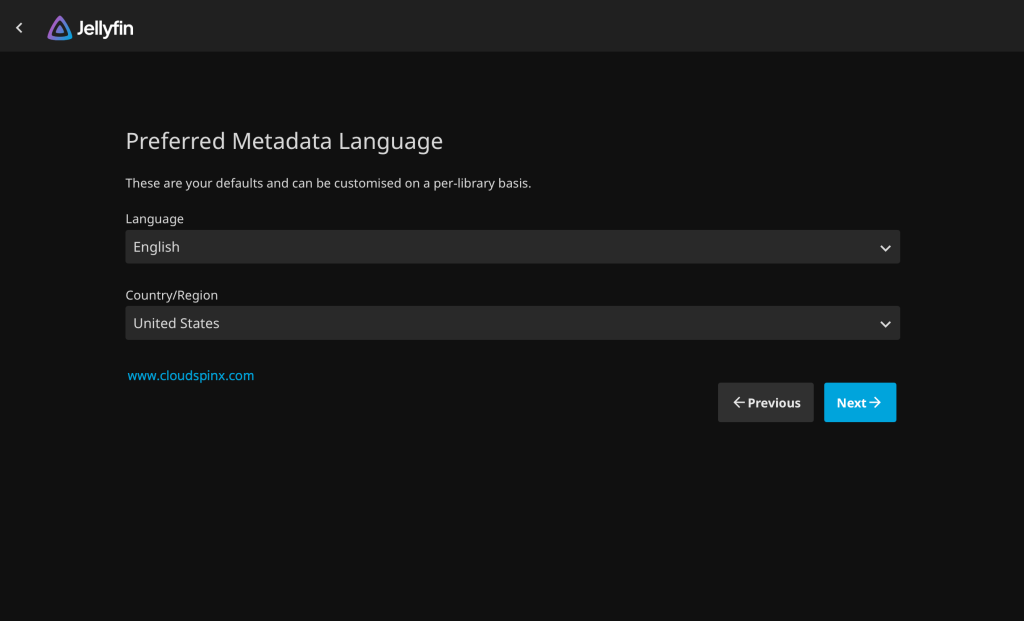
Set the content type in the next screen.
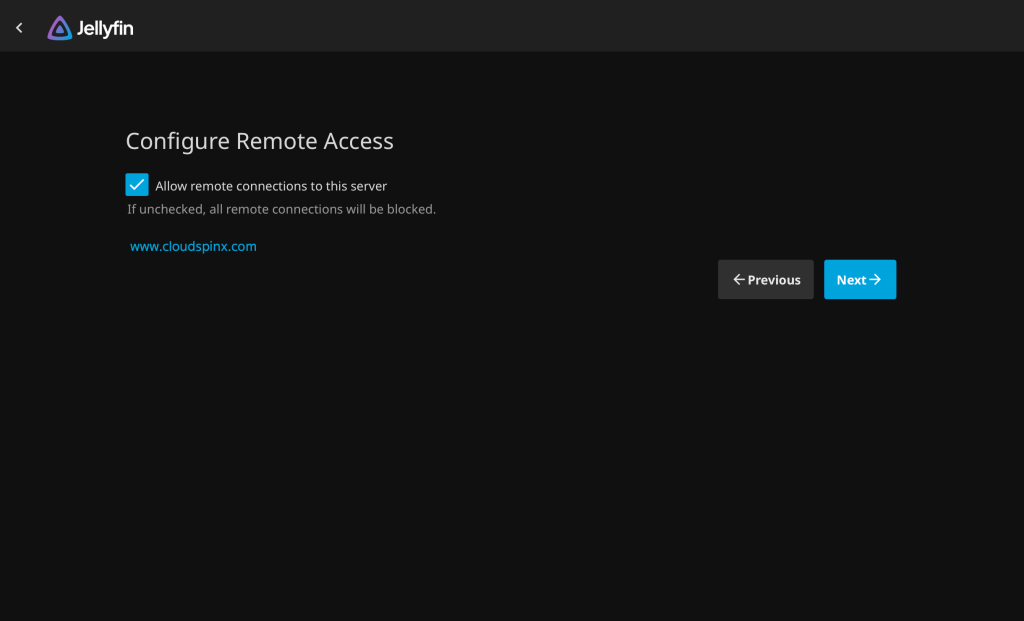
To allow for remote connections to your media server check the box like below under “Configure Remote Access” section.
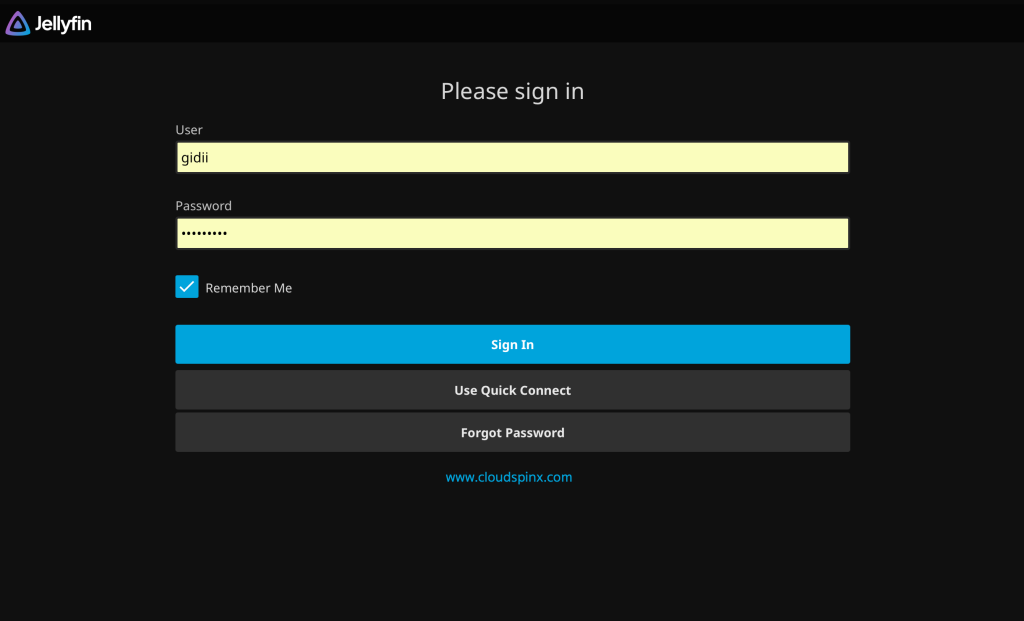
Upon complete configurations of Jellyfin Media Server, click Finish and you’ll be redirected to the sign in page. Sign in with the user you created earlier:
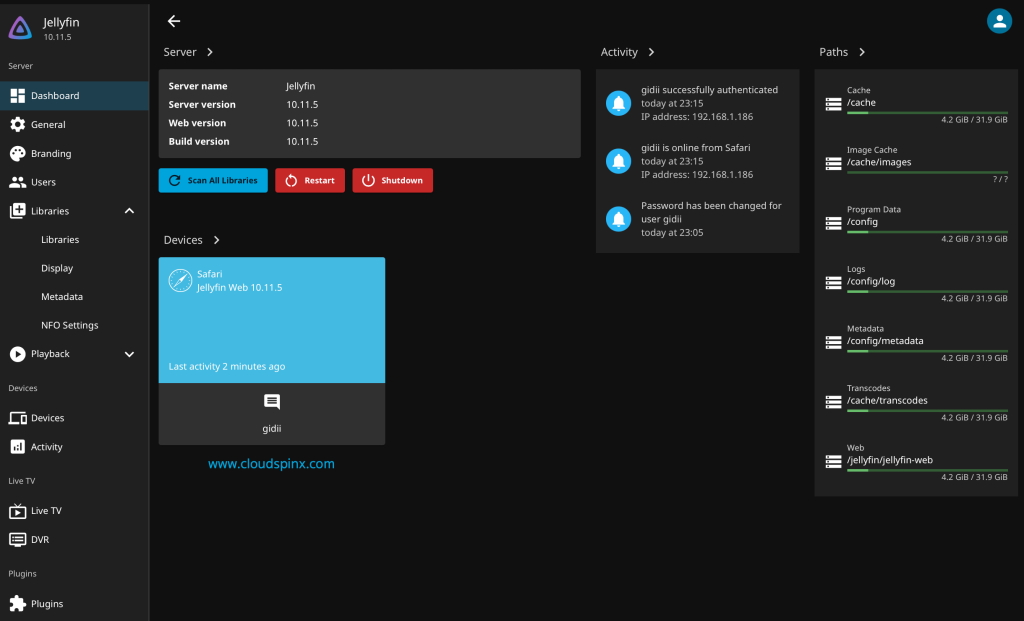
You’ve successfully installed Jellyfin Media Server and initiated configurations to start streaming your media files from anywhere.
Happy Streaming with Jellyfin.


