Most Linux users prefer a minimal Linux installation where you are only provided with the command line. This is due to the fact that a minimal installation does not require a lot of resources. However, installing and using a Graphical User Interface on Linux is possible.
A Desktop Environment is a collection of components that function together to provide a uniform user experience. As a result, you will have icons, toolbars, wallpapers, and desktop widgets. This makes it easy to manage the system, especially for Linux users who are not yet comfortable with the command line. It also makes it possible to install and use GUI applications on your Linux system.
The nifty feature of Linux is that it offers a variety of Desktop environments. The most popular Desktop environments are:
- GNOME – This is an abbreviation of GNU Network Object Model Environment. This is an open-source and a default Desktop environment in most Linux distros such as Debian, Fedora e.t.c
- XFCE – compatible with most systems with performance-oriented.
- KDE Plasma – This is also a widely used desktop environment that provides tools and services to fulfill almost any demand.
- MATE – This is an extension of GNOME 2 that creates an intuitive and engaging desktop experience for Linux. It is lightweight and easy to use
- Deepin -It was designed to work on Deepin Linux distribution. but can also be installed on other systems such as Arch Linux, Ubuntu, Manjaro, and many more.
- Cinnamon – It is widely on Linux Mint. It provides a stable, reliable desktop environment that runs on all major Linux distros.
Rocky Linux 9, released recently, ships GNOME 40 as the default desktop environment although other desktop environments can be installed and used. In this guide, we will demonstrate how to install and use the KDE Desktop Environment on Rocky Linux 9.
KDE is an open-source desktop environment dedicated to offering a user-friendly computing experience. It offers an advanced graphical desktop and a wide variety of applications for entertainment, learning, communication e.t.c. Kool Desktop Environment abbreviated as KDE was started in 1996 and first released in 1998.
This Desktop environment offers several features such as:
- Dolphin Touch Support
- Grid-like system tray, which is located on the right side of the single panel.
- Settings Update
- Disk Failure Notification in Advance
- Power Saving Updates
- Ability to manage apps preventing sleep and screen lock
- Digital Clock Applet with Date
- Okular document viewer
To install KDE Desktop Environment on Rocky Linux 9, use the below steps.
1. Prepare your System
Ensure that the available packages are updated to their latest available versions:
sudo dnf update -y You also need to enable the EPEL repository and PowerTools(CRB) on Rocky Linux 9
sudo dnf install epel-release
sudo dnf config-manager --set-enabled crb
2. Install KDE Plasma on Rocky Linux 9
Now install KDE and all the dependencies on Rocky Linux 9 by executing the command below:
sudo dnf groupinstall -y "KDE Plasma Workspaces"Sample Output:
[root@rocky9 ~]# sudo dnf groupinstall -y "KDE Plasma Workspaces"
Extra Packages for Enterprise Linux 9 - x86_64 5.4 MB/s | 23 MB 00:04
Extra Packages for Enterprise Linux 9 openh264 (From Cisco) - x86_64 1.2 kB/s | 2.5 kB 00:02
Rocky Linux 9 - BaseOS 4.4 kB/s | 4.1 kB 00:00
Rocky Linux 9 - AppStream 7.4 kB/s | 4.5 kB 00:00
Rocky Linux 9 - CRB 3.0 MB/s | 2.5 MB 00:00
Dependencies resolved.
==========================================================================================================================================================================================================
Package Architecture Version Repository Size
==========================================================================================================================================================================================================
Upgrading:
NetworkManager x86_64 1:1.48.10-3.el9_5 baseos 2.3 M
NetworkManager-adsl x86_64 1:1.48.10-3.el9_5 baseos 34 k
NetworkManager-bluetooth x86_64 1:1.48.10-3.el9_5 baseos 60 k
NetworkManager-libnm x86_64 1:1.48.10-3.el9_5 baseos 1.8 M
NetworkManager-team x86_64 1:1.48.10-3.el9_5 baseos 39 k
NetworkManager-tui x86_64 1:1.48.10-3.el9_5 baseos 246 k
NetworkManager-wifi x86_64 1:1.48.10-3.el9_5 baseos 82 k
NetworkManager-wwan x86_64 1:1.48.10-3.el9_5 baseos 67 k
bpftool x86_64 7.4.0-503.19.1.el9_5 baseos 2.8 M
cronie x86_64 1.5.7-12.el9_5 baseos 115 k
cronie-anacron x86_64 1.5.7-12.el9_5 baseos 31 k
gstreamer1-plugins-good x86_64 1.22.1-3.el9_5 appstream 2.4 M
gstreamer1-plugins-good-gtk x86_64 1.22.1-3.el9_5 appstream 32 k
iputils x86_64 20210202-10.el9_5 baseos 168 k
iwl100-firmware noarch 39.31.5.1-146.2.el9_5 baseos 184 k
iwl1000-firmware noarch 1:39.31.5.1-146.2.el9_5 baseos 184 k
iwl105-firmware noarch 18.168.6.1-146.2.el9_5 baseos 263 k
iwl135-firmware noarch 18.168.6.1-146.2.el9_5 baseos 272 k
iwl2000-firmware noarch 18.168.6.1-146.2.el9_5 baseos 265 k
iwl2030-firmware noarch 18.168.6.1-146.2.el9_5 baseos 274 k
iwl3160-firmware noarch 1:25.30.13.0-146.2.el9_5 baseos 541 k
iwl5000-firmware noarch 8.83.5.1_1-146.2.el9_5 baseos 181 k
iwl5150-firmware noarch 8.24.2.2-146.2.el9_5 baseos 181 k
iwl6000g2a-firmware noarch 18.168.6.1-146.2.el9_5 baseos 249 k
iwl6000g2b-firmware noarch 18.168.6.1-146.2.el9_5 baseos 251 k
iwl6050-firmware noarch 41.28.5.1-146.2.el9_5 baseos 206 k
iwl7260-firmware noarch 1:25.30.13.0-146.2.el9_5 baseos 57 M
kernel-tools x86_64 5.14.0-503.19.1.el9_5 baseos 2.3 M
kernel-tools-libs x86_64 5.14.0-503.19.1.el9_5 baseos 2.0 M
libertas-sd8787-firmware noarch 20241121-146.2.el9_5 baseos 358 k
libipa_hbac x86_64 2.9.5-4.el9_5.4 baseos 35 k
libsss_certmap x86_64 2.9.5-4.el9_5.4 baseos 90 k
libsss_idmap x86_64 2.9.5-4.el9_5.4 baseos 41 k
libsss_nss_idmap x86_64 2.9.5-4.el9_5.4 baseos 45 k
libsss_sudo x86_64 2.9.5-4.el9_5.4 baseos 35 k
linux-firmware noarch 20241121-146.2.el9_5 baseos 418 M
...3. Check the Default System Target
The default target determines whether the system boots into a graphical interface or a command-line interface. Ensure it is set to graphical.target:
sudo systemctl get-defaultIf the output is multi-user.target, change it to graphical.target:
sudo systemctl set-default graphical.targetsudo systemctl start graphical.target
4. Switch to KDE Desktop Environment on Rocky Linux 9
Once installed, you need to reboot your system to KDE Desktop Environment.
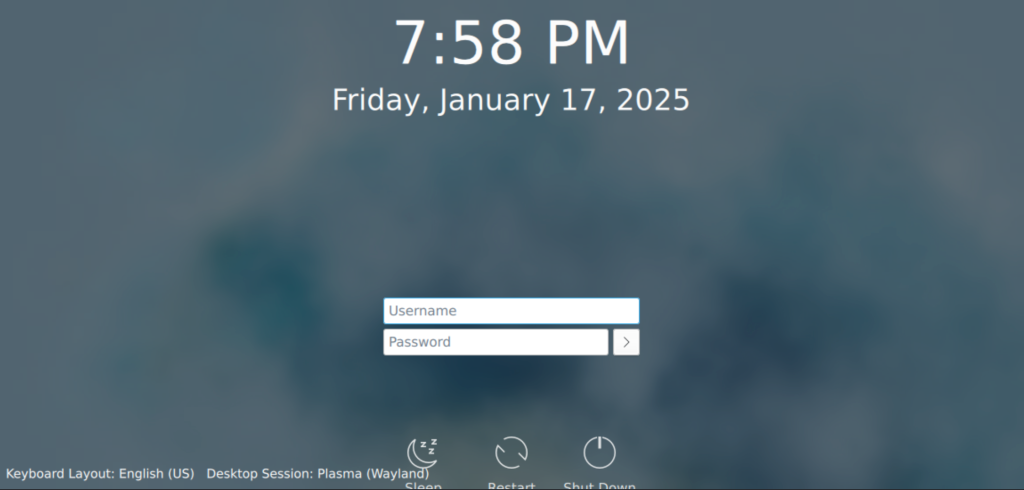
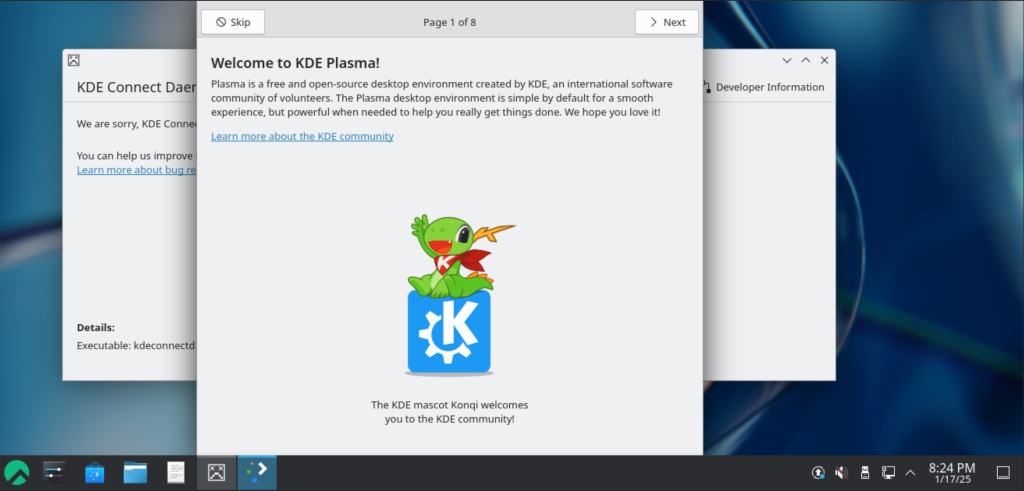
Once logged in, KDE will start as shown.
You can now launch the application Menu.
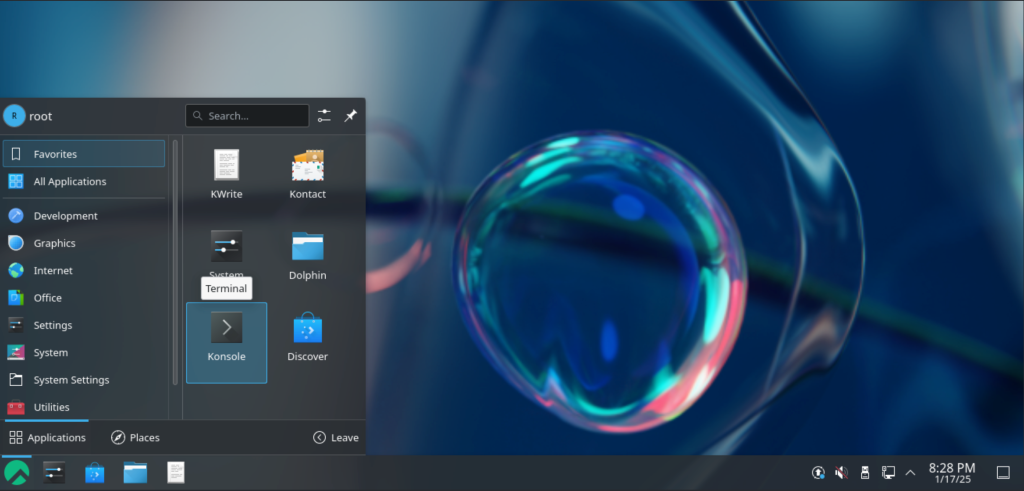
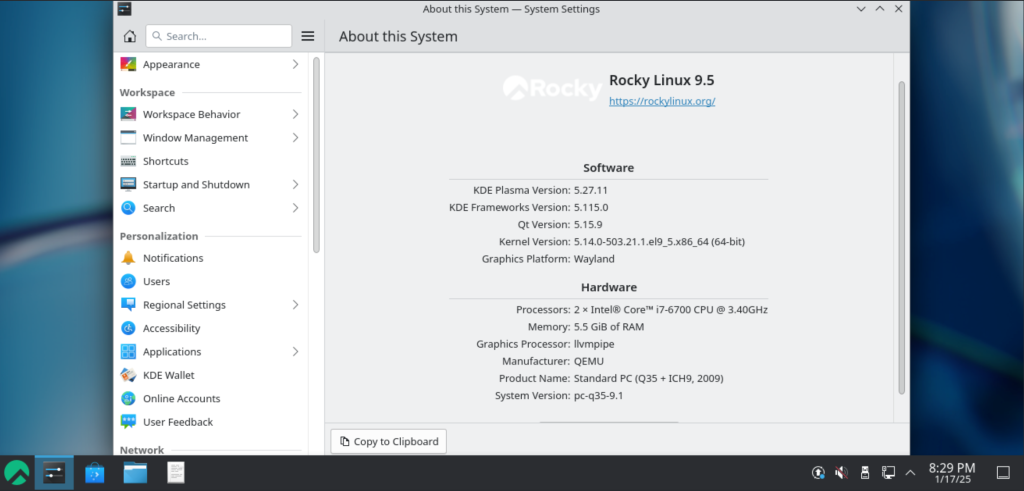
Verify the installation by checking the Settings->About this system.
Final Thoughts
That is it! We have systematically walked through how to install KDE Desktop Environment on Rocky Linux 9. We have also learned how to customize the KDE Desktop Environment for a better look and feel. I hope this was of value.
Related posts:


