
OpenSUSE Tumbleweed, created by OpenSUSE project, and among the many worldwide free and opensource community software, is a rolling release of version of OpeSUSE. This means that it always has the latest stable applications. It is therefore mostly preferred by developers who wish build their projects on the latest packages. Both Tumbleweed and Leap and created by the OpenSUSE project. In this guide, we are going to see how to install OpenSUSE Tumbleweed on both VirtualBox and VMWare Workstation.
You should already have Opensuse Tumbleweed iso file downloaded. If not visit opensuse.org site at https://get.opensuse,org/tumbleweed to download.
#Intel or AMD 64-bit DVD iso
wget https://download.opensuse.org/tumbleweed/iso/openSUSE-Tumbleweed-DVD-x86_64-Current.iso

#Intel or AMD 32-bit DVD iso
wget https://download.opensuse.org/tumbleweed/iso/openSUSE-Tumbleweed-DVD-i586-Current.iso
Installing OpenSUSE Tumbleweed on VirtualBox
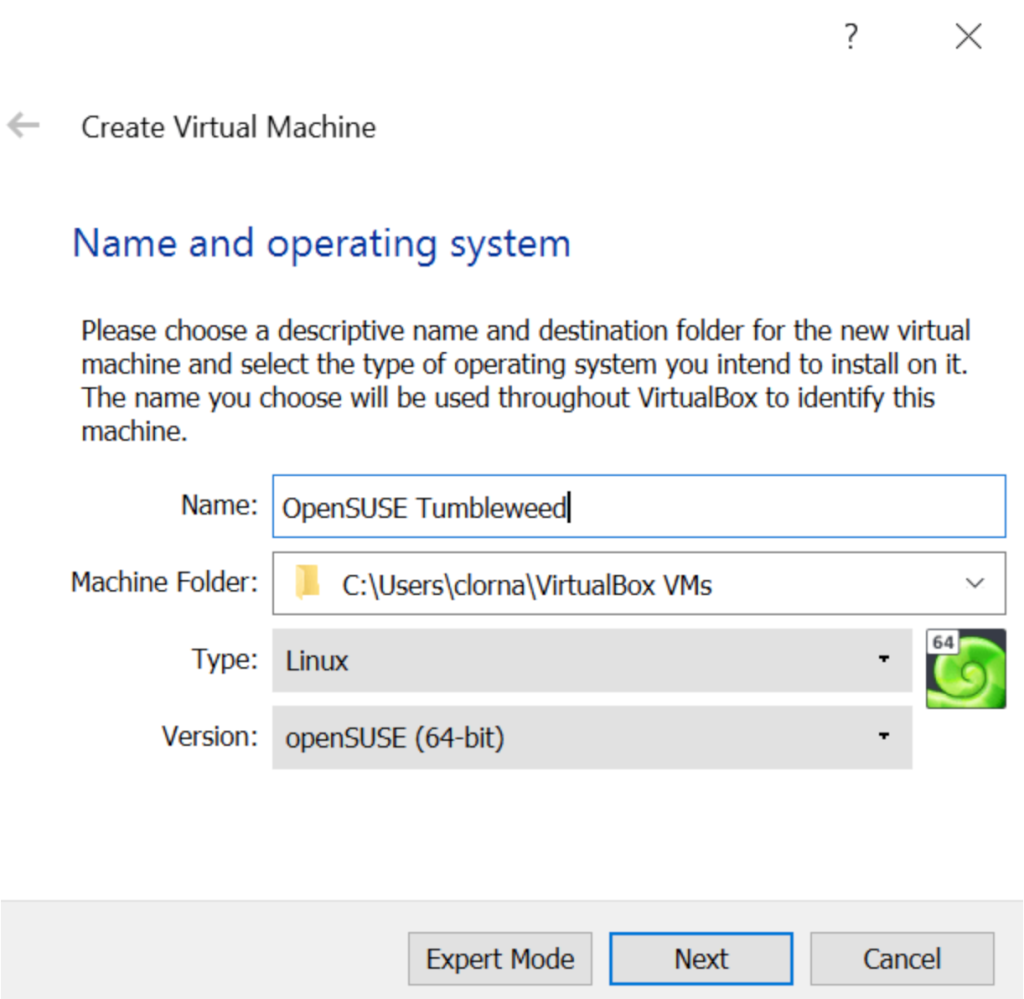
Open your VirtualBox and click New. Enter the name of your installation and click ‘Next‘.
Set the memory size you need for your OpenSUSE Tumbleweed and click ‘Next‘.
We will need a virtual disk for the installation. Leave the default choice selected and click ‘create‘.
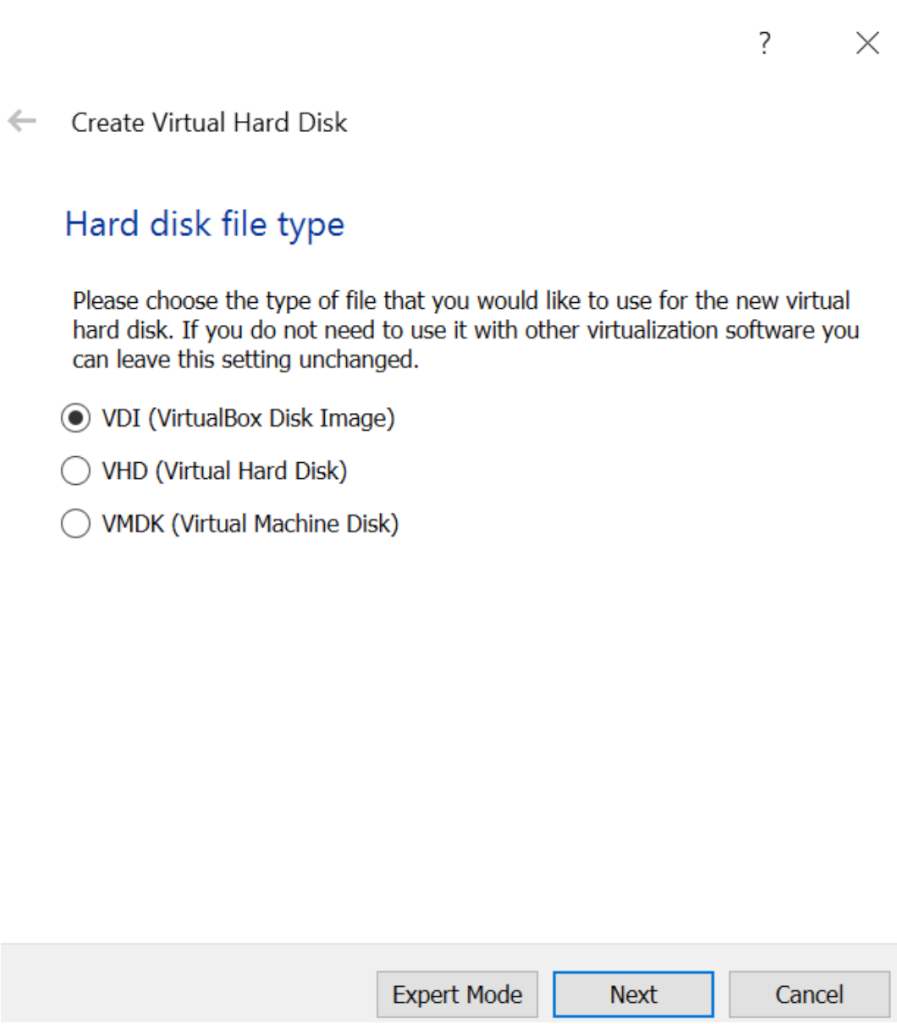
The hard disk file type for VirtualBox is VDI. Again leave the default choice and click ‘Next‘.

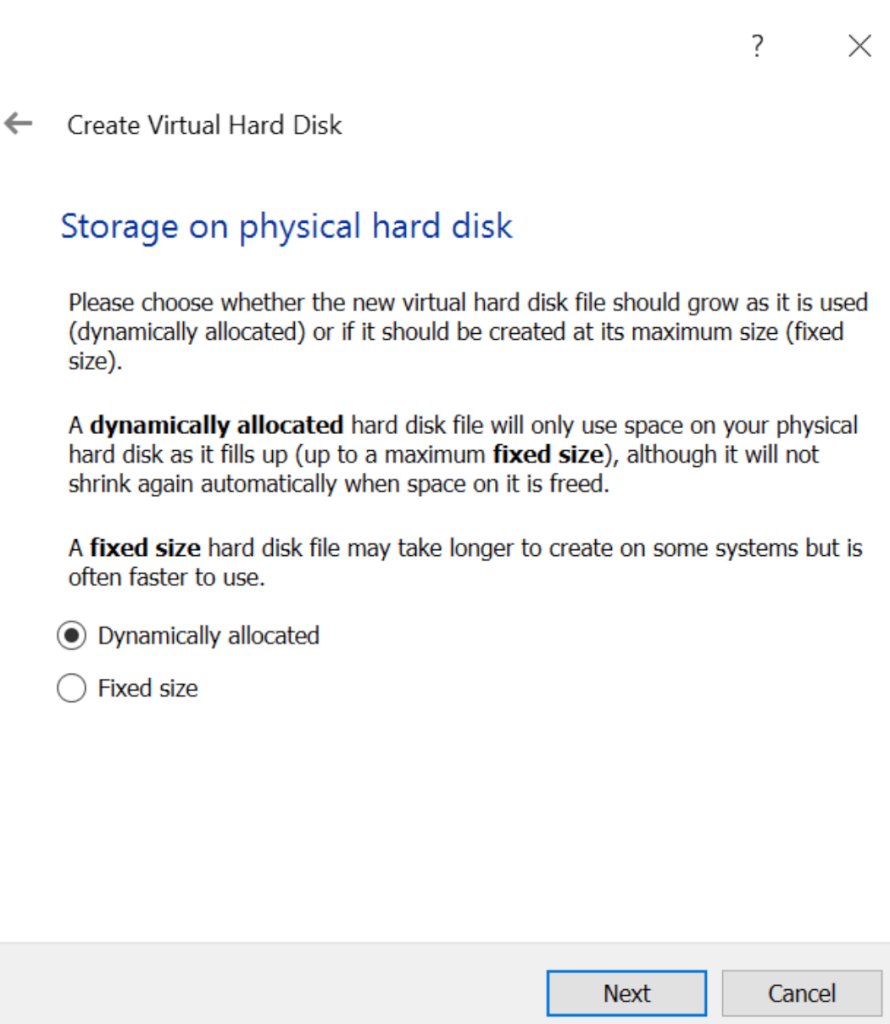
For virtual disk allocation, I prefer ‘Dynamically allocated‘ so that the VM only uses what it needs at any given time. Click ‘Next‘.
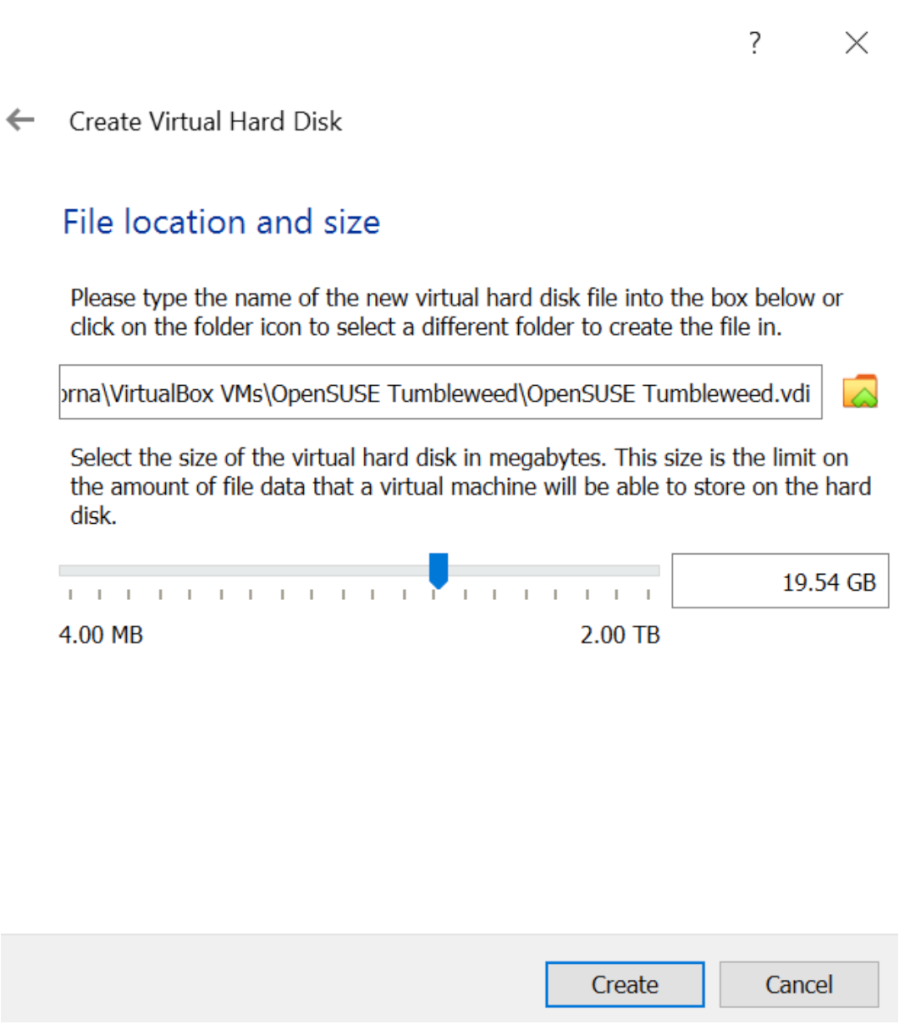
Set the maximum hard disk size for your VM and give it a name then click ‘create‘.
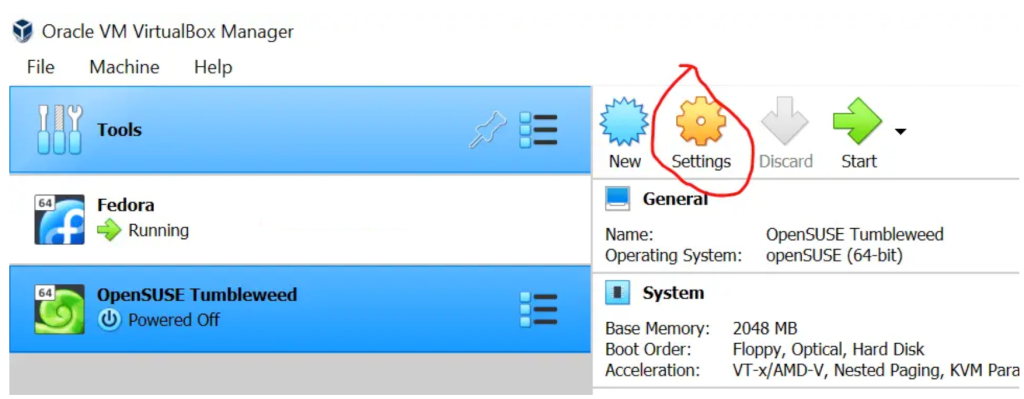
Your new installation is added to the list of VirtualBox VMs. Note that we have not yet installed the Operating System. Select the VM name and click on ‘Settings‘.
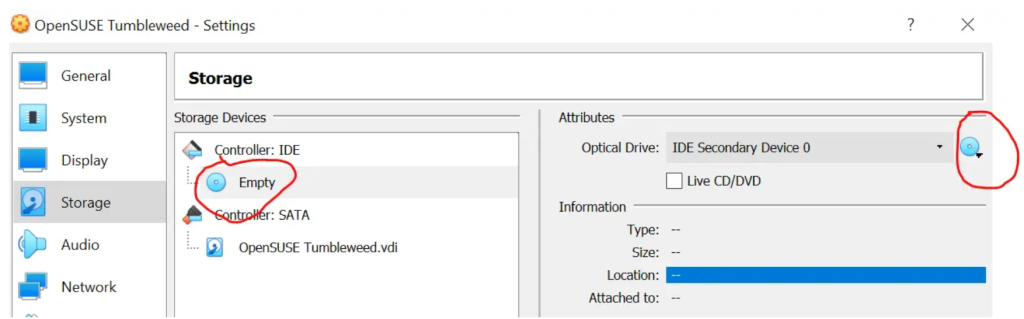
Head over to ‘storage‘ and click on it. Click on ‘Empty‘. On the far right, click on the optical icon and select ‘choose a disk file’. Browse to where you have saved the downloaded OpenSUSE Tumbleweed iso file and select it. Then click ‘OK‘.
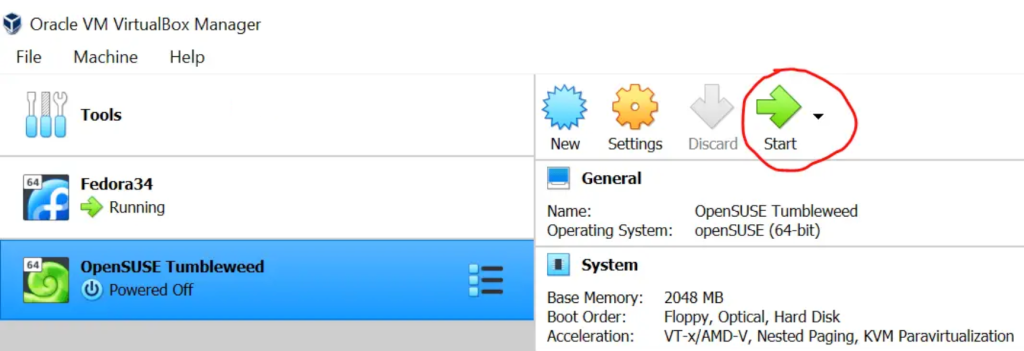
Now power on the VM by clicking on ‘Start’ to begin installation.
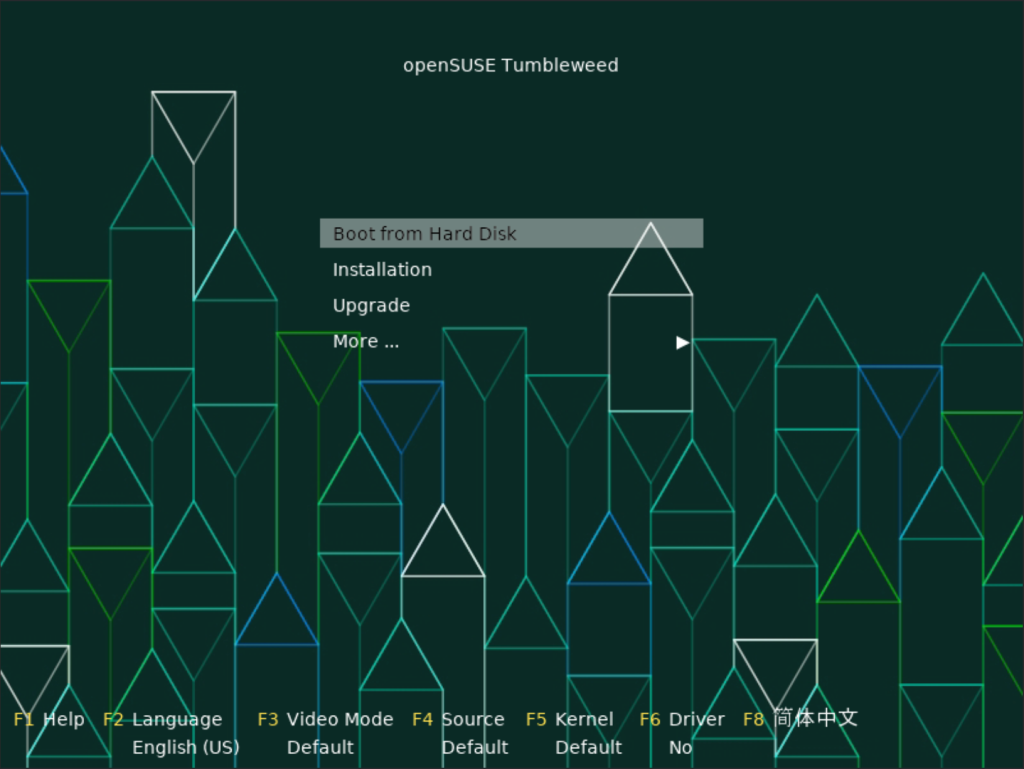
Select Installation.
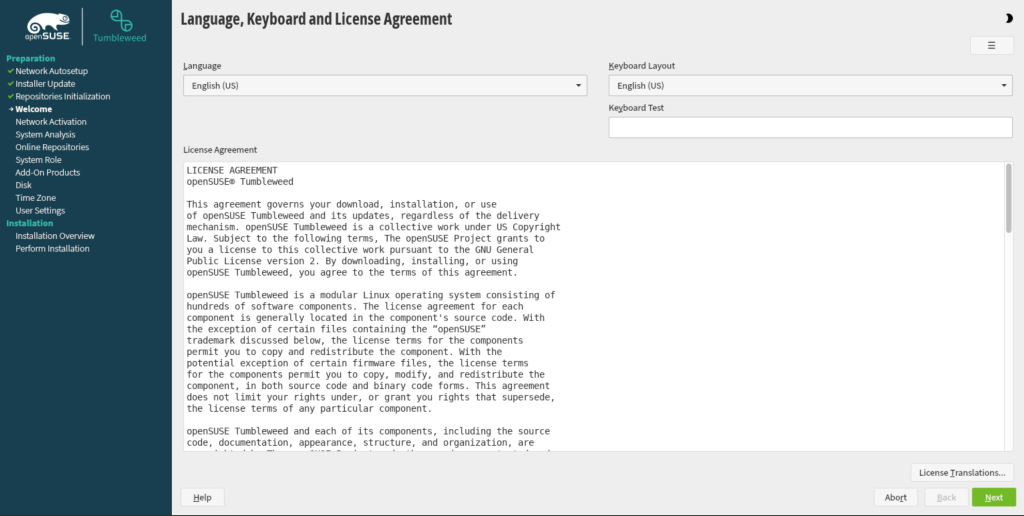
Set you language and click ‘Next‘.
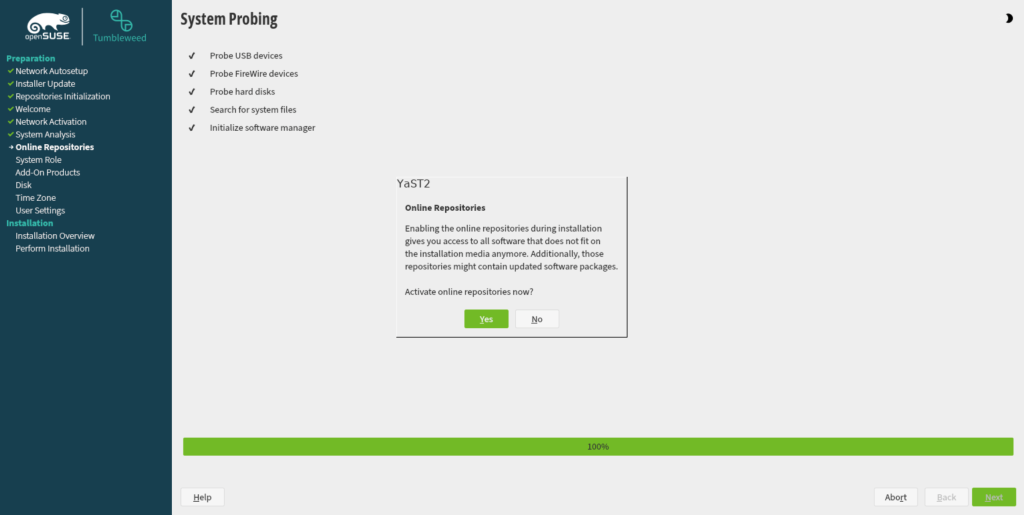
Choose if you want to activate online repositories during installation.
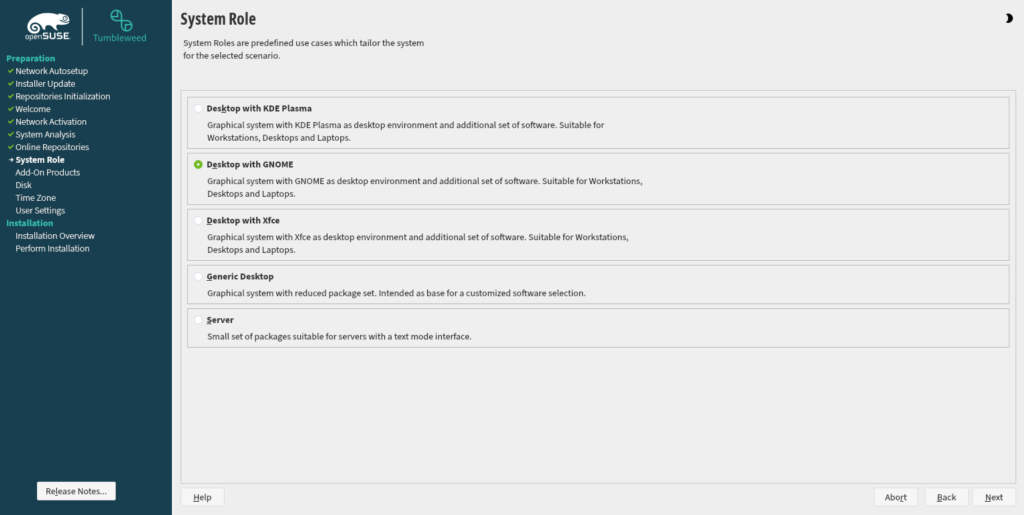
Select your desktop preference or select ‘server‘ for a text mode installation. I am going with Gnome.
I am going with the suggested partitioning. If you wish to do more, you can choose guided set up.

Update your timezone and click ‘Next’.

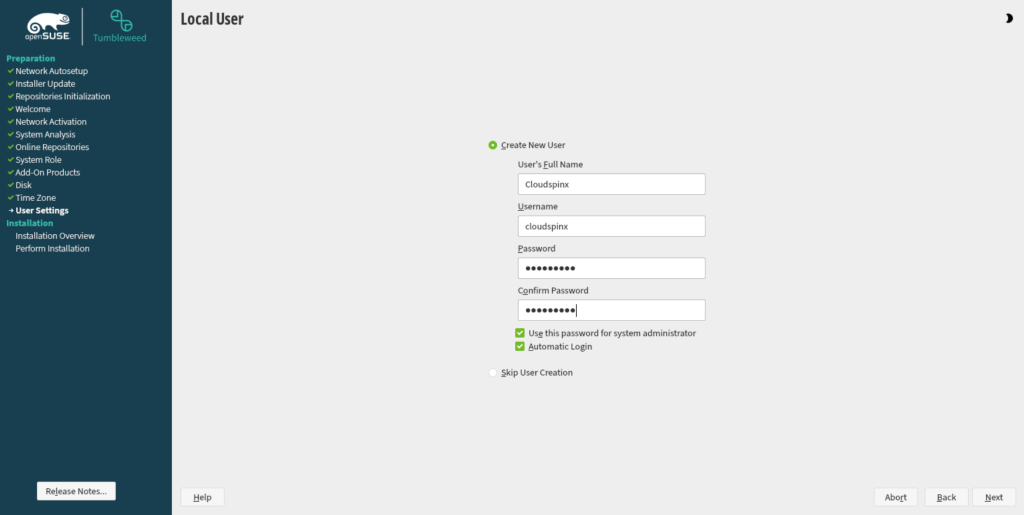
Create a user and give a password.
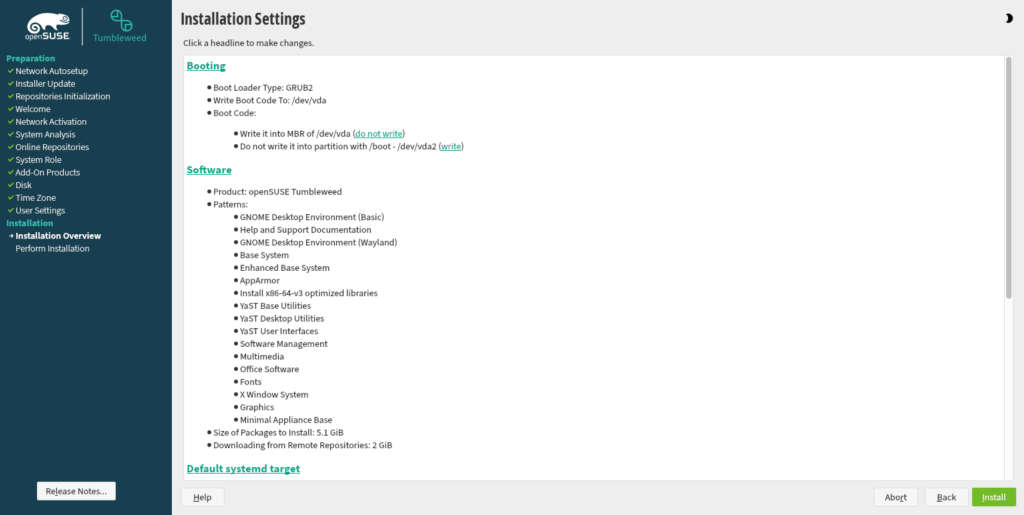
Check the installation settings and click ‘Install‘.
Once the installation is done, system reboots. Ensure to have removed the installation media and proceed to reboot.
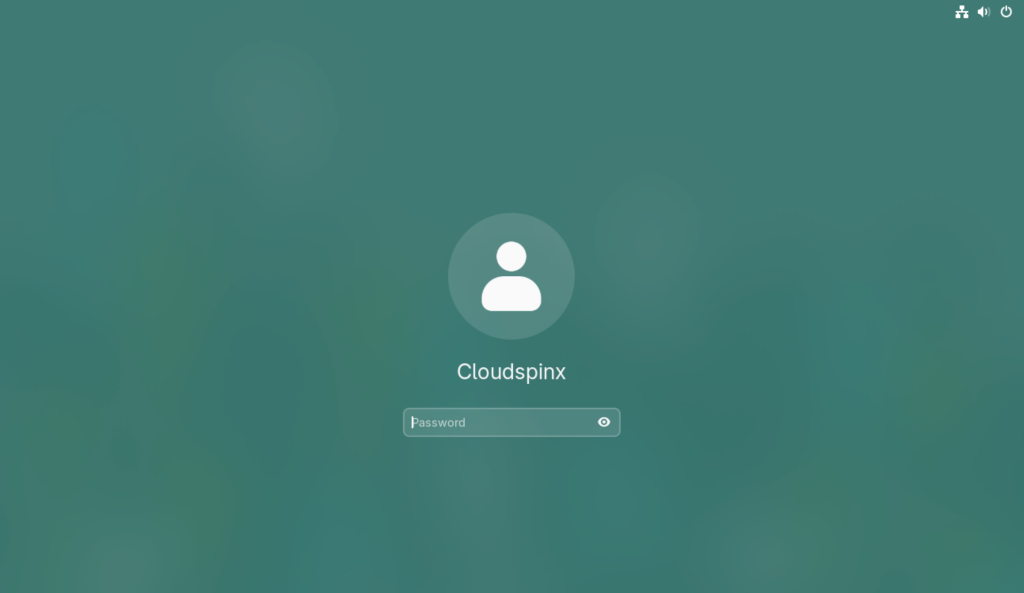
You are ready to use your OpenSUSE Tumbleweed installation. Login with the password you set ealier:
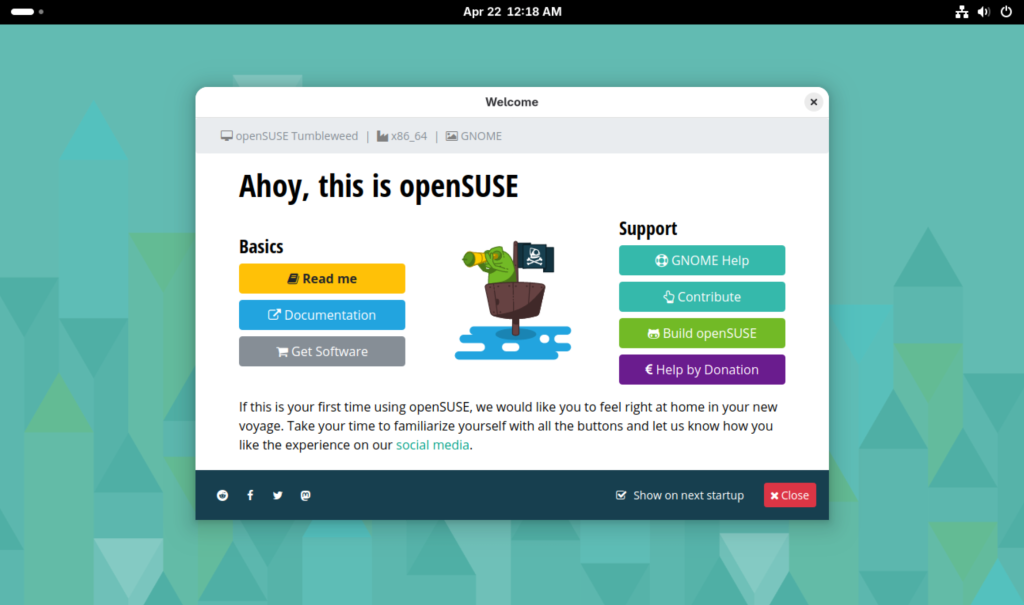
Your system is ready:
Installing OpenSUSE Tumbleweed on VMware Workstation
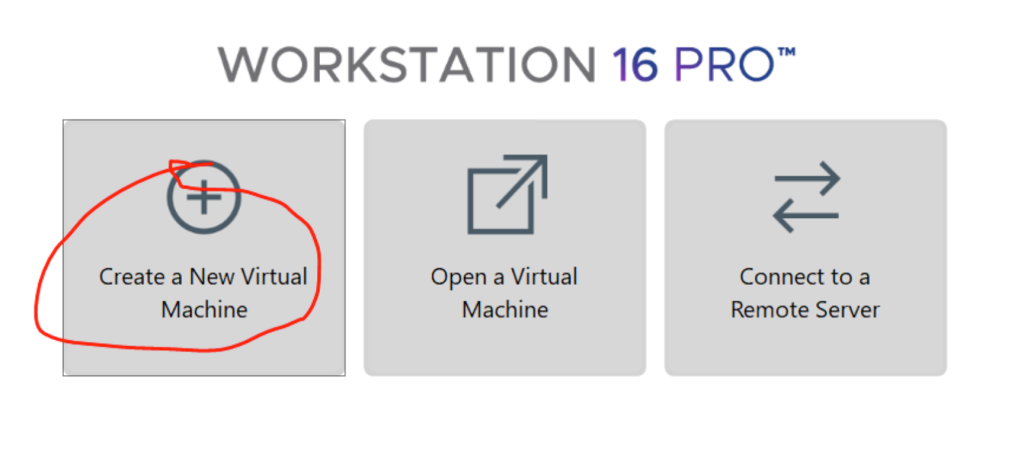
Launch your VMware Workstation and click on ‘Create a New Virtual Machine‘.
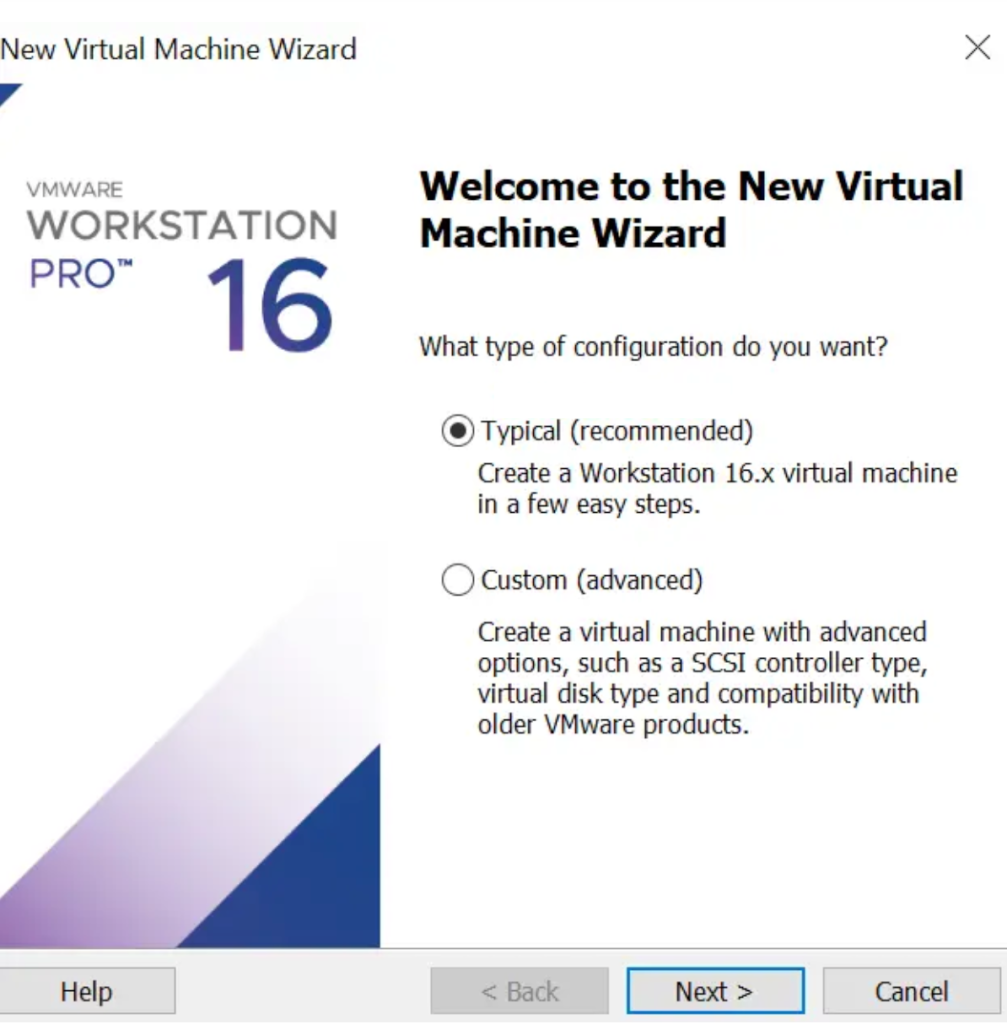
I am going with ‘Typical Installation‘.
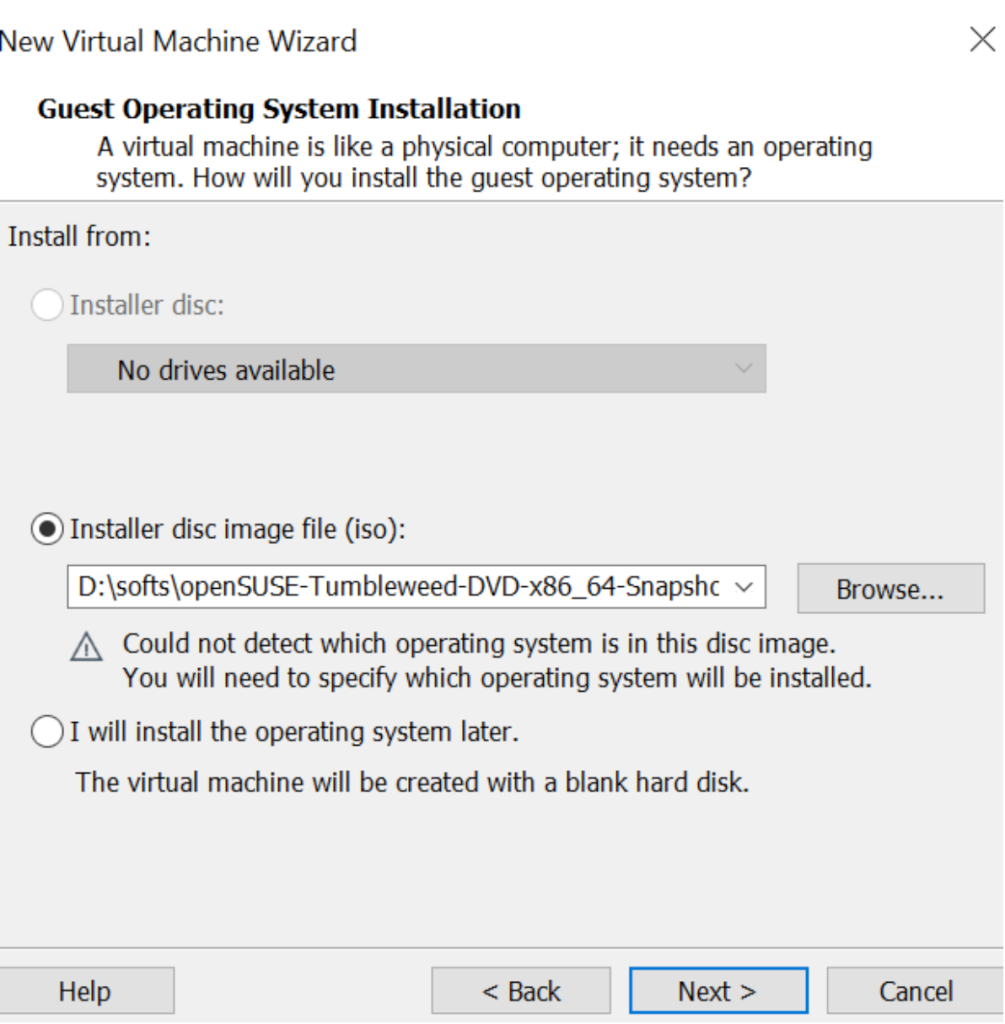
Select ‘Installer disk image‘ and browse your device for the installation file.
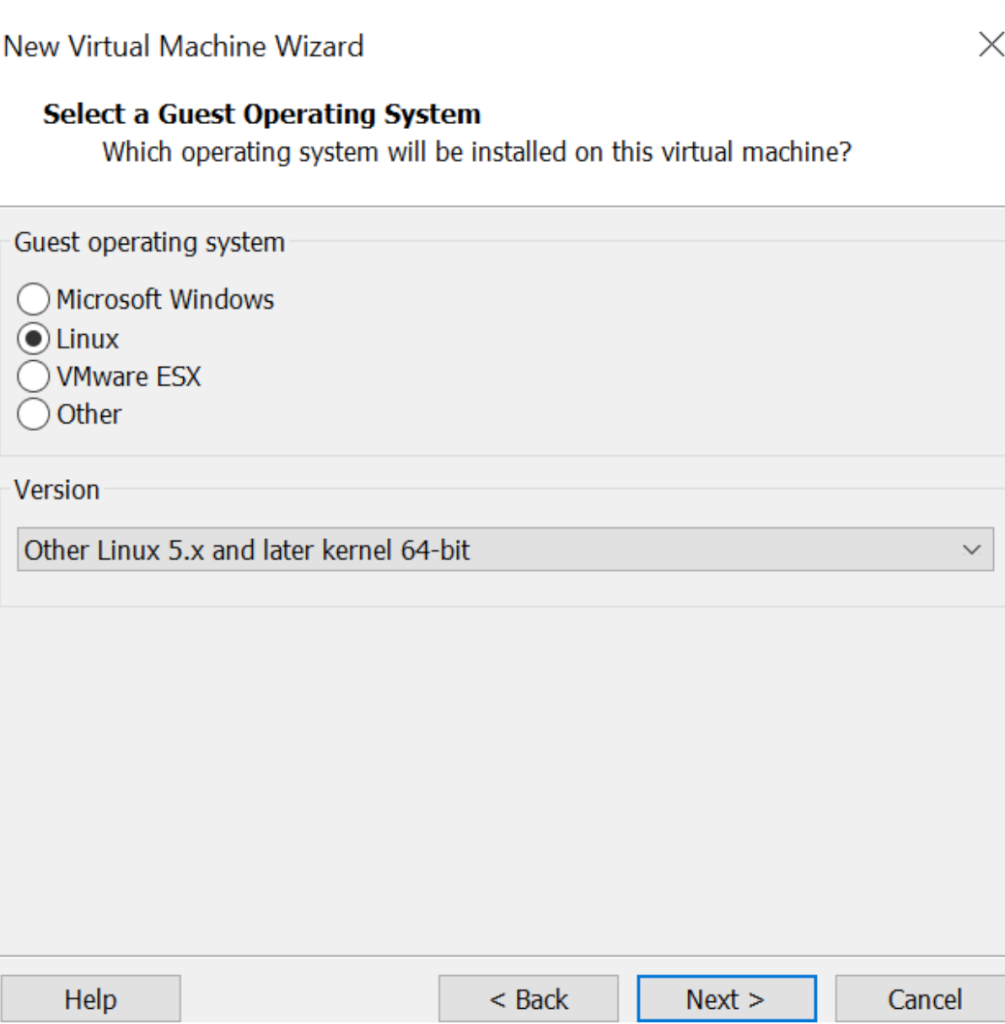
Select guest operating system.
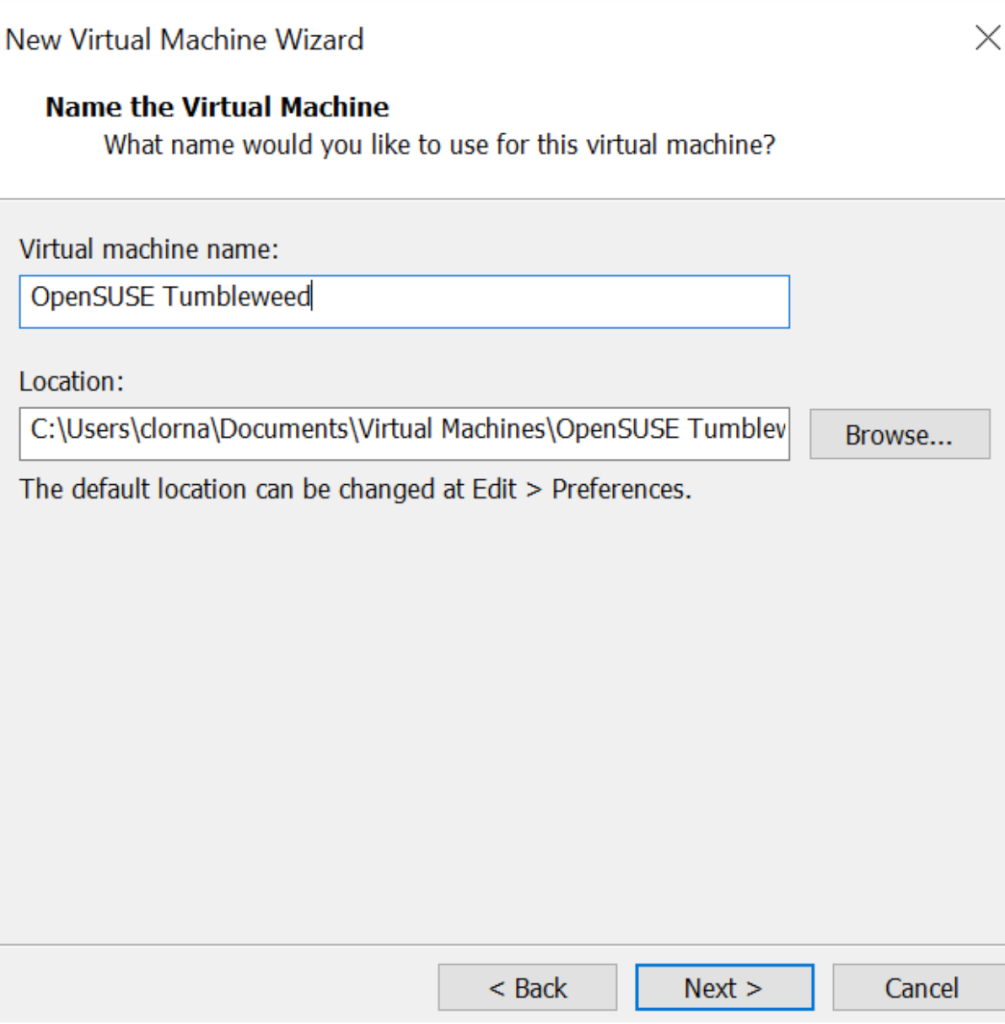
Give your installation a name and select installation location.
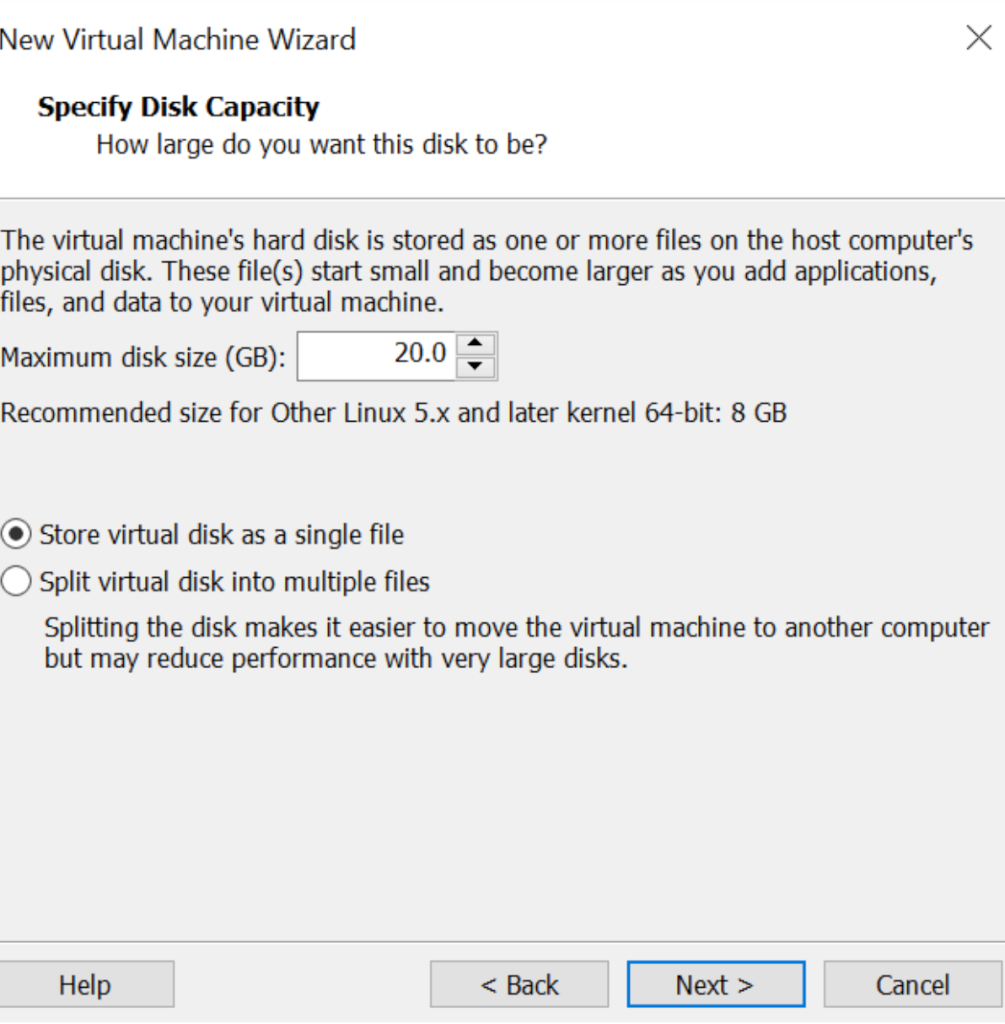
Edit disk image as you need and choose whether to store the virtual disk as a single image or to split.
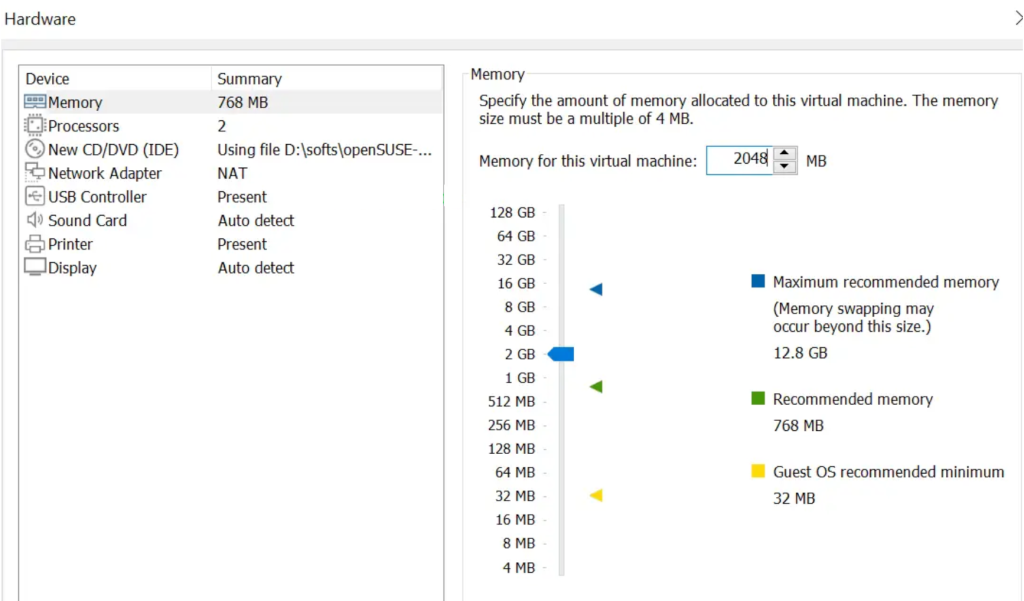
To edit memory allocation, click on ‘customize hardware‘.
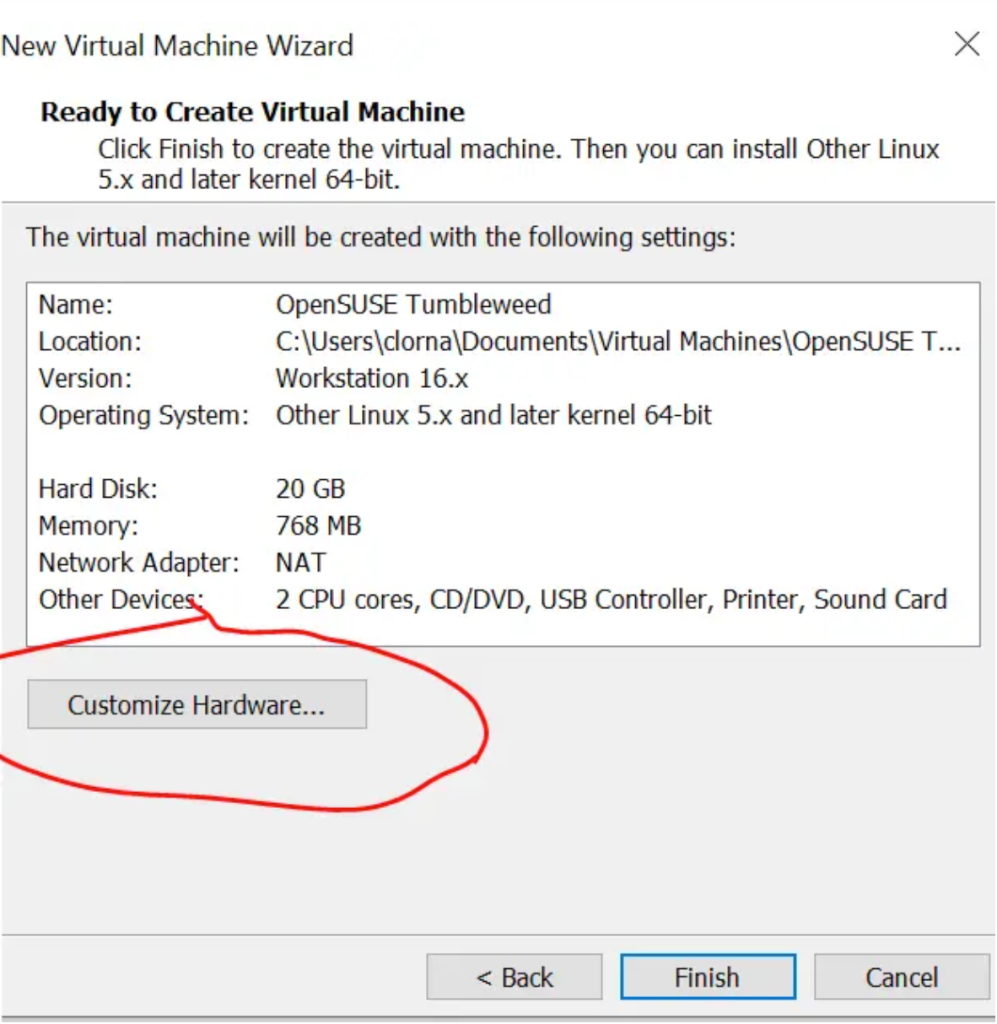
Here, you can edit any other settings and even remove the device you don’t need then click ‘close‘.
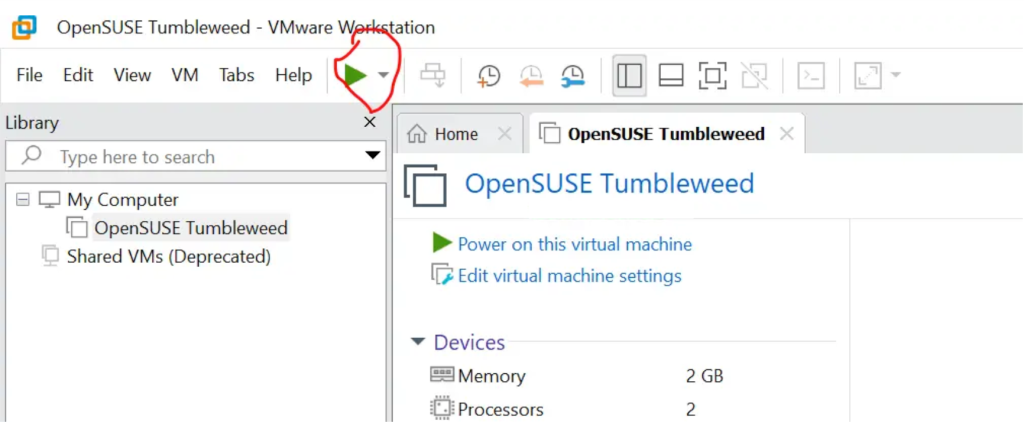
Once done, click ‘finish‘. Next, click on the power button to boot the VM and begin installation.
Select Installation and proceed with the same installation from the same point as in the virtualbox installation.
In this guide, we have seen how to install OpenSUSE Tumbleweed on both VirtualBox and VMware workstation. Select your favourite hypervisor and carefully follow the given steps to get your virtual machine up and running.
I hope the guide has been useful. Check more interesting guides below:


