
When dealing with hosting websites, there are various requirements for IT developers to ensure that websites are working properly. The things mostly checked on include DNS configurations, email settings, FTP and so on. There are tools that offer centralized web hosting management and one of them is Plesk. Other well-know tool is cpanel, which works the same way as Plesk.
The major difference between Plesk and Cpanel is that Cpanel is primary meant for a few Linux distributions whereas Plesk can be installed in many Linux distributions and even on Windows. Both Plesk and Cpanel are web hosting control panels for managing all website related services which include DNS, Email, databases, FTP and so on.
In this tutorial, we are going to see how to install Plesk control panel on Ubuntu 24.04/ Debian 12. The minimum requirements for the installation include:
- RAM – 512MB
- SWAP- 1GB
- Storage- 10GB
Install Plesk Control Panel on Ubuntu or Debian
Installing Plesk control panel on Ubuntu or Debian is quite straight forward and only a few steps are required.
Step 1: Update your server
It is always recommended to ensure that your system packages are up to date before beginning any installation. Once you run the updates, reboot your server to enable the new changes to take effect. Here are the commands:
sudo apt update && sudo apt upgrade -yYou may consider a reboot after upgrade:
[ -e /var/run/reboot-required ] && sudo rebootStep 2: Download Plesk Installer
We require ‘wget’ to enable us to download the Plesk application. If you do not have it, install by running the below command:
sudo apt install wgetNow proceed to download Plesk package as below:
wget http://autoinstall.plesk.com/plesk-installerStep 3: Install Plesk Control Panel
Once downloaded, navigate to the directory downloaded to and make the Plesk installer executable as below:
sudo chmod 755 plesk-installerAnd proceed to install by running the below command:
sudo ./plesk-installerOnce the installer starts running, you will be prompted to agree to the license terms. Enter F and press Enter to continue
The Plesk Installation and Upgrade Wizard will guide you through
the installation or upgrade process.
===============================================================================

------ IMPORTANT ------

* New installation of product(s) should be performed on clean servers only.

* Before upgrading Plesk, be sure to back up your data.

* By using this Wizard you agree to the terms and conditions described at
  http://www.plesk.com/legal/terms/ and those of the Plesk End User
  License Agreement.

Available actions:
(F) Go forward
(Q) Cancel installation

Select an action [F/q]: F
The installation will proceed and you will be prompted if you wold want to be helping Plesk make better products by sharing information with them. Here you can either enter y or n, to accept or reject.
Next, select the installation type for Plesk as below:
Select the installation type for Plesk Obsidian
===============================================================================

Installation types for the product:

 1. (*) Recommended
       Install typically used components. Recommended for general use.

 2. ( ) Full
       Install all available components.

 3. ( ) Custom
       Custom components selection. Recommended only for experienced users.


Available actions:
(F) Go forward
(B) Go back
(Q) Cancel installation

Select an action or a number [F/b/q/1-3]: F
Once you select the installation type, enter F then press Enter to continue. If prompted to have missing packages installed, select F and press Enter to continue
Preparing Your System for Product Installation
===============================================================================

There are 260 packages required for the product to function properly which
were not found in your system.

There are 0 packages that need to be upgraded
in order to install the product.


Available actions:
(F) Go forward
(B) Go back
(Q) Cancel installation
(S) Show the list of packages

Select an action [F/b/q/s]: F
Sample Output:
...
Installation is finished

  	                           Congratulations!

  	The installation has been finished. Plesk is now running on your server.

  	To complete the configuration process, browse either of URLs:
  	  * https://silly-brattain.41-90-9-177.plesk.page/login?secret=5Fr4-Zc4jsdaZ75N3k9Bm4QyEHVhP-KtS3A0g0m36DGmwVDF
  	  * https://192.168.1.188/login?secret=5Fr4-Zc4jsdaZ75N3k9Bm4QyEHVhP-KtS3A0g0m36DGmwVDF

  	Use the username 'admin' to log in. To log in as 'admin', use the 'plesk login' command.
  	You can also log in as 'root' using your 'root' password.

  	Use the 'plesk' command to manage the server. Run 'plesk help' for more info.

  	Use the following commands to start and stop the Plesk web interface:
  	'systemctl start psa.service' and 'systemctl stop psa.service' respectively.

  	If you would like to migrate your subscriptions from other hosting panel
  	or older Plesk version to this server, please check out our assistance
  	options: https://www.plesk.com/professional-services/


The changes were applied successfully.
The packages will be installed to completion. That’s it, Plesk installation is complete.
Step 4: Access Plesk Web Dashboard
If you have an active firewall, you need to open Plesk ports as below, where port 8880 is used without SSL and port 8443 is used with SSL:
sudo ufw allow 8880/tcp
sudo ufw allow 8443/tcp
Now, to complete the configuration process, access Plesk from your browser using the url provided in the Installation Completion message: i.e https://192.168.1.188/login?secret=5Fr4-Zc4jsdaZ75N3k9Bm4QyEHVhP-KtS3A0g0m36DGmwVDF.
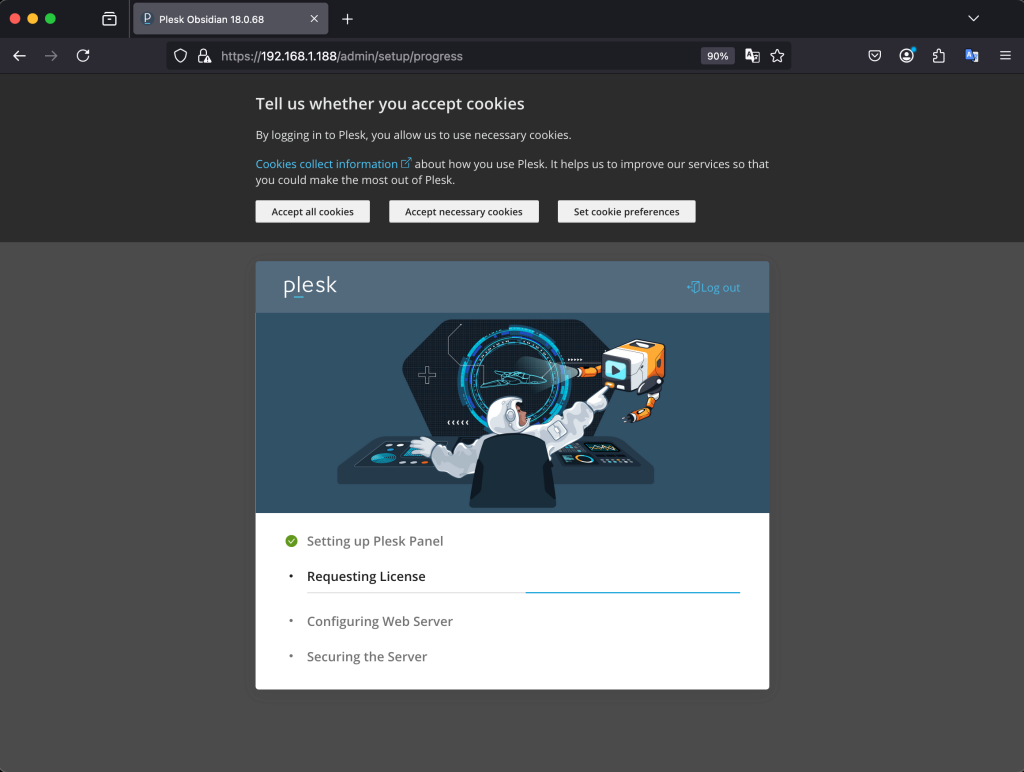
Set the admin password and select your license type then agree to the terms of use:

You should see a page as below:
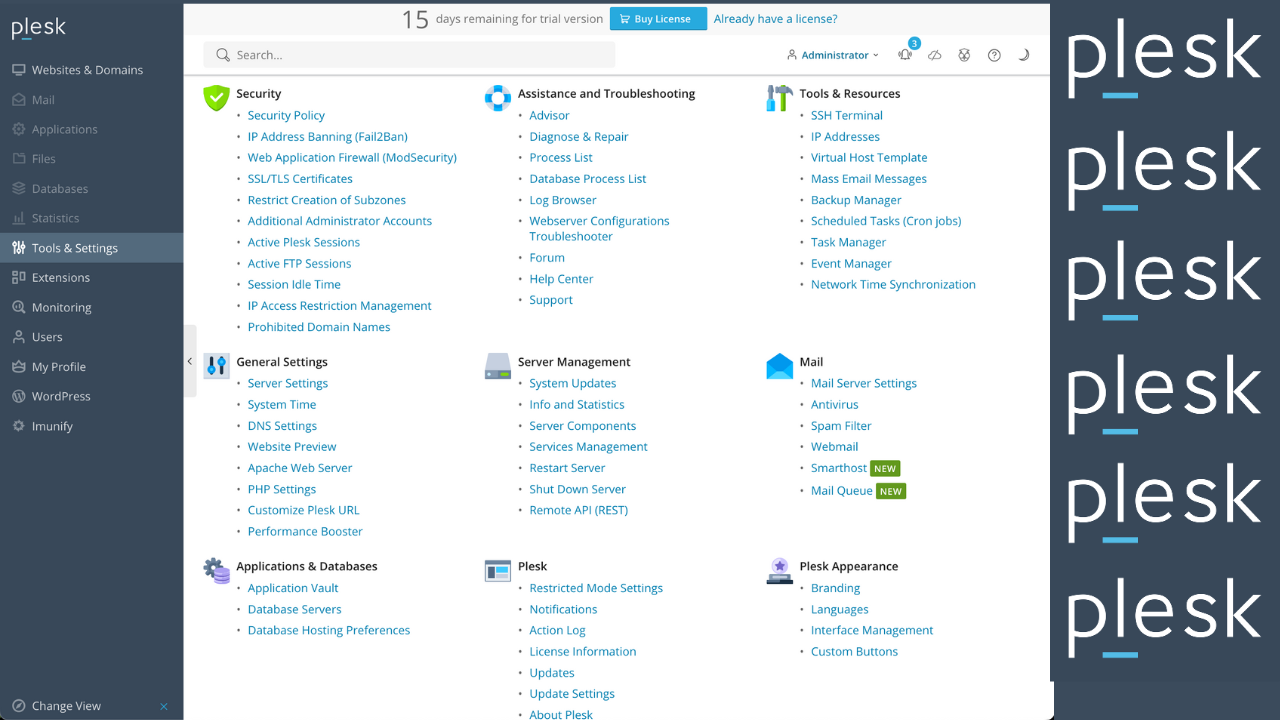
Once it’s done, Plesk is now ready for use. Add a domain to start creating your website:
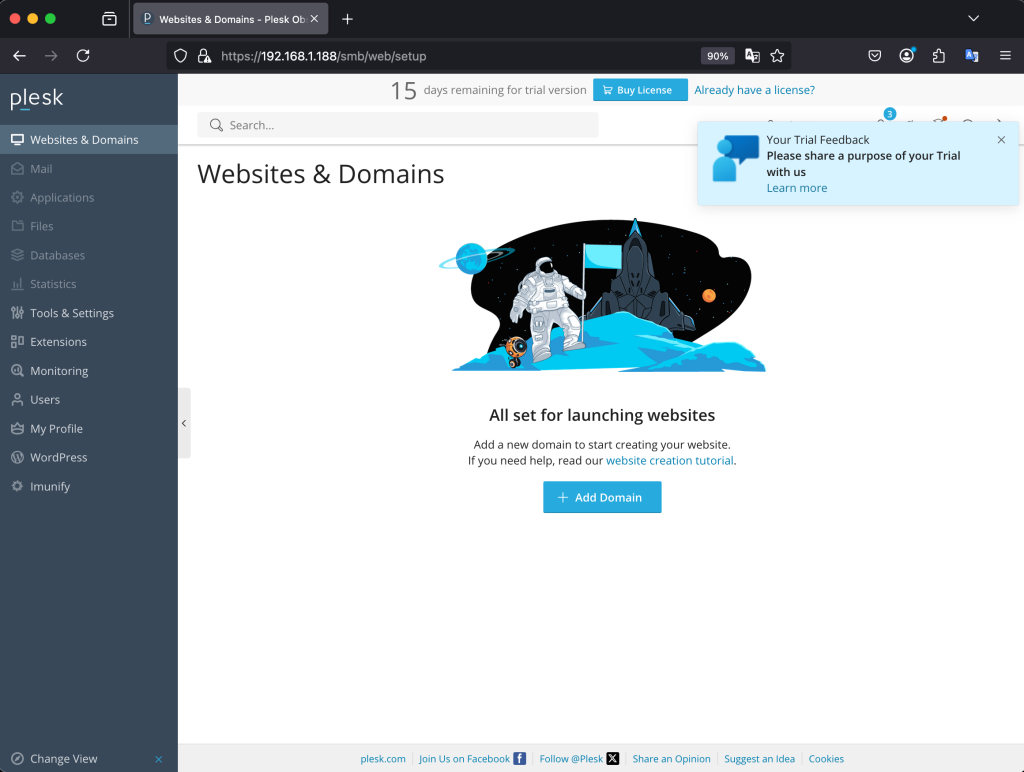
Viola! Enjoy your new web hosting plastform!
That’s it. You have successfully installed Plesk control panel on Ubuntu or Debian. I hope the guide has been helpful. Enjoy using Plesk!


