VMWare is a hypervisor and cloud computing software provider. It was founded in 1998 as a subsidiary of Dell Technologies. It bases its virtualization technologies on its bare metal hypervisor ESX/ESXI in x86 architecture.
Normally a VMWare is installed on a physical machine to allow multiple virtual machines to run on it. Here each VM runs its own Operating System i.e Linux, Windows e.t.c
VMWare has the following features:
- Simplified data center and cloud infrastructure
- Improved networking and security i.e VMWaer NSX
- Has SDDC platform, a software stuck with vSphere, VMware vSAN and VMware NSX
- Increased efficiency and stability of data center systems
- Cloud management platform
- Virtual desktop infrastructure
- Better provisioning of applications and resources
VMware Workstation player and Workstation Pro are VMware applications that can run in their physical machines. VMware player is more basic and non-commercial while VMware Workstation is a more advanced, professional and licensed tool.
Some features are only available in VMware workstation Pro like:
- Snapshots
- Remote vSphere Host Power Control
- Create Linked Clones and full clones
- Virtual Network Customization (NAT, network rename)
- Creating and managing Encrypted VMs
- Virtual Network Simulation (Packet Loss, Latency, Bandwidth
This guide demonstrates how to install VMWare Player/Workstation on Rocky Linux 8.
Step 1: Prepare your system
The minimum host requirements to install VMware workstation Player and Workstation Pro are:
- CPU >1GHz and 64-bit processor
- Memory >2GB RAM
Before we begin the installation, update your system
sudo yum update -yWe then proceed and install the required build tools for VMware on Rocky Linux 8. Let’s add EPEL repositories:
sudo dnf install epel-releaseThen download the kernel headers.
sudo dnf install gcc make perl kernel-devel kernel-headers bzip2 dkms
sudo yum groupinstall "Development Tools"
sudo yum install elfutils-libelf-devel
Update the kernel
sudo dnf update kernel-*Step 2: Install VMWare Player / Workstation
Install VMware Player /workstation on using the below steps:
1: Download VMware workstation
Download VMware Workstation using the below links:
- Vmware Workstation Player
Download the VMware Workstation Player by checking for the latest release on the official download page
When you click download now from the page, you are redirected to another page to choose the one for the Operating system you are using. While there select VMware workstation player for Linux and install the Bundle.
- VMware Workstation Pro.
VMware Workstation Pro latest version can be checked and downloaded by visiting this official download page.
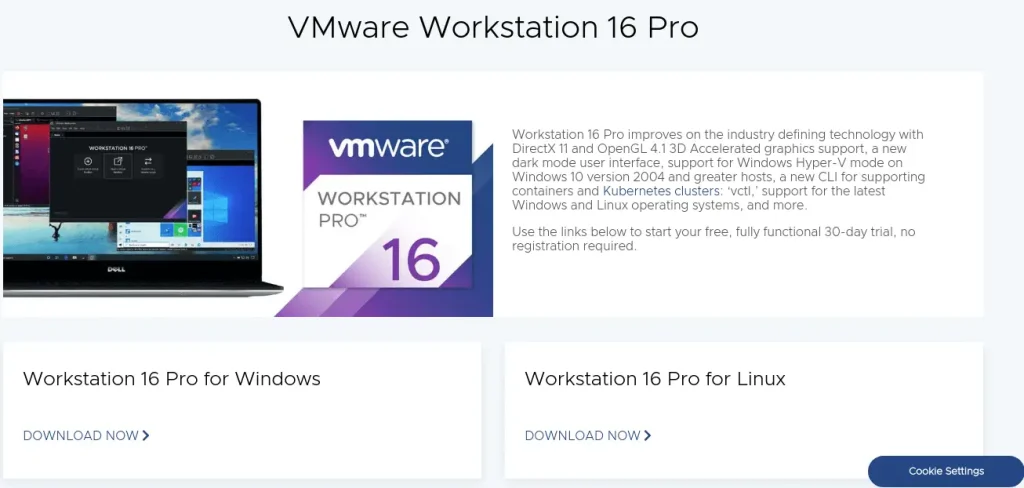
On this page, select Workstation for Linux and proceed with your download.
2: Install VMware Workstation
With the file already downloaded, navigate to the directory. For example I downloaded it in the Downloads directory, so I will acess it using:
cd ~/DownloadsThen make the file executable:
# For VMware Player
chmod +x VMware-Player-*.x86_64.bundle

#For VMware Workstation Pro
chmod +x VMware-Workstation-Full-*.x86_64.bundle
Now we can install VMware Workstation and Player with:
#For VMware Player
sudo ./VMware-Player-*.x86_64.bundle

#For Workstation pro
sudo ./VMware-Workstation-Full-*.x86_64.bundle
The installation begins by first extracting files, then installing the packages:
Extracting VMware Installer...done.
Installing VMware Installer 3.0.0
    Copying files...
[################                                                      [################                                                        [################                                                      [################....
..........
    Configuring...
[######################################################################] 100%
Installation was successful.
Then install the VMware Modules vmmon and vmnet:
git clone https://github.com/mkubecek/vmware-host-modules.git
cd vmware-host-modules
git checkout workstation-17.0.2
make
make install
/etc/init.d/vmware start
Step 3: Using VMware Player / VMware Workstation
With VMware installed on Rocky /AlmaLinux 8, let’s try and use it by installing Ubuntu server LTS from an ISO file.
First launch VMware by navigating to the App Menu/Activities.
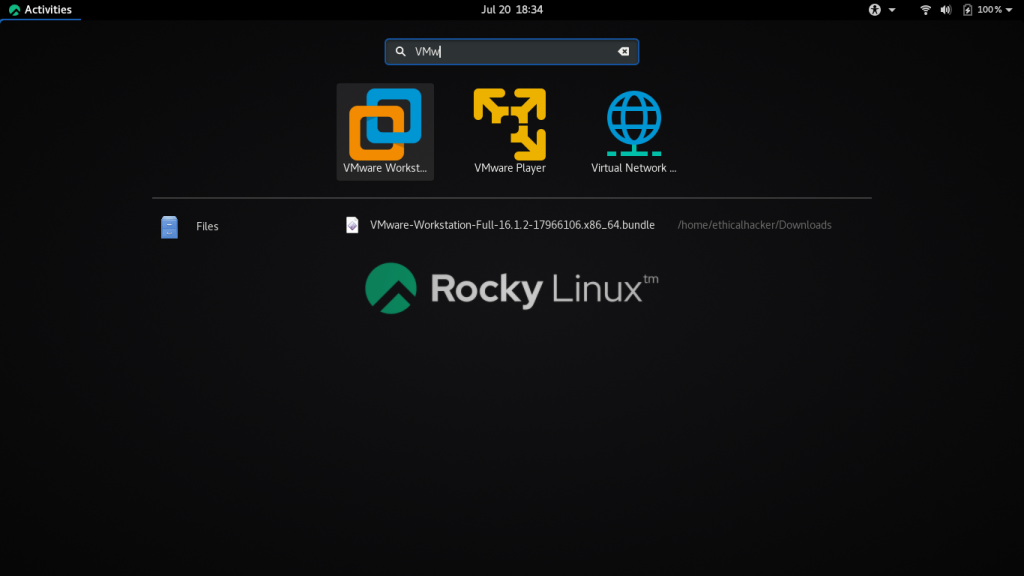
Accept the License Terms
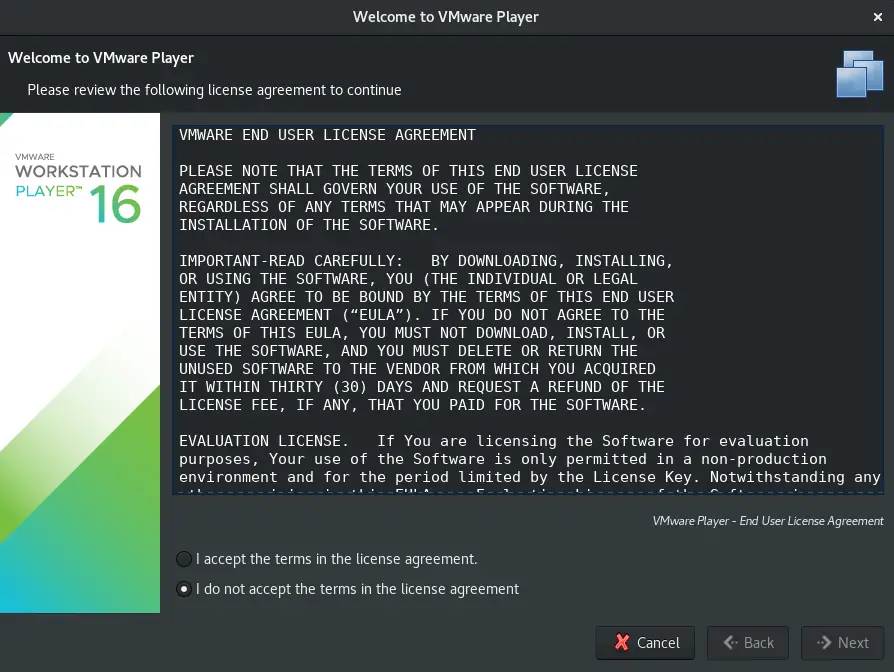
Accept updates for VMware.
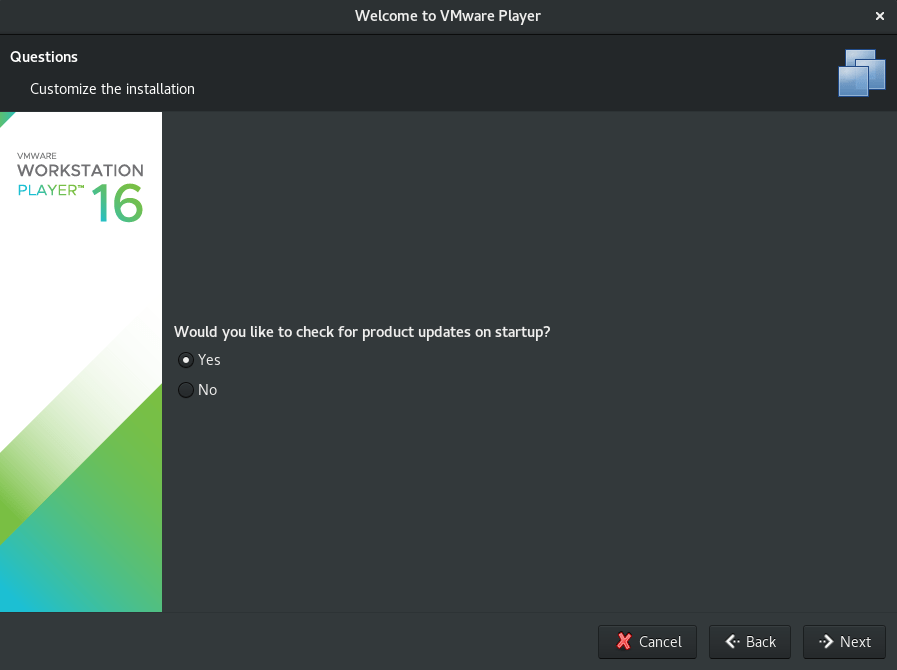
Answer the Question asked.
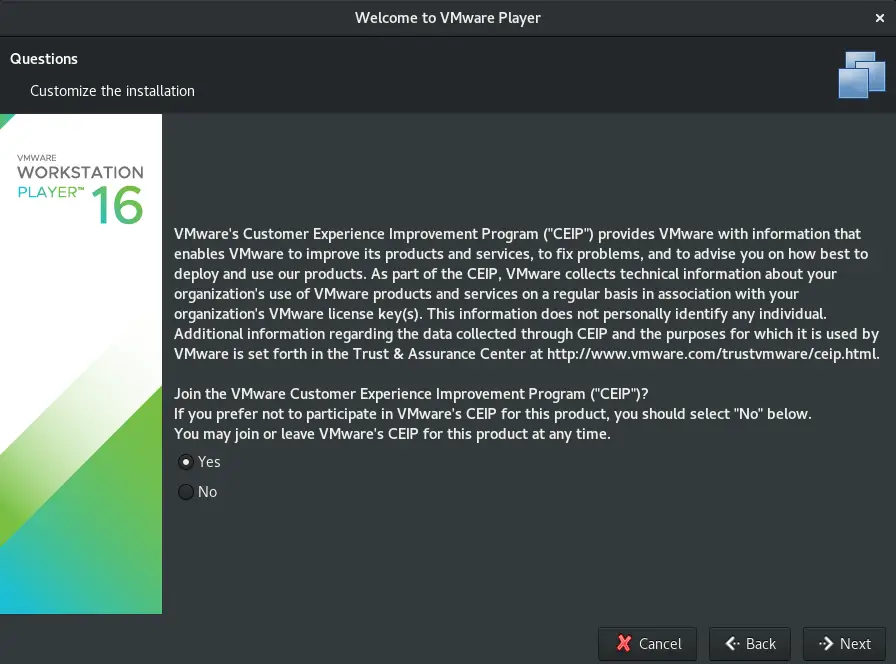
Enter the License key for commercial use. If you don’t have, choose the second option.
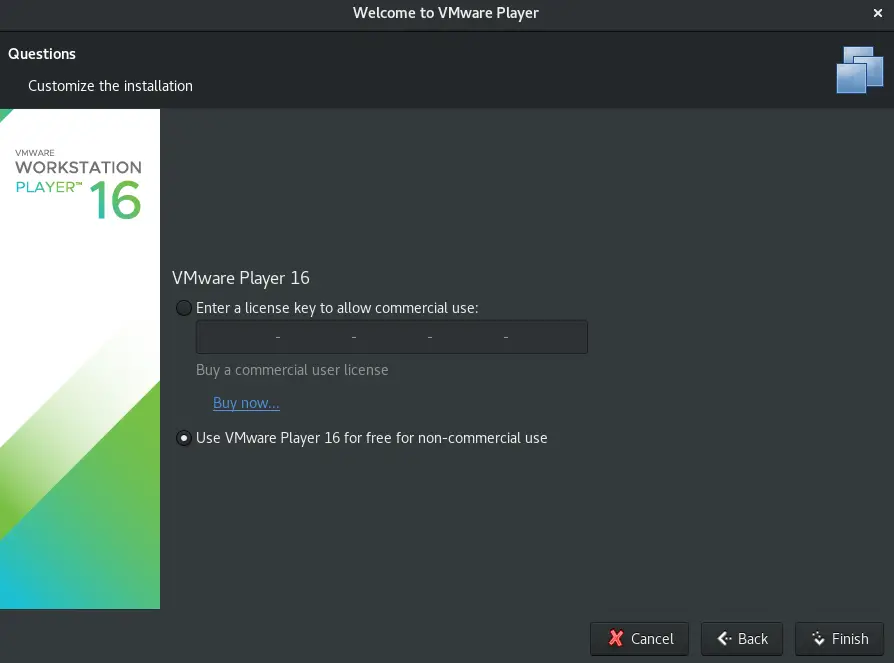
You will see this popup after these settings.
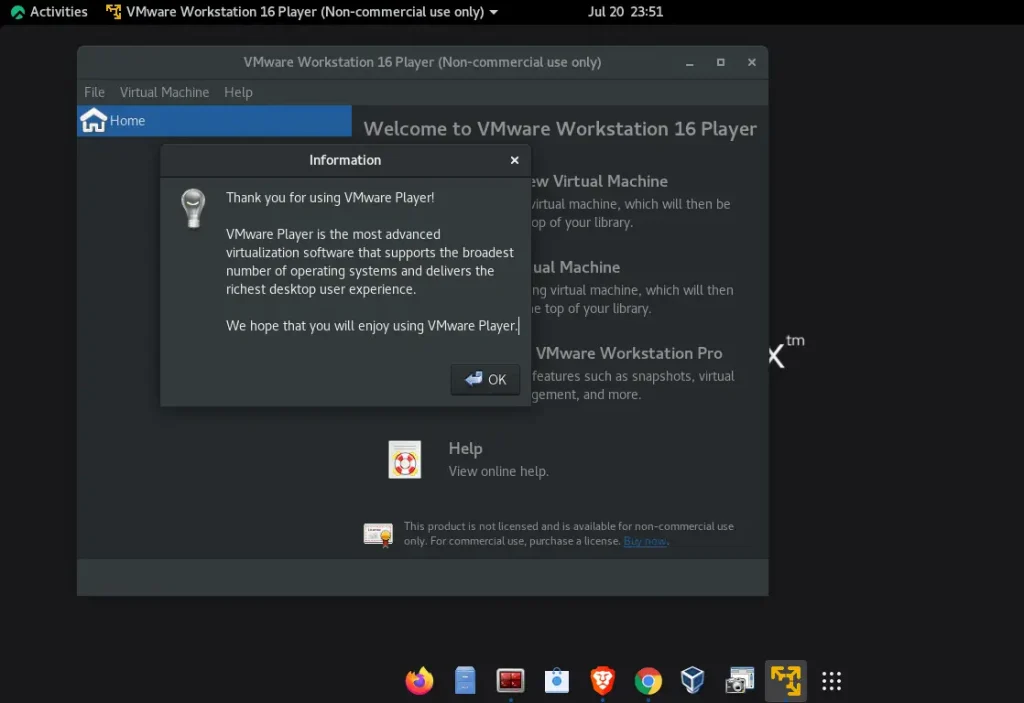
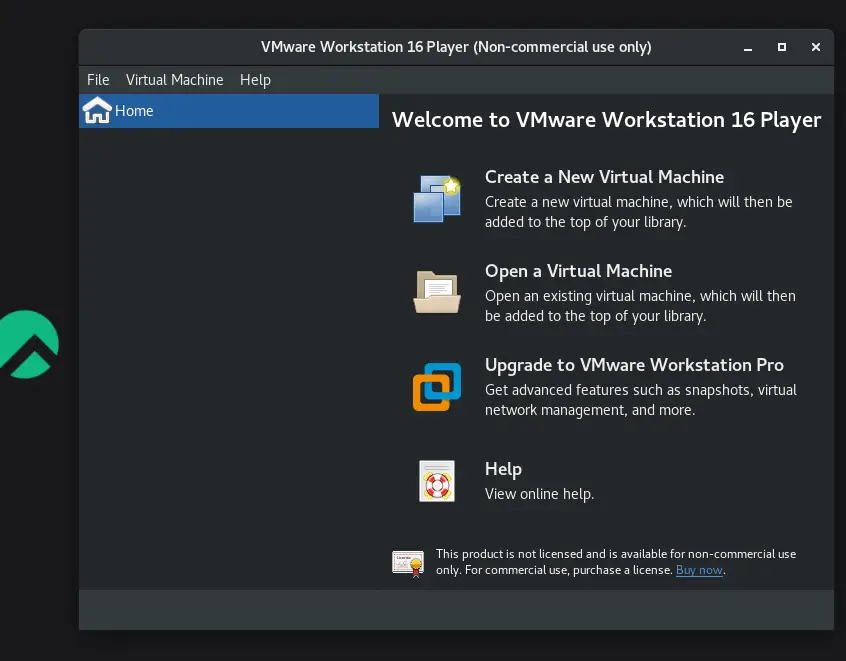
You are now set to go. You can now create a Virtual machine while on this page by clicking on “create a New Virtual machine“
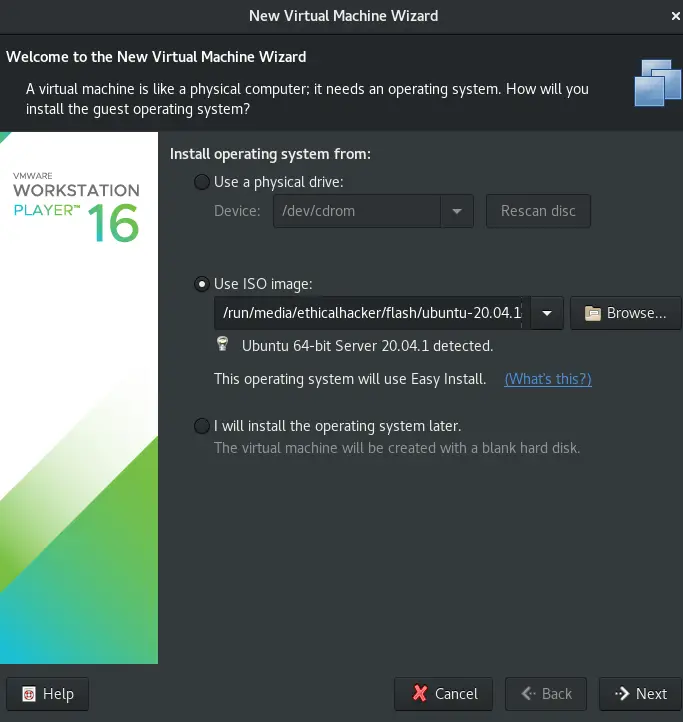
Let’s proceed and create a virtual machine by first mounting an ISO file to the Virtual Machine. Locate it in the files and load it.
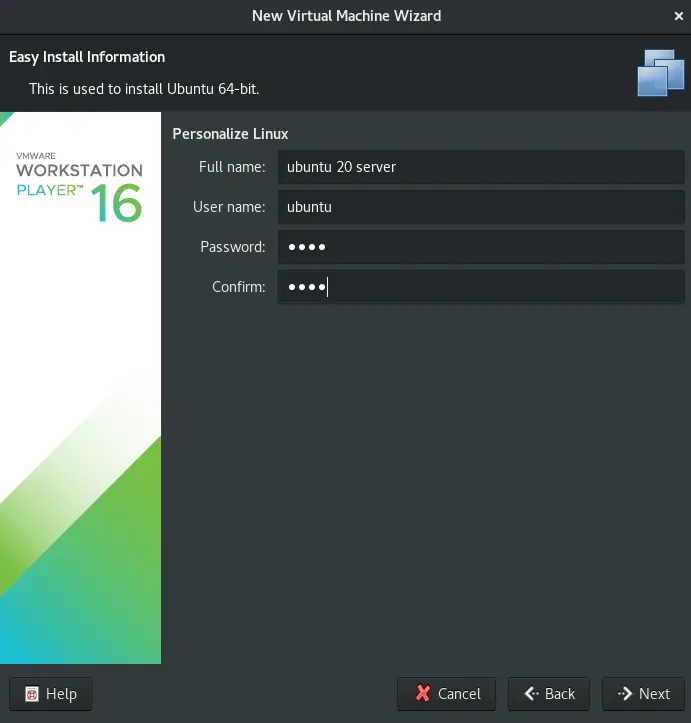
Set the Virtual machine’s name, username and password
Then set a location storage disk for the Virtual Machine.
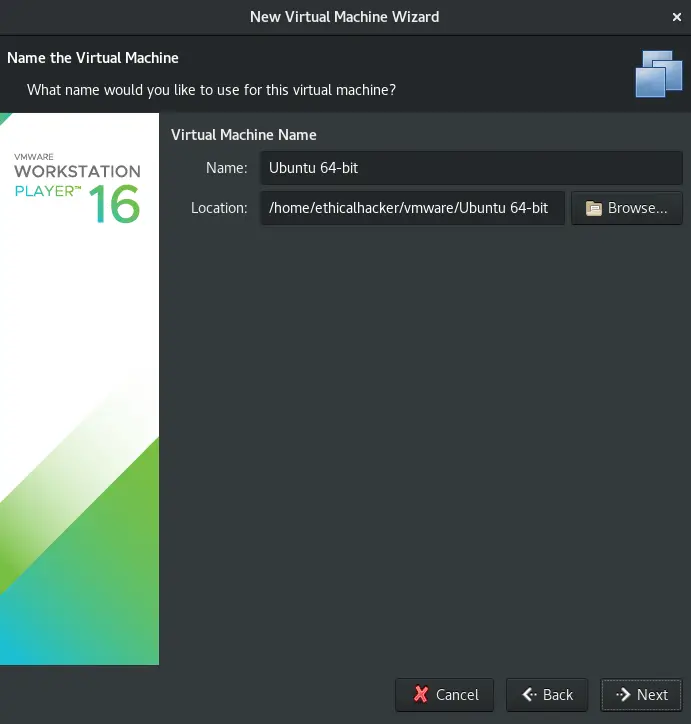
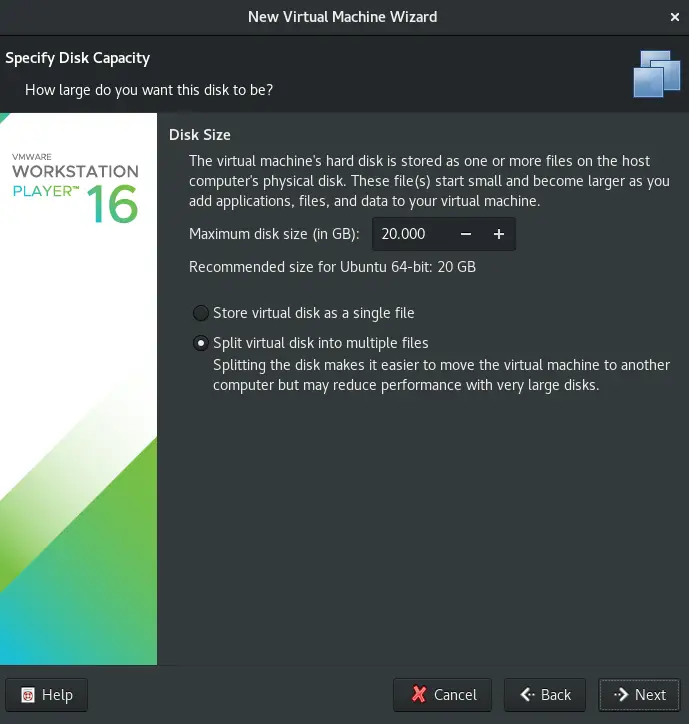
Create the hard disk size
After all the above settings, You will see this page. Here you are required to check and approve the settings made for the new Virtual Machine. You can make changes by clicking at “Customize hardware” to change, either the Memory, storage space e.t.c
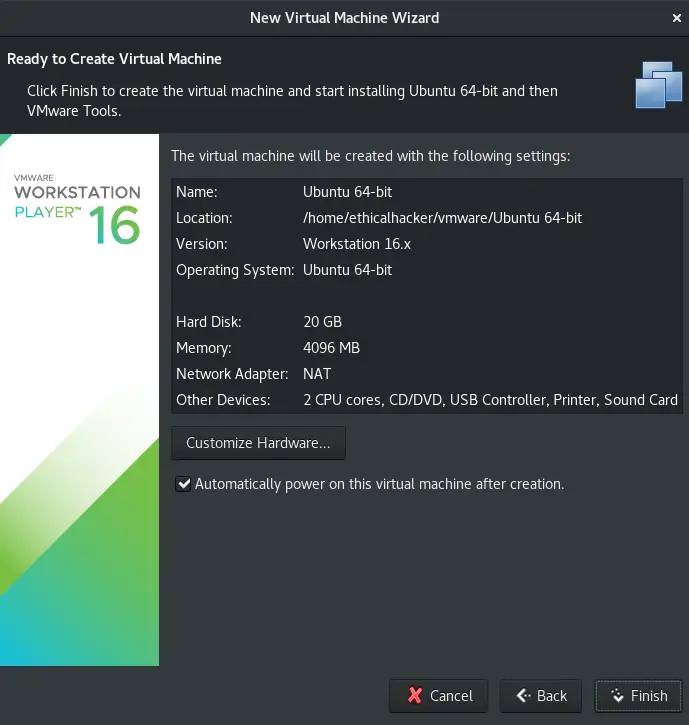
When you click Finish, you have approved the settings and a Virtual Machine with the set configurations is created. Click close and proceed with the normal installation for the Operating System you are installing. For me it is Ubuntu 20.04 server
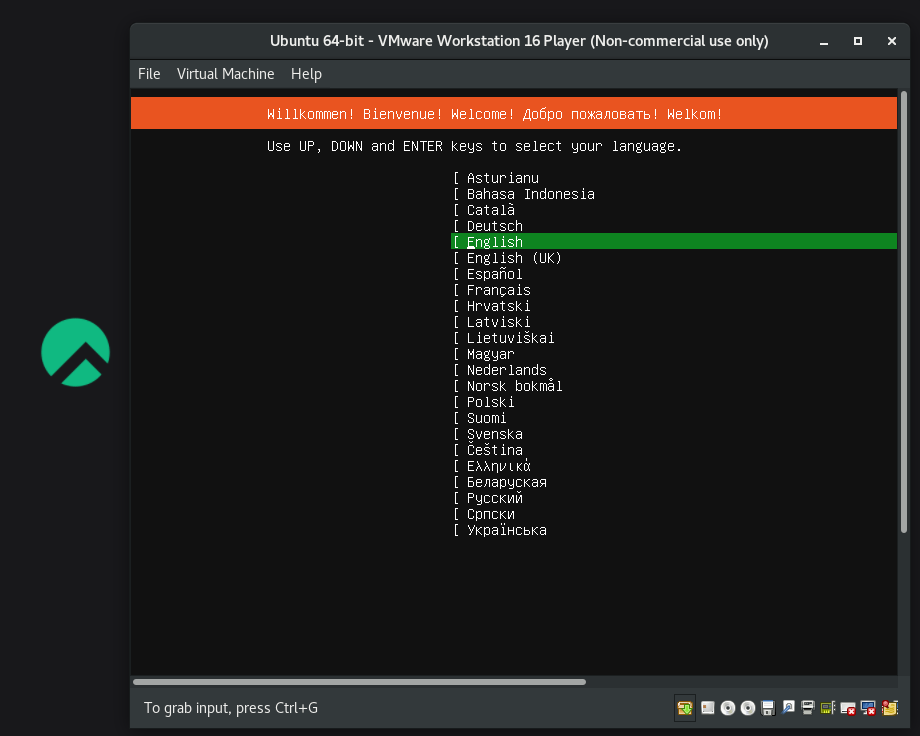
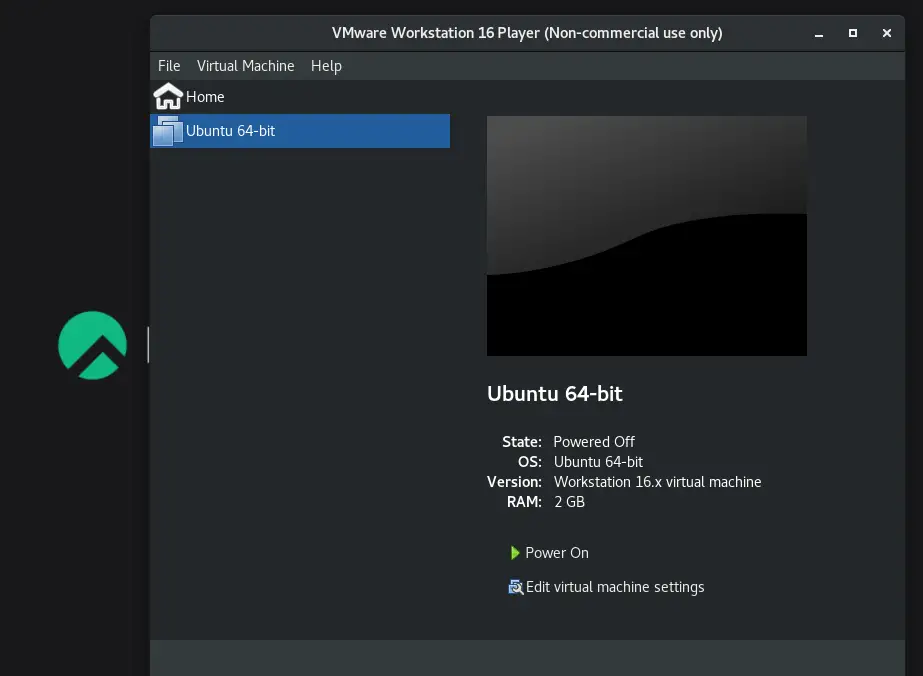
After a complete installation, unmount the ISO file by clicking “Edit virtual machine settings” on the created VM then select the ISO and remove it. Then launch your Virtual Machine by clicking “Power On“
Fixing “VMWare Kernel Module Updater” error
Clone patching code from gihub
sudo dnf -y install git
git clone https://github.com/mkubecek/vmware-host-modules.git
Build VMware host modules
cd vmware-host-modules
make
sudo make install
Reboot the system:
sudo rebootConclusion
That is it! You have installed VMWare Player / Workstation on Rocky / AlmaLinux 8 machine. We have also seen how easy it is to create a Virtual Machine using Workstation.

