Today’s guide will show you how to install WordPress with Nginx and Let’s Encrypt on Rocky Linux 9|AlmaLinux 9. WordPress is a PHP-based content management system that works with either a MySQL or MariaDB server. A plugin infrastructure and a template system, known to as Themes in WordPress, are among the features. WordPress began as a content marketing platform, but it has now expanded to include more typical mailings and discussions, as well as media galleries, internet forums, learning management systems (LMS), and online commerce. WordPress is amongst the most widely used CMS, with 42.8 percent of the top 10 million sites using it as of October 2021.
Features of WordPress CMS
WordPress have the following amazing features:
- Posting of News and Blogs at One Place.
- Rollback Versioning and Restore Deleted Pages.
- Pages, posts, products, and more are all unlimited.
- Manage your website’s content with ease.
- Links, movies, and other multimedia can be embedded.
- To create links, paste URLs into the Visual Editor.
- Website security that is managed.
- Dashboard widgets can be added, moved, and deleted.
- Accessibility Mode for Widgets.
- Image retouching.
Install WordPress with Nginx on Rocky Linux 9 / AlmaLinux 9
The steps below will walk you through installing WordPress on Rocky Linux 9|AlmaLinux 9 with Nginx and Let’s Encrypt.
Step 1: System Updates
We all the Linux users to update their systems before running any installation. Run the following commands to update Rocky Linux 9|AlmaLinux 9 system:
sudo dnf update -yStep 2: Install Nginx web server
The following command can be used to install the Nginx web server:
sudo dnf install nginx -yStart and enable nginx after successful installation:
sudo systemctl start nginx
sudo systemctl enable nginx
Step 3: Install MariaDB Database server
We will install MariaDB database server as follows:
sudo dnf install mariadb-server mariadb -yStart and enable MariaDB.
sudo systemctl enable --now mariadbSet the root user password for the database:
sudo mysql_secure_installationAccess the root user shell after the database server has been installed:
sudo mysql -u rootNow, create a database and user for WordPress:
CREATE DATABASE wordpressdb;
CREATE USER 'wordpressuser'@'localhost' identified by 'StrongPassword';
GRANT ALL PRIVILEGES ON wordpressdb.* TO 'wordpressuser'@'localhost';
FLUSH PRIVILEGES;
QUIT;
Remember to replace StrongPassword with the password for your database user.
Verify that the user can login to the database using the password provided:
[root@rocky9 ~]#  mysql -u wordpressuser -p
Enter password:
Welcome to the MariaDB monitor.  Commands end with ; or \g.
Your MariaDB connection id is 12
Server version: 10.5.22-MariaDB MariaDB Server

Copyright (c) 2000, 2018, Oracle, MariaDB Corporation Ab and others.

Type 'help;' or '\h' for help. Type '\c' to clear the current input statement.

MariaDB [(none)]> SHOW DATABASES;
+--------------------+
| Database           |
+--------------------+
| information_schema |
| wordpressdb        |
+--------------------+
2 rows in set (0.001 sec)

MariaDB [(none)]>
Step 4: Install PHP and required Extensions
WordPress is powered by PHP, which comes pre-installed on Rocky Linux 9|AlmaLinux 9. We’ll set up PHP and the necessary extensions.
sudo dnf install php php-mysqlnd php-dom php-simplexml php-xml php-xmlreader php-curl php-exif php-ftp php-gd php-iconv php-json php-mbstring php-posix php-sockets php-tokenizer php-common php-gmp php-intl php-zip unzip -yStep 5: Install WordPress CMS
Before we can proceed let’s install the following packages first:
sudo dnf install wget vim -yDownload the latest WordPress as follows in it’s Download’s page:
wget https://wordpress.org/latest.tar.gzRun the following command to extract the archive when it has been downloaded successfully:
tar xvf latest.tar.gzMove the resulting directory to your Web Document Root:
sudo mv wordpress /var/www/wpConfigure WordPress Database connection:
cd /var/www/wp
sudo cp wp-config-sample.php wp-config.php
Edit wp-config.php and make the following changes:
$ sudo vim wp-config.php
define('DB_NAME', 'wordpressdb');
define('DB_USER', 'wordpressuser');
define('DB_PASSWORD', 'StrongPassword');
Remember to replace according to your WordPress database created above.
Change the owner of /srv/my-site to a web user:
sudo chown -R nginx:nginx /var/www/wp
sudo chmod -R 775 /var/www/wp
Step 6: Configure Nginx Web Server
We’ll need to create a Virtual Host configuration file for our WordPress website.
sudo vim /etc/nginx/conf.d/wp.confAdd the following content:
server {
        listen 80;
        server_name blog.cloudspinx.com;

        root /var/www/wp;

        index index.html index.php;

        access_log /var/log/nginx/access.log;
        error_log /var/log/nginx/error.log;

        location = /favicon.ico {
        log_not_found off;
        access_log off;
    }

    location = /robots.txt {
        allow all;
        log_not_found off;
        access_log off;
    }

    location / {
        try_files $uri $uri/ /index.php?$args;
    }

    location ~ \.php$ {
        try_files $uri =404;
        fastcgi_pass unix:/run/php-fpm/www.sock;
        fastcgi_index   index.php;
        fastcgi_param SCRIPT_FILENAME $document_root$fastcgi_script_name;
        include fastcgi_params;
    }
    location ~* \.(js|css|png|jpg|jpeg|gif|ico|svg)$ {
        expires max;
        log_not_found off;
    }
}
In www.conf file located in /etc/php-fpm.d/ directory,find user and group and replace apache with nginx as shown below.
$ sudo vim /etc/php-fpm.d/www.conf
; RPM: apache user chosen to provide access to the same directories as httpd
user = nginx
; RPM: Keep a group allowed to write in log dir.
group = nginx
Restart php-fpm:
sudo systemctl restart php-fpmNow verify the configuration syntax above:
$ sudo nginx -t
nginx: the configuration file /etc/nginx/nginx.conf syntax is ok
nginx: configuration file /etc/nginx/nginx.conf test is successful
Restart Nginx Web server:
sudo systemctl restart nginxRun the following commands to enable port 80/443 to pass through the firewall:
sudo firewall-cmd --zone=public --permanent --add-port 80/tcp
sudo firewall-cmd --zone=public --permanent --add-port 443/tcp
sudo firewall-cmd --reload
To configure SELinux, allow network connections to the webserver first.
sudo setsebool -P httpd_can_network_connect 1Set the SELinux contexts WordPress directory after that.
sudo semanage fcontext -a -t httpd_sys_rw_content_t "/var/www/wp(/.*)?"
sudo restorecon -Rv /var/www/wp
Step 7: Finish WordPress installation on web
To finish installing WordPress on Rocky Linux 9|AlmaLinux 9, open a browser and go to http://blog.example.com to access your WordPress site.
The name blog.example.com should have an A record mapped on your system.
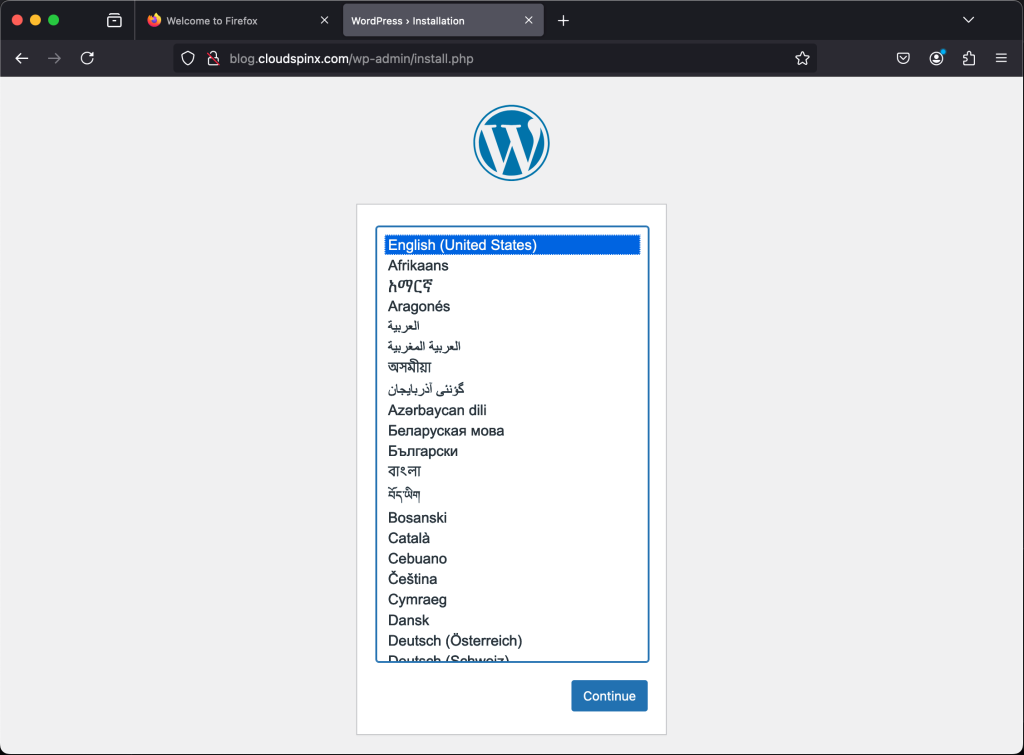
Choose your preferred Language
Provide Site Title, Admin username, Password and Email Address.
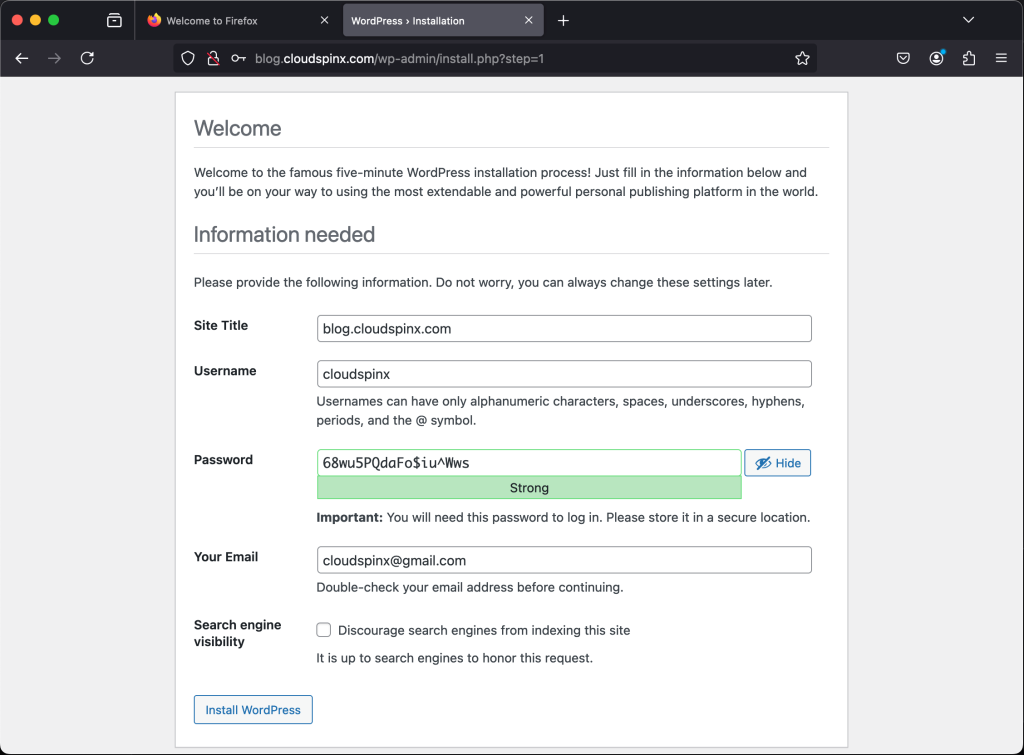
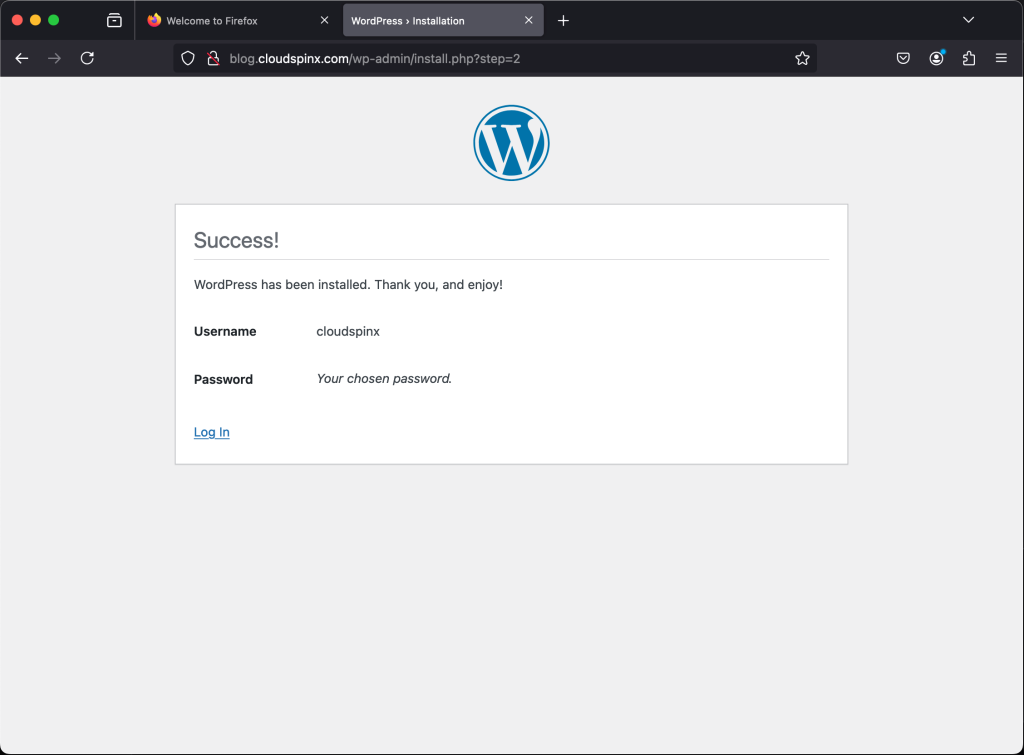
To complete WordPress installation, click the Install WordPress button.
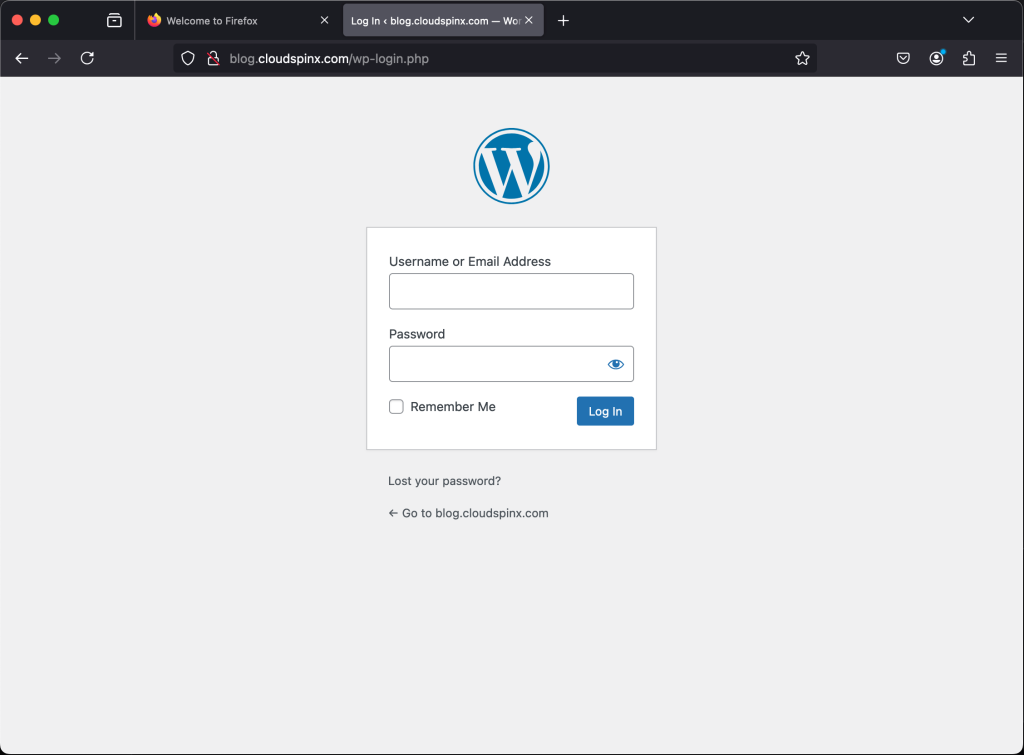
Use the username and password you created to access the WordPress Administration Dashboard.
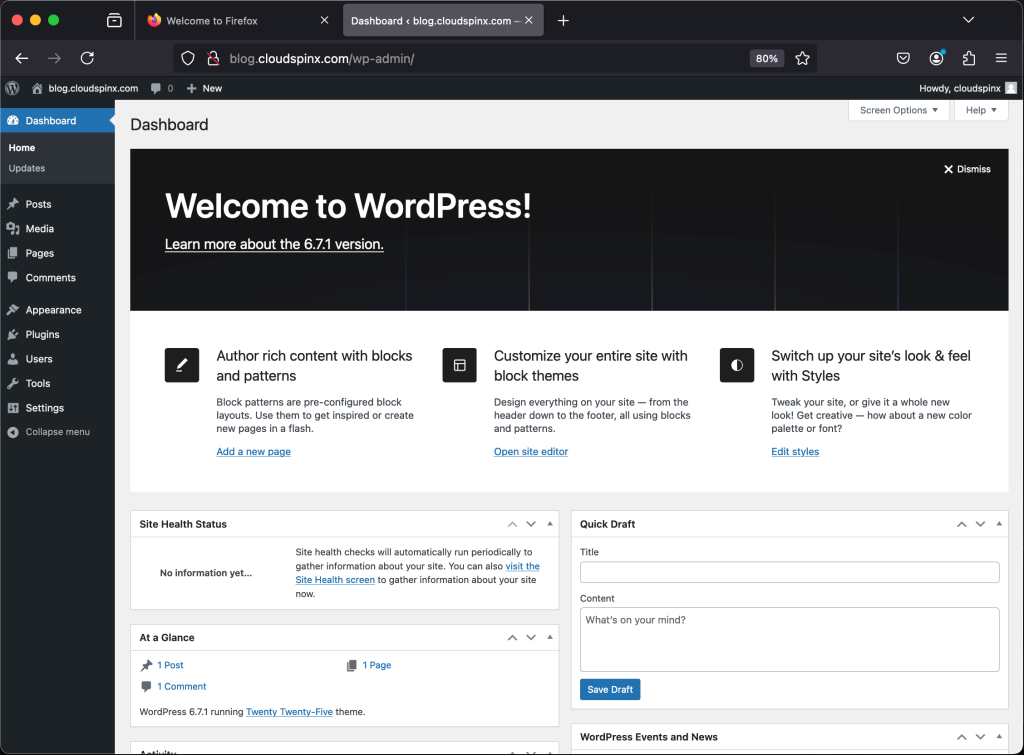
You should now be on the WordPress Dashboard, which is as seen below.
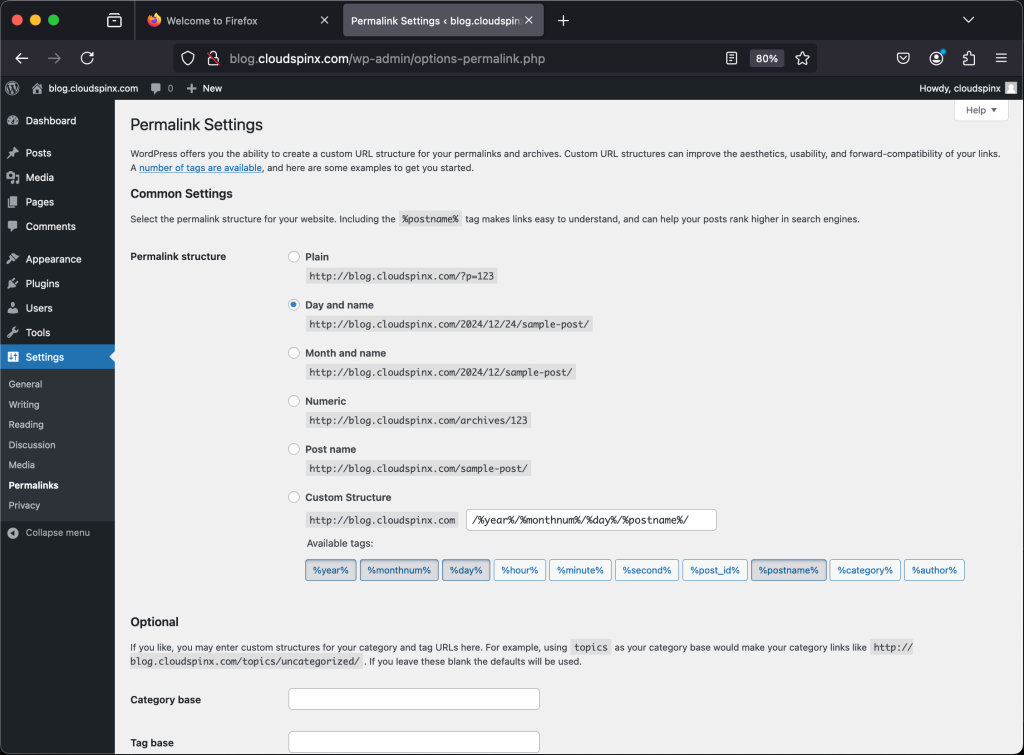
Changing WordPress Permalink
To set permalinks, click on Settings ->Permalinks and adjust accordingly.
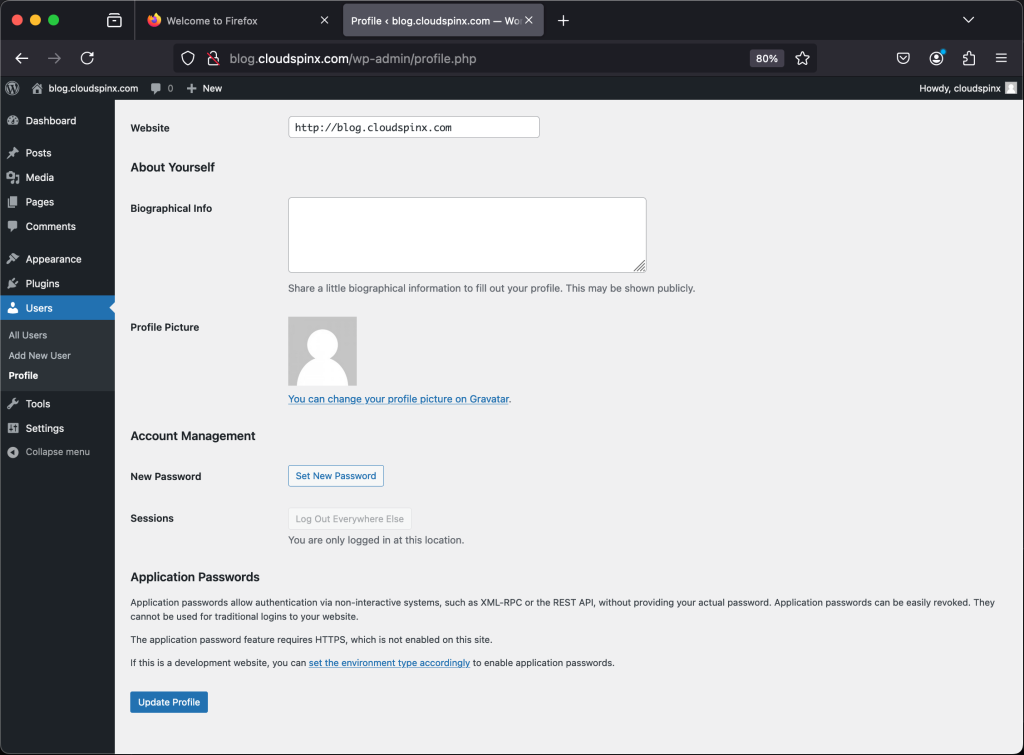
Changing WordPress Password and Email
To change password and email, click on Users ->Profile.
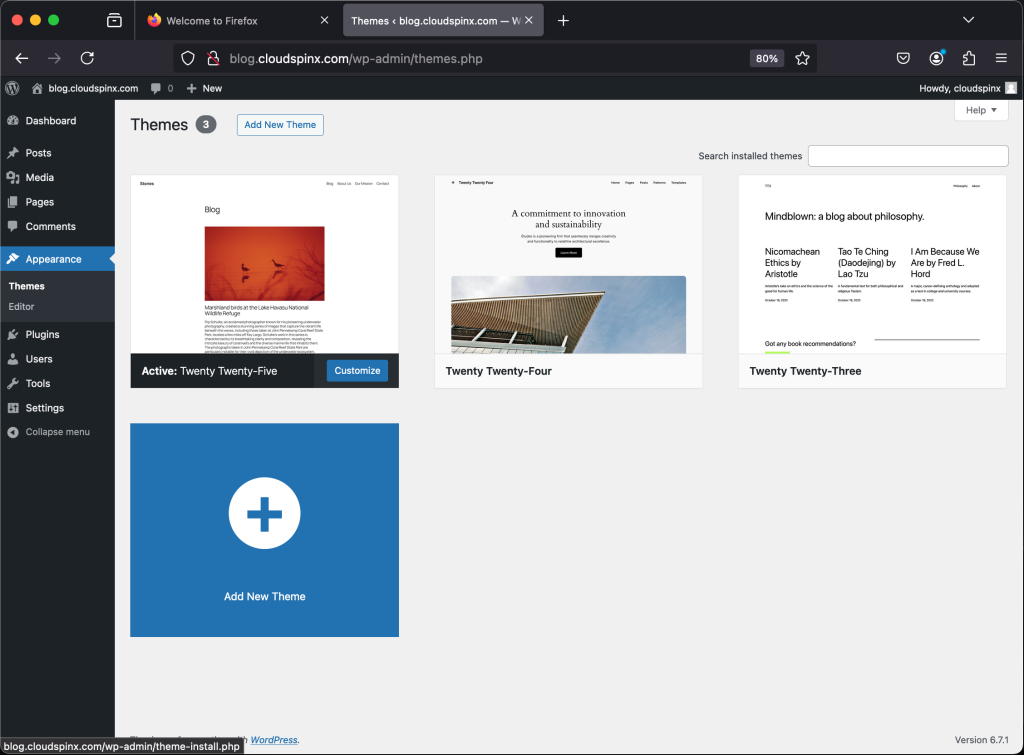
Changing WordPress Themes
Click on Appearance ->Themes and install your favorite theme.
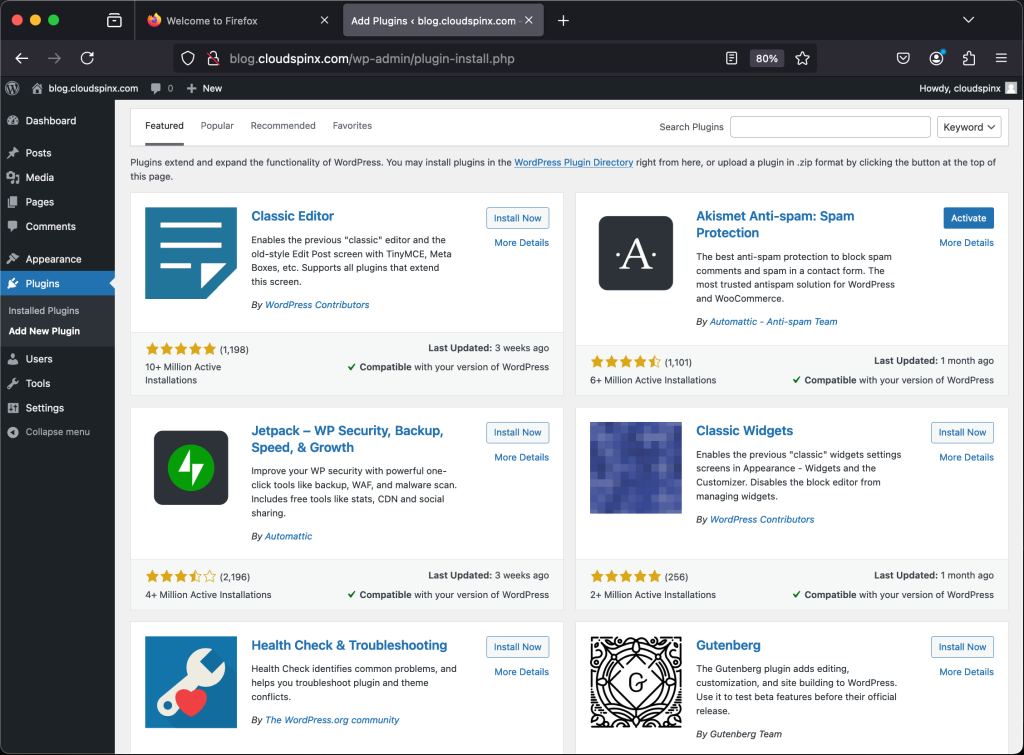
Installing WordPress Plugins
Click on Plugins -> Add New and select the plugin to install.
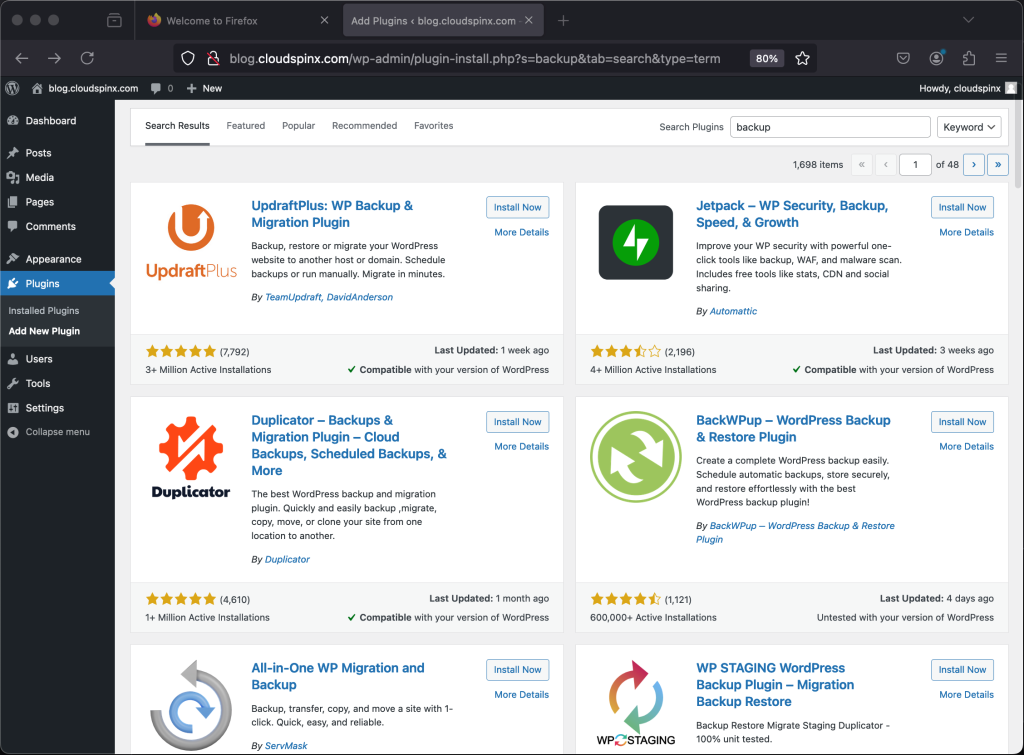
Configuring WordPress Backups
Backups can be done by installing backup plugin as shown below.
Secure WordPress Site with Let’s Encrypt SSL
To protect our WordPress site, we’ll utilize the Certbot tool to install Let’s Encrypt SSL and generate a free SSL certificate. Use the following command to install the Certbot tool:
sudo dnf install epel-release -y
sudo dnf install certbot python3-certbot-nginx -y
Let’s generate a free Let’s Encrypt SSL certificate for Nginx after installing Certbot.
sudo certbot --nginxYou will be asked to provide your email address, which you should do, as well as a series of questions.
Saving debug log to /var/log/letsencrypt/letsencrypt.log
Enter email address (used for urgent renewal and security notices)
 (Enter 'c' to cancel): [email protected]

- - - - - - - - - - - - - - - - - - - - - - - - - - - - - - - - - - - - - - - -
Please read the Terms of Service at
https://letsencrypt.org/documents/LE-SA-v1.4-April-3-2024.pdf. You must
agree in order to register with the ACME server. Do you agree?
- - - - - - - - - - - - - - - - - - - - - - - - - - - - - - - - - - - - - - - -
(Y)es/(N)o: Y

- - - - - - - - - - - - - - - - - - - - - - - - - - - - - - - - - - - - - - - -
Would you be willing, once your first certificate is successfully issued, to
share your email address with the Electronic Frontier Foundation, a founding
partner of the Let's Encrypt project and the non-profit organization that
develops Certbot? We'd like to send you email about our work encrypting the web,
EFF news, campaigns, and ways to support digital freedom.
- - - - - - - - - - - - - - - - - - - - - - - - - - - - - - - - - - - - - - - -
(Y)es/(N)o: Y
Account registered.
Please enter the domain name(s) you would like on your certificate (comma and/or
space separated) (Enter 'c' to cancel): blog.cloudspinx.com
Requesting a certificate for blog.cloudspinx.com

Successfully received certificate.
Certificate is saved at: /etc/letsencrypt/live/blog.cloudspinx.com/fullchain.pem
Key is saved at:         /etc/letsencrypt/live/blog.cloudspinx.com/privkey.pem
This certificate expires on 2030-01-05.
These files will be updated when the certificate renews.
Certbot has set up a scheduled task to automatically renew this certificate in the background.

Deploying certificate
Successfully deployed certificate for blog.techopszen.com to /etc/nginx/nginx.conf
Congratulations! You have successfully enabled HTTPS on https://blog.cloudspinx.com
We were unable to subscribe you the EFF mailing list because your e-mail address appears to be invalid. You can try again later by visiting https://act.eff.org.

- - - - - - - - - - - - - - - - - - - - - - - - - - - - - - - - - - - - - - - -
If you like Certbot, please consider supporting our work by:
 * Donating to ISRG / Let's Encrypt:   https://letsencrypt.org/donate
 * Donating to EFF:                    https://eff.org/donate-le
- - - - - - - - - - - - - - - - - - - - - - - - - - - - - - - - - - - - - - - -
As previously mentioned, we used Let’s Encrypt SSL to secure our WordPress site.
You can now access your WordPress site using https://blog.cloudspinx.com/link.
Is Your WordPress Website Stuck in the Slow Lane?Upgrade to CloudSpinx Hosting and Take the Wheel! Do you dream of a lightning-fast, secure, and user-friendly WordPress website that attracts visitors and converts them into loyal customers? At CloudSpinx Hosting, we turn those dreams into reality.
Conclusion
Fantastic! We’ve shown how to install WordPress with Nginx and Let’s Encrypt on Rocky Linux 9|AlmaLinux 9, as well as how to secure WordPress with Let’s Encrypt SSL up to this point. We hope you find this guide’s content to be useful.
Check out these guides:

