This guide is written to help you with the installation and usage of XAMPP on Rocky Linux 8 | AlmaLinux 8 | Oracle Linux 8. XAMPP is a free to use and open source software application packaged with Apache(web server), MariaDB(database server), PHP, and Perl programming languages. XAMPP has an installer script for Linux, Windows and macOS operating systems.
XAMPP application platform is build specifically for developers working on their Laptops or Desktop Computers. It enables them to build, deploy and test web applications without worrying about server hosting requirements. If you’re a freelancer and would like to demo an application in 5 minutes, XAMPP can really come in handy.
Before we can install XAMPP on Rocky Linux 8 | AlmaLinux 8 | Oracle Linux 8, let’s check the setup requirements:
- User account with sudo privileges
- SSH Access to the local machine machine or direct terminal on Desktop session – Rocky Linux 8 | AlmaLinux 8 | Oracle Linux 8
- Internet access from the machine – we’ll download the package from internet
Let’s change the gear and engage installation process.
Step 1: Update your Linux system
We usually recommend an update on your system packages before you perform any new installations. This is mostly applicable to systems where applications won’t break from upgrade.
sudo dnf -y updateInstall libnsl package:
sudo dnf install wget libnsl -yAfter a successful upgrade, perform a reboot:
sudo rebootStep 2: Download XAMPP on Rocky|Alma|Oracle Linux
Visit the XAMPP Downloads website and get the latest release of XAMPP matching desired PHP version for your application requirements. For convenience, we’ll provide the download links for all major recent releases of PHP.
XAMPP with PHP 8.2:
wget https://sourceforge.net/projects/xampp/files/XAMPP%20Linux/8.2.12/xampp-linux-x64-8.2.12-0-installer.runXAMPP with PHP 8.1:
wget https://sourceforge.net/projects/xampp/files/XAMPP%20Linux/8.1.25/xampp-linux-x64-8.1.25-0-installer.runXAMPP with PHP 8.0:
wget https://sourceforge.net/projects/xampp/files/XAMPP%20Linux/8.0.30/xampp-linux-x64-8.0.30-0-installer.runStep 3: Install XAMPP On Rocky Linux 8 | AlmaLinux 8 | Oracle Linux 8
Once the application has been downloaded give it execution bits.
sudo chmod a+x xampp-linux-*-installer.runThen run the installer script.
### PHP 8.2 example ###
sudo ./xampp-linux-x64-8.2.12-0-installer.run

### PHP 8.1 example ###
sudo ./xampp-linux-x64-8.1.25-0-installer.run

### PHP 8.0 example ###
sudo ./xampp-linux-x64-8.0.30-1-installer.run
Terminal based installations (No GUI)
In the Welcome screen, select components to install.
----------------------------------------------------------------------------
Welcome to the XAMPP Setup Wizard.

----------------------------------------------------------------------------
Select the components you want to install; clear the components you do not want
to install. Click Next when you are ready to continue.

XAMPP Core Files : Y (Cannot be edited)

XAMPP Developer Files [Y/n] :
Is the selection above correct? [Y/n]: y
Set / Confirm installation directory:
----------------------------------------------------------------------------
Installation Directory

XAMPP will be installed to /opt/lampp
Press [Enter] to continue:

----------------------------------------------------------------------------
Wait for few seconds while Setup installs XAMPP on your system.
Setup is now ready to begin installing XAMPP on your computer.

Do you want to continue? [Y/n]: y

----------------------------------------------------------------------------
Please wait while Setup installs XAMPP on your computer.

 Installing
 0% ______________ 50% ______________ 100%
#########################################
You should get success message at the end:
----------------------------------------------------------------------------
Setup has finished installing XAMPP on your computer.
Installation files are inside the /opt/lampp directory:
cd /opt/lamppXAMPP command management options:
$ sudo ./xampp --help
Usage: xampp <action>

	start         Start XAMPP (Apache, MySQL and eventually others)
	startapache   Start only Apache
	startmysql    Start only MySQL
	startftp      Start only ProFTPD

	stop          Stop XAMPP (Apache, MySQL and eventually others)
	stopapache    Stop only Apache
	stopmysql     Stop only MySQL
	stopftp       Stop only ProFTPD

	reload        Reload XAMPP (Apache, MySQL and eventually others)
	reloadapache  Reload only Apache
	reloadmysql   Reload only MySQL
	reloadftp     Reload only ProFTPD

	restart       Stop and start XAMPP
	security      Check XAMPP's security

	enablessl     Enable SSL support for Apache
	disablessl    Disable SSL support for Apache

	backup        Make backup file of your XAMPP config, log and data files

	oci8          Enable the oci8 extenssion

	panel         Starts graphical XAMPP control panel
Example on starting XAMPP (Apache, MySQL and eventually others):
$ cd /opt/lampp
$ sudo ./xampp start
Starting XAMPP for Linux 8.2.12-0...
XAMPP: Starting Apache...ok.
XAMPP: Starting MySQL...ok.
XAMPP: Starting ProFTPD...ok.
To stop services run:
$ sudo ./xampp stop
Stopping XAMPP for Linux 8.2.12-0...
XAMPP: Stopping Apache...ok.
XAMPP: Stopping MySQL...not running.
XAMPP: Stopping ProFTPD...ok.
Step 4: Accessing Web Dashboard and phpMyAdmin page
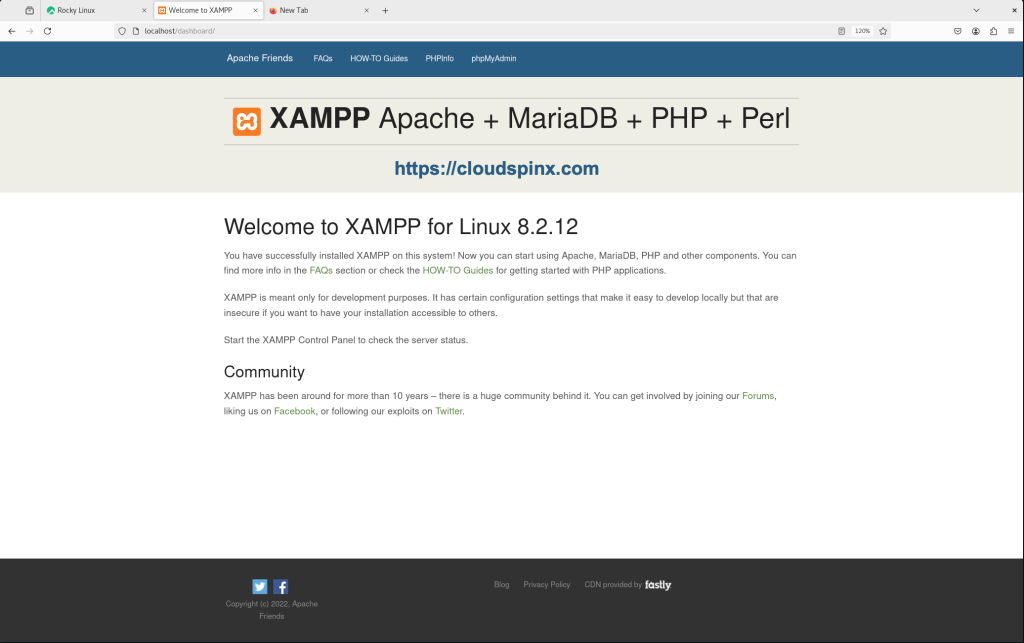
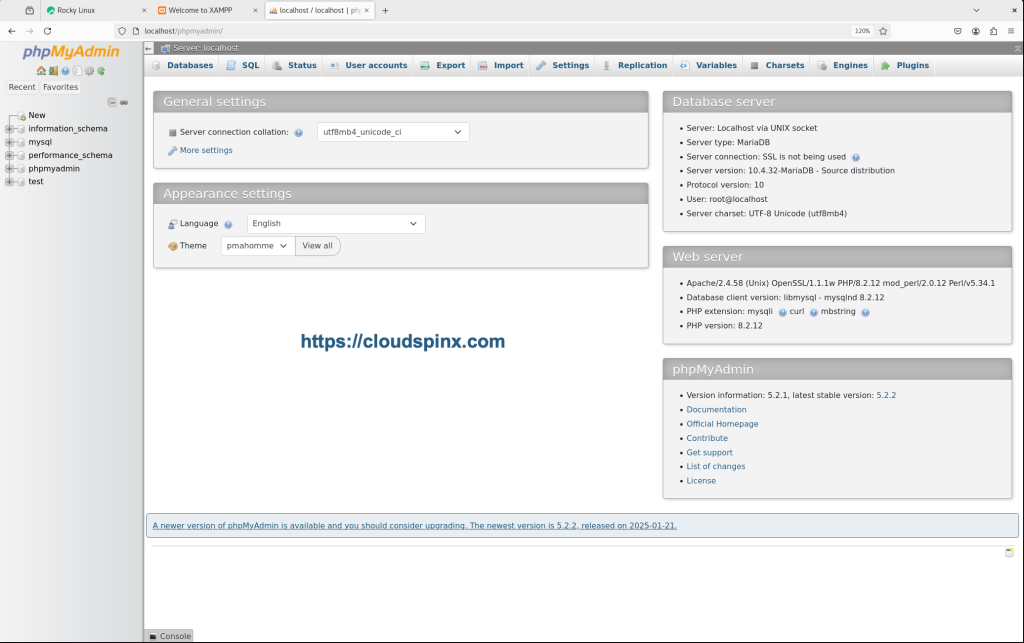
With the installation successful and services started, you should be able to access phpMyAdmin and Web Server dashboards from your web browser.
Access Apache Web dashboard:
http://localhost/dashboard
Accessing phpMyAdmin console:
http://localhost/phpmyadminSample look from a browser:

Uninstalling XAMPP
For uninstallation a script is provided.
cd /opt/lampp
sudo ./uninstall
XAMPP is now installed and confirmed to be working on Rocky Linux 8 | AlmaLinux 8 | Oracle Linux 8. You can leverage its ease of use and setup to quickly deploy and test your web applications. For Production use, check out LAMP guides below:


