WebVirtCloud is an open source software solution designed to help you manage Virtual Machines (VMs) from an intuitive web dashboard. It is commonly used to administer KVM (Kernel-based Virtual Machine) virtualization platform, which can be on a different host machine – remote or local LAN. WebVirtCloud can be deployed in a Virtual Machine or run it in the same hardware as KVM(hypervisor).
🧠 Don’t just learn KVM – master it with the best-selling eBook trusted by thousands.
What can you do with WebVirtCloud?
WebVirtCloud enables you to perform the following operations in your virtualization environment.
- Manage Users: Ability to create users and assign permissions to control virtualization infrastructure
- Virtual Machines Management: Create, configure, start, stop, restore and delete VMs with ease
- Network Management: WebVirtCloud enables you to configure host network interfaces and virtual networks for the VMs.
- Manage VM Templates: You can easily create VMs from pre-configured OS templates
- Storage Management: Easy management of storage pools and volumes, which includes creating and attaching disks to VMs.
- VNC or SPICE console: It gives you console access to your VMs using VNC or SPICE directly from the web interface.
Follow the steps below to set up WebVirtCloud on your Ubuntu 24.04 Linux machine.
Step 1: Install dependencies
On your local Ubuntu system you need to install all the dependencies required to build and run WebVirtCloud on Ubuntu 24.04 (Noble Numbat). Begin with the system update.
sudo apt update && sudo apt upgrade -yIf a reboot is required then take action.
[ -e /var/run/reboot-required ] && sudo rebootAfter the system is updated proceed to install all the dependency packages.
sudo apt install -y git libvirt-dev libxml2-dev libxslt1-dev \
libxslt1-dev zlib1g-dev libffi-dev libssl-dev supervisor gcc \
pkg-config libsasl2-dev libssl-dev libldap2-dev
Step 2: Install Python and modules
The latest version of Python on Ubuntu 24.04 should work for WebvirtCloud set up. Install the packages using apt command.
sudo apt install python3 python3-pip python3-venvConfirm the version of Python installed.
$ python --version
Python 3.12.3
Step 3: Install Nginx web server
We will use nginx to serve WebVirtCloud website. Let’s install it.
sudo apt install nginxStart and enable nginx service.
sudo systemctl enable --now nginxTo check if the service is working, use systemctl commands.
systemctl status nginxStep 4: Install WebVirtCloud on Ubuntu 24.04
Use git to get the latest source of WebVirtCloud:
git clone https://github.com/retspen/webvirtcloud.gitNavigate to webvirtcloud
cd webvirtcloudCreate settings.py file from provided template.
cp webvirtcloud/settings.py.template webvirtcloud/settings.pyNext generate the secret using provided Python script.
SECRET=$(python3 conf/runit/secret_generator.py)Use sed to insert the secret into the file.
sed -i "s|SECRET_KEY = \"\"|SECRET_KEY = \"$SECRET\"|" webvirtcloud/settings.pyOpen settings.py file and add the system hostname to the list of trusted origins for unsafe requests.
$ nano webvirtcloud/settings.py
CSRF_TRUSTED_ORIGINS = ['http://localhost','http://webvirtcloud.example.com']
Replace webvirtcloud.example.com with your server hostname as configured in DNS server or mapped under the /etc/hosts file. Example:
192.168.1.10 webvirtcloud.example.comCopy nginx and supervisord configurations:
sudo cp conf/nginx/webvirtcloud.conf /etc/nginx/conf.d
sudo cp conf/supervisor/webvirtcloud.conf /etc/supervisor/conf.d
Open Nginx configuration file for editing
sudo nano /etc/nginx/conf.d/webvirtcloud.confSet correct value for server name and configure files for logging.
server {
    listen 80;

    server_name webvirtcloud.example.com;
    access_log /var/log/nginx/webvirtcloud-access_log;
    error_log /var/log/nginx/webvirtcloud-error_log;
Copy webvirtcloud folder to /srv directory.
cd ..
sudo mv webvirtcloud /srv
Create virtual environment for WebvirtCloud.
cd /srv/webvirtcloud
python3 -m venv venv
Active the environment and install requirements
source venv/bin/activateInstall Python dependencies in the virtual environment
pip3 install -r conf/requirements.txtInitiate migrations and static files generation with the commands below.
pip3 install setuptools
python3 manage.py migrate
python3 manage.py collectstatic --noinput
Set ownership to web server user.
sudo chown -R www-data:www-data /srv/webvirtcloudStart and enable nginx and supervisor services
sudo systemctl enable nginx supervisor
sudo systemctl restart nginx supervisor
Check supervisor managed services if running:
$ sudo supervisorctl status
novncd                           RUNNING   pid 3786, uptime 0:28:36
socketiod                        RUNNING   pid 3787, uptime 0:28:36
webvirtcloud                     RUNNING   pid 3788, uptime 0:28:36
Confirm the service is active.
$ ss -tunelp|grep 8000
tcp   LISTEN 0      2048             127.0.0.1:8000      0.0.0.0:*    uid:33 ino:19338 sk:7 cgroup:/system.slice/supervisor.service <->
Step 5: Access WebvirtCloud Dashboard
Access WebVirtCloud installation URL on http://yourserverhostname
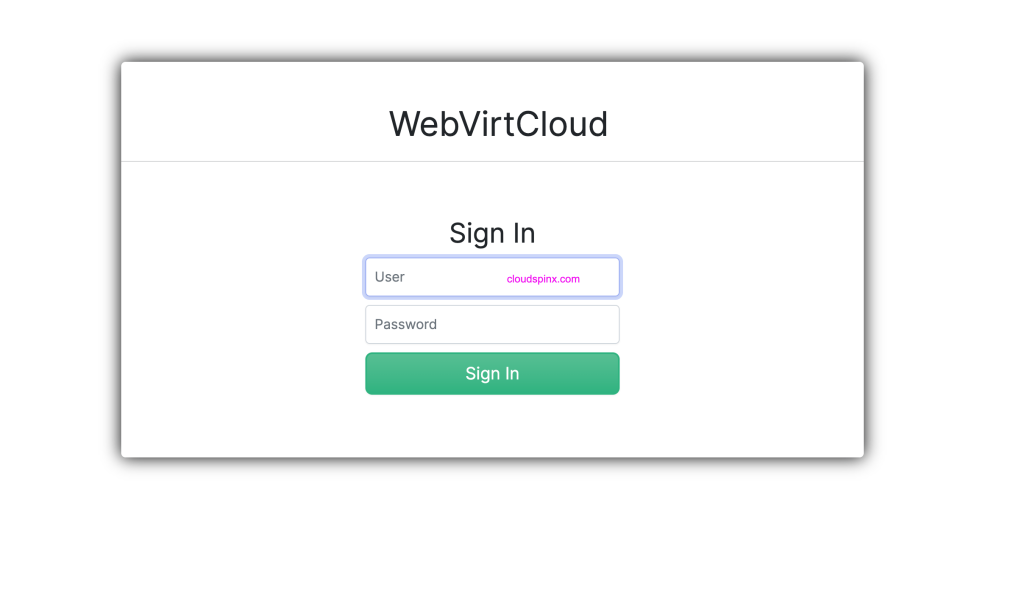
The default logins are
- Username: admin
- Password: admin
Change admin user password
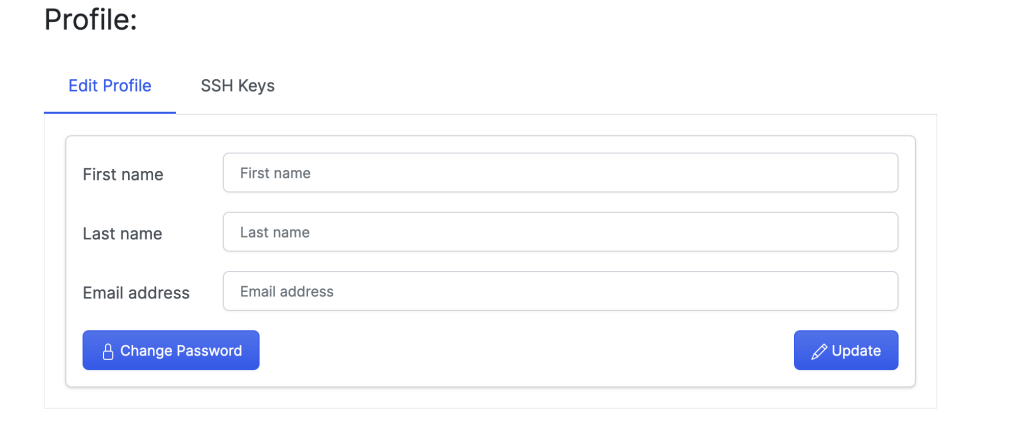
Once logged in, navigate to the top-right corner where admin username is displayed. Click on the username to to see dropdown menu.

Click “Profile” > “Edit Profile” > “Change Password”
Enter the old password as “admin“, then input and confirm the new password to assign admin user.
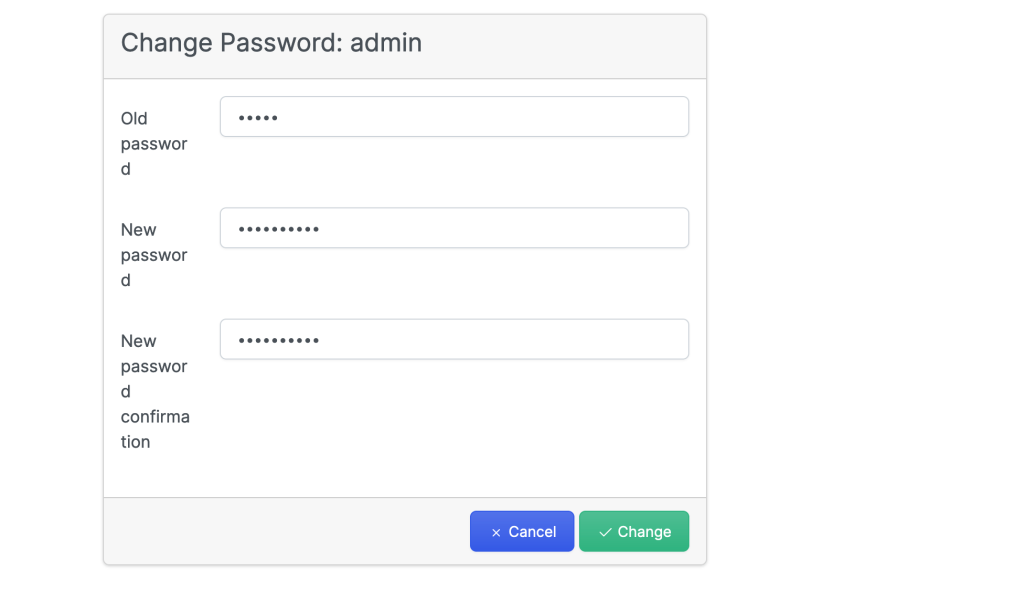
Logout of the admin dashboard and login back to test the new password.
Step 6: Adding Compute host
Before adding a hypervisor to administer, you need to setup virtualization host.
- Install KVM Virtualization on Ubuntu 24.04 (Noble Numbat)
- How To Install KVM on Linux Operating Systems
Configurations on KVM host (Ubuntu)
After configuring the hypervisor host, setup hypervisor host like below
For Ubuntu host run the script located in our Github repository.
LINK=https://raw.githubusercontent.com/cloudspinx/linux-bash-scripts/main/webvirtcloud/debian-ubuntu-kvm-prep.sh
wget -O - $LINK| sudo sh
Confirm supervisor service
$ sudo supervisorctl status
gstfsd                           RUNNING   pid 16080, uptime 0:00:48
The libvirtd service should also be in a running state.
systemctl status libvirtdGenerate and copy SSH keys
Switch to www-data user and generate SSH keys.
sudo mkdir -p /var/www/.ssh
sudo chown -R www-data:www-data /var/www/.ssh
sudo -u www-data ssh-keygen
Copy keys to KVM host.
ssh-copy-id -i /var/www/.ssh/id_rsa.pub user@kvmhostip
# Example
ssh-copy-id -i /var/www/.ssh/id_rsa.pub [email protected]
To add a KVM host, got to Computes -> SSH.

Give it a name and other connection information.
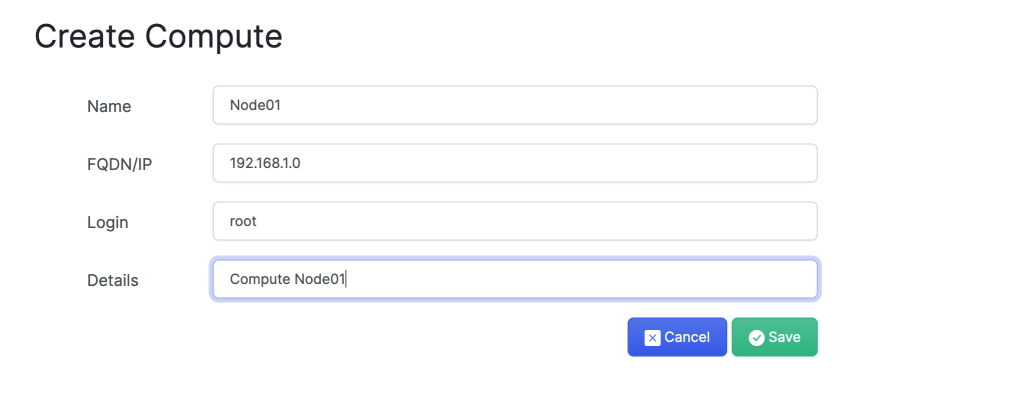
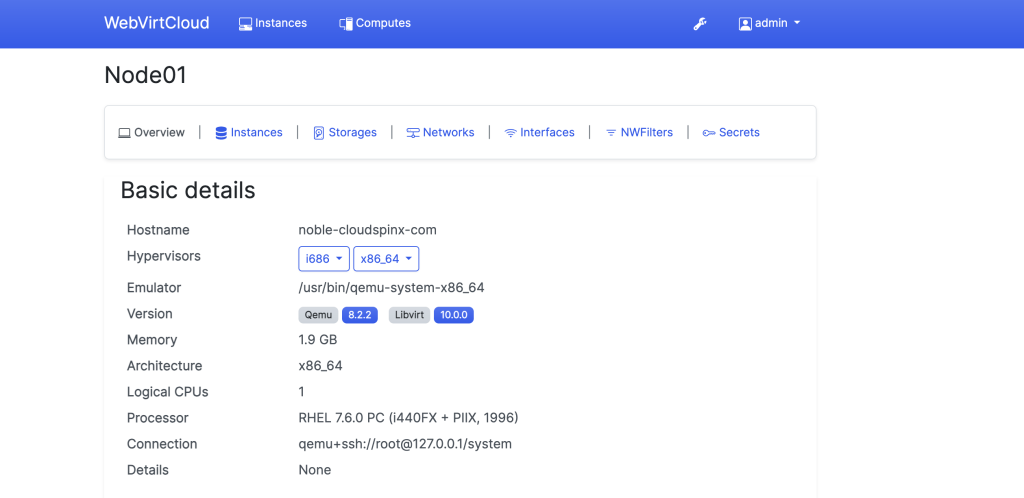
Once added click the “eye” icon to manage the host.
CloudSpinx Engineers are available to help you with any Infrastructure and Cloud related projects. Don’t hesitate to schedule a free consultation. Check out the article below on how to configure Storage Pools.x


