

Networking is also an important part of any virtualization infrastructure. Virtual networks ensure that virtual machines can communicate with one another, but also with the host system and the outside world. For KVM-based environments, libvirt offers a great set of utilities for creating and managing virtual networks but I sometimes feel frustrated to manage it through XML configuration files and command line tools like virsh.
This is where Cockpit comes in. With its web front-end, Cockpit provides an easy way to handle KVM virtual networks. Using Cockpit, administrators can streamline the complexity associated with creating and managing complex networks while still retaining the full power of libvirt on the backend.
Mastering KVM Virtualization - The Ultimate eBook
From home labs to production clouds - master KVM Host management, automating KVM administration using Terraform, Vagrant, and cloud automation. This eBook will enable you to build scalable virtual infrastructure that works whether you're learning at home or deploying enterprise solutions. Get your full copy today
This guide will introduce you to the basics of managing KVM virtual networks with Cockpit, from creating your very first (virtual) bridge through to attaching multiple VMs to the same network.
1. Creating a Virtual Network
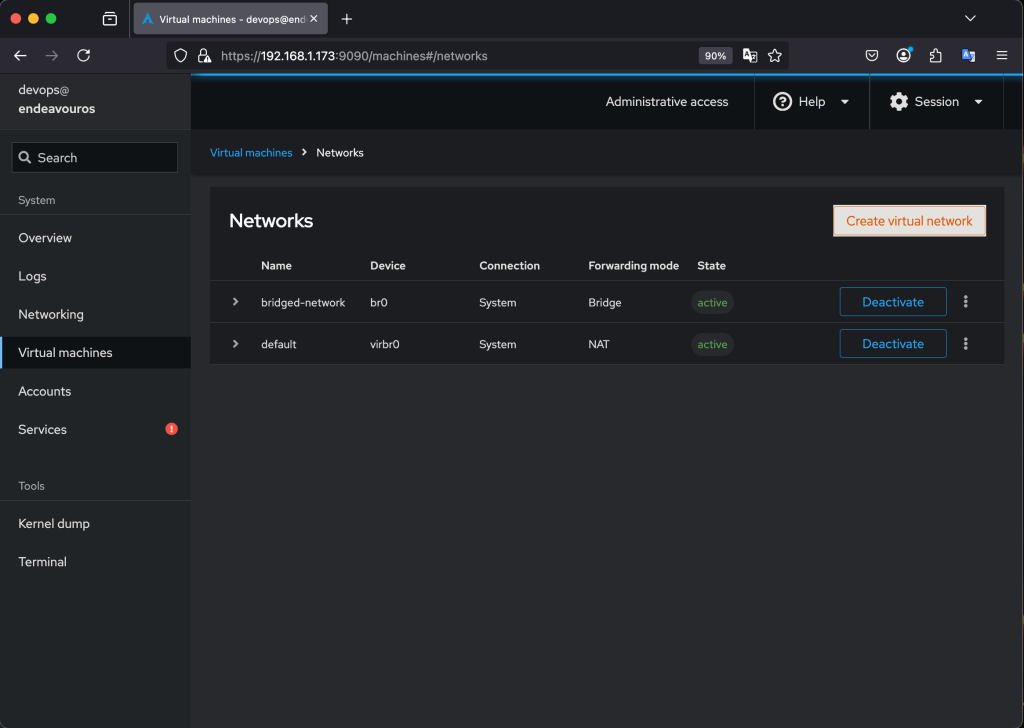
By default, libvirtd creates a default virtual network to be used by the qemu VMs. With that being said, if for some reason you don’t want to use the default virtual interface and want to set up your own, you can do so.
To create a virtual network, navigate to networks and click on Create virtual network.
The virtual network creation wizard will open up and you can configure your virtual network:
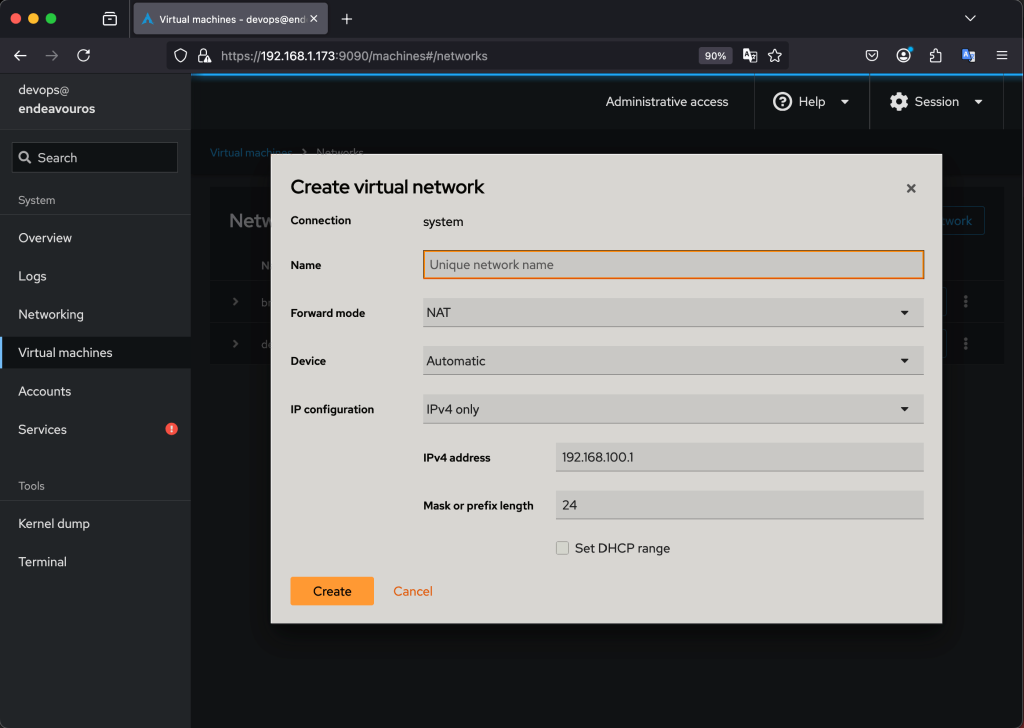
Provide a unique name for your virtual network and proceed to configue the network forward mode:
- NAT(default): VMs obtain IP addresses from a virtual network and can access the internet and other devices on the host network, but the host network cannot directly access the VMs.
- Open(Routed): VMs are directly connected to the host network, allowing them to communicate with other devices on the network without NAT.
- Isolated(None): VMs can only communicate with each other within the virtual network, and they cannot access the host network or the internet.
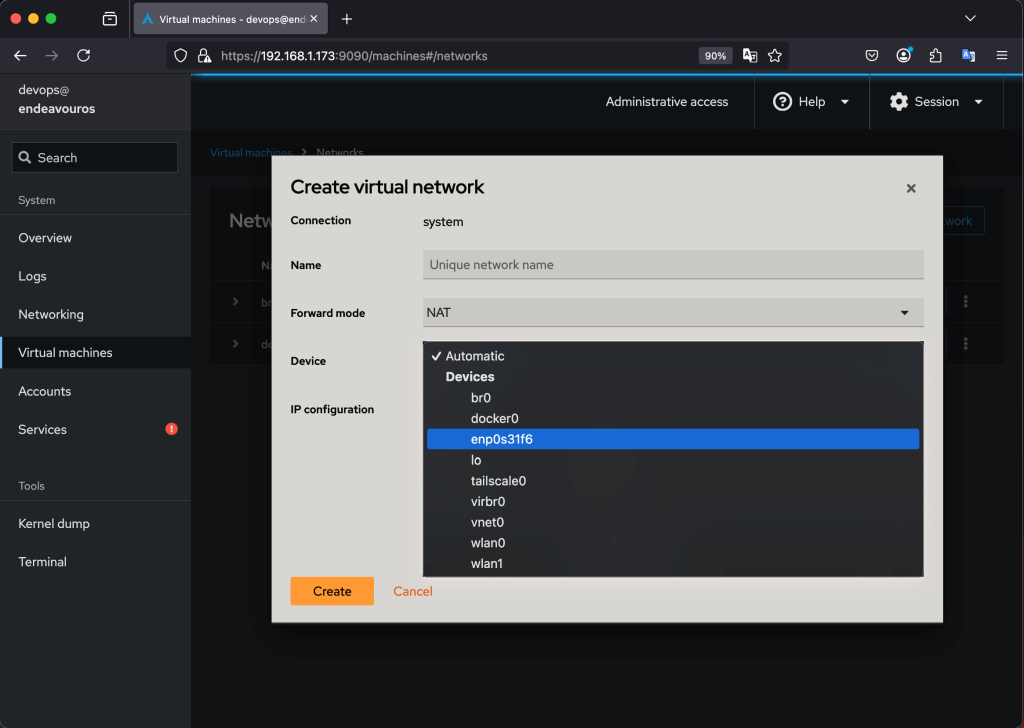
For the device, you can select automatic or choose a device from the list.
For IP configuration, you can choose between IPv4 only, IPv6 only, and IPv4 and IPv6. Also, you can set a DHCP range.
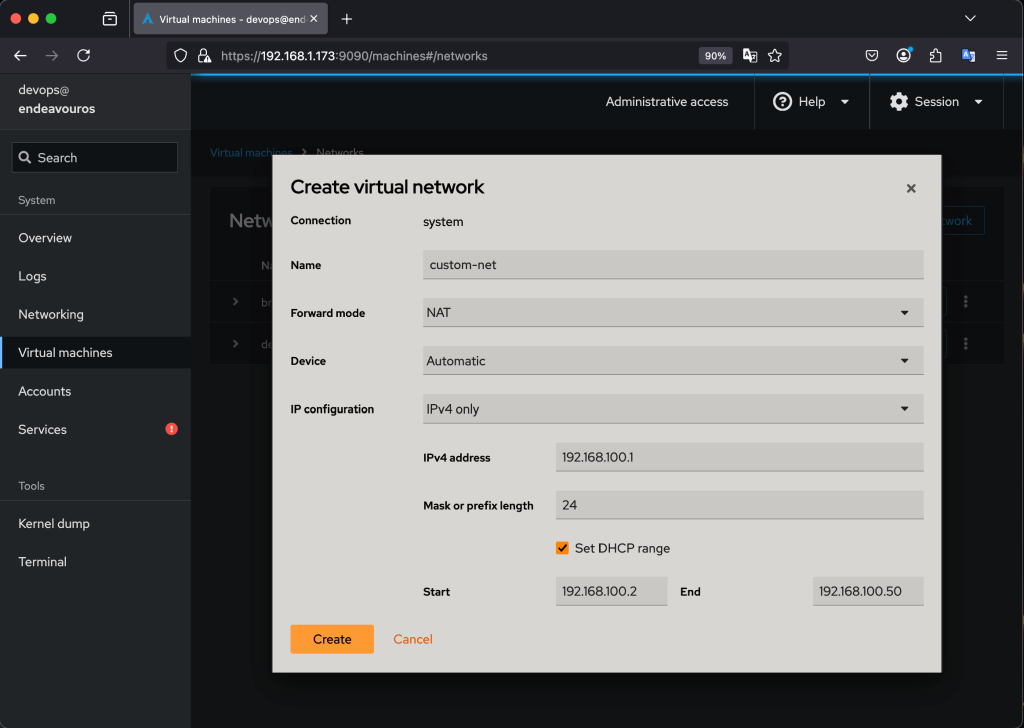
Click create when you are done. Your new network should be listed in the Networks tab.
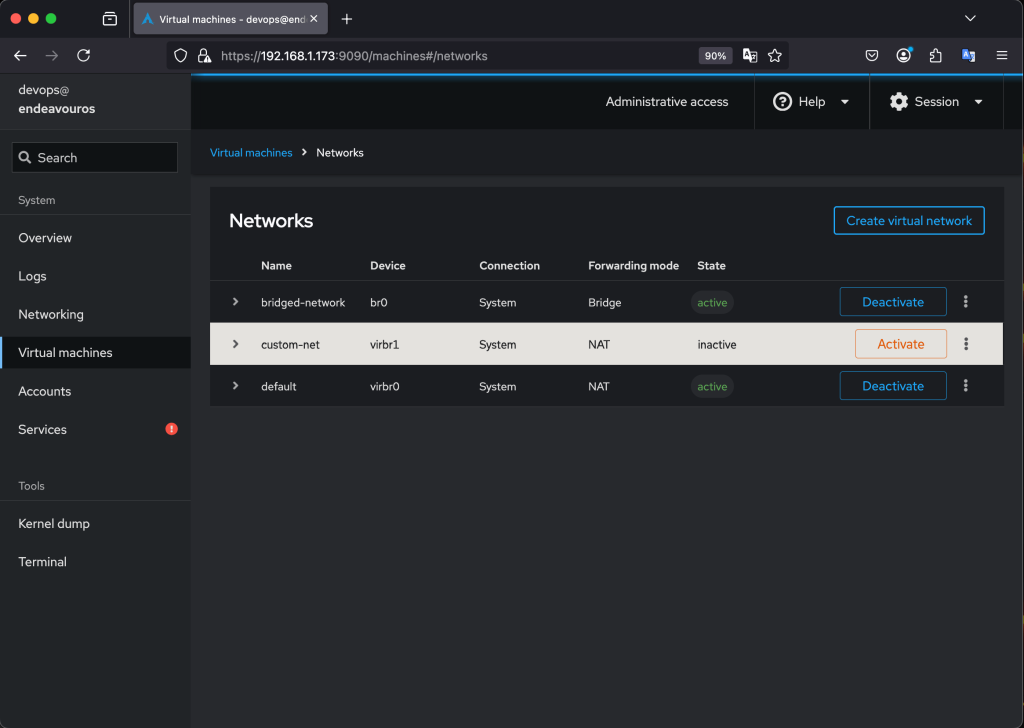
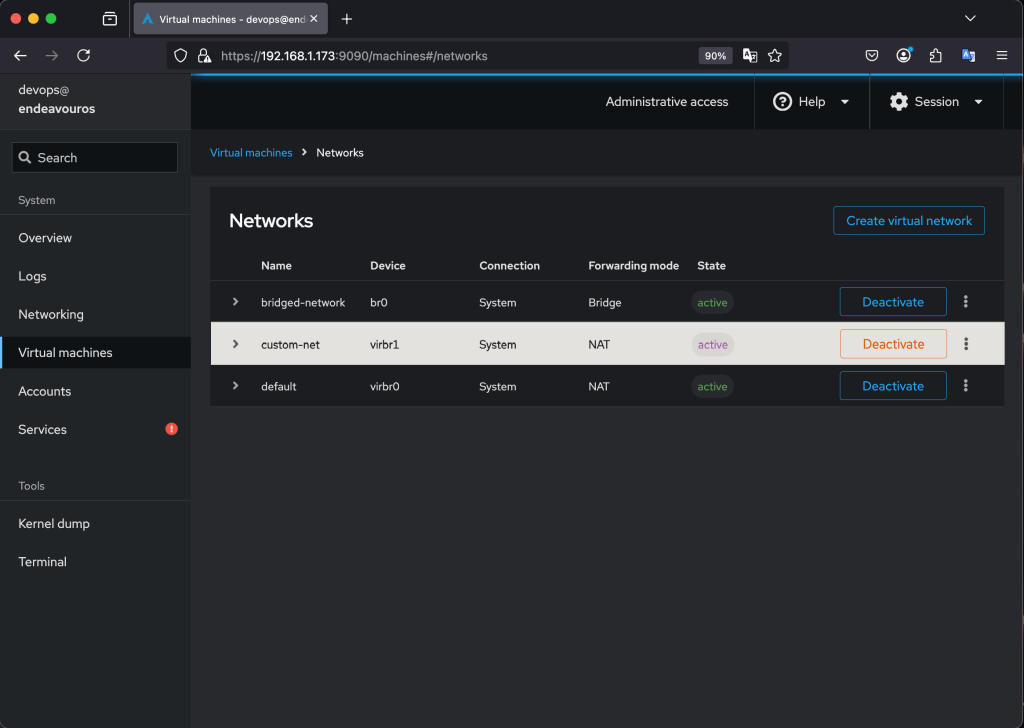
Now all you need to do id activate it, by clicking on the Activate button. The virtual netwok should now be active and ready for use:
2. Attach Network Interface to VM
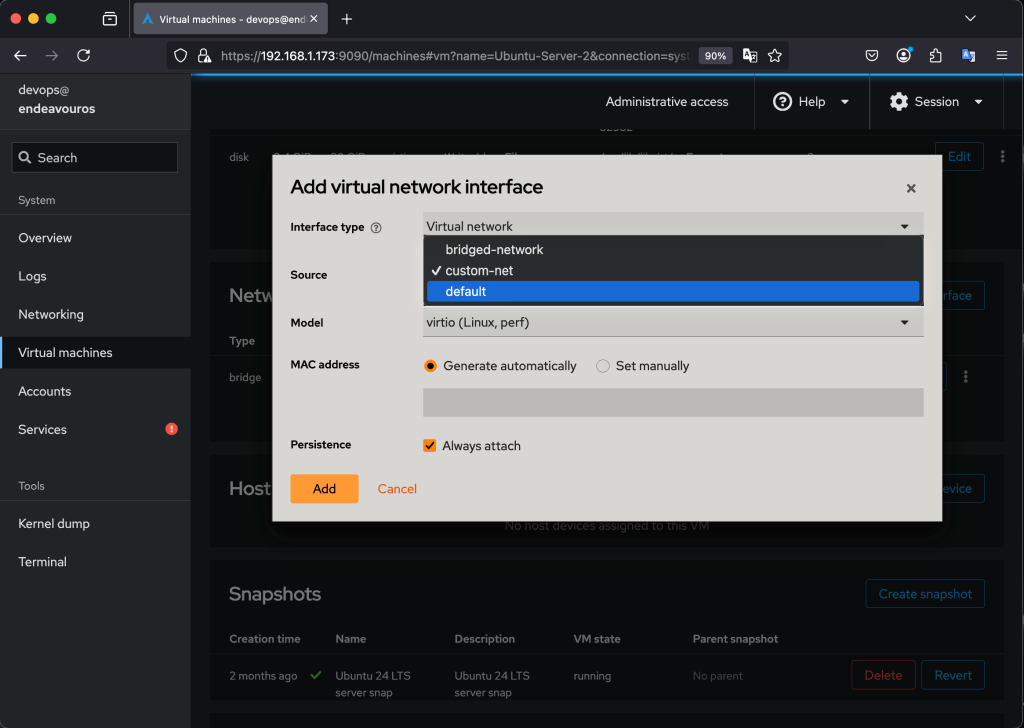
To attach a network interface to your VM, open Virtual Machines and click on the targte VM then scroll down to the Network Interface section. Click Add Network Interface and the network interface wizard is launched.
From there you need to configure the following:
- Interface type:
- Virtual network: This option attaches the virtual machine’s network interface to a libvirt-defined network, allowing for isolated or internal networking.
- Bride to LAN: This option connects the virtual machine’s network interface to an existing bridge, providing access to the physical network.
- Direct Attachment: This option directly attaches the virtual machine’s network interface to a host physical interface, enabling direct access to the public network.
- Source: These are the available virtual networks choose one from the list.
- Model: Select the applicable model for the network interface type.
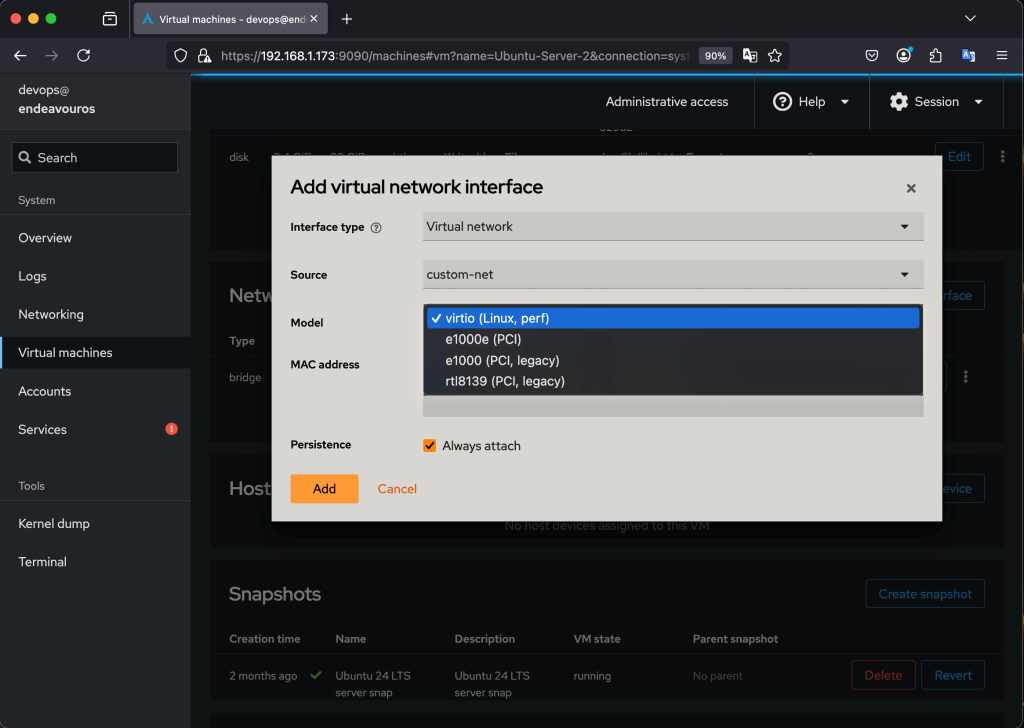
- MAC Address: You can generate the MAC address automatically or set it manually.
- Persistence: Check the box always attach.
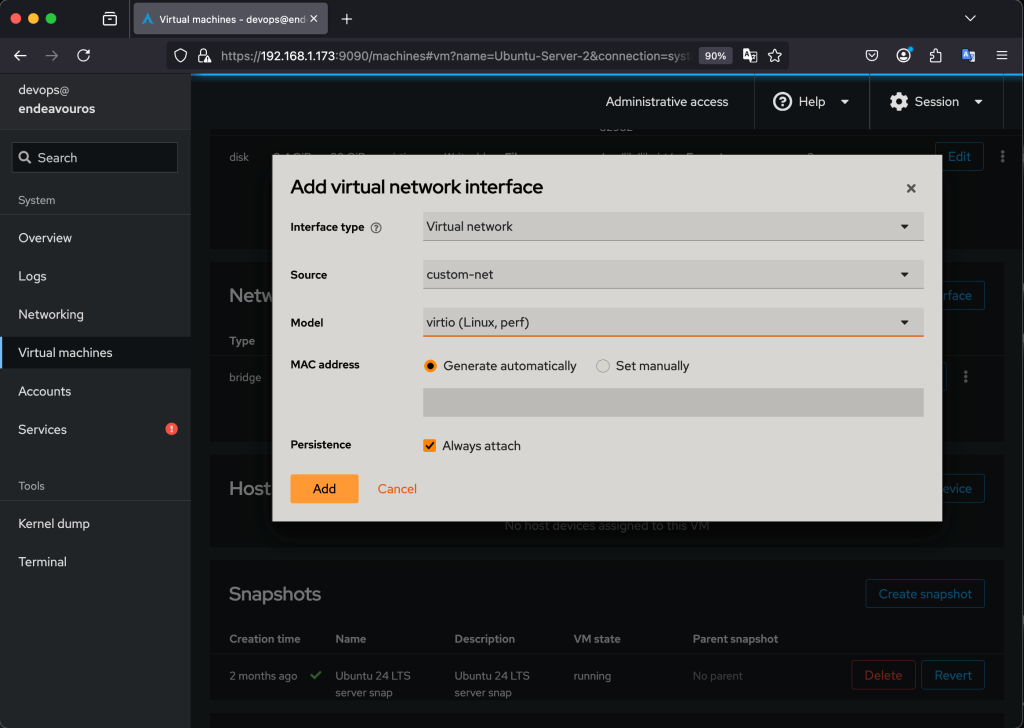
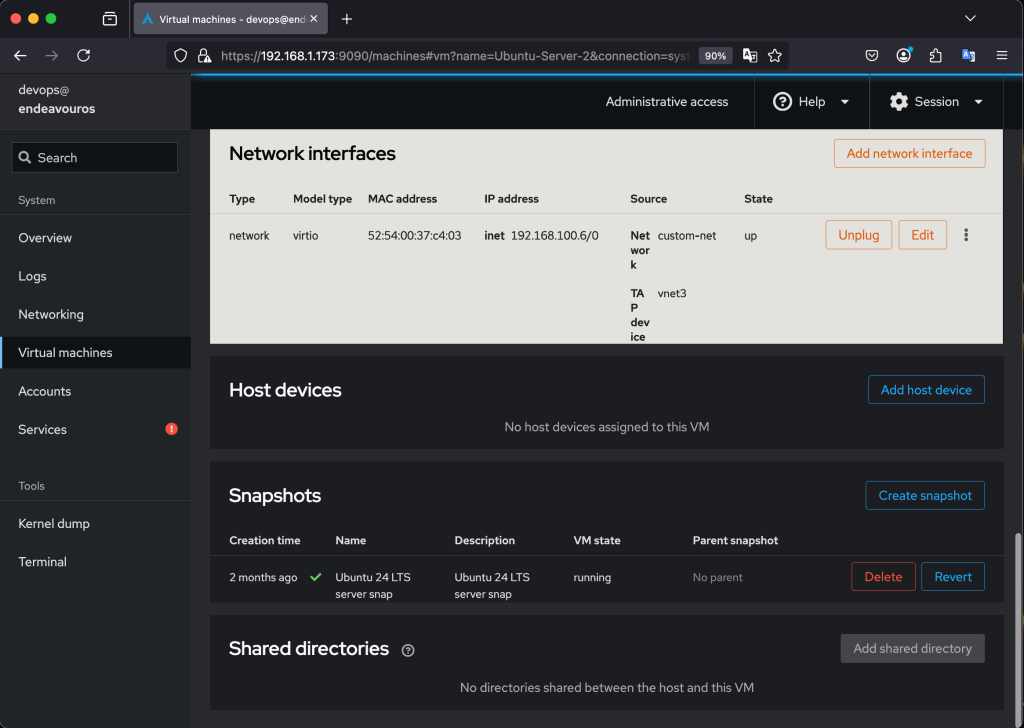
Click on Add to attach the new interface. It should now be shown in the network interface section, together with the IPv4 address:
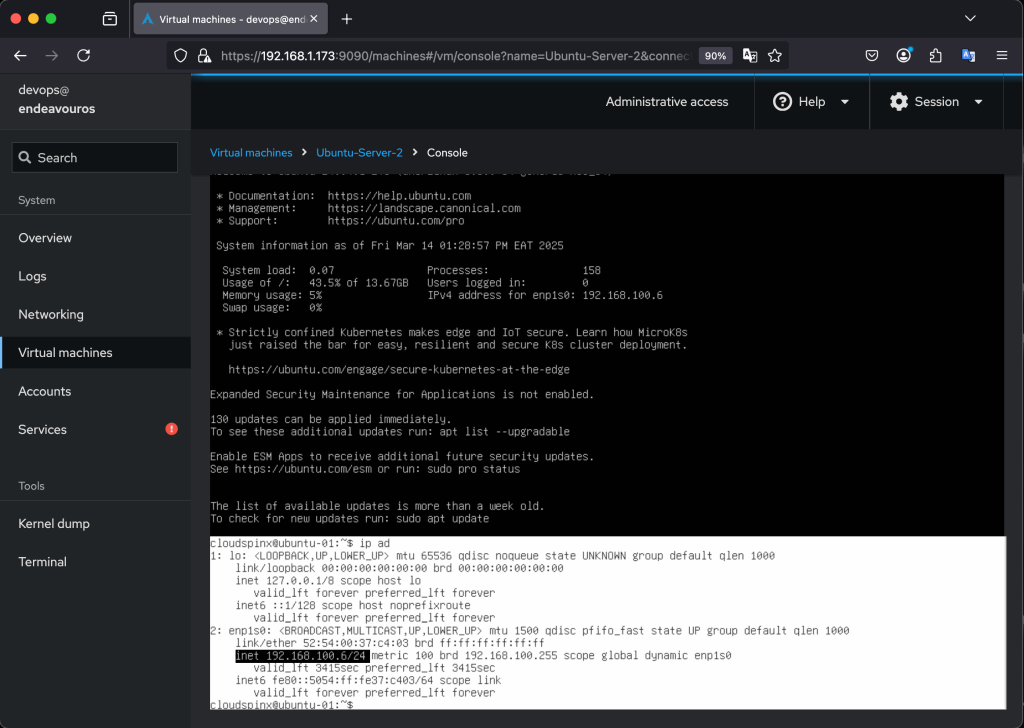
When you check the ip address inside the VM, you should see that it now uses and IP address from the new virtual network and within the specified range:
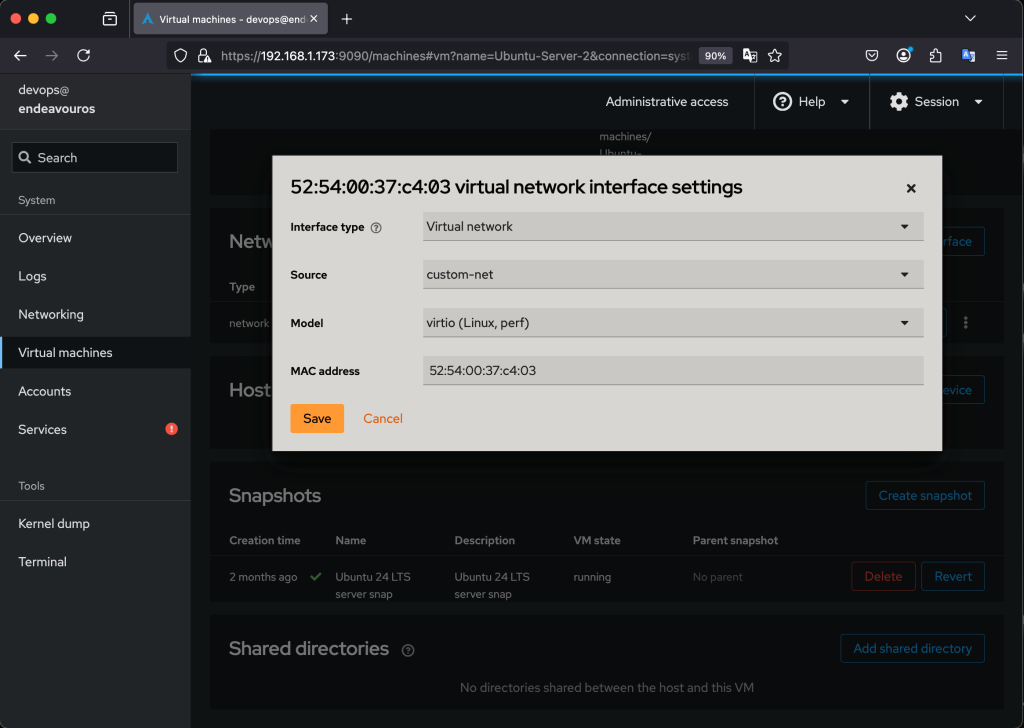
3. Editing Network Interface Settings
If there was an interface already attached and associated with your VM, you can edit the Network Interface to fit your needs. Click on the edit button on the right side of the interface to launch the Network Interface Settings window.
🌍 Our KVM eBook covers all this in details and more. In the book you will learn:
- Cockpit installation
- Configure and Access Cockpit dashboard
- Creating Virtual Machines using Cockpit
- Managing Virtual Machines using Cockpit
- Network Configurations and Management
- Managing Storage Pools
- Snapshot Management
- VM Backup and Migration


