
Uptime Kuma is an open-source self-hosted monitoring tool like an uptime robot written in Nodejs. It has a fancy dashboard and is used to monitor the uptime of hosts or servers via protocol HTTP(s), TCP, and Ping. If the hosts are unreachable via HTTP and TCP, the uptime host sends notifications via Email using SMTP, Telegram, Slack, etc.
Uptime Kuma can monitor HTTP services, it can script websites by looking for a specific keyword, it can monitor TCP services to check if SSH connections are up, traditionally it can ping your systems to ensure they are up, it can also do DNS record check as well as supporting fancy notifications. Uptime Kuma has a fancy status page to see the behavior of the running services.
Uptime Kuma is an alternative to other monitoring tools like Nagios Core. Nagios, Cacti, Wireshark, Spiceworks to name but a few.
In this article see how to Install Kuma – Self-hosted Uptime Robot Alternative on Ubuntu / Debian.
Uptime Kuma Features
Uptime Kuma has the following key features:
- Has a fancy simple status page.
- It monitors uptime for HTTP(s), TCP , Ping, DNS records etc.
- Has a fancy User Interface.
- Sends notifications via multiple ways including via email through SMTP, Telegram, Slack etc.
- It has a Ping chart.
- It gives the certificate information of the system like when the expiry of licencies is due.
- It is coded using Nodejs which is easy to use and understand.
We now proceed to installation on Ubuntu / Debian.
Setup requirements
To install Uptime Kuma in your Ubuntu / Debian system, ensure you have the following pre-requisites:
- A user with root privileges.
- Ubuntu / Debian server.
- Sufficient RAM and Memory.
With everything set, we now proceed to see how we can install Uptime Kuma using Docker.
We begin by updating the APT cache to refresh our packages.
sudo apt update -yThen confirm whether Docker is installed in Ubuntu / Debian.
$ docker -v
Docker version 27.5.1, build 9f9e405
If docker is installed in your system, you should see the docker version running in your system. If it is not installed, follow the steps below:
Step 1: Install docker on Linux
Use the installation steps matching your Linux distribution as covered in the next sections.
Install Docker on Debian
Update the apt package index and install packages to allow apt to use a repository over HTTPS:
sudo apt update -y
sudo apt install \
    ca-certificates \
    curl \
    gnupg \
    lsb-release
Add Docker’s official GPG key:
curl -fsSL https://download.docker.com/linux/debian/gpg | sudo gpg --dearmor -o /usr/share/keyrings/docker-archive-keyring.gpgSetup a stable repository release :
echo \
  "deb [arch=$(dpkg --print-architecture) signed-by=/usr/share/keyrings/docker-archive-keyring.gpg] https://download.docker.com/linux/debian \
  $(lsb_release -cs) stable" | sudo tee /etc/apt/sources.list.d/docker.list > /dev/null
Install Docker Engine and Containerd.
sudo apt update -y
sudo apt install -y docker-ce docker-ce-cli containerd.io
Verify Version installed:
$ sudo systemctl enable --now docker
$ docker --version
Docker version 27.5.1, build 9f9e405
Install Docker on Ubuntu:
On Ubuntu install docker as follows:
Update apt package index and allow apt to use repository over HTTPS:
sudo apt-get update
sudo apt-get install \
    ca-certificates \
    curl \
    gnupg \
    lsb-release
Next, Add Docker’s official GPG key:
curl -fsSL https://download.docker.com/linux/ubuntu/gpg | sudo gpg --dearmor -o /usr/share/keyrings/docker-archive-keyring.gpgSetup a stable repository release :
echo \
  "deb [arch=$(dpkg --print-architecture) signed-by=/usr/share/keyrings/docker-archive-keyring.gpg] https://download.docker.com/linux/ubuntu \
  $(lsb_release -cs) stable" | sudo tee /etc/apt/sources.list.d/docker.list > /dev/null
Install Docker Engine and Containerd.
sudo apt-get update
sudo apt-get install docker-ce docker-ce-cli containerd.io
Install Docker on Fedora:
For Fedora installation, install docker-engine with the following commands:
Install dnf plugins core :
sudo dnf -y install dnf-plugins-coreAdd docker to docker-ce repository.
sudo dnf config-manager --add-repo https://download.docker.com/linux/fedora/docker-ce.repoInstall docker-engine:
Docker Daemon relies on OCI compliant runtime which is invoked via containerd.
sudo dnf install docker-ce docker-ce-cli containerd.ioStart Docker service:
sudo systemctl start dockerVerify docker is installed properly by running the Docker hello-world image.
sudo docker run hello-worldYou have successfully installed docker in your system.
Install Docker on CentOS:
Install Docker on CentOS by running the following commands:
sudo yum install -y yum-utils
sudo yum-config-manager --add-repo https://download.docker.com/linux/centos/docker-ce.repo
sudo yum install docker-ce docker-ce-cli containerd.io
sudo systemctl enable --now docker
Step 2: Install Docker compose on Linux
To install the latest version of docker-compose, visit the Github releases page for the latest version. As of this article, v2.33.0 is the latest release.
To download the current stable release, run the command:
sudo apt install curl -y
curl -s https://api.github.com/repos/docker/compose/releases/latest|grep browser_download_url|grep docker-compose-linux-x86_64|cut -d '"' -f 4|wget -qi -
Next, make the set the binary file executable:
sudo chmod +x docker-compose-linux-x86_64
sudo mv docker-compose-linux-x86_64 /usr/local/bin/docker-compose
Finally, confirm the version installed:
$ docker-compose --version
Docker Compose version v2.33.0
Step 3: Running Kuma Uptime Using Docker
To install Uptime-Kuma using Docker, we will first create a directory to hold all our configurations.
mkdir ~/uptime-kumaThen cd to uptime-Kuma:
cd ~/uptime-kumaNext, create a YAML file let’s say: docker-compose.yml
touch docker-compose.ymlOnce you have created the yml file, edit it using your text editor and paste the following configurations:
vim docker-compose.ymlAs below:
---
services:
  uptime-kuma:
    image: louislam/uptime-kuma:1
    container_name: uptime-kuma
    volumes:
        - ./data:/app/data
    ports:
        - 3001:3001
    restart: unless-stopped
    security_opt:
        - no-new-privileges:true
Create a data folder:
mkdir data Add your user account to docker group:
sudo usermod -aG docker $USER
newgrp docker
Next, pull down the docker image:
docker-compose up -d --force-recreateThe output from the execution:
[+] Running 13/13
 ✔ uptime-kuma Pulled                                                                                                                       22.3s
   ✔ b338562f40a7 Pull complete                                                                                                              6.3s
   ✔ 874bf4d93720 Pull complete                                                                                                              6.4s
   ✔ b16337721583 Pull complete                                                                                                              7.8s
   ✔ 7d955db85b85 Pull complete                                                                                                              7.9s
   ✔ 2c706596bd17 Pull complete                                                                                                              8.0s
   ✔ 88a5c59ed14f Pull complete                                                                                                              8.0s
   ✔ 5a1d0a896c33 Pull complete                                                                                                             10.6s
   ✔ e68c2f25b946 Pull complete                                                                                                             10.9s
   ✔ 2e6c90f010d6 Pull complete                                                                                                             10.9s
   ✔ ff15b10fabb8 Pull complete                                                                                                             11.0s
   ✔ 4f4fb700ef54 Pull complete                                                                                                             11.0s
   ✔ d2a400cc8adb Pull complete                                                                                                             18.7s
[+] Running 2/2
 ✔ Network uptime-kuma_default  Created                                                                                                      0.1s
 ✔ Container uptime-kuma        Started                                                                                                      0.9s
cloudspinx@debian:~/uptime-kuma$
Issue the command docker ps to see your image:
$ docker ps
CONTAINER ID   IMAGE                    COMMAND                  CREATED          STATUS                    PORTS                                       NAMES
91c8f82dfaa9   louislam/uptime-kuma:1   "/usr/bin/dumb-init …"   37 seconds ago   Up 36 seconds (healthy)   0.0.0.0:3001->3001/tcp, :::3001->3001/tcp   uptime-kuma
To see the logs run the command:
docker logs uptime-kumaSample output:
==> Performing startup jobs and maintenance tasks
changed ownership of '/app/data' from node:node to 0:0
==> Starting application with user 0 group 0
Welcome to Uptime Kuma
Your Node.js version: 18.20.3
2025-02-18T11:54:35Z [SERVER] INFO: Welcome to Uptime Kuma
2025-02-18T11:54:35Z [SERVER] INFO: Node Env: production
2025-02-18T11:54:35Z [SERVER] INFO: Inside Container: true
2025-02-18T11:54:35Z [SERVER] INFO: Importing Node libraries
2025-02-18T11:54:35Z [SERVER] INFO: Importing 3rd-party libraries
2025-02-18T11:54:36Z [SERVER] INFO: Creating express and socket.io instance
2025-02-18T11:54:36Z [SERVER] INFO: Server Type: HTTP
2025-02-18T11:54:36Z [SERVER] INFO: Importing this project modules
2025-02-18T11:54:36Z [NOTIFICATION] INFO: Prepare Notification Providers
2025-02-18T11:54:36Z [SERVER] INFO: Version: 1.23.16
2025-02-18T11:54:36Z [DB] INFO: Data Dir: ./data/
2025-02-18T11:54:36Z [SERVER] INFO: Copying Database
2025-02-18T11:54:36Z [SERVER] INFO: Connecting to the Database
2025-02-18T11:54:36Z [DB] INFO: SQLite config:
[ { journal_mode: 'wal' } ]
[ { cache_size: -12000 } ]
2025-02-18T11:54:36Z [DB] INFO: SQLite Version: 3.41.1
2025-02-18T11:54:36Z [SERVER] INFO: Connected
...
Step 4: Setup Uptime Kuma on the web browser
To set up Uptime Kuma through the web browser, use http://SERVER_IP:3001. This takes you to this page.
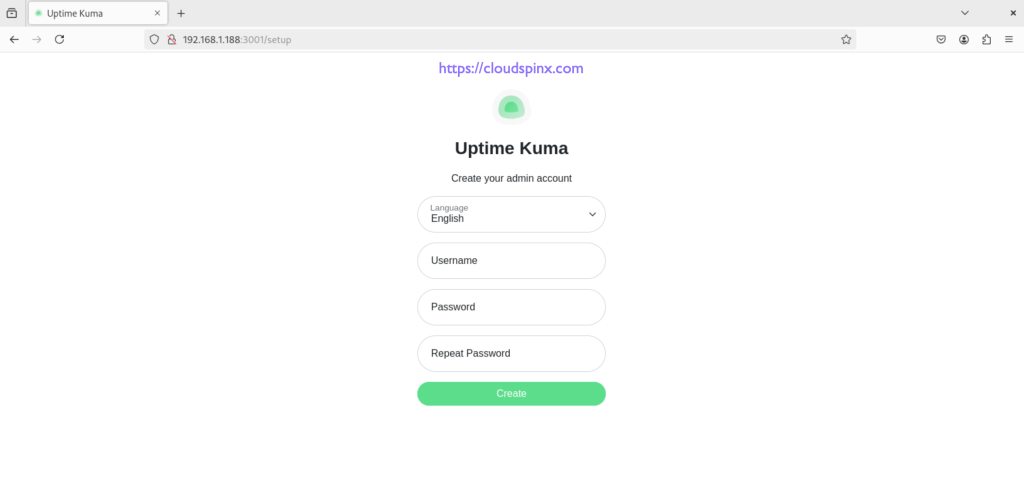
Next, create your admin user and password and click Create. This takes you to the Dashboard.
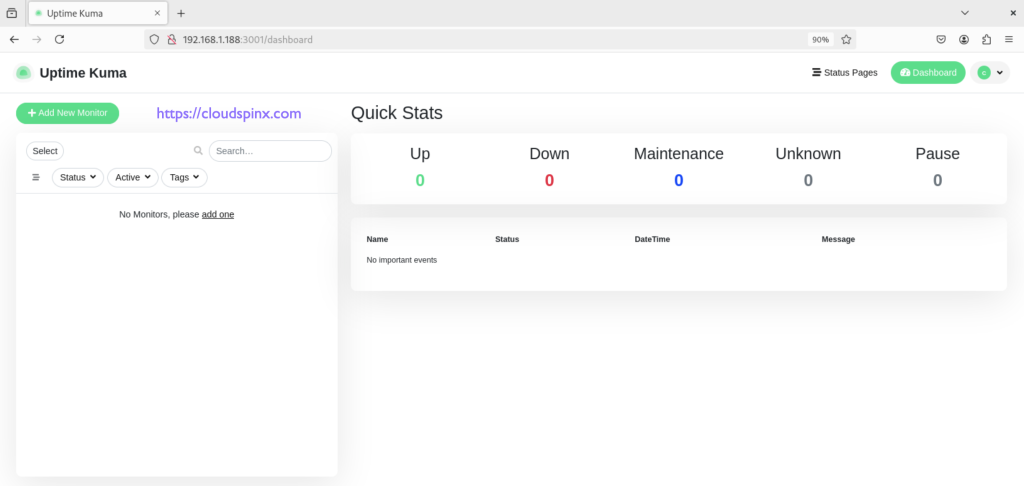
Once on your Dashboard, go to settings on the top right corner to see a lot of fancy settings you can configure.
Some of the things you can configure under the settings tab include notifications, you can monitor the history, you can manage users under the security tab, you can also import and export backups, change the appearance of the dashboard, and so on.
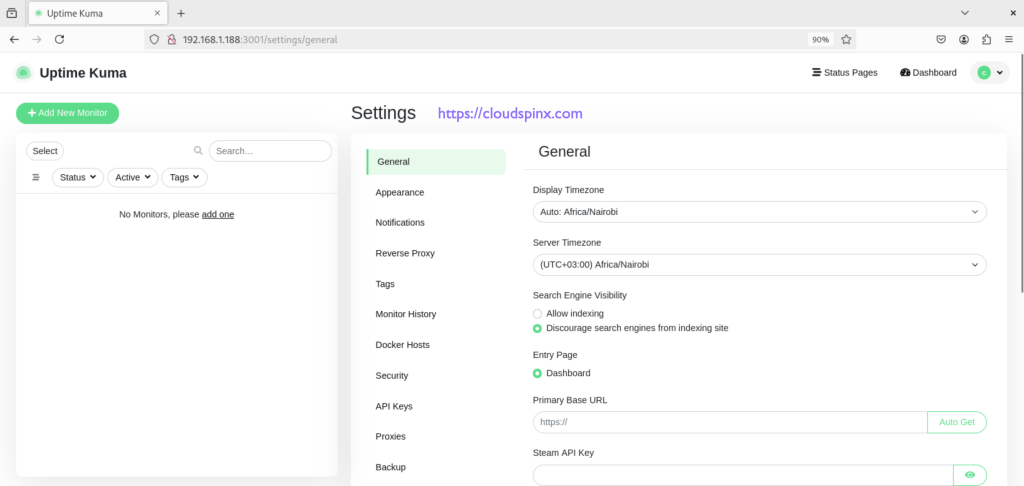
Please explore more “Fancy’ features that come with Uptime Kuma.
Conclusion
In this article, we have installed docker and docker-compose on Ubuntu machine and installed Uptime-Kuma on docker. I hope you followed along. The next article will look at how to Install Uptime Kuma using pm2. Thank you.
More articles from us:


