WordPress is an open source content management system (CMS) written entirely in PHP. It uses MySQL or MariaDB database server to store its data and website configurations. WordPress is designed to be modular with template system which enables developers to design their own themes and plugins. In this article we will be doing installation of PHP, MySQL and WordPress on Amazon Linux 2023 powered by Nginx Web server.
You should have a running Amazon Linux 2023 server with Bash shell access. A user with sudo privileges is required for escalation to root during installation of packages and modification of configuration files.
The minimum requirements for this setup are:
- Amazon Linux 2 server
- Memory: 512 MB
- vCPU: 1
- Disk Space: 1GB
- Internet access
- Domain name for your website
Once you have a Server running you need to configure your DNS by creating an A record pointing to your Amazon Linux 2023 public IP address.
#1 Update Amazon Linux Server
As always we work on a server that has been updated to ensure patches are applied to guarantee server security.
sudo yum -y updateWait for the updates to be applied then reboot your server.
sudo systemctl rebootLogin back once the server is up.
## Your AWS EC2 INSTANCE
$ ssh ec2-user@serverip                                                                                                                                                               3h 13m 4s
   ,     #_
   ~\_  ####_        Amazon Linux 2023
  ~~  \_#####\
  ~~     \###|
  ~~       \#/ ___   https://aws.amazon.com/linux/amazon-linux-2023
   ~~       V~' '->
    ~~~         /
      ~~._.   _/
         _/ _/
       _/m/'
Last login: Thu Jun 12 14:10:16 2025 from 192.168.1.1
#2 Install PHP on Amazon Linux
The versions of PHP packages available on Amazon Linux extras repository are more than one. You can list them with the command below.
$ sudo yum search php | grep php8.4
Last metadata expiration check: 0:33:30 ago on Thu Jun 19 12:14:38 2025.
php8.4.x86_64 : PHP scripting language for creating dynamic web sites
php8.4-bcmath.x86_64 : A module for PHP 8.4 applications for using the bcmath library
php8.4-cli.x86_64 : Command-line interface for PHP 8.4
php8.4-common.x86_64 : Common files for PHP 8.4
php8.4-dba.x86_64 : A database abstraction layer module for PHP 8.4 applications
php8.4-dbg.x86_64 : The interactive PHP 8.4 debugger
php8.4-devel.x86_64 : Files needed for building PHP 8.4 extensions
php8.4-embedded.x86_64 : PHP 8.4 library for embedding in applications
php8.4-enchant.x86_64 : Enchant spelling extension for PHP 8.4 applications
php8.4-fpm.x86_64 : PHP 8.4 FastCGI Process Manager
php8.4-gd.x86_64 : A module for PHP 8.4 applications for using the gd graphics library
php8.4-gmp.x86_64 : A module for PHP 8.4 applications for using the GNU MP library
php8.4-intl.x86_64 : Internationalization extension for PHP 8.4 applications
php8.4-ldap.x86_64 : A module for PHP 8.4 applications that use LDAP
php8.4-mbstring.x86_64 : A module for PHP 8.4 applications which need multi-byte string handling
php8.4-modphp.x86_64 : PHP 8.4 module for Apache HTTP Server
php8.4-mysqlnd.x86_64 : A module for PHP 8.4 applications that use MySQL databases
php8.4-odbc.x86_64 : A module for PHP 8.4 applications that use ODBC databases
php8.4-pdo.x86_64 : A database access abstraction module for PHP 8.4 applications
php8.4-pgsql.x86_64 : A PostgreSQL database module for PHP 8.4
php8.4-process.x86_64 : Modules for PHP 8.4 script using system process interfaces
php8.4-snmp.x86_64 : A module for PHP 8.4 applications that query SNMP-managed devices
php8.4-soap.x86_64 : A module for PHP 8.4 applications that use the SOAP protocol
php8.4-tidy.x86_64 : Standard PHP 8.4 module provides tidy library support
php8.4-xml.x86_64 : A module for PHP 8.4 applications which use XML
php8.4-ffi.x86_64 : Foreign Function Interface
php8.4-opcache.x86_64 : The Zend OPcache
php8.4-sodium.x86_64 : Wrapper for the Sodium cryptographic library
php8.4-zip.x86_64 : ZIP archive management extension
In this guide we’ll go with the latest stable release of PHP, to install all required PHP extensions on Amazon Linux 2023 server:
sudo yum install php php-{cli,fpm,pear,cgi,common,curl,mbstring,gd,mysqlnd,gettext,bcmath,json,xml,intl,zip}Accept installation prompt:
Last metadata expiration check: 0:38:40 ago on Thu Jun 19 12:14:38 2025.
Dependencies resolved.
==========================================================================================================================================================================================================
 Package                                                  Architecture                          Version                                                  Repository                                  Size
==========================================================================================================================================================================================================
Installing:
 php-pear                                                 noarch                                1:1.10.13-2.amzn2023.0.4                                 amazonlinux                                309 k
 php8.4                                                   x86_64                                8.4.6-1.amzn2023.0.1                                     amazonlinux                                 17 k
 php8.4-bcmath                                            x86_64                                8.4.6-1.amzn2023.0.1                                     amazonlinux                                 53 k
 php8.4-fpm                                               x86_64                                8.4.6-1.amzn2023.0.1                                     amazonlinux                                1.9 M
 php8.4-gd                                                x86_64                                8.4.6-1.amzn2023.0.1                                     amazonlinux                                 52 k
 php8.4-intl                                              x86_64                                8.4.6-1.amzn2023.0.1                                     amazonlinux                                181 k
 php8.4-mbstring                                          x86_64                                8.4.6-1.amzn2023.0.1                                     amazonlinux                                534 k
 php8.4-mysqlnd                                           x86_64                                8.4.6-1.amzn2023.0.1                                     amazonlinux                                145 k
 php8.4-zip                                               x86_64                                8.4.6-1.amzn2023.0.1                                     amazonlinux                                 45 k
Installing dependencies:
...
...
Transaction Summary
==========================================================================================================================================================================================================
Install  58 Packages

Total download size: 27 M
Installed size: 100 M
Is this ok [y/N]: y
Verify default PHP version in your system.
$ php -v
PHP 8.4.6 (cli) (built: Apr  8 2025 19:55:31) (NTS gcc x86_64)
Copyright (c) The PHP Group
Built by Amazon Linux
Zend Engine v4.4.6, Copyright (c) Zend Technologies
    with Zend OPcache v8.4.6, Copyright (c), by Zend Technologies
#3 Install Nginx Web Server
As stated earlier we’ll be using Nginx web server to host our WordPress website.
Install Nginx:
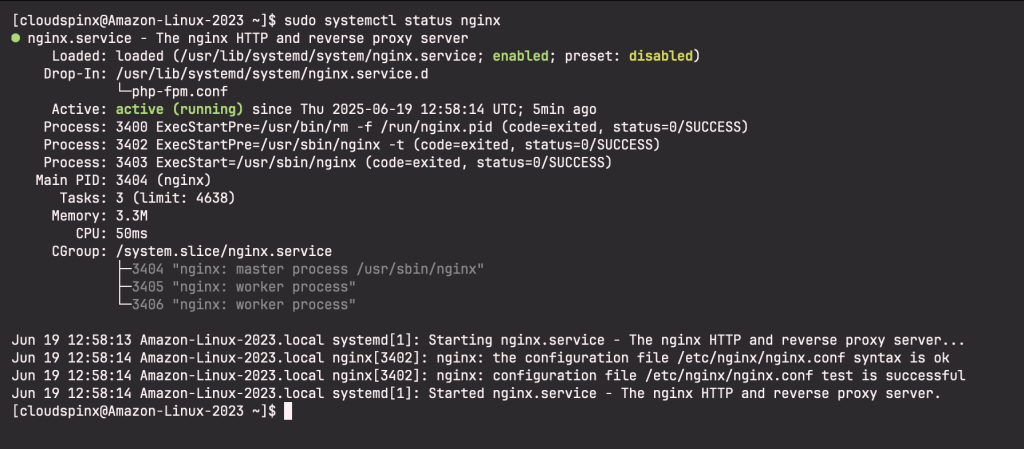
sudo yum -y install nginxStart and enable nginx service:
sudo systemctl enable --now nginxThe service should show status as running:
If you have firewalld service active, allow http and https services.
sudo firewall-cmd --add-service={http,https} --permanent
sudo firewall-cmd --reload
List allowed services.
$ sudo firewall-cmd --list-all
public
  target: default
  icmp-block-inversion: no
  interfaces:
  sources:
  services: ssh dhcpv6-client http https
  ports:
  protocols:
  masquerade: no
  forward-ports:
  source-ports:
  icmp-blocks:
  rich rules:
#4 Configure PHP FPM Service
As we’ll be using Nginx web server, we need to configure FastCGI Process Manager (FPM) service. You can check cool features of FPM implementation.
By default it is set to use apache user and group and we’ll need to update to nginx
$ sudo vim /etc/php-fpm.d/www.conf
user = nginx
group = nginx
Make sure it is listening on unix socket to accept FastCGI requests.
listen = /run/php-fpm/www.sockLet’s also set permissions for unix socket:
listen.acl_users = apache,nginxSet how the process manager will control the number of child processes to ondemand to save on memory utilization.
pm = ondemandWhen done start and enable php-fpm service.
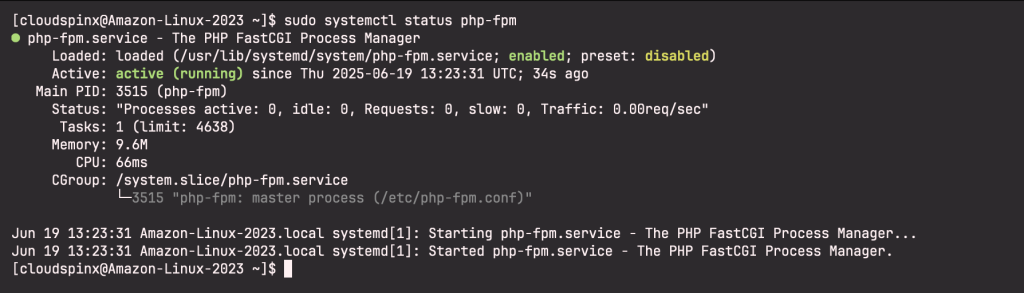
sudo systemctl enable php-fpm
sudo systemctl restart php-fpm
Check the service status with systemctl command:
#5 Install and Configure Database
You can use either MySQL or MariaDB Database server. Refer to the guide below for MySQL installation steps.
For MariaDB, install it as follows:
Add MariaDB repository to Amazon Linux 2023 server:
sudo tee /etc/yum.repos.d/MariaDB.repo > /dev/null <<EOF
# MariaDB 11.8 RedHatEnterpriseLinux repository list - created 2025-06-17 14:08 UTC
# https://mariadb.org/download/
[mariadb]
name = MariaDB
# rpm.mariadb.org is a dynamic mirror if your preferred mirror goes offline. See https://mariadb.org/mirrorbits/ for details.
# baseurl = https://rpm.mariadb.org/11.4/rhel/$releasever/$basearch
baseurl = https://mariadb.mirror.liquidtelecom.com/yum/11.4/rhel/9/x86_64
# gpgkey = https://rpm.mariadb.org/RPM-GPG-KEY-MariaDB
gpgkey = https://mariadb.mirror.liquidtelecom.com/yum/RPM-GPG-KEY-MariaDB
gpgcheck = 1
EOF
Before you begin installaton update OS package cache index:
sudo yum clean all
sudo yum makecache
Install MariaDB Database server on Amazon Linux 2023:
sudo yum install MariaDB-server MariaDB-clientEnable and start mariadb with the below commands:
sudo systemctl enable --now mariadbSecure MariaDB database server by setting a root user account password, removing anonymous users, disallowing root remote logins and removing test databases:
$ sudo mariadb-secure-installation
Enter current password for root (enter for none): Just press Enter
Set root password? [Y/n] Y
New password:  New-root-password
Re-enter new password: Re-enter New-root-password
Remove anonymous users? [Y/n] Y
Disallow root login remotely? [Y/n] Y
Remove test database and access to it? [Y/n] Y
Reload privilege tables now? [Y/n] Y
Thanks for using MariaDB!
Connect to MariaDB and set up a database and a user
$ mariadb -u root -p
Enter password:
Welcome to the MariaDB monitor.  Commands end with ; or \g.
Your MariaDB connection id is 11
Server version: 11.4.7-MariaDB MariaDB Server

Copyright (c) 2000, 2018, Oracle, MariaDB Corporation Ab and others.

Type 'help;' or '\h' for help. Type '\c' to clear the current input statement.

MariaDB [(none)]> SELECT VERSION();
+----------------+
| VERSION()      |
+----------------+
| 11.4.7-MariaDB |
+----------------+
1 row in set (0.000 sec)

MariaDB [(none)]> QUIT;
Bye
With database server installed and started, create a user and database for WordPress website.
CREATE DATABASE mysite;
CREATE USER "mysiteuser"@"localhost" IDENTIFIED BY "DBStr0ngP@sswOd#";
GRANT ALL PRIVILEGES ON mysite.* TO "mysiteuser"@"localhost";
FLUSH PRIVILEGES;
QUIT;
Where:
- mysite is to be replaced with the name of database to be created.
- mysiteuser – Name of database user with access to mysite database
- DBStr0ngP@sswOd# – Database user password
- Access granted to localhost user. For remote replace localhost with application server IP address.
Test database connection:
$ mariadb -u mysiteuser -p'DBStr0ngP@sswOd#';
Welcome to the MariaDB monitor.  Commands end with ; or \g.
Your MariaDB connection id is 13
Server version: 11.4.7-MariaDB MariaDB Server

Copyright (c) 2000, 2018, Oracle, MariaDB Corporation Ab and others.

Type 'help;' or '\h' for help. Type '\c' to clear the current input statement.

MariaDB [(none)]> SHOW DATABASES;
+--------------------+
| Database           |
+--------------------+
| information_schema |
| mysite             |
+--------------------+
2 rows in set (0.001 sec)

MariaDB [(none)]> QUIT;
Bye
#6 Install WordPress on Amazon Linux 2023
With PHP and Nginx installed we should be able to download the latest release of WordPress to our local server and configure our first website.
Install wget if not already installed.
sudo yum -y install wgetDownload the latest release of WordPress.
wget https://wordpress.org/latest.tar.gzExtract downloaded package.
tar xvf latest.tar.gzMove wordpress folder to /var/www directory.
sudo mv wordpress /var/www/wpCreate WordPress configuration file from example configuration template.
cd /var/www/wp
sudo cp wp-config-sample.php wp-config.php
Edit the configuration file to set database connection details.
$ sudo vim wp-config.php
define( 'DB_NAME', 'mysite' );
define( 'DB_USER', 'mysiteuser' );
define( 'DB_PASSWORD', 'DBStr0ngP@sswOd#' );
#7 Create Nginx Configuration file for WordPress
Let’s create a new Nginx configuration file for our website.
sudo vim /etc/nginx/conf.d/mysite.confThis is a basic site configuration file which can be improved for advanced settings.
server {
    listen 80;
    server_name wordpress.africanfine.com www.wordpress.africanfine.com;
    root /var/www/wp;

    access_log /var/log/nginx/mysite_access.log;
    error_log /var/log/nginx/mysite_error.log;

    charset utf-8;
    gzip on;

    location / {
        index index.php index.html;
        try_files $uri $uri/ /index.php?$args;
    }

    location ~ /\. {
        access_log off;
        log_not_found off;
        deny all;
    }

    location = /robots.txt {
        allow all;
        log_not_found off;
        access_log off;
    }

    location ~* /(?:uploads|files)/.*\.php$ {
        deny all;
    }

    location ~ \.php$ {
        try_files $uri =404;
        include /etc/nginx/fastcgi_params;
        fastcgi_read_timeout 3600s;
        fastcgi_buffer_size 128k;
        fastcgi_buffers 4 128k;
        fastcgi_param SCRIPT_FILENAME $document_root$fastcgi_script_name;
        fastcgi_pass unix:/run/php-fpm/www.sock;
        fastcgi_index index.php;
    }
}
Verify configuration file syntax:
$ sudo nginx -t
nginx: the configuration file /etc/nginx/nginx.conf syntax is ok
nginx: configuration file /etc/nginx/nginx.conf test is successful
Set web directory permissions:
sudo chown -R nginx:nginx /var/www/wpRestart nginx service.
sudo systemctl restart nginxAccess your website domain on a browser to complete WordPress setup.
http://wordpress.africanfine.com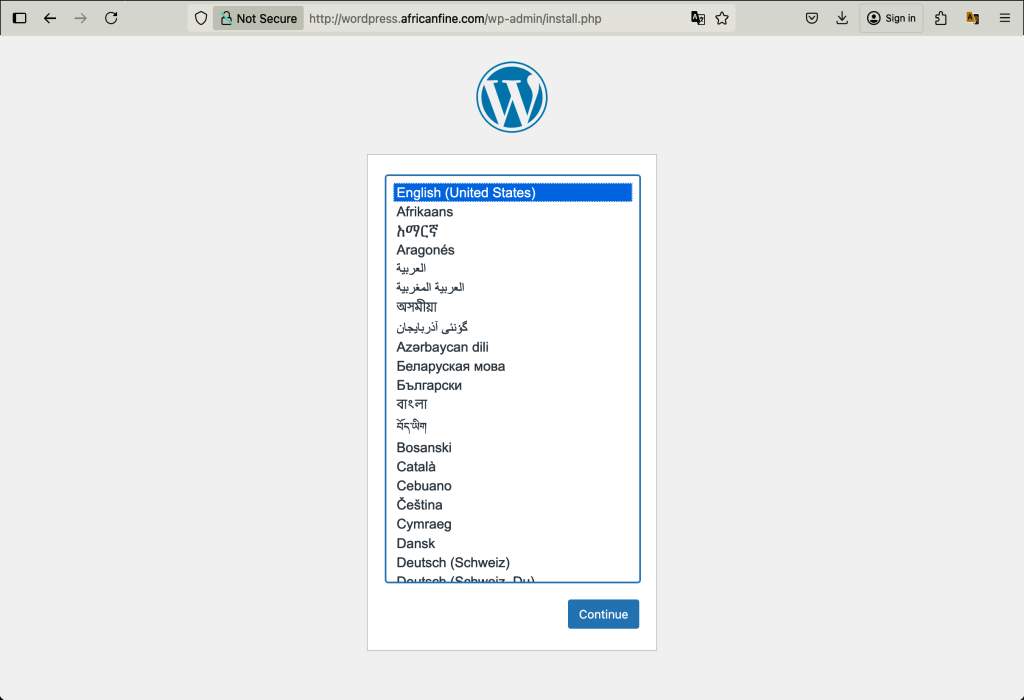
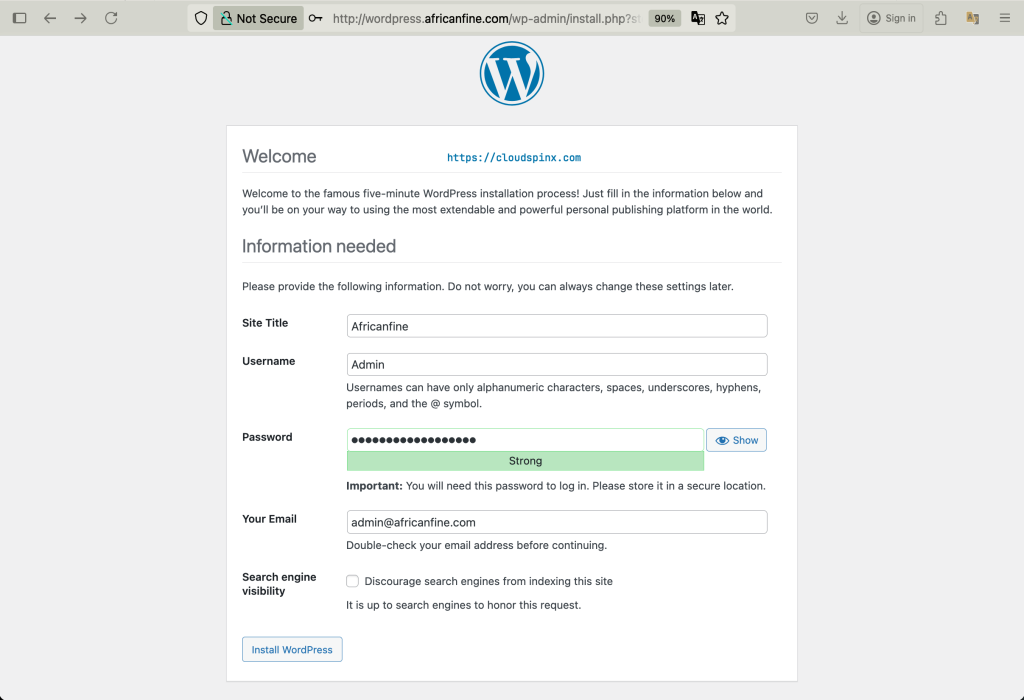
Input the site title and admin username, email and password, then click Install WordPress:
Hit the login button after installation:
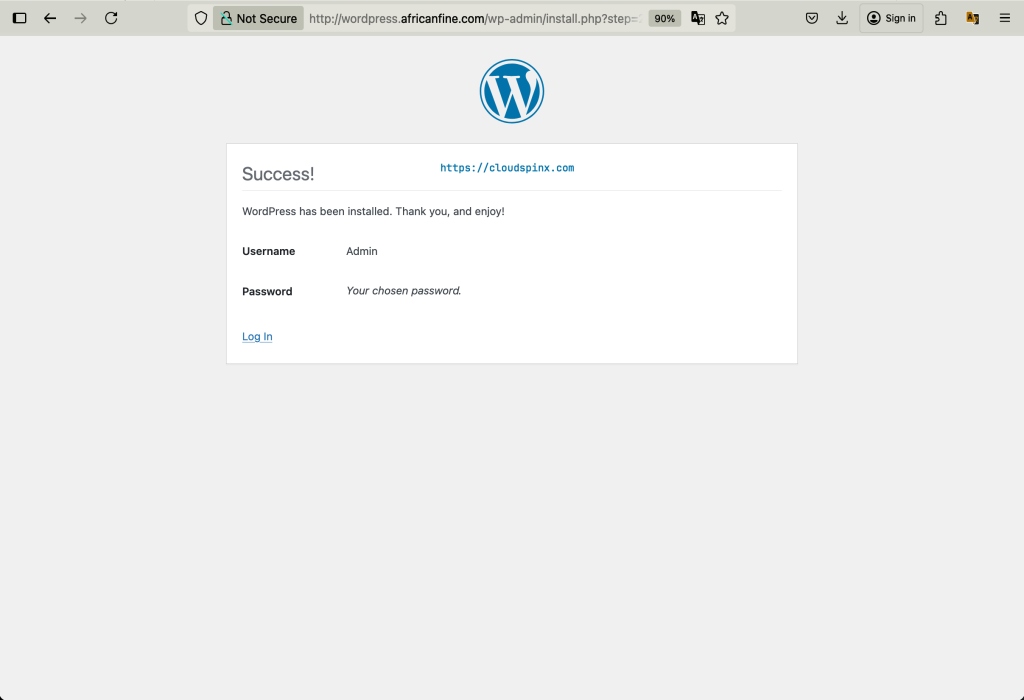
Use username and password that you set in previous step.

There you have WordPress dashboard.
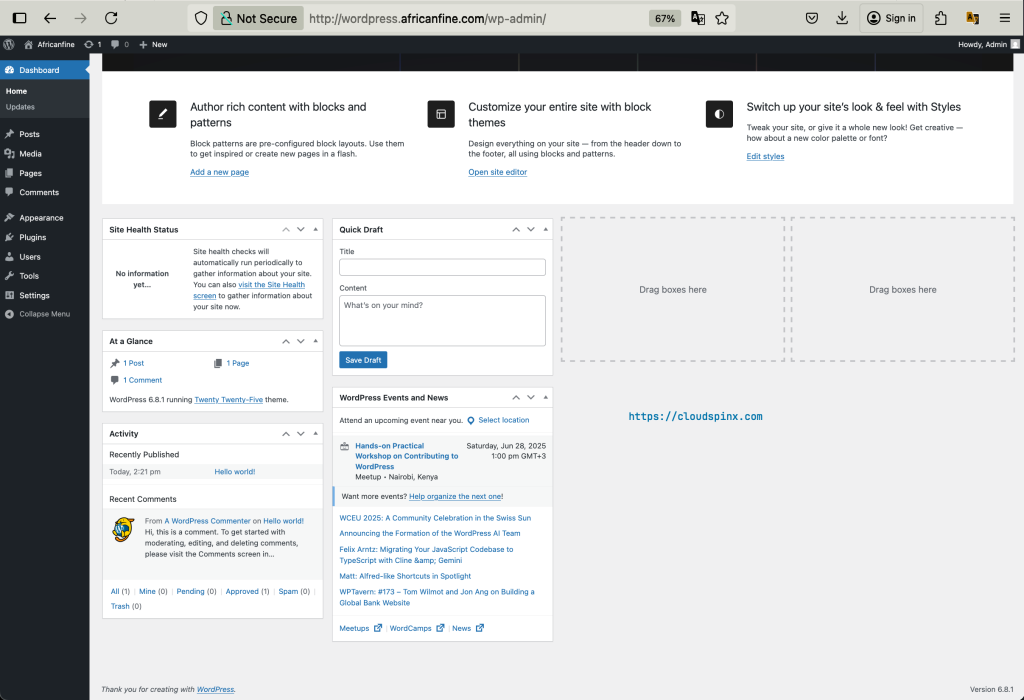
You’re good to proceed with Website design and installation of plugins which provide additional features suiting your use cases.