SparkyLinux is an open-source, lightweight, fast, and customizable GNU/Linux distribution based on Debian GNU/Linux operating distribution. It is a desktop-oriented distribution with multiple desktops to choose from. Sparky new releases are rolled-up every 3 – 4 years. Sparky was initially released in May of 2012 and has dpkg as its package manager. As of January 22, 2025, the latest release of SparkyLinux is version 7.6, codenamed “Orion Belt,” announced on January 4, 2025. The default user interfaces are MATE, Xfce, KDE, Plasma 5, and LXQt.
SparkyLinux has a fully featured lightweight desktop environment that works out of the box on almost all hardware. The home users have a curated pool of software to choose from. Sparky has a minimal GUI version with an Openbox window manager. The user thus has to select what he/she feels is necessary for them. Another key feature is that SparkyLinux has a frugal minimal CLI version without a graphical desktop. This is suitable for users who prefer to build their own desktops from the ground up. It is available in three versions:-
- GameOver – for gamers.
- Multimedia – for audio and video enthusiasts including developers.
- Rescue – system rescue toolbox.
SparkyLinux Features
SparkyLinux is designed for experienced users and is not a good starting point for beginners. Some key features associated with SparkyLinux include the following:-
- Sparky has a stable rolling release cycle of 3 to 4 years.
- Debian-based making it popular among Debian-based Linux distro lovers.
- It is fast, lightweight, and easily customizable.
- Comes in multiple desktops to choose from.
- Has a CLI edition which has no X for building customized desktops.
- Has own repository with multiple applications to easily customize your desktop.
- Has three versions to choose from depending on the users’ needs.
- It uses minimal system resources without complaining.
In this guide, we will look at a step-by-step installation process on a VM. Before we begin, navigate to the official sparky iso image and download your iso file. Two download versions are available i.e the stable version and the (Semi-) Rolling version. The stable version is Recommended for all users while the (semi-) rolling version is preferred for users who prefer fresh packages over a little less stability.
For this guide, I will install SparkyLinux on a KVM host. The steps are similar if you are deploying it in a VirtualBox, VM Ware Workstation, Oracle Virtualization, etc.
SparkyLinux – Review and Step-by-Step Installation Guide
Step 1: Download Sparky Linux ISO
Go to https://sparkylinux.org/download/stable/ and download the ISO image under you Desktop environment of choice.
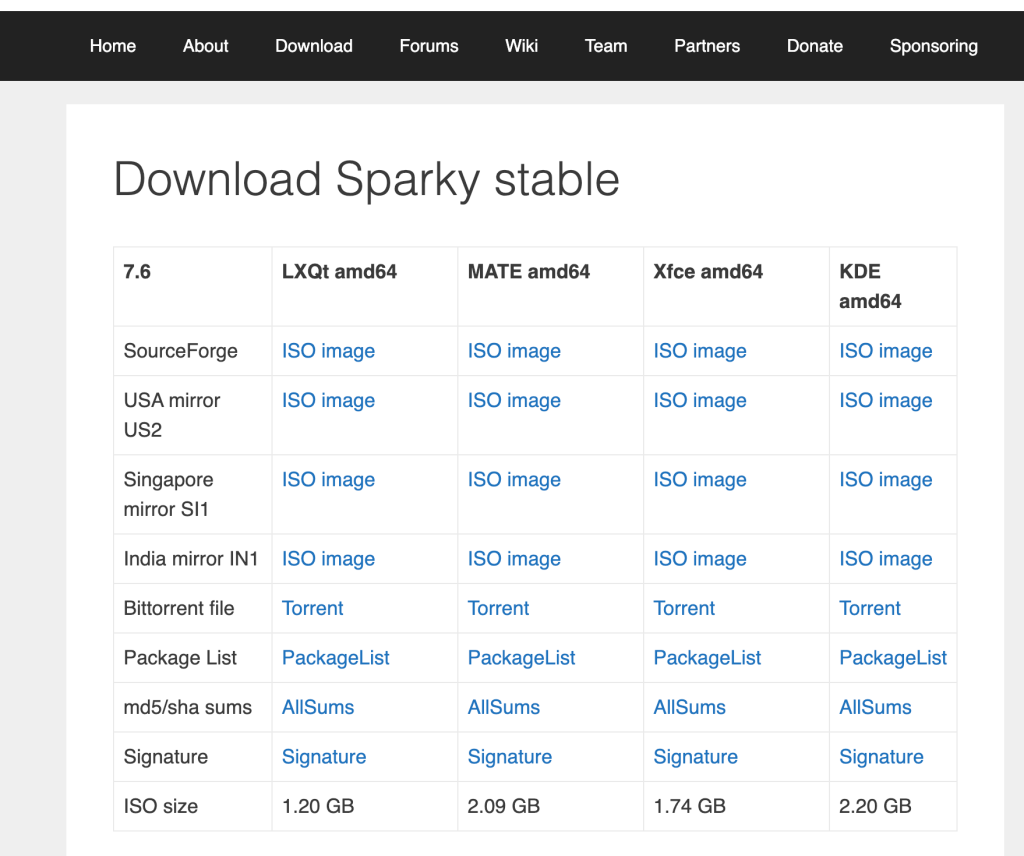
Once your download is complete, you need to make your ISO file bootable. See our guide on Install Manjaro Linux– Complete Steps with Screenshots to see how to prepare your bootable medium using the Rufus tool. You could also use other tools of your choice like balenaEtcher or Ventoy. The guide also demonstrates how to do the installation on Oracle VirtualBox and VMware Workstation / Player.
As stated above I will deploy SparkyLinux on Proxmox Virtual Environment.
Step 2: Set up SparkyLinux VM on KVM
In this step, I will prepare my VM for SparkyLinux installation. Open your terminal and run the virt-install command below:
sudo virt-install \
  --name Sparky-Linux-7.6 \
  --vcpus 2 \
  --memory 4096 \
  --disk path=/var/lib/libvirt/virtual-machines/sparky-linux-vm.qcow2,size=40,format=qcow2 \
  --os-variant debian11 \
  --network network=bridged-network \
  --graphics vnc,listen=0.0.0.0,port=-1 \
  --cdrom  /var/lib/libvirt/virtual-machines/Sparky-Linux-7.6-x86_64.iso \
  --boot uefi \
  --description "SparkyLinux VM for Guide Demo" \
  --autostart
The command above will create your VM and launch it.

We’ll continue the next steps using cockpit.
Step 2: Access VM Console
When you navigate to cockpit, you will find the VM already launched and ready to install:
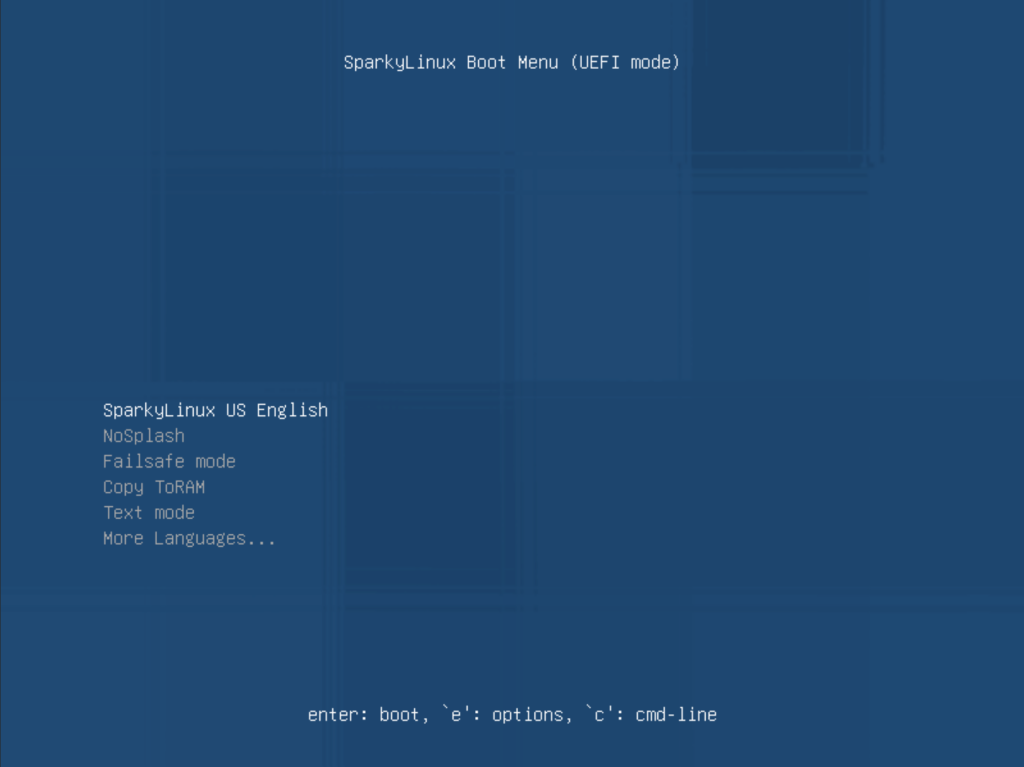
To begin the installation process, press Enter when SparkyLinux US English is highlighted. Now double-click on Sparky Installer to launch the installer:
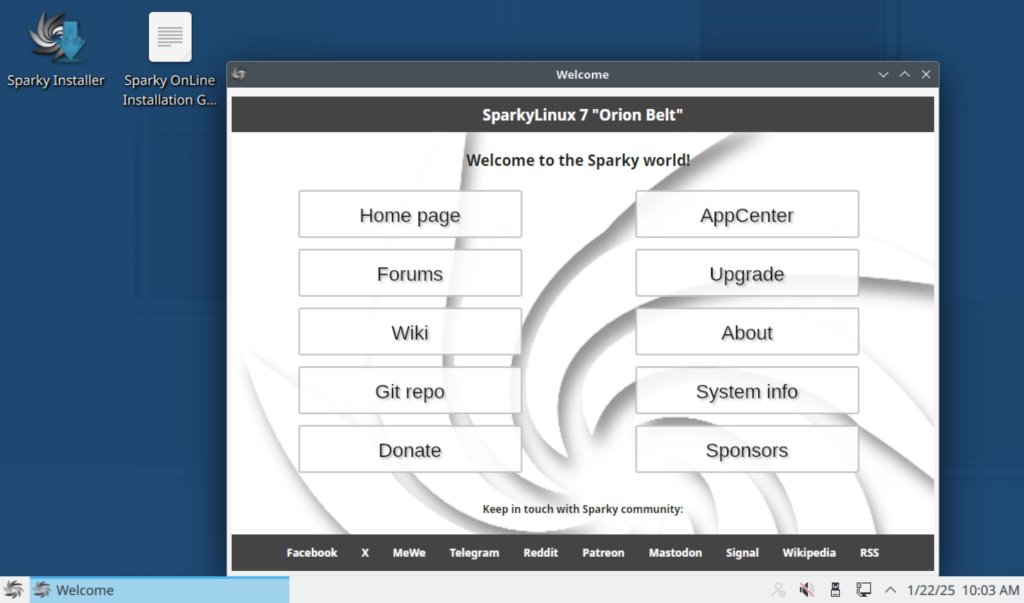
This opens the following page.
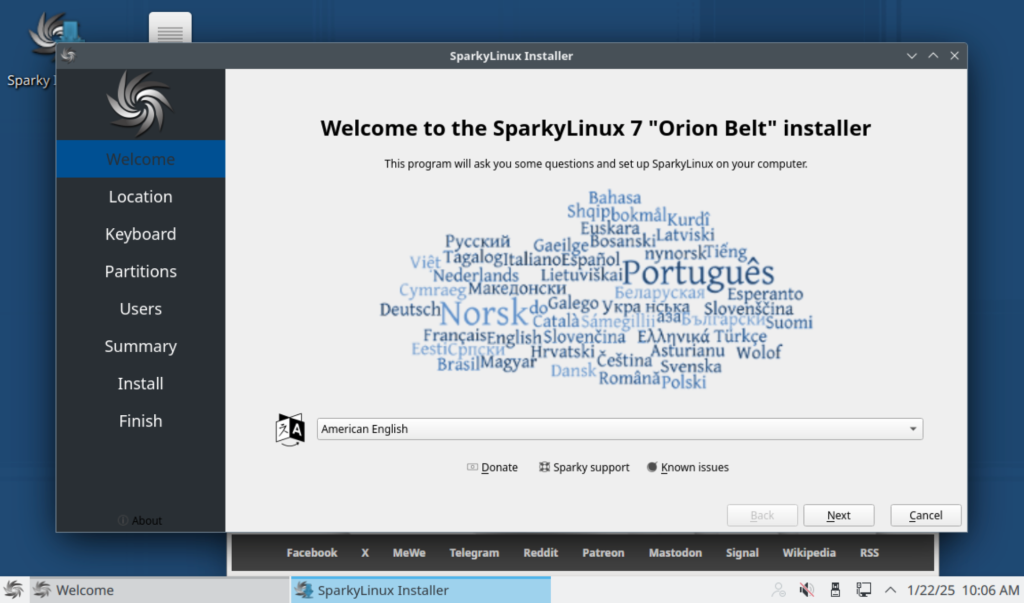
Select your installation language and click Next.
Step 3: Select your location
The next thing is to select your Geographical Location in terms of Region and Zone. Select your appropriate location
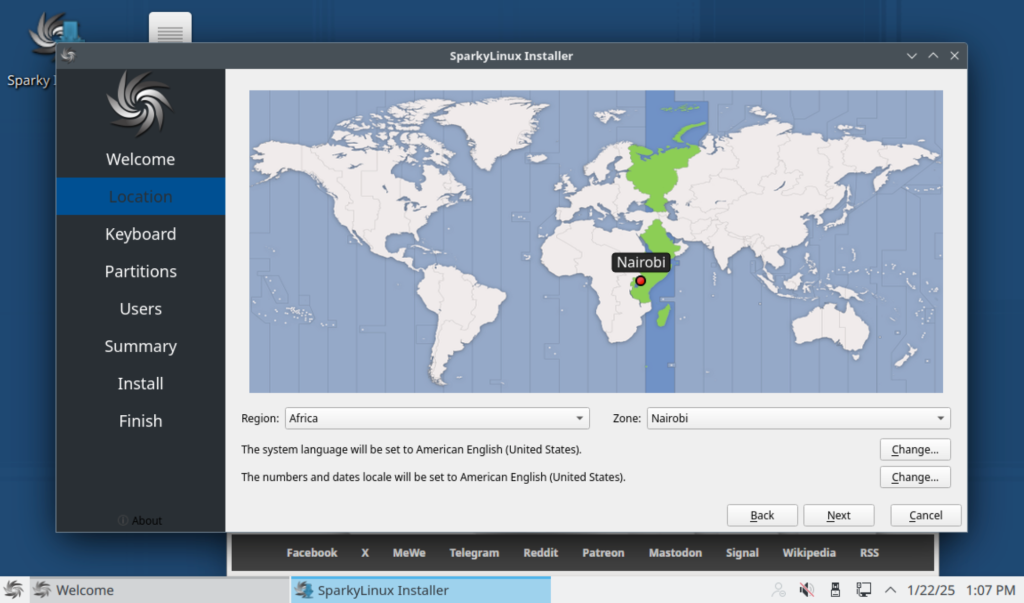
You can as well change the Locale settings to match your Location. When done click Next to proceed.
Step 5: Choose the keyboard layout.
You will now choose your keyboard layout.
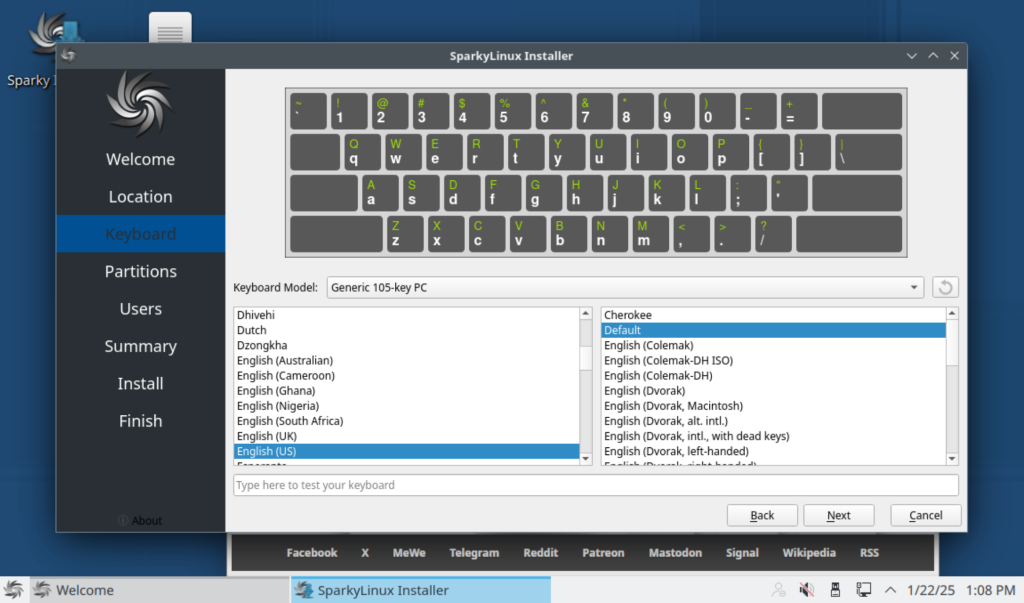
Choose your preferred keyboard layout and click Next.
Step 6: Make your partitions
If you are not an experienced user, you can select Erase disk. This option erases all the data currently present on the selected storage device. For experienced users, manually create your partitions by checking the Manual Partitioning. This gives you the freedom to define the sizes of your partitions.
For this guide, I will Erase my disk since it’s for test purposes.
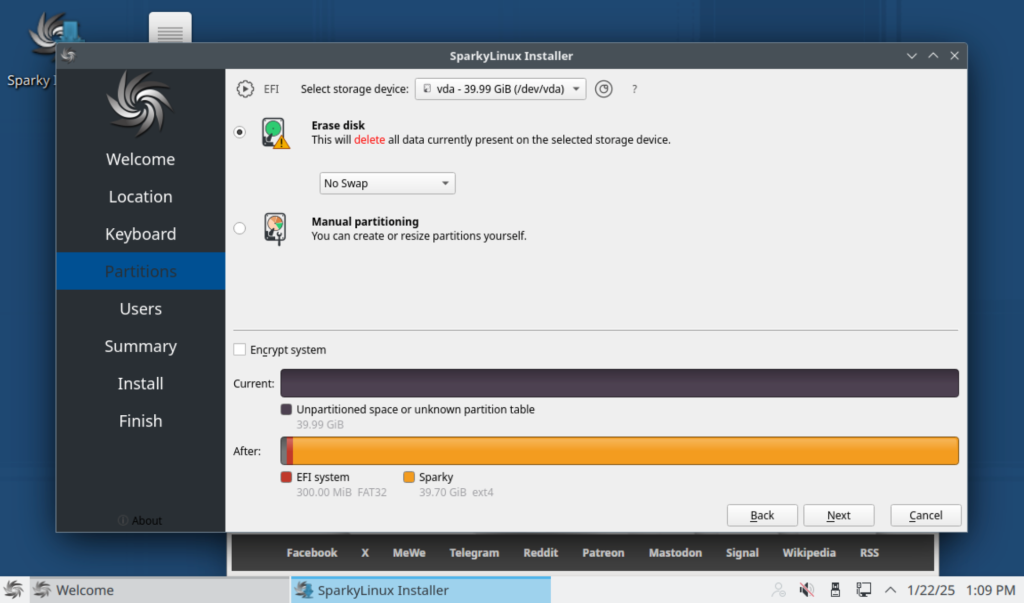
You can choose to Encrypt your system if your disk will be holding crucial information, Only do not forget your password. Click Next to proceed.
Step 7: Create a System User.
In this step, define the system user by filling in the details of the username, the login name, the hostname, and the user password as shown below.
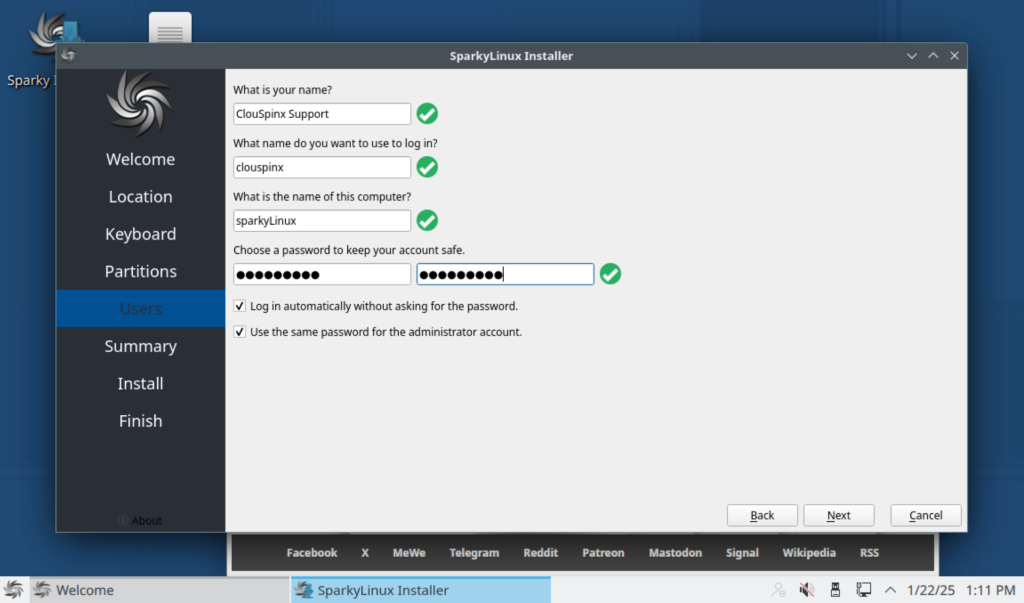
Once satisfied, click Next to proceed. A summary of your SparkyLinux installation properties will be provided. Go through the summary and make the necessary tweaks if any.
Step 8: Begin the process of installation.
Once you are content with the summary, Click Install to begin the process of installation.
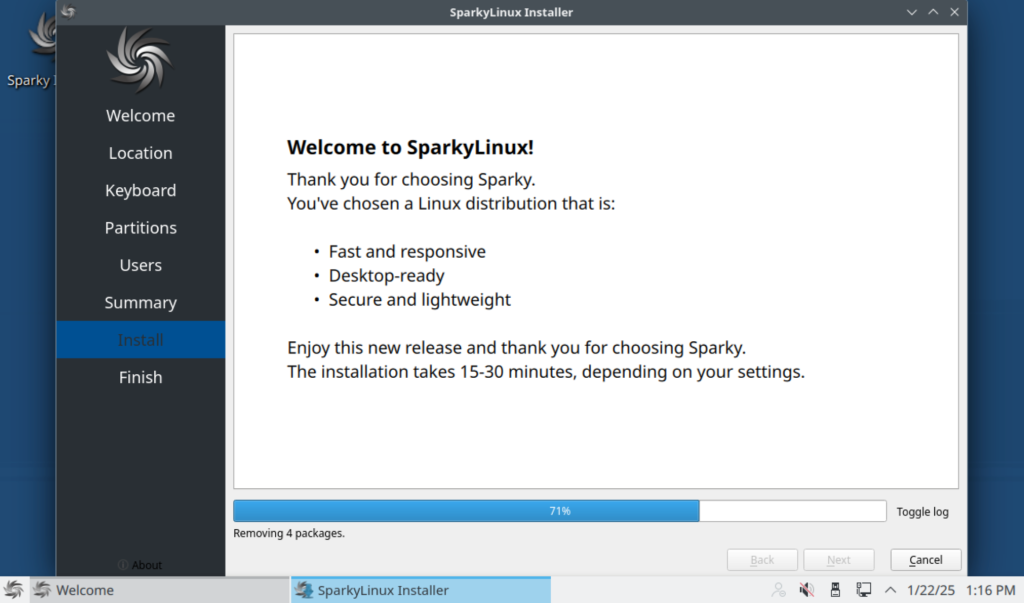
Allow the installation to proceed and be patient as multiple files are downloaded during the installation process. Once installation completes successfully, you should see this page.
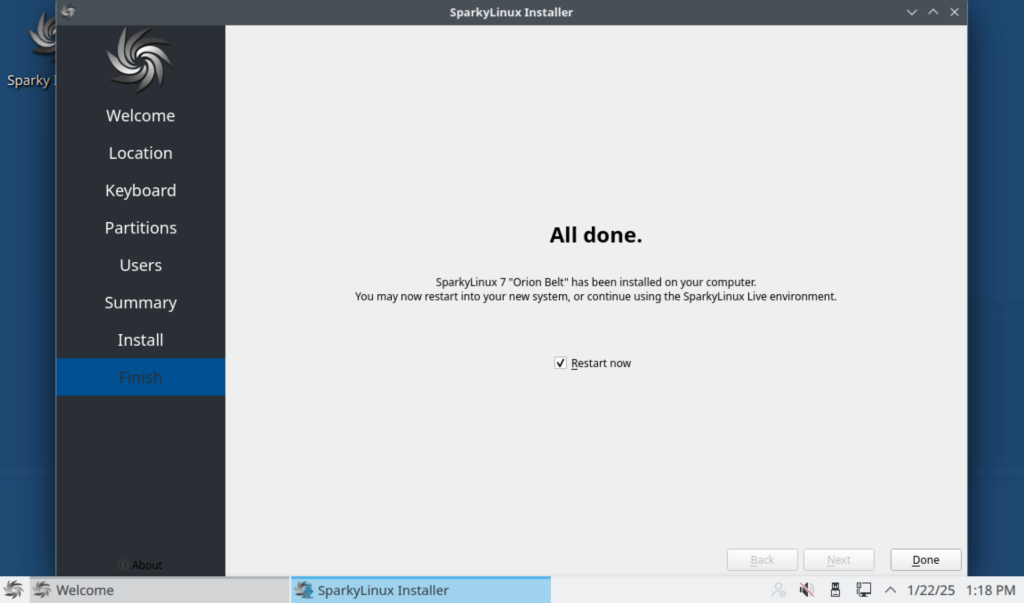
Click Done to finish the process of installation. You can then Restart your system. As the system restarts, the cool SparkyLinux logo is displayed.

Once you log in, the home page looks like this.
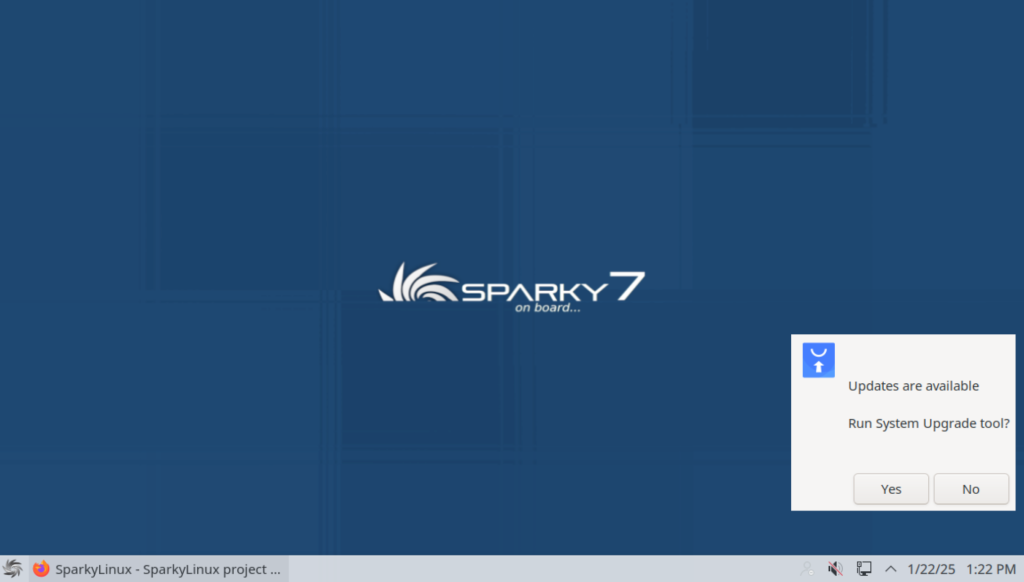
Openbox window manager is the default windows manager. There is a notification to update your system. Click Yes and provide the password supplied during installation.
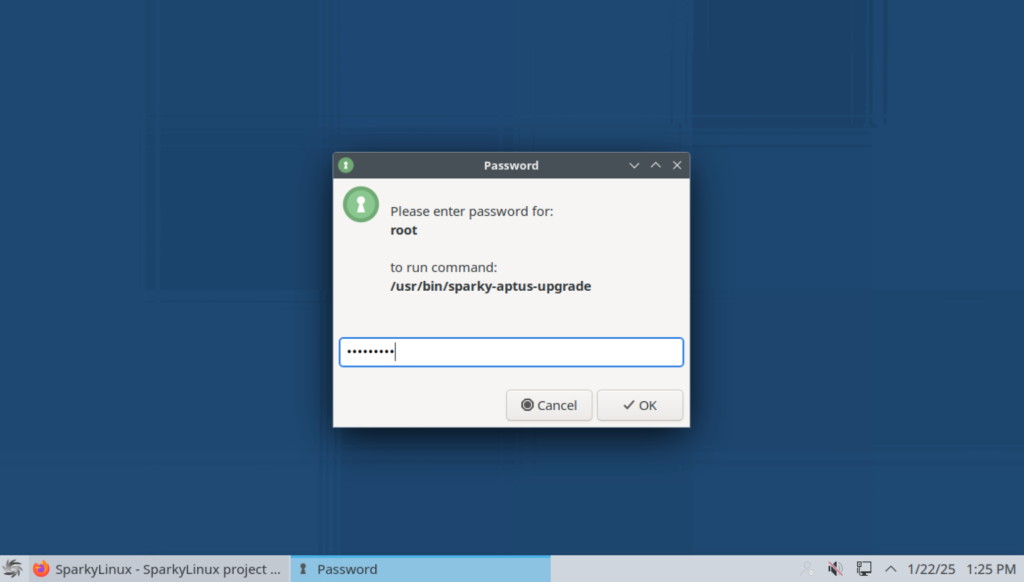
Accept the upgrade by clicking OK.
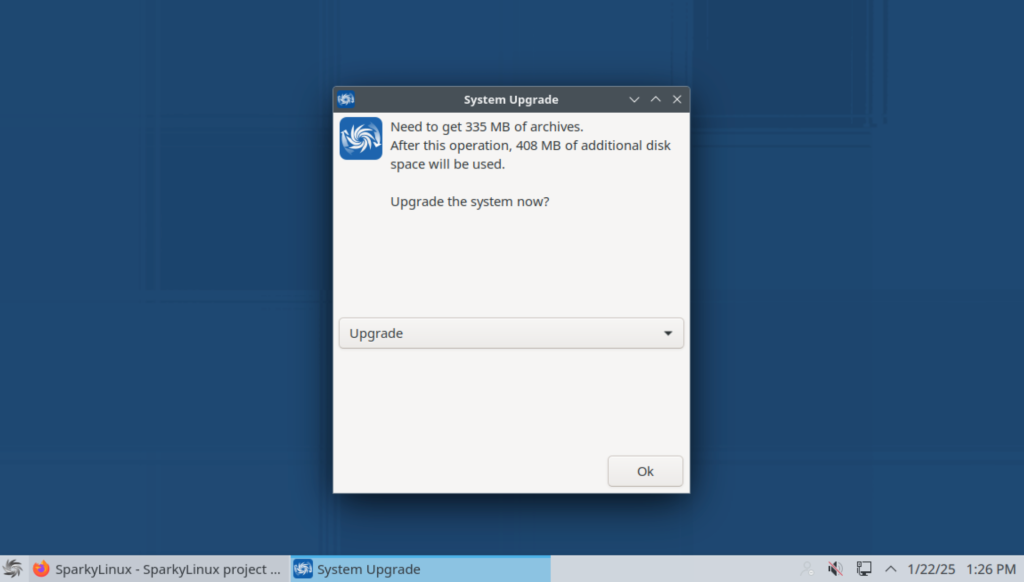
This opens a shell terminal and upgrades your system.
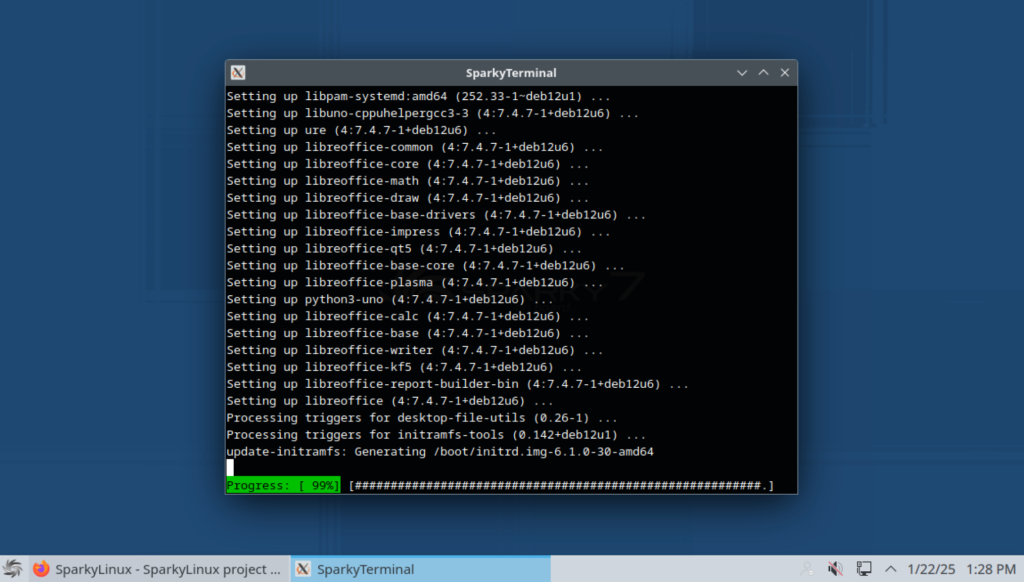
Step 9: Launch Applications.
To launch the applications, navigate to the Menu icon located in the bottom left corner of the window and click on it.
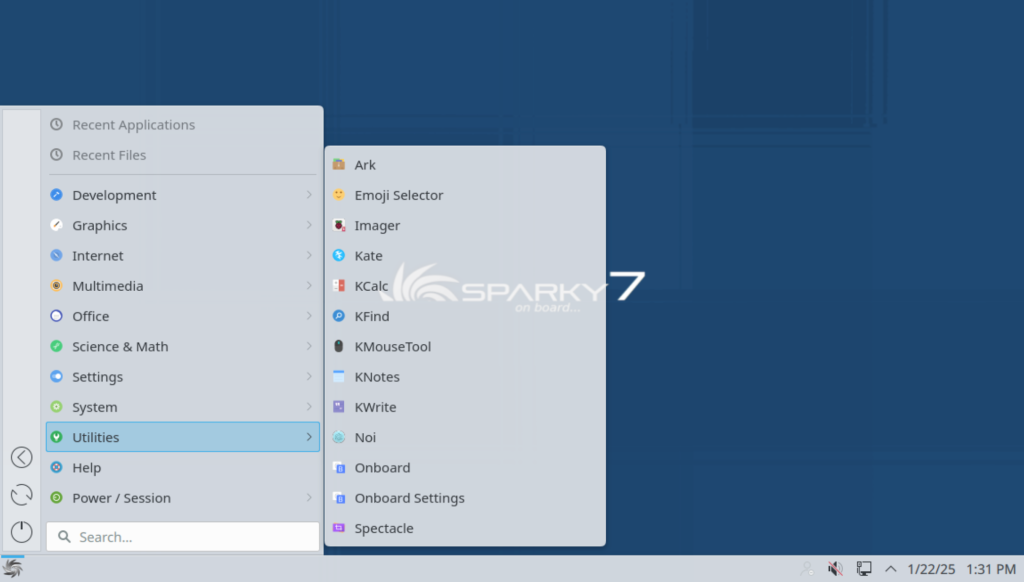
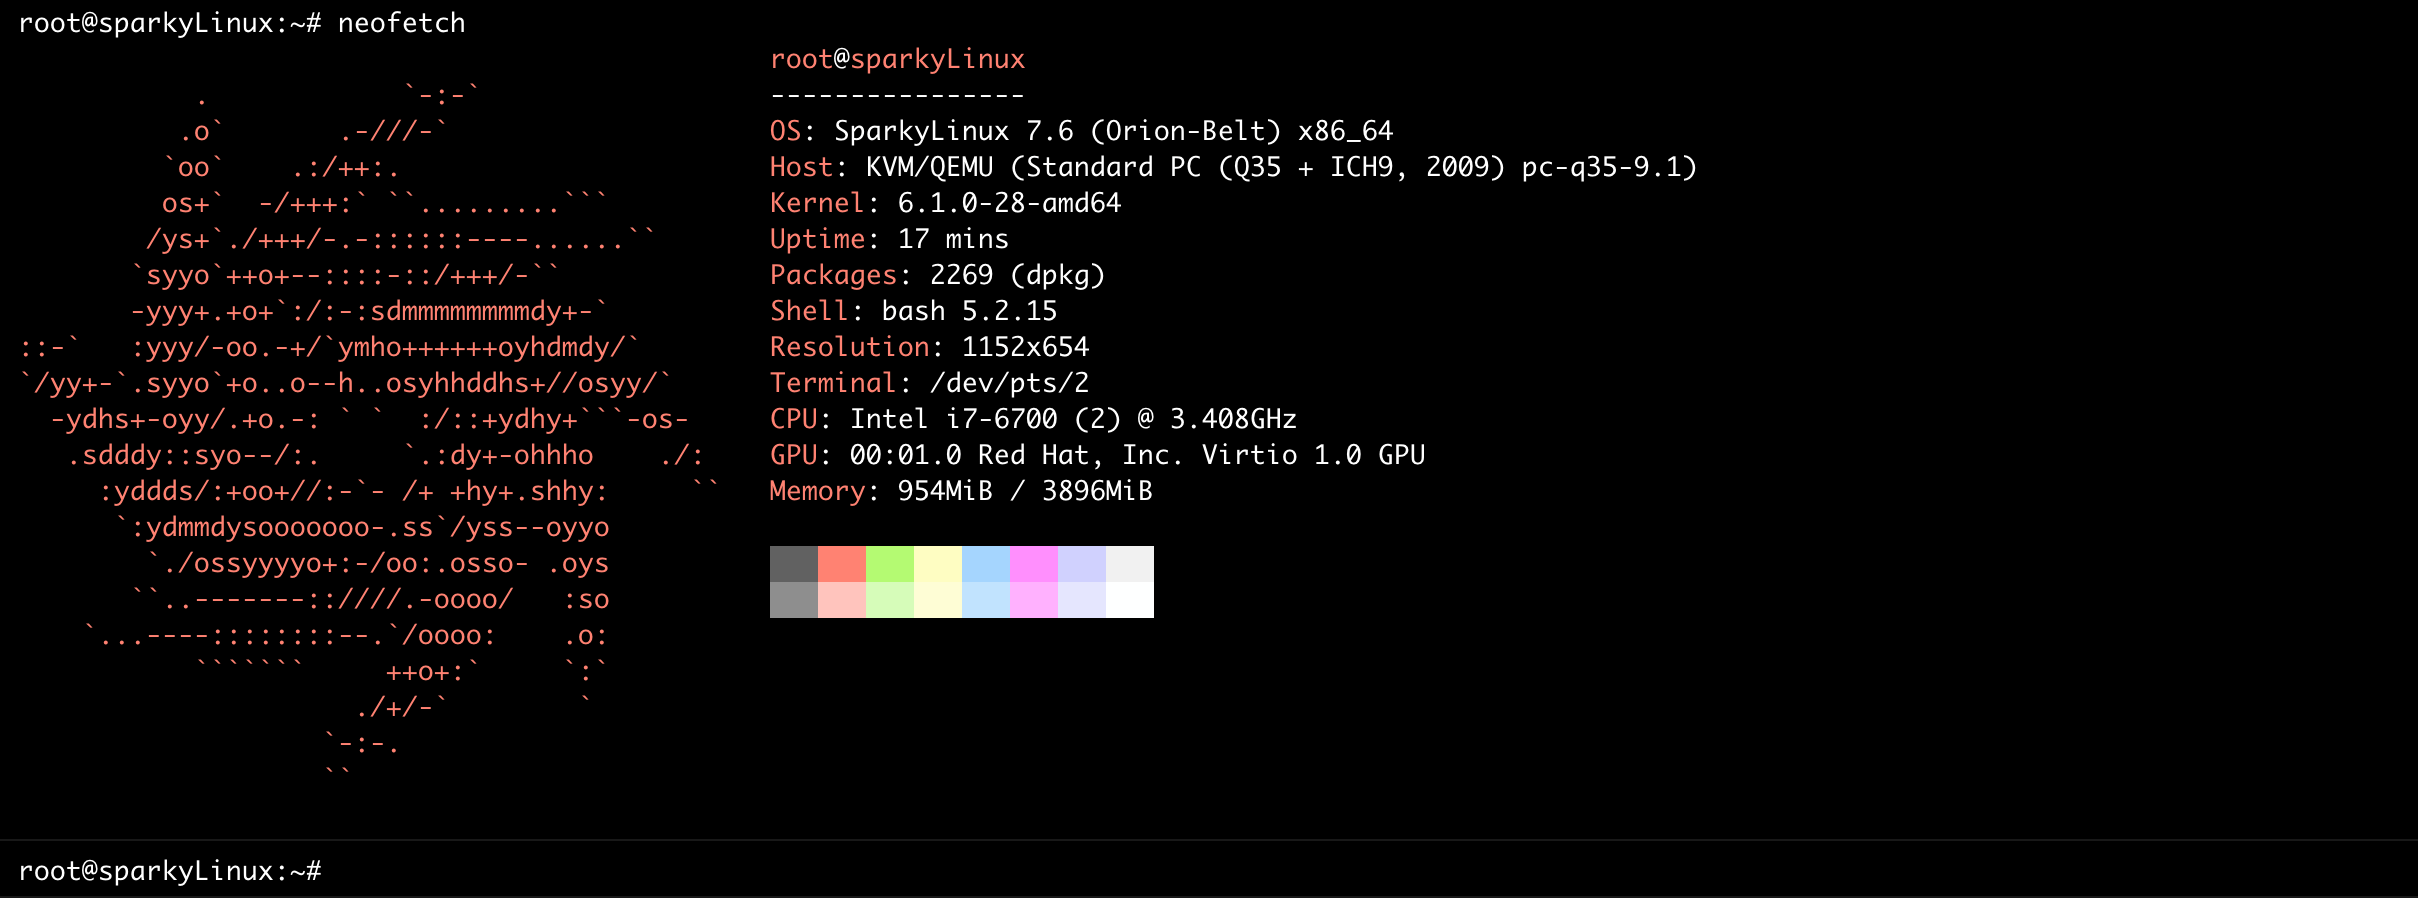
Launch the Terminal Emulator and run your commands. For demonstration purposes, I will install neofetch and then use it to give the system properties.
sudo apt install neofetchRun the neofetch command.
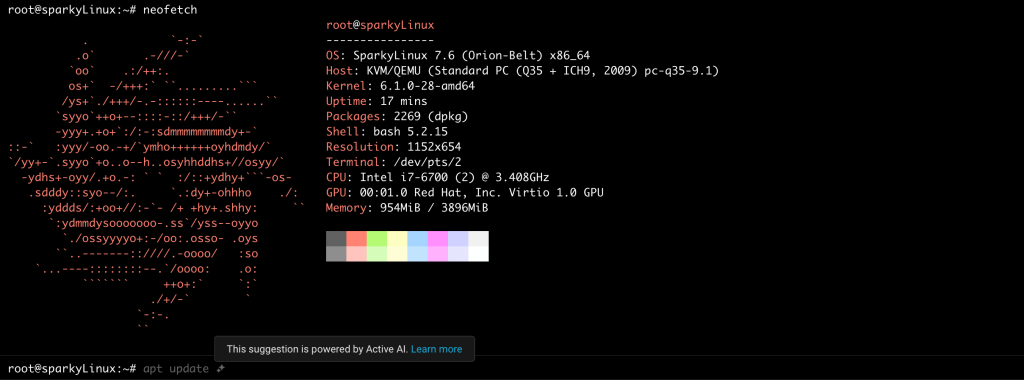
Conclusion.
That marks the end of the guide today. Explore more features associated with SparkyLinux.
See more installation guides.



1 thought on “SparkyLinux – Review and Step-by-Step Installation Guide”
I am using Ventoy with sparkylinux-7.2-x86_64-xfce.iso to install on VirtualBox VM on a MacBook Pro. Obviously I must have made a mistake because I can’t quit the memory. Finally I could use Firefox and it works. What can I do to install the OS on the harddisk? Probably I have to read your description above once more to understand it better.
Greetings,
rodolfo_81825