
Updating your system is more than following the latest version number —it’s learning about new features, improved performance, and greater security. Debian 13 “Trixie” having just been released, the Debian family continues to uphold a tradition of offering a rock-solid, open-source operating-system foundation where rock-solid stability and brand-new updates go hand-in-hand. And if you already have Debian 12 “Bookworm” installed and running, there’s never a better time to consider updating and checking out what’s new in the new release.
Here in this tutorial, we’ll walk you through the whole process of upgrading from Debian 12 to Debian 13, step by step. Whether you use a home desktop or work on a production machine, the aim is to complete the transition smoothly, securely, and reliably.
You don’t have to be a Linux guru—just have some patience and a desire to follow along. Your system will be up and running with Trixie, ready to handle the next couple of years of Debian’s dependability and open-source excellence, by the time you’re done.
Step 1: Update Your System
Before you can perform any system upgrades successfully, your system needs to be up-to-date. Run the following commands to update and upgrade your system packages:
sudo apt update && sudo apt upgrade
sudo apt full-upgrade
Now remove the packages that are no longer required, and then reboot your system:
sudo apt --purge autoremove && sudo apt clean
sudo reboot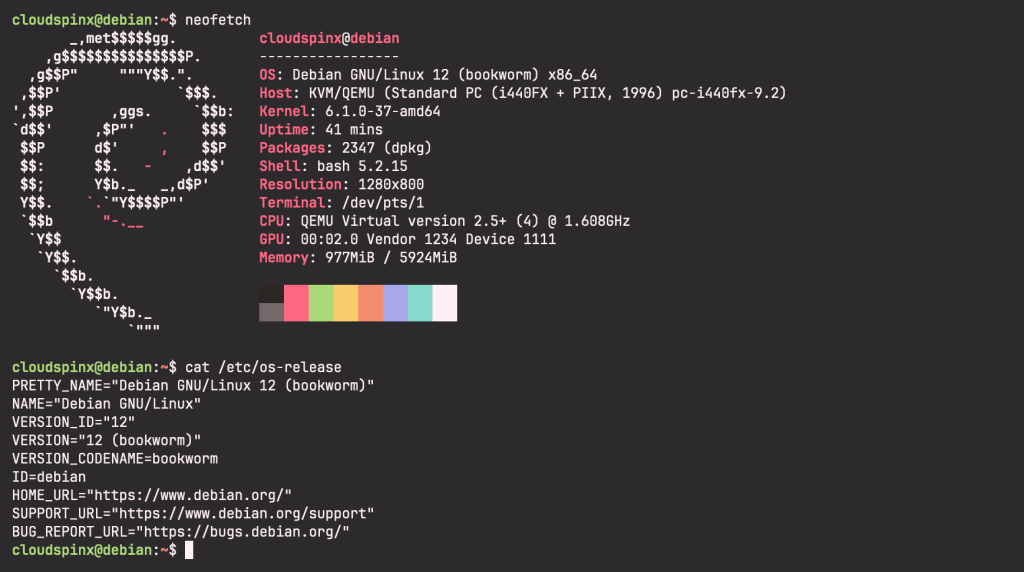
Step 2: Check Non-Debian Packages
As a day-to-day user of the Debian OS, there’s a good chance that not all of the software you have installed on your computer is from the official Debian repositories. Having just said that, you might be thinking, “So what if I have installed software from non-Debian repositories?” Here’s where the problem comes in: this software may cause problems during the upgrade because their repositories may not yet be set up to be run on Debian 13.
Run the command below to check for these packages:
sudo apt list '?narrow(?installed, ?not(?origin(Debian)))'If this command returns nothing, then you are good to work; otherwise, if lists some packages, then you can either uninstall them for the upgrade and reinstall them after the upgrade. This step is also dependent on the kind of packages that you have installed.
It is also recommended to remove any holds before upgrading. If any package that is essential for the upgrade is on hold, the upgrade will fail. Use the command below to remove any holds:
sudo apt-mark showhold
sudo apt-mark hold package_name
Step 3: Update the sources.list File
Debian defines it’s software repositories under /etc/apt/sources.list file. Repositories for extra software can also be defined under the /etc/apt/sources.list.d. For the distro upgrade to be successful, this file must be updated to point to the Debian 13 repositories.
As always, it is a good practice to have a backup of such changes, just in case something goes south with the upgrade process:
mkdir ~/sources_backup
cp /etc/apt/sources.list ~/sources_backup
cp -r /etc/apt/sources.list.d/ ~/sources_backup
Then proceed to update the sources.list file:
sudo sed -i 's/bookworm/trixie/g' /etc/apt/sources.list
sudo sed -i 's/bookworm/trixie/g' /etc/apt/sources.list.d/*
After the changes, the sources file should look something like this:

Step 4: Run a Minimal System Upgrade
Now, the system is ready to update to the new Debian 13 (Trixie). Run the command below to update the new repositories:
sudo apt update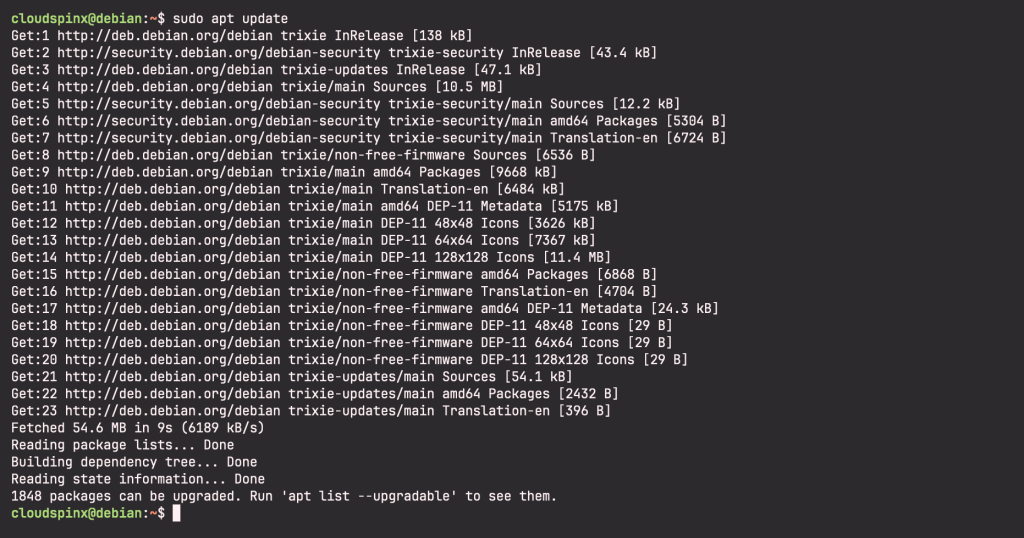
For the upgrade, there are over 1800 packages that will be upgraded, which is exactly the reason why this minimal upgrade step is necessary. It’s breaks down the upgrade into two steps: a minimal upgrade and a full upgrade.
To perform the minimal upgrade, run the command below:
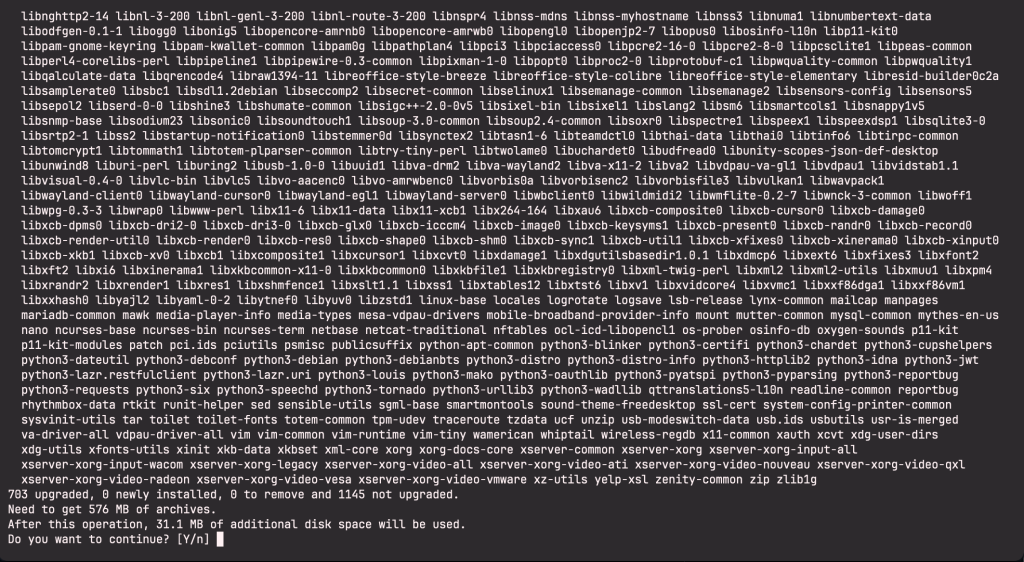
sudo apt upgrade --without-new-pkgsNotice that we are adding the --without-new-pkgs flag to the upgrade command. What this does is it tells apt to only upgrade the systems that are already installed and not install any new packages. This is essentially what makes this a minimal upgrade because you will not be installing any new packages.
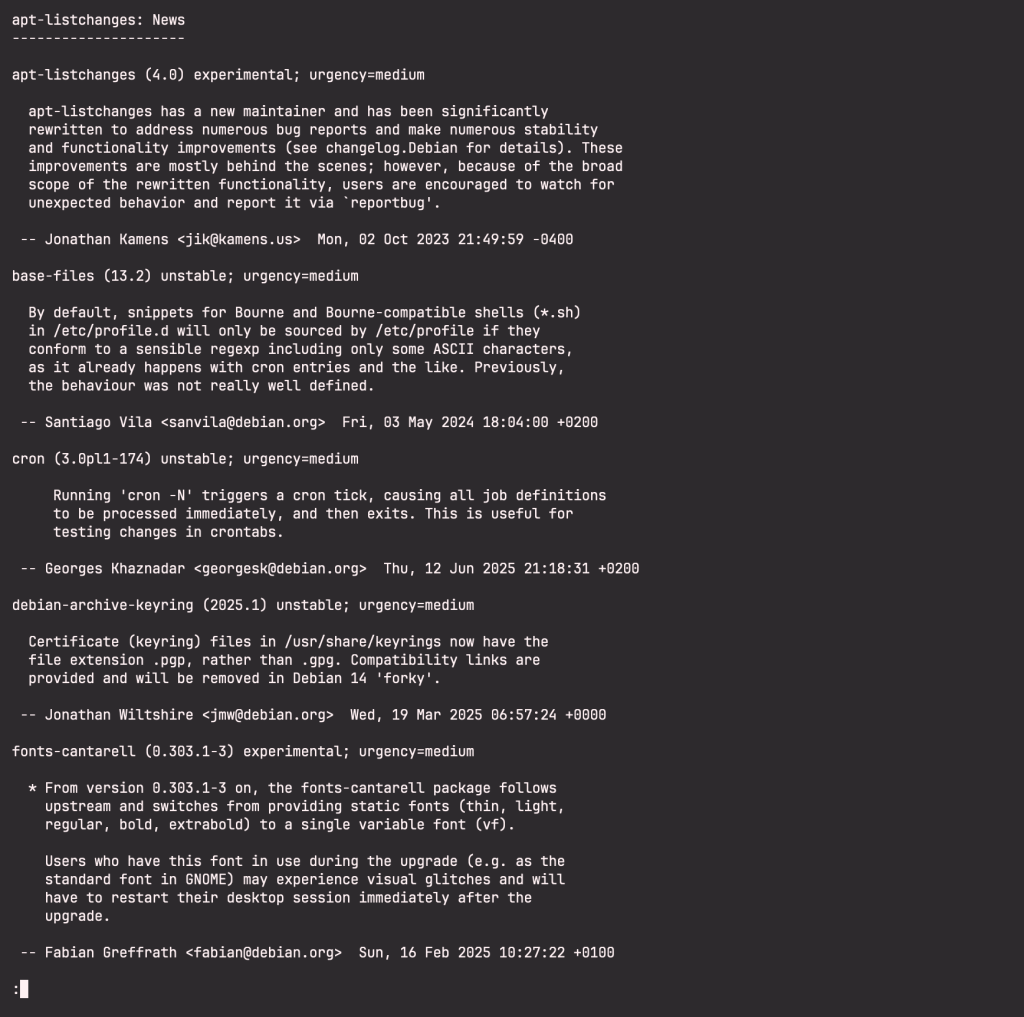
Agree to continue when prompted, enter ‘Y‘:
Now wait for the package upgrade to finish and enter ‘q‘ in the next screen:
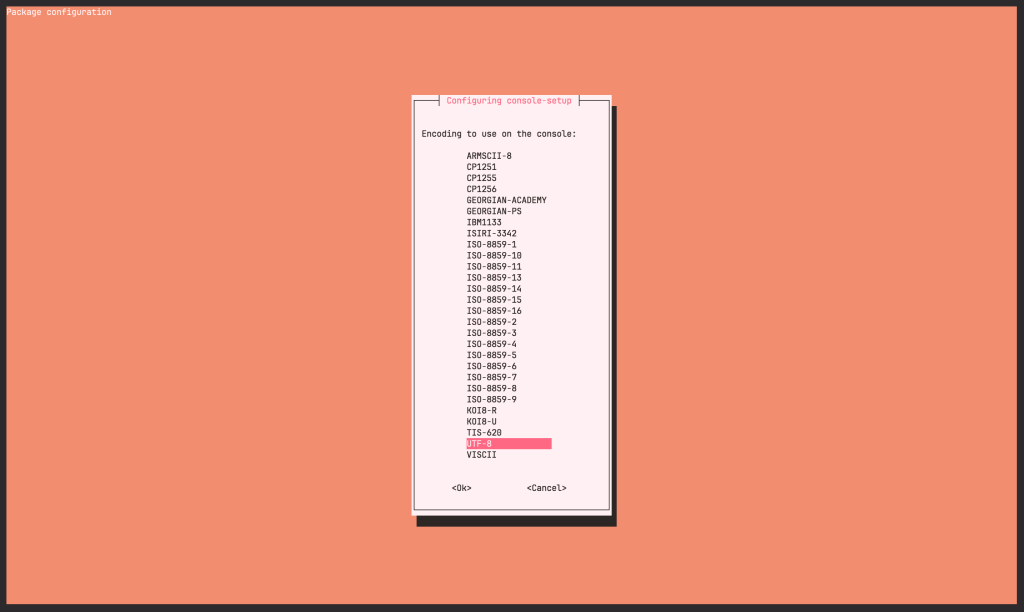
Then you will be prompted for the encoding type:
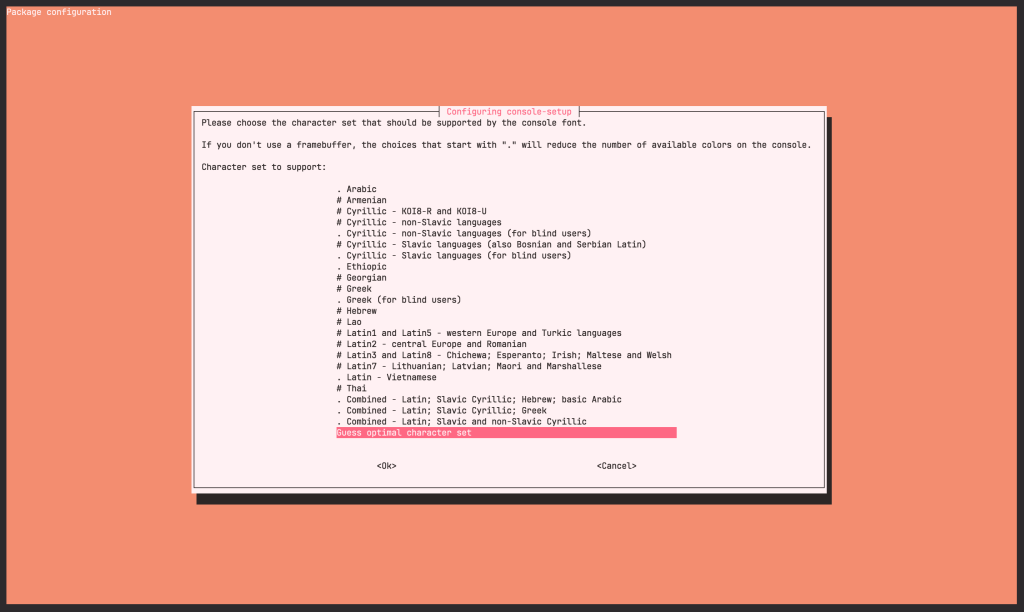
You will also be prompted to select a character set to support:
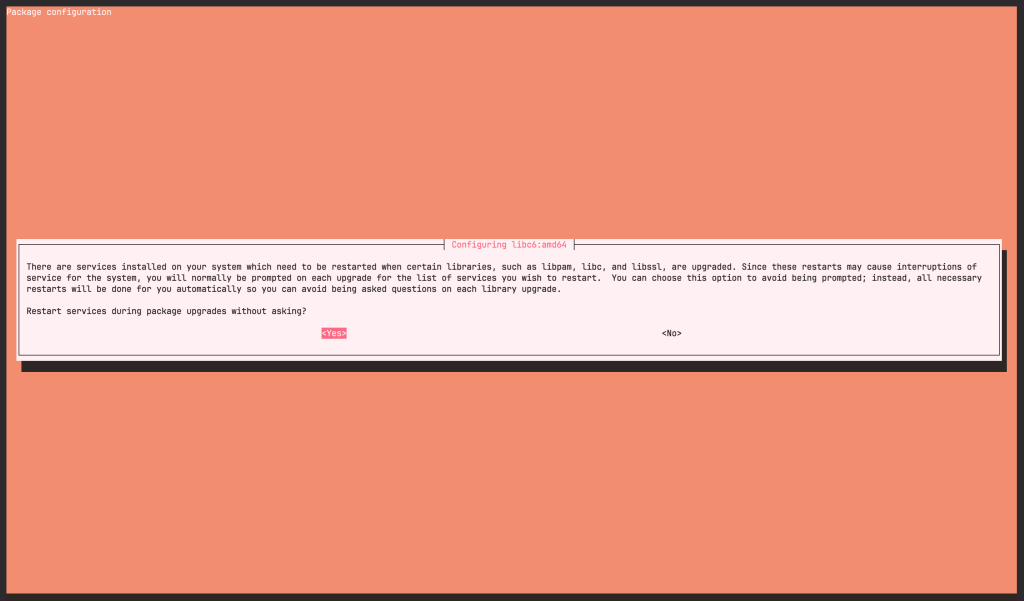
The upgrade process will also require permission to restart services automatically without asking, select OK and hit ‘Enter‘ when prompted:
Now the process will start, and you will see the extraction and setup of the packages. Wait for the process to finish and then proceed with the next step.
Step 5: Perform Full Upgrade to Debian 13 (Trixie)
When you are done with the minimal upgrade, you need to run the following command to perform the full upgrade:
sudo apt full-upgrade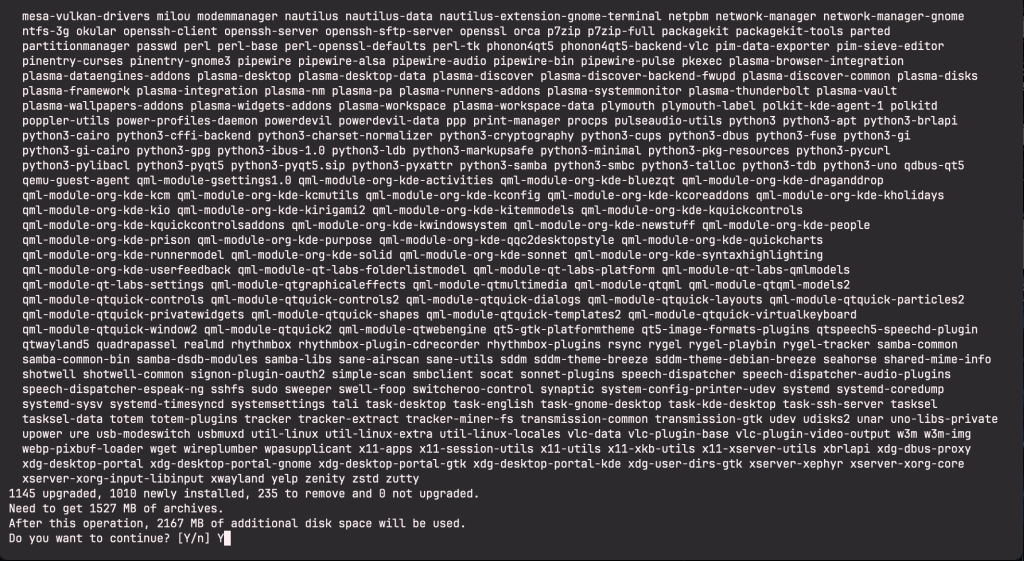
The above command will upgrade all the packages, install any new dependencies, and remove any necessary packages to complete the upgrade. The process might take a while, so be patient.
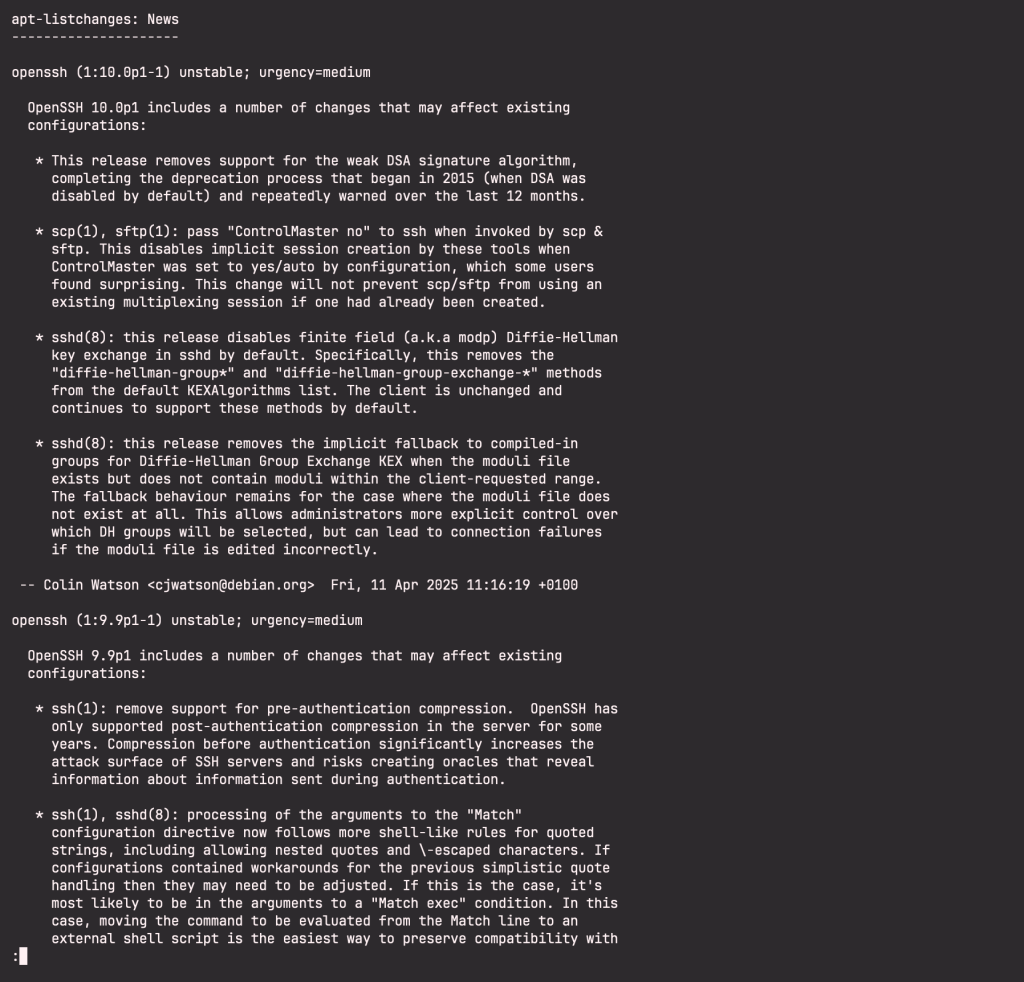
Again, you’ll be prompted with the new changes that are coming in. Read through them and enter ‘q‘:
When the upgrade is finally done, you need to reboot your system:
sudo reboot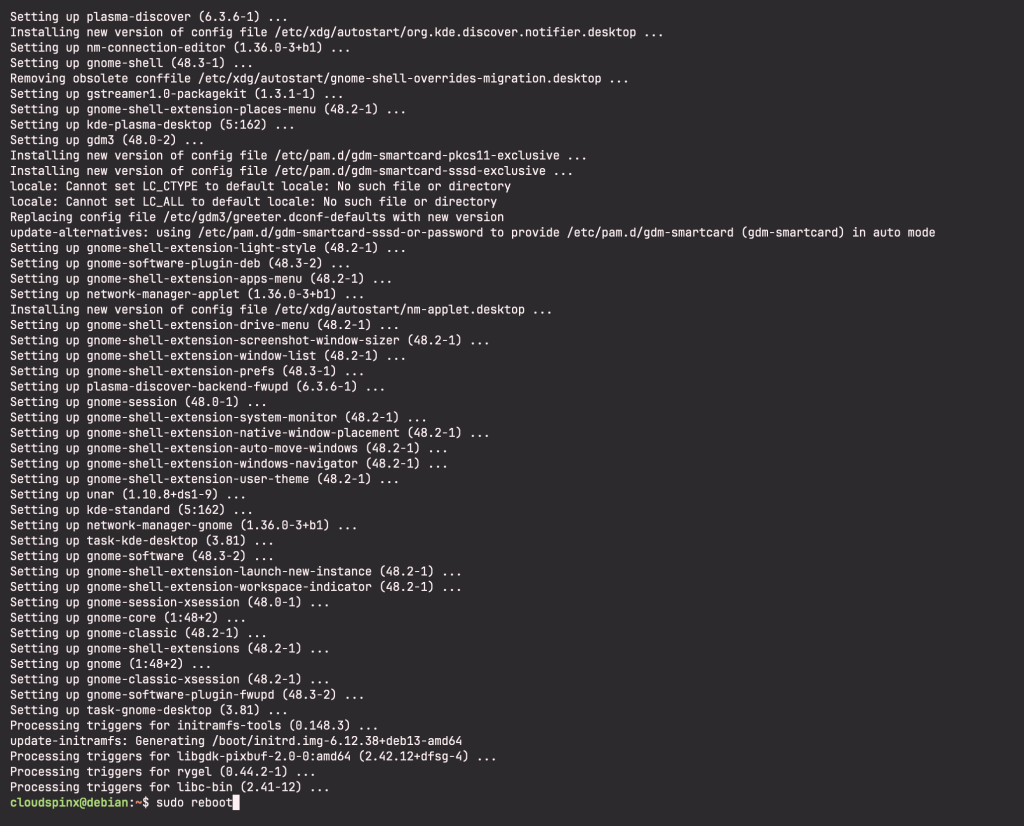
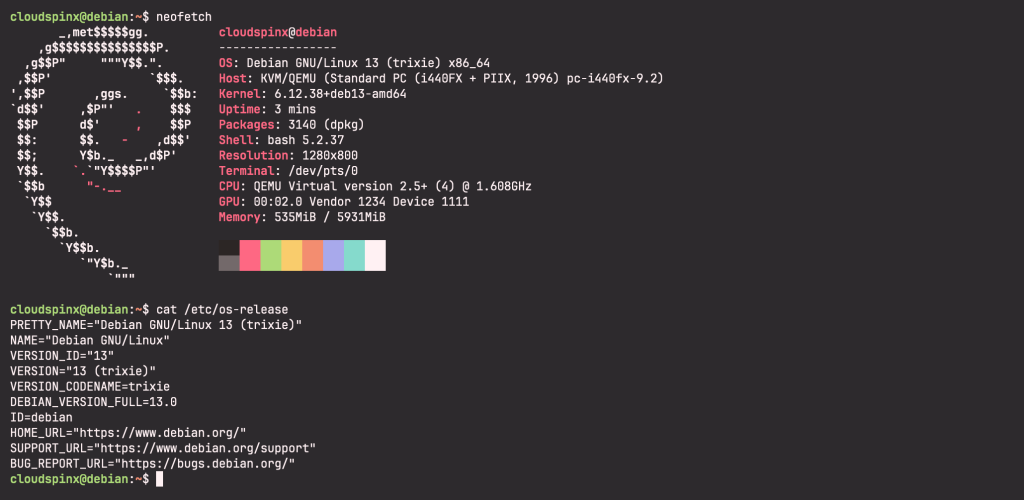
After the reboot, your system will officially have been upgraded to Debian 13 (Trixie):
Now run the following command to clean up all the Debian 12 packages that are no longer required:
sudo apt --purge autoremove
sudo apt clean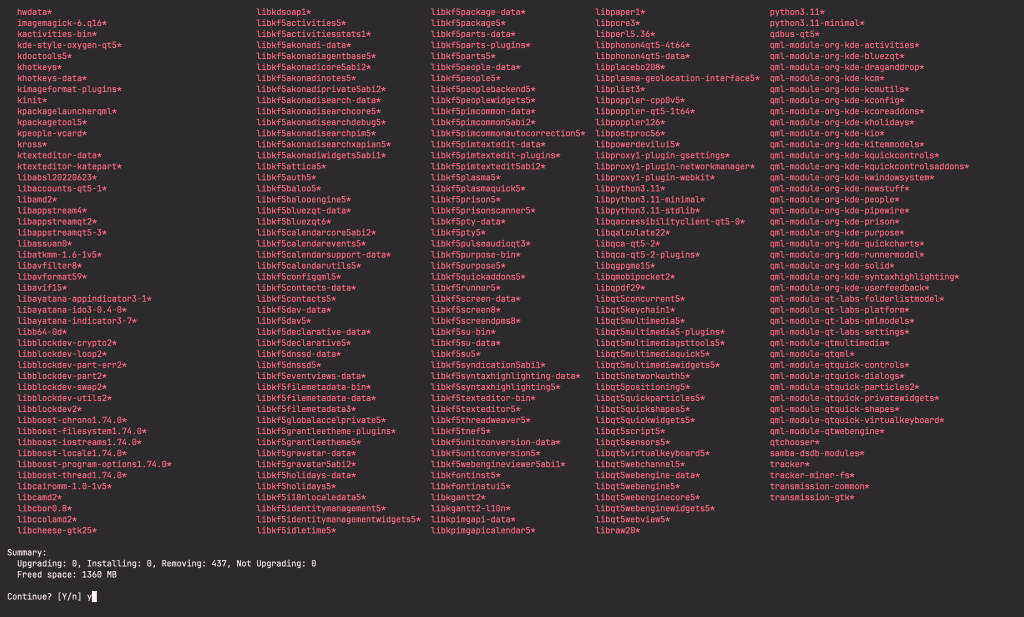
And voilla, you have successfully upgraded your system from Debian 12 to Debian 13. Enjoy. Check out more interesting guides below:


