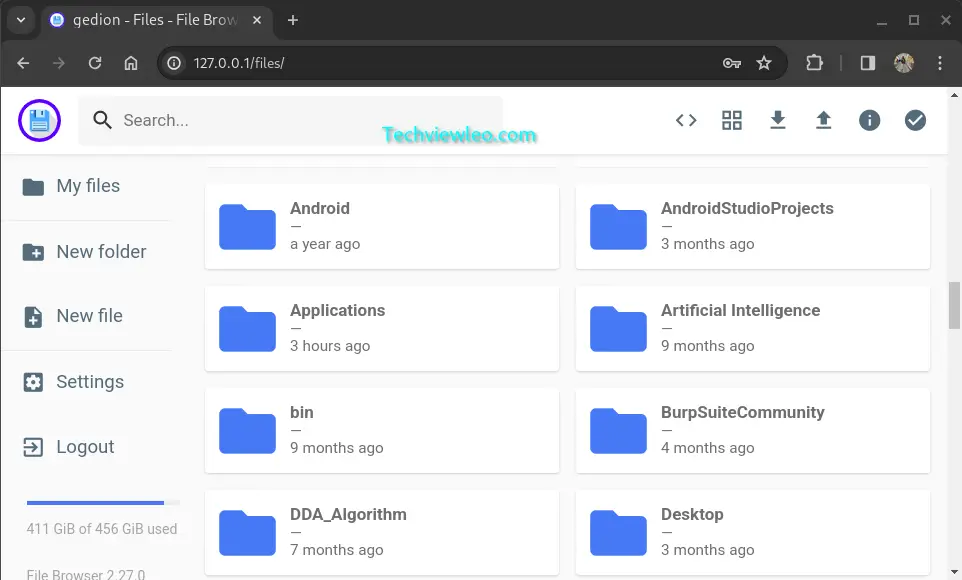
File Browser is an open-source online file manager and web-based graphical user interface for managing files and directories on a computer or server. It was originally known as Filemanager. In particular, it is helpful for remote server management and file sharing since it enables users to explore, upload, download, edit, and manage files and directories via a web browser.
A file management interface is offered by File Browser inside a designated directory and also gives you an option to choose your own directory. It is essentially interchangeable with how your local file manager is used. The only difference is, we can access it via a web browser interface.
Features of File Browser
Let’s have a look at some of the features that File Browser has to offer:
- File and Folder Handling: While using File Browser, you can perform the basic file handling operations like copying content, moving, renaming, deleting and also creating and deleting directories.
- Cross-Platform Support: File Browser is specifically designed to run on all the popular platforms including Windows, Linux, and mac. This enables File Browser to cater for everybody.
- User Authentication: File Browser also allows users to configure different access levels on the server. This configurations defines who has what level of access to the files by requesting for authentication of users.
- File Preview: When accessing your file system using File Browser, you can preview all your files including documents, photos and videos,which enables you to have a sneaky pick of the content before clicking and opening.
- Management of Users and Groups: If you are an administrator, you can use your admin privileges to create different user groups and grant them different access levels according to their roles.
- External Integration: Tools such as Dropbox and Google Drive, have been integrated into File Browser to provide extra storage features and provide f=more functionality and completeness for File Browser.
- Access Control: As an admin, you can set up rules that govern user access and file permissions depending on the users access level and role. This features ensures that only intended users have appropriate access to certain files and folders.
- Shareable Links: This is a feature that allows users to generate URLs that can be used by external users to access specific files or directories. These links provide a secure and convenient way for others to access your files without having to access to the server directly.
Installing File Browser
Preferably, you can run File Browser independently as an executable with just a single binary. Alternatively, others may choose to use Caddy. Caddy is web server that automatically enables HTTPS, or Docker. Installing it is really simple, regardless of the system you choose to utilize.
The quickest way to install File Browser is by opening your terminal and executing the following commands:
Windows systems:
iwr -useb https://raw.githubusercontent.com/filebrowser/get/master/get.ps1 | iex
filebrowser -r /path/to/your/files
MacOS systems:
brew tap filebrowser/tap
brew install filebrowser
filebrowser -r /path/to/your/files
Unix systems:
curl -fsSL https://raw.githubusercontent.com/filebrowser/get/master/get.sh | bash
filebrowser -r /path/to/your/files
File Browser is also available as a Docker image. The usage is as follows:
Alpine:
docker run \
    -v /path/to/root:/srv \
    -v /path/filebrowser.db:/database.db \
    -v /path/.filebrowser.json:/.filebrowser.json \
    -u $(id -u):$(id -g) \
    -p 8080:80 \
    filebrowser/filebrowser
Linuxserver:
docker run \
    -v /path/to/root:/srv \
    -v /path/to/filebrowser.db:/database/filebrowser.db \
    -v /path/to/settings.json:/config/settings.json \
    -e PUID=$(id -u) \
    -e PGID=$(id -g) \
    -p 8080:80 \
    filebrowser/filebrowser:s6
Using File Browser Web File Manager
Navigate to the directory you want to browse and start File Browser using the following command:
filebrowserOn the other hand, you can also start file browser by serving up the files directly using an actual file path:
filebrowser -r /path/to/your/filesRunning the command above will display the URL in which File Manager is running, as shown below:
2019/08/02 13:48:28 No config file used
2019/08/02 13:48:28 Listening on 127.0.0.1:8080
Now, you can see on your command line the address in which your instance is running. Enter that URL into your browser to view the File browser login page. File Browser listens to all interfaces by default. Naturally, if you’d want, you can configure it to listen to a certain interface. It will be seen in the section below on setup.
Please be aware that each time you launch a file browser, the port will change dynamically. To open it, you must type the right port number into the address box. Additionally, if you’re behind a firewall or router, you must open the port.
If you don’t want to use different port each time, you can assign a specific port:
filebrowser --port 80Now, you can access the file browser using URL http://ip_address:80
Log in to File browser
After starting File browser from your terminal, navigate to the URL http://ip_address:80 from your web browser using the default credentials:
- Username: admin
- Password: admin
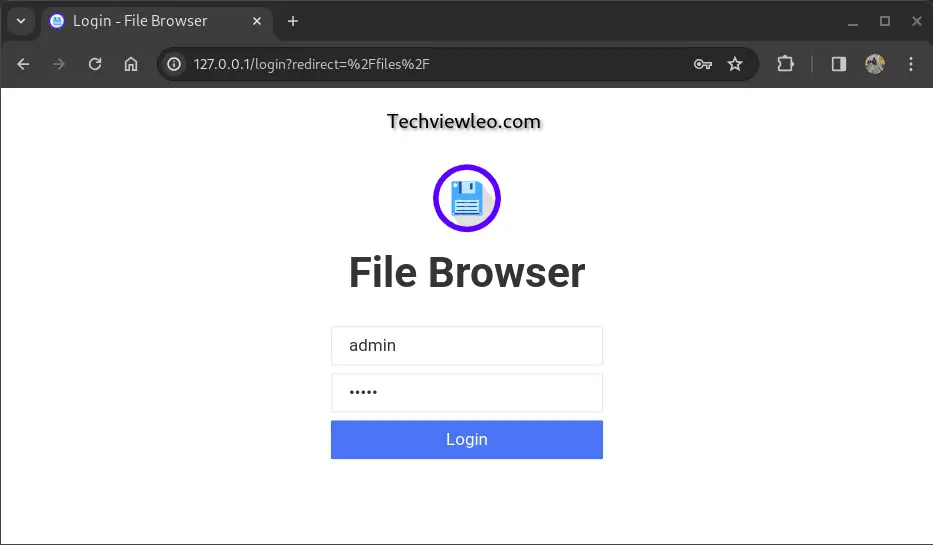
The default interface of File Browser provides a user-friendly graphical environment for managing files and directories.
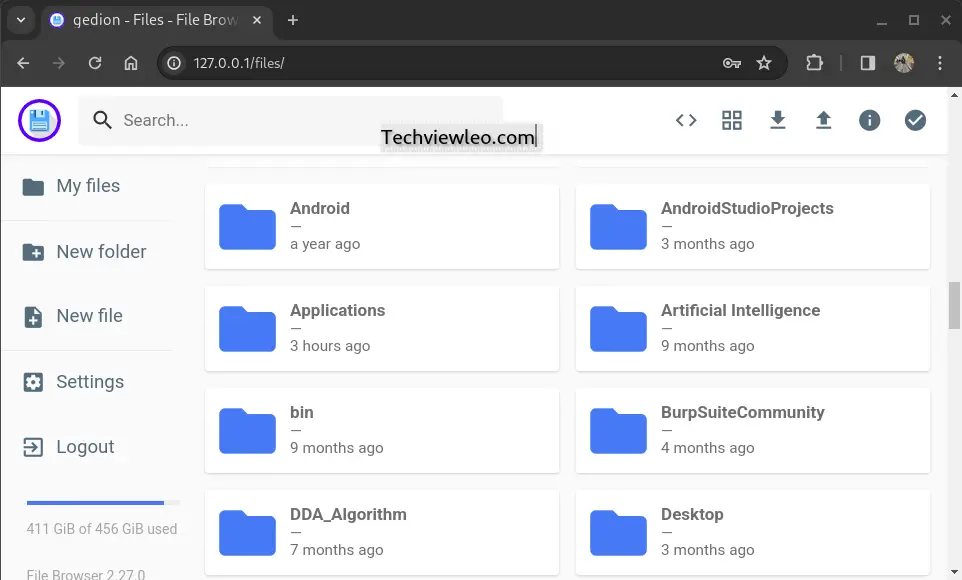
Change Admin User Password
After logging in, the first thing to do is to update the admin user’s password to a password of your own. Go to Settings option on menu on the left of the dashboard and click on it.

Create a File or Directory
Look for the “New Folder” option in the menu bar then click on it and enter a name for this new directory and click create.
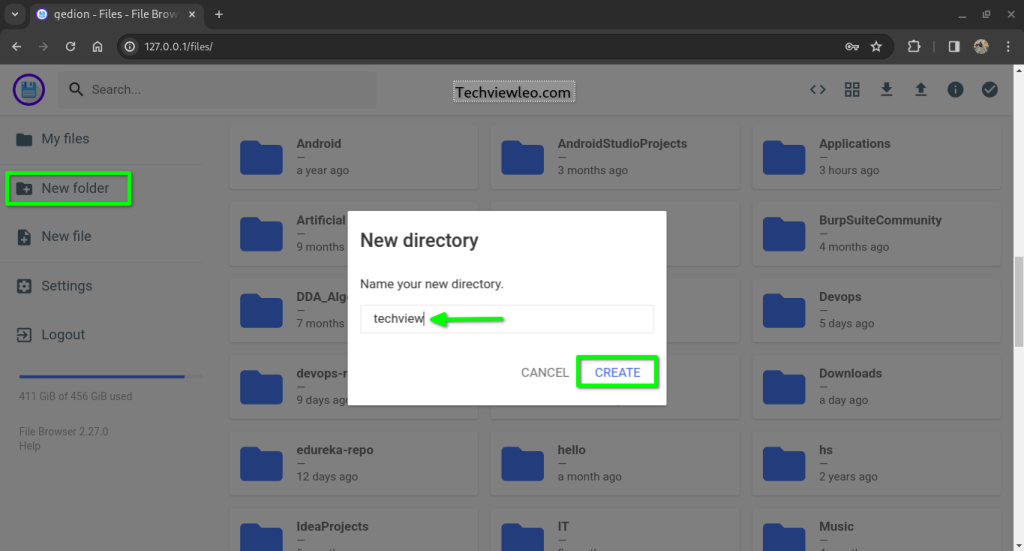
You will be prompted to go into the newly created directory. If not, just double click it to make it open. You may then download the pre-existing files or add new files or directories.
Upload Files
To upload files in File Browser, Look for an “Upload” button, often represented by an upward arrow icon or the word “Upload.” This button is usually part of the toolbar or displayed prominently on the page. Click on the Upload button (Up arrow) on the top and choose the files you want to upload:
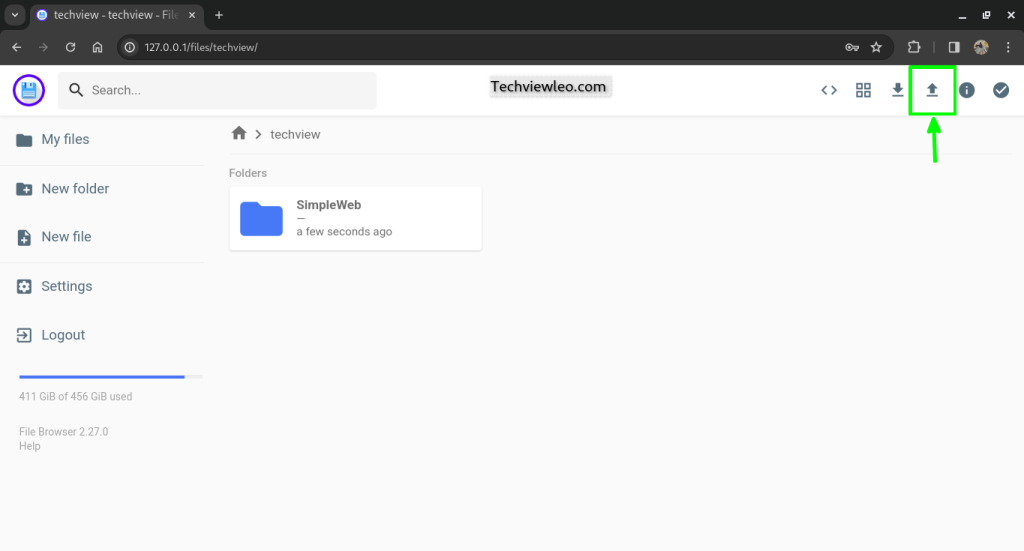
The selected files will be uploaded depending on the size.
Download Files
Look for the file you want to download in the main content area. Files are often displayed with their names, sizes, and modification dates. Choose the file you want to download and hit download button (down arrow) on the top.

You may download individual files individually and also download multiple files simultaneously. File Browser supports the following formats: tar, .zip, .gz, .bz2, or .xz.
Create a New User
You may add additional users to a file browser and give them access to their own folders. Click Settings -> User Management -> New to do this.
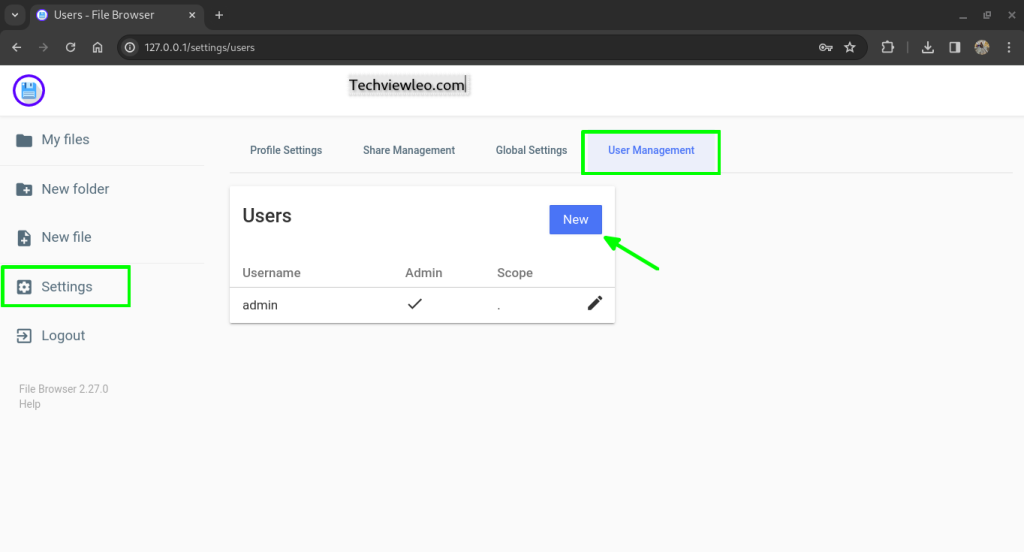
Enter the new user details and click Save. The directory you want to explore through is the scope, as you can see in the image below:
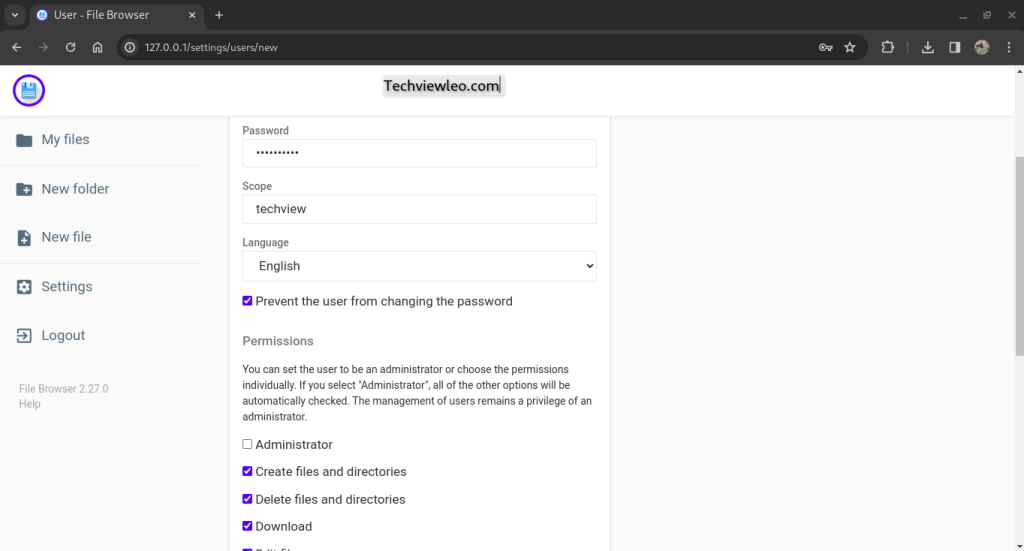
Proceed to log out as the administrator and back in as a new user. Note that all administrative tasks are only accessible from the admin user.
Configure File Browser
By default, File Browser listens on all available network interfaces (0.0.0.0) and port 8080. To configure File Browser to listen on a specific IP address and port, you can use the following commands:
$ filebrowser -a 192.168.225.150
$ filebrowser --port 80
Remember to open this port if you have a firewall set up.
Conclusion
In general, File Browser is a highly flexible application. You can use File Browser to manage your personal files, and also in server administration and collaboration. File Browser is often very useful to developers and server administrators. This is because both these parties require an online platform where they can handle their files and directories without physical access to their servers.

