

In this guide, we are going to learn how to install LEMP on Manjaro Linux. LEMP is a common stack to developers, using it to for testing and hosting web applications. LEMP is an abbreviation for Linux, Nginx (pronounced as Engine X) MariaDB / MySQL and PHP.
- Nginx has been used due to its high performance and stability, as used in high traffic sites.
- MariaDB / MySQL are open source database Engines for storing and managing website data. MariaDB is a fork of MySQL and is mostly preferred.
- We then have PHP (hypertext pre-processor) which is a server-side scripting language used for developing dynamic web pages. We are going to install each of the components that make up LEMP stack on Manjaro Linux and test their functionality.
Step 1: Install nginx web server
Let us first update our system packages before we carry out any installation:
sudo pacman -SyyInstall nginx on Manjaro Linux by running the command below:
$ sudo pacman -S nginx
:: Synchronizing package databases...
 core is up to date
 extra                                                                                          8.3 MiB  3.37 MiB/s 00:02 [#########################################################################] 100%
 multilib is up to date
resolving dependencies...
looking for conflicting packages...

Packages (3) geoip-1.6.12-3  geoip-database-20250129-1  nginx-1.26.3-1

Total Download Size:    4.96 MiB
Total Installed Size:  12.27 MiB

:: Proceed with installation? [Y/n] y
Once Nginx has been installed, start it and enable it to start on system boot:
sudo systemctl start nginx
sudo systemctl enable nginx
Confirm nginx status:
systemctl status nginxOutput:
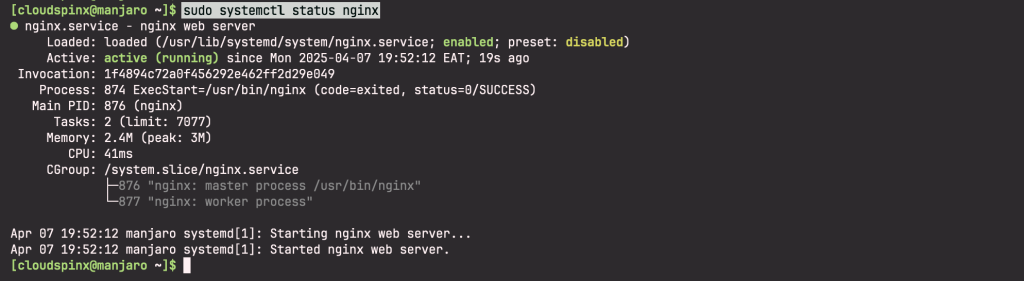
Also test it from the browser by inputting <your-server-ip> or localhost. You should get Nginx welcome page as shown below:
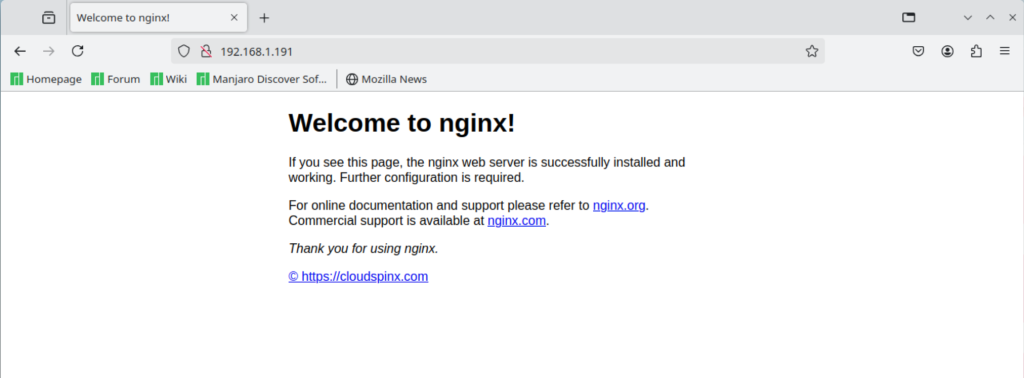
At this point, nginx has been successfully installed on Manjaro Linux.
Step 2: Install MariaDB Database server
Let us proceed to install the next LEMP stack component which is MariaDB.
Create the mysql system user and group as follows:
sudo groupadd mysql
sudo useradd -r -g mysql -s /bin/false mysql
Then install mariadb:
$ sudo pacman -Sy mariadb
resolving dependencies...
looking for conflicting packages...

Packages (4) jemalloc-1:5.3.0-5  mariadb-clients-11.7.2-2  mariadb-libs-11.7.2-2  mariadb-11.7.2-2

Total Download Size:    34.98 MiB
Total Installed Size:  244.93 MiB

:: Proceed with installation? [Y/n] y
Next, initialize the MariaDB data directory and create system tables as shown below:
sudo mariadb-install-db --user=mysql --basedir=/usr --datadir=/var/lib/mysqlNow start and enable mariadb:
sudo systemctl start mariadb
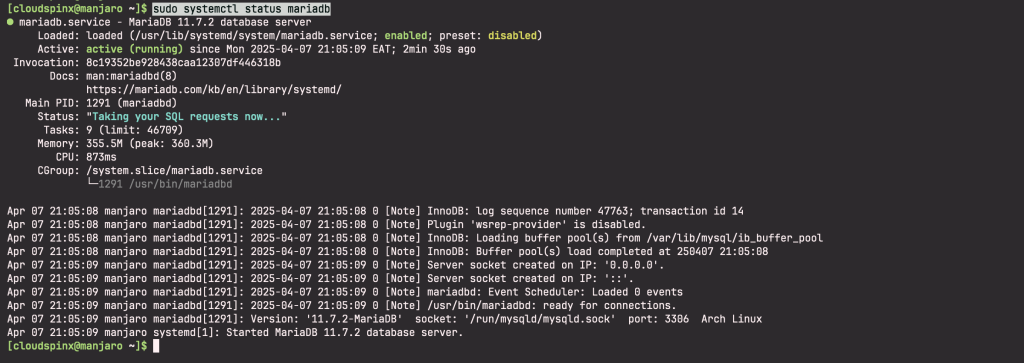
sudo systemctl enable mariadbAnd confirm mariadb status for a successful installation:
sudo systemctl status mariadbSample Output:
Secure mariadb installation and set root password. Run the command below:
sudo mariadb-secure-installationAnswer the prompts as shown:
NOTE: RUNNING ALL PARTS OF THIS SCRIPT IS RECOMMENDED FOR ALL MariaDB
SERVERS IN PRODUCTION USE! PLEASE READ EACH STEP CAREFULLY!
In order to log into MariaDB to secure it, we'll need the current
password for the root user. If you've just installed MariaDB, and
haven't set the root password yet, you should just press enter here.
Enter current password for root (enter for none):
OK, successfully used password, moving on...
Setting the root password or using the unix_socket ensures that nobody
can log into the MariaDB root user without the proper authorisation.
You already have your root account protected, so you can safely answer 'n'.
Switch to unix_socket authentication [Y/n] n
... skipping.
You already have your root account protected, so you can safely answer 'n'.
Change the root password? [Y/n] Y
New password:
Re-enter new password:
Password updated successfully!
Reloading privilege tables..
... Success!
By default, a MariaDB installation has an anonymous user, allowing anyone
to log into MariaDB without having to have a user account created for
them. This is intended only for testing, and to make the installation
go a bit smoother. You should remove them before moving into a
production environment.
Remove anonymous users? [Y/n] Y
... Success!
Normally, root should only be allowed to connect from 'localhost'. This
ensures that someone cannot guess at the root password from the network.
Disallow root login remotely? [Y/n] Y
... Success!
By default, MariaDB comes with a database named 'test' that anyone can
access. This is also intended only for testing, and should be removed
before moving into a production environment.
Remove test database and access to it? [Y/n] Y
- Dropping test database...
... Success!
- Removing privileges on test database...
... Success!
Reloading the privilege tables will ensure that all changes made so far
will take effect immediately.
Reload privilege tables now? [Y/n] Y
... Success!
Cleaning up...
All done! If you've completed all of the above steps, your MariaDB
installation should now be secure.
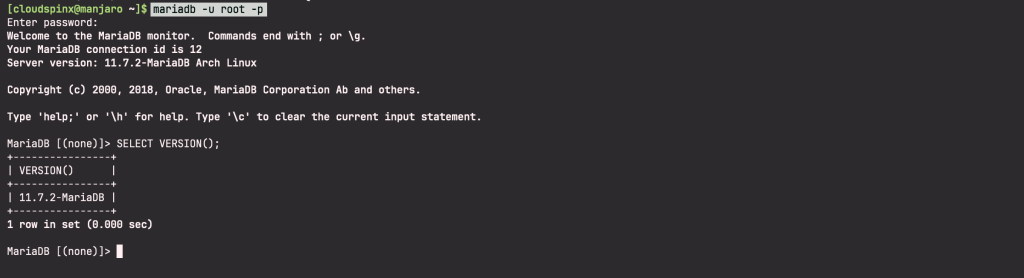
Thanks for using MariaDB!To connect to MySQL, you run the below command and provide the password you set above.
mariadb -u root -p Sample Output:
Having connected to mysql run the below commands to create a db and a user for our web application databases.
CREATE DATABASE myDB;
CREATE USER 'mydbuser'@'localhost' IDENTIFIED BY 'mypassword';
GRANT ALL PRIVILEGES ON myDB.* TO 'mydbuser'@'localhost' IDENTIFIED BY 'mypassword';
FLUSH PRIVILEGES;
QUIT;
Connect to MySQL with a user
In order to connect to MySQL with the above created user, issue the below command:
mariadb -u mydbuser -p Provide the password you set above.
Step 3: Install PHP and PHP-FPM
PHP-FPM is a short for PHP FastCGI Process Manager. It is a handy web tool that speeds up a website’s performance. It equips your webserver with the ability to handle a huge volume of network traffic simultaneously. Install PHP-FPM with the below command:
$ sudo pacman -Sy php php-fpm
:: Synchronizing package databases...
 core is up to date
 extra is up to date
 multilib is up to date
resolving dependencies...
looking for conflicting packages...

Packages (3) oniguruma-6.9.10-1  php-8.4.5-1  php-fpm-8.4.5-1

Total Download Size:    9.26 MiB
Total Installed Size:  54.45 MiB

:: Proceed with installation? [Y/n] y
After installation is complete, start and enable php-fpm to start on boot with the below commands:
sudo systemctl start php-fpm
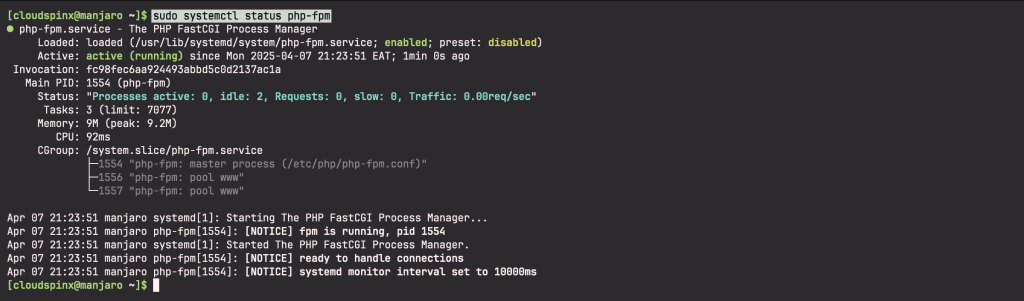
sudo systemctl enable php-fpmNow confirm status is pfp-fpm is actually running:
systemctl status php-fpmThe output:
Enable nginx to use php-fpm.
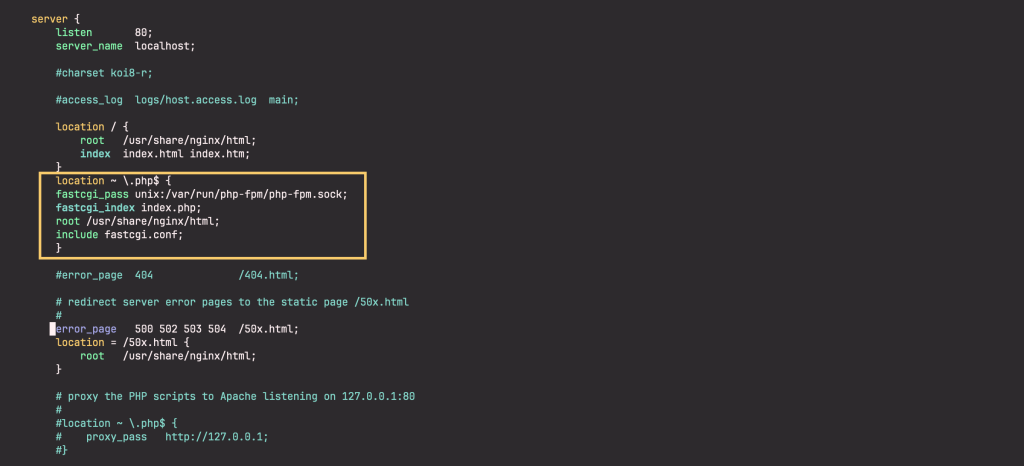
We need to make a few modifications to nginx configuration file. Open the file with your preferred editor and make the changes as shown below:
sudo vim /etc/nginx/nginx.confAdd the content as shown after ‘location’ contents.
location ~ \.php$ {
fastcgi_pass unix:/var/run/php-fpm/php-fpm.sock;
fastcgi_index index.php;
root /usr/share/nginx/html;
include fastcgi.conf;
}
The file should appear as in the screenshot.
Save the file and restart both Nginx and PHP-FPM for the changes to come into effect.
sudo systemctl restart nginx
sudo systemctl restart php-fpm
Step 4: Verify installation
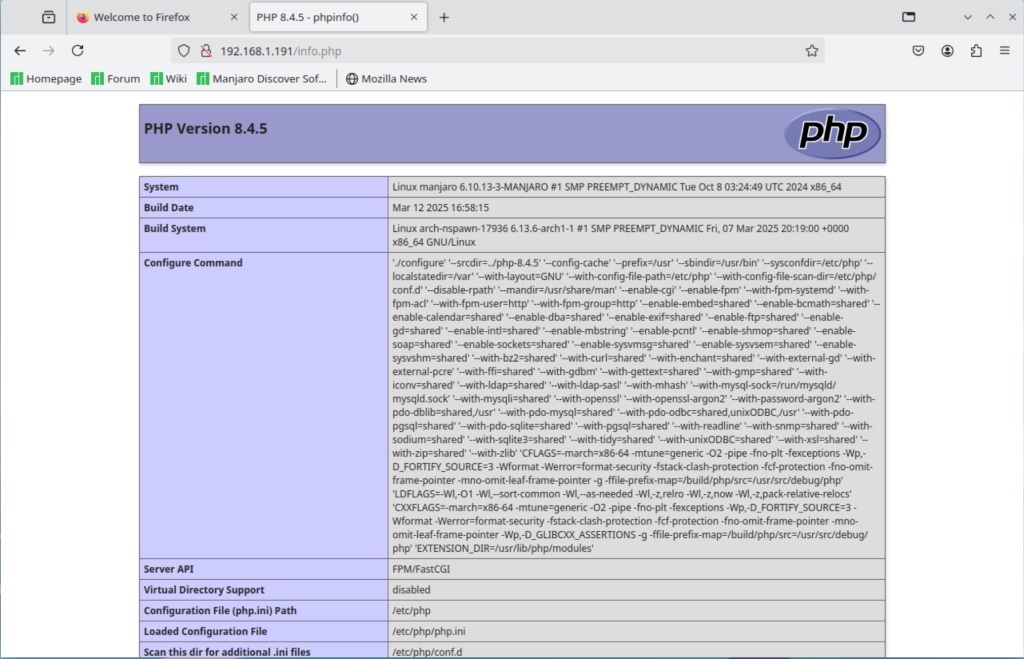
Let us verify that PHP-FPM can serve nginx web pages by creating an info.php file in the /usr/share/nginx/html/ path:
sudo vim /usr/share/nginx/html/info.phpAppend the following lines and save the file
<?php
phpinfo();
?>
On your browser, launch localhost/info.php or http://<your-server-ip>/info.php. The output should be as shown:
Step 5: Configure firewall to allow ports 80 and 443
We need to open ports 80 and 443 to allow external connections. First, let’s install.
sudo pacman -S ufwNow open 80 and 443 through the firewall
sudo ufw allow 80/tcp
sudo ufw allow 443/tcp
sudo ufw enable
Step 6: Deploy a basic web application
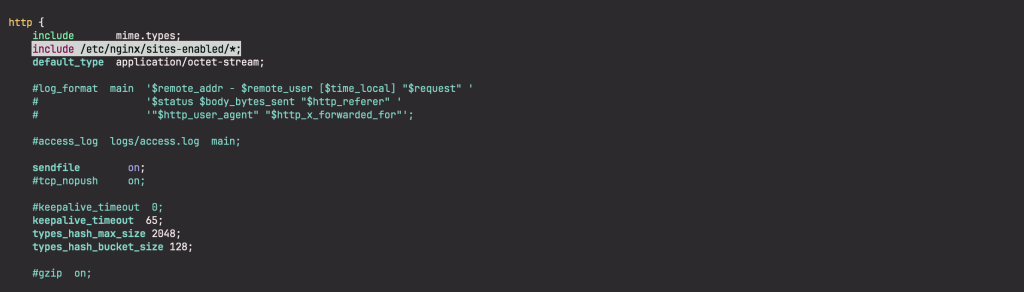
First, let us include ‘sites-enabled‘ in nginx configuration.
sudo nano /etc/nginx/nginx.confAdd the following line under http {
include /etc/nginx/sites-enabled/*;Your nginx.conf http part file should look as below:
Now make directory for sites-enabled in nginx part.
sudo mkdir /etc/nginx/sites-enabledNext, create a file for our web application virtual host.
sudo vim /etc/nginx/sites-enabled/web.confPaste the below content and save the file:
server {
    listen 80;
    server_name example.com;

    root /usr/share/nginx/example;
    index index.php index.html index.html;

    location ~ .php$ {
        fastcgi_pass unix:/var/run/php-fpm/php-fpm.sock;
        fastcgi_index index.php;
        include fastcgi_params;
    }
}
Let us now create a basic file for our web application.
sudo mkdir /usr/share/nginx/example
sudo vim /usr/share/nginx/example/index.html
Add the following content:
<html>
<head>
<title>my site</title>
</head>
<body>
<h1>It Works</h1>
</body>
</html>
Check for nginx configuration errors:
$ sudo nginx -t
nginx: the configuration file /etc/nginx/nginx.conf syntax is ok
nginx: configuration file /etc/nginx/nginx.conf test is successful
Now Restart both php-fpm and nginx:
sudo systemctl restart php-fpm
sudo systemctl restart nginx
Test your LEMP configuration. On your browser, type http://<your-server-ip>/ <your-host-name> to load the web application. If your LEMP is successfully configured, your application should load as below.
You have successfully installed LEMP stack on Manjaro Linux. Enjoy your development!
Recommended Web Development books to read:


