Depending on the cloud image from which the instance is provisioned, an instance on any cloud platform comes with a virtual server running a base operating system such as CentOS, Ubuntu, Debian, FreeBSD, etc.
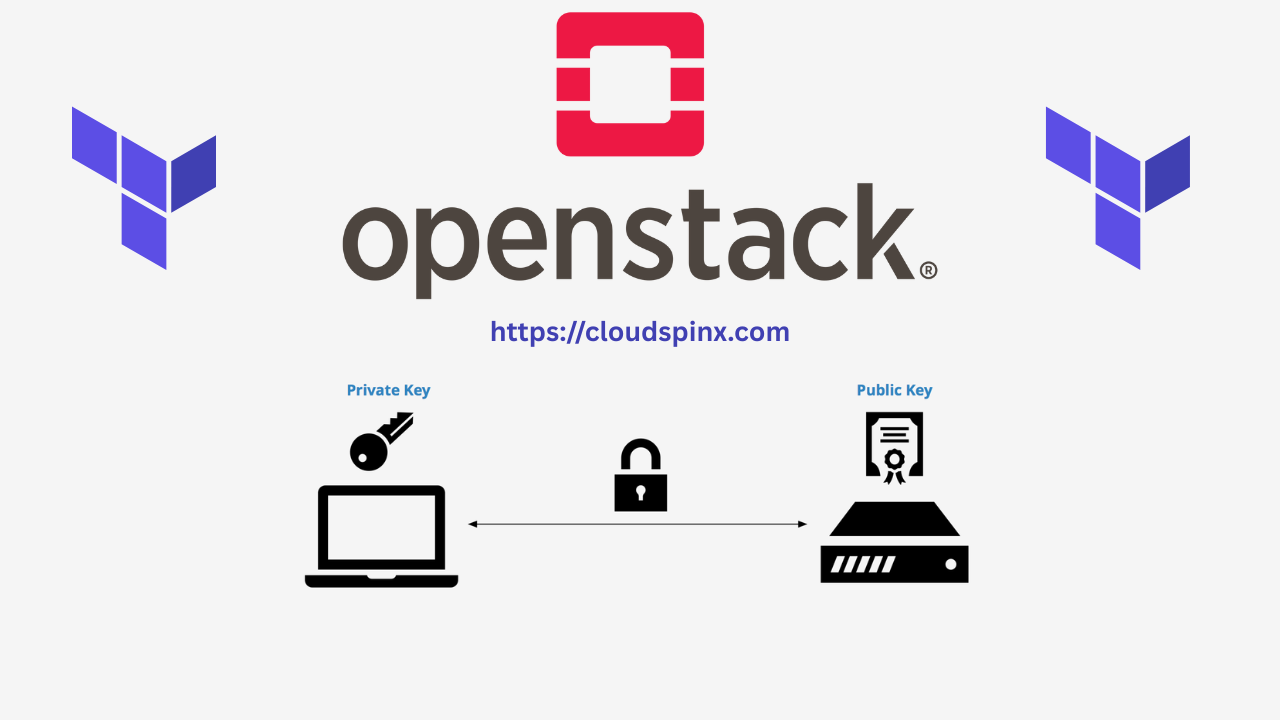
Secure Shell (SSH) keys are essential to utilize in order to authenticate and access OpenStack instances securely. Although OpenStack provides the ability to manually create the keys, this makes it efficient and standard by creating them automatically with Terraform. We will use an ssh_keypair terraform module to accomplish this.
How To Create SSH keypair on OpenStack using Terraform
In this guide, we’ll explore how to automate the creation of an SSH keypair in OpenStack using Terraform, leveraging the ssh_keypair module from the cloudspinx/terraform-openstack repository.
Prerequisites
Before you can proceed, ensure you have the following:
- An active OpenStack environment
- Terraformed installed on local environment
- OpenStack credentials
Step 1: Install Terraform
If you don’t have terraform installed, run one of the following commands that match your working environment:
# Ubuntu/Debian
wget -O - https://apt.releases.hashicorp.com/gpg | sudo gpg --dearmor -o /usr/share/keyrings/hashicorp-archive-keyring.gpg
echo "deb [arch=$(dpkg --print-architecture) signed-by=/usr/share/keyrings/hashicorp-archive-keyring.gpg] https://apt.releases.hashicorp.com $(lsb_release -cs) main" | sudo tee /etc/apt/sources.list.d/hashicorp.list
sudo apt update && sudo apt install terraform

# CentOS/RHEL
sudo yum install -y yum-utils
sudo yum-config-manager --add-repo https://rpm.releases.hashicorp.com/RHEL/hashicorp.repo
sudo yum -y install terraform

# Fedora
sudo dnf install -y dnf-plugins-core
sudo dnf config-manager addrepo --from-repofile=https://rpm.releases.hashicorp.com/fedora/hashicorp.repo
sudo dnf -y install terraform

# Amazon Linux
sudo yum install -y yum-utils shadow-utils
sudo yum-config-manager --add-repo https://rpm.releases.hashicorp.com/AmazonLinux/hashicorp.repo
sudo yum -y install terraform

# macOS Homebrew
brew tap hashicorp/tap
brew install hashicorp/tap/terraform
Step 2: Keypair Module Overview
The keypair module creates and manages keypairs using the openstack_compute_keypair_v2 resource. This module takes parameters like the name of the keypair and the content or file location of the public key.
Here’s how the module is configured:
main.tf:
Here’s where the SSH Keypair Resource is defined:
# Define the OpenStack key pair resource
resource "openstack_compute_keypair_v2" "keypair" {
  name       = var.keypair_name
  public_key = var.public_key
}

# Optionally, you can also define a resource to delete the keypair (if desired)
resource "openstack_compute_keypair_v2" "keypair_delete" {
  count = var.delete_keypair ? 1 : 0
  name  = var.keypair_name
}
The module also defines a resource for deleting an SSH keypair if you desire.
variables.tf:
Now, since the module takes in the kepair name and public_key itself as variables, you definitely need a variables.tf file.
variable "keypair_name" {
  description = "The name of the OpenStack key pair"
  type        = string
}

variable "public_key" {
  description = "The public key to be used for the key pair"
  type        = string
}

variable "delete_keypair" {
  description = "Whether to delete the key pair. Set to true to delete."
  type        = bool
  default     = false
}
outputs.tf:
output "keypair_name" {
  description = "The name of the created OpenStack key pair"
  value       = openstack_compute_keypair_v2.keypair.name
}
Step 4: Using the keypair module
To use the module, begin by defining the OpenStack provider in your terraform setup to authenticate the with your OpenStack environment:
# Define required providers
terraform {
  required_version = ">= 0.14.0"
  required_providers {
    openstack = {
      source = "terraform-provider-openstack/openstack"
      version = "~> 2.1.0"
    }
  }
}

# Configure the OpenStack Provider
provider "openstack" {
  user_name   = "admin"
  tenant_name = "admin"
  password    = "pwd"
  auth_url    = "http://myauthurl:5000/v3"
  region      = "RegionOne"
}
To use the module, reference it in your terraform configuration as follows:
module "keypair" {

  source       = "git::https://github.com/cloudspinx/terraform-openstack.git//modules/keypair?ref=main"
  keypair_name = "my-keypair"
  public_key   = file("path/to/your/public/key.pub")
}
With the provider and module configurations done, intialize terraform and then apply:
terraform init
terraform plan
terraform apply
Verify the creation of the SSH Keypair on OpenStack.
openstack keypair listOptional: Create Terraform Working Directory
If you’d like to customize the module, you can clone the repo and edit the configuration files as per your needs.
git clone https://github.com/cloudspinx/terraform-openstack.gitThe directory is structured as follows.
terraform-openstack/
├── main.tf               # Provider and module usage configs
├── modules               # Modules, including kepair
│   ├── keypair/          # The module you're using
│   │   ├── main.tf
│   │   ├── variables.tf  # Define any variables
│   │   ├── outputs.tf    # Optional outputs
│   └── other_modules/
Create a main.tf file in the root folder for module usage configs.
cd terraform-openstack
vim main.tf
Then in the module reference, reference your local module to use your customized version of the module. i.e:
module "keypair" {

  source       = "./modules/kepair"
  keypair_name = "my-keypair"
  public_key   = file("path/to/your/public/key.pub")
}
Conclusion
This article is a comprehensive guide to automating the creation of SSH keypairs in OpenStack using Terraform. We leverage a terraform module to integrate keypair management into your IaC. We previously did an article on Uploading VM images to OpenStack using terraform.
Check it out:
More articles on the same:


