
The practice of remotely monitoring and controlling Linux users and machines on a network from a central place is known as Linux management. Because of its ease of installation and use, Linux is quickly becoming a popular alternative to traditional operating systems in businesses today. Linux provides greater customization options, and the fact that it is an open source operating system is one of the primary factors pushing its popularity.
The following are some of the standard Linux Management features:
- Scan systems on a regular basis to get comprehensive hardware and software inventory information.
- Software licenses, compliance, and warranty information may all be managed.
- Hardware and software-specific events are alerted through email.
- Patching the Linux operating system and third-party software may be done automatically.
- Audits and reports on patch compliance.
- Execute custom scripts as settings to automate time-consuming administrative operations.
- Patches and software can be installed or uninstalled as needed.
- Display messages to the folks you want to reach.
- Using Active X and HTML5 Viewer, you may remotely access machines on your LAN and WAN.
- Before granting access to a remote desktop, the user is asked to authenticate their identity.
Importance of Linux Management
- It improves maintenance.
- It improves security.
- Supporting users when their system fails is easier.
- It ensure that each user and their machine have the appropriate programs and configuration settings with effective system administration.
- Helping users to solve their issues quickly.
Install and Use Usermin on Ubuntu / Debian
In this guide, we will focus on the installation and use of Usermin on Ubuntu and Debian. Usermin is a web interface application that allows any user on a Unix system to accomplish tasks such as reading mail, establishing mail forwarding, setting up SSH and many more. It’s a stripped-down version of Webmin that’s intended for regular users without always system administrators. Usermin, like Webmin, is made up of a basic web server and a set of CGI scripts that update user config files such as /.cshrc and /.forward. All CGI scripts and the web server are built in Perl 5, and only the non-standard Authen::PAM perl module is used.
Features of Usermin
Below are the cool features of Usermin:
- Scheduling commands to run at certain period of time.
- Scheduing cron jobs.
- Through System Documentation, you can search manual pages, package documentation e.t.c.
- Ability to set your Usermin preferred language.
- Filtering and forwarding mails.
- A Windows-like file manager allows you to see, modify, and change permissions on your system’s files and folders.
- Scheduling emails.
- Protecting web directories.
- Using MySQL Database Server to configure MySQL database server’s databases, tables, and permissions.
Methods of Installing Usermin
There are two ways of installing Usermin.
- Installing Usermin by manually downloading .deb package
- Installing Usermin from apt repository
Method 1: Install Usermin using usermin-setup script
With this method, the usermin-setup-repo.sh script is used to configure usermin repositories on your Debian derivatives. It’s practically the simplest way to install Usermin on your system.
$ sudo curl -o usermin-setup-repos.sh https://raw.githubusercontent.com/webmin/webmin/master/setup-repos.sh | sh
  % Total    % Received % Xferd  Average Speed   Time    Time     Time  Current
                                 Dload  Upload   Total   Spent    Left  Speed
100   722  100   722    0     0   1587      0 --:--:-- --:--:-- --:--:--  1590

$ sh usermin-setup-repos.sh
Setup Webmin releases repository? (y/N) y
  Downloading Webmin developers key ..
  .. done
  Installing Webmin developers key ..
  .. done
  Cleaning up package priority configuration ..
  .. done
  Setting up Webmin releases repository ..
  .. done
  Cleaning repository metadata ..
  .. done
  Downloading repository metadata ..
  .. done
Webmin and Usermin can be installed with:
  apt-get install --install-recommends webmin usermin
This script will automatically setup our repository and install our GPG keys on your system, and provide usermin package for installation and easy upgrades in the future.
After setting up the repository using the usermin-setup.sh script, Usermin can be installed by running the following command:
$ sudo apt-get install usermin --install-recommends
...
0 upgraded, 65 newly installed, 0 to remove and 180 not upgraded.
Need to get 16.8 MB of archives.
After this operation, 115 MB of additional disk space will be used.
Do you want to continue? [Y/n] y
Method 2: Install Usermin from .deb package
You can download Usermin from the webmin downloads page, or using wget command as follows:
sudo wget https://www.webmin.com/download/deb/usermin-current.debNow install the package by the running the following command:
sudo apt-get install --install-recommends ./usermin-current.debLet’s confirm if the Usermin service is running:
$ systemctl status usermin
● usermin.service - Usermin server daemon
     Loaded: loaded (/usr/lib/systemd/system/usermin.service; enabled; preset: enabled)
     Active: active (running) since Mon 2025-03-24 15:01:53 UTC; 5min ago
    Process: 2825 ExecStart=/usr/share/usermin/miniserv.pl /etc/usermin/miniserv.conf (code=exited, status=0/SUCCESS)
   Main PID: 2826 (miniserv.pl)
      Tasks: 1 (limit: 4614)
     Memory: 21.3M (peak: 26.6M)
        CPU: 206ms
     CGroup: /system.slice/usermin.service
             └─2826 /usr/bin/perl /usr/share/usermin/miniserv.pl /etc/usermin/miniserv.conf

Mar 24 15:01:51 ubuntu-01 systemd[1]: Starting usermin.service - Usermin server daemon...
Mar 24 15:01:51 ubuntu-01 perl[2825]: pam_unix(usermin:auth): authentication failure; logname= uid=0 euid=0 tty= ruser= rhost=  user=root
Mar 24 15:01:53 ubuntu-01 systemd[1]: Started usermin.service - Usermin server daemon.
Configure Firewall
If you have a Uncomplicated Firewall(ufw) installed in your system, you will also need to allow port 20000 through the firewall. You can allow the port 20000 using the following command:
ufw allow 20000Next, reload the UFW firewall to apply the changes:
ufw reloadOnce you are finished with the firewall configuration. You can proceed to the next step.
Accessing Usermin Web Interface
After you’ve installed and started the Usermin service, you can access the web UI by pointing your browser to:
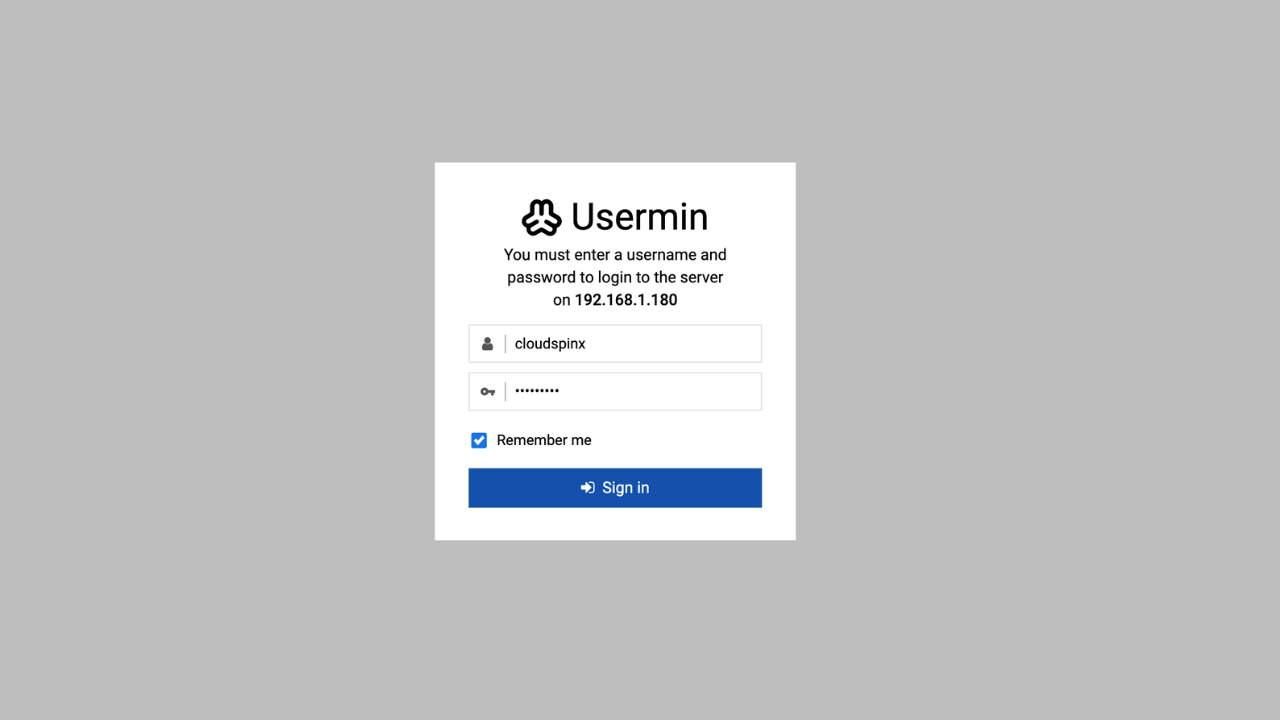
https://ip-address:20000/Login with the server’s root credetials.
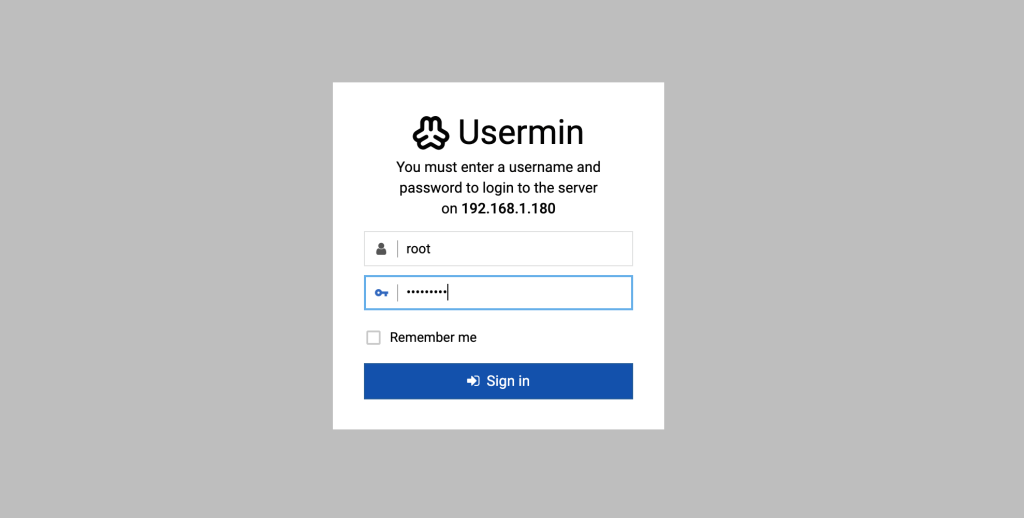
You can also login with any common user account.

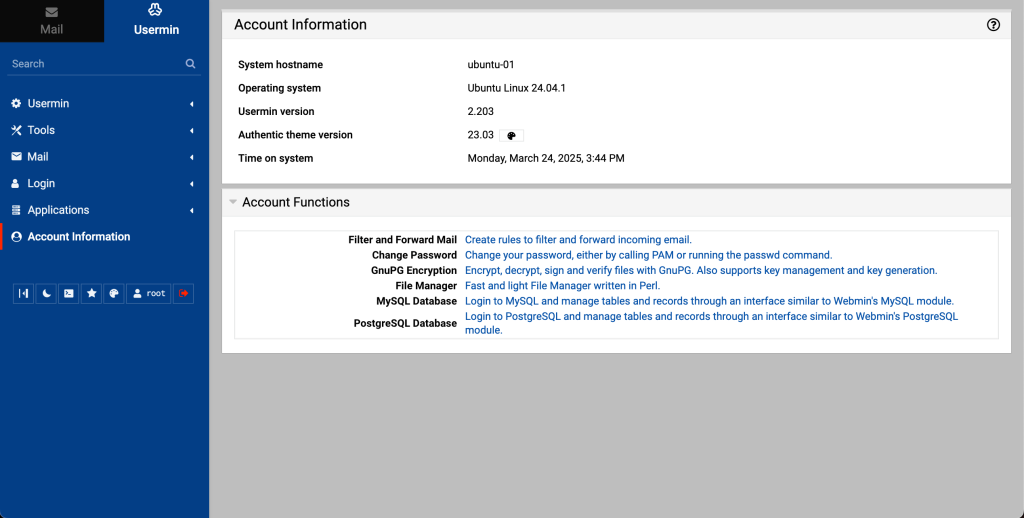
After successful login, you will see the dashboard as follows:
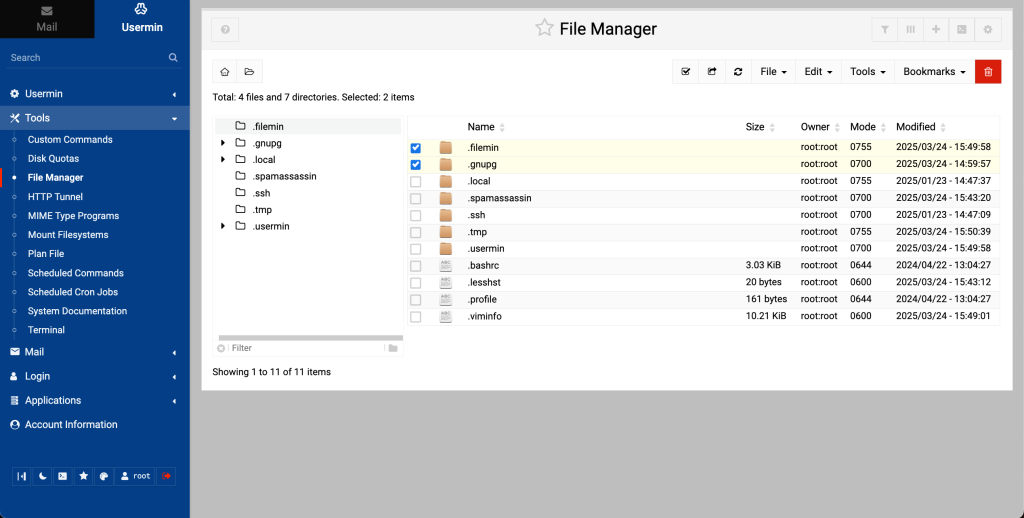
Usermin Windows-like file manager allows you to see, modify, and change permissions on your system’s files and folders.
Scheduling commands to run in Usermin.
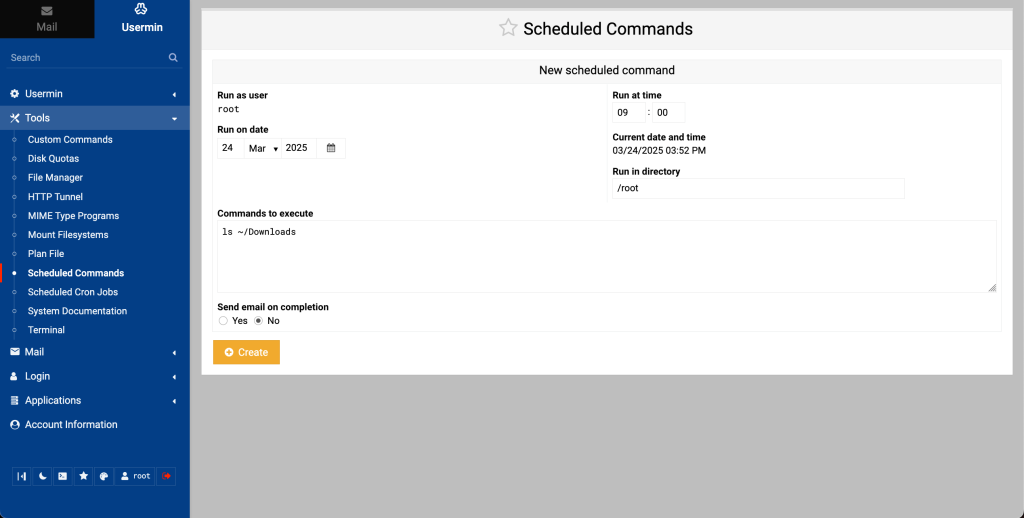
Click create to schedule the ls ~/Downloads.
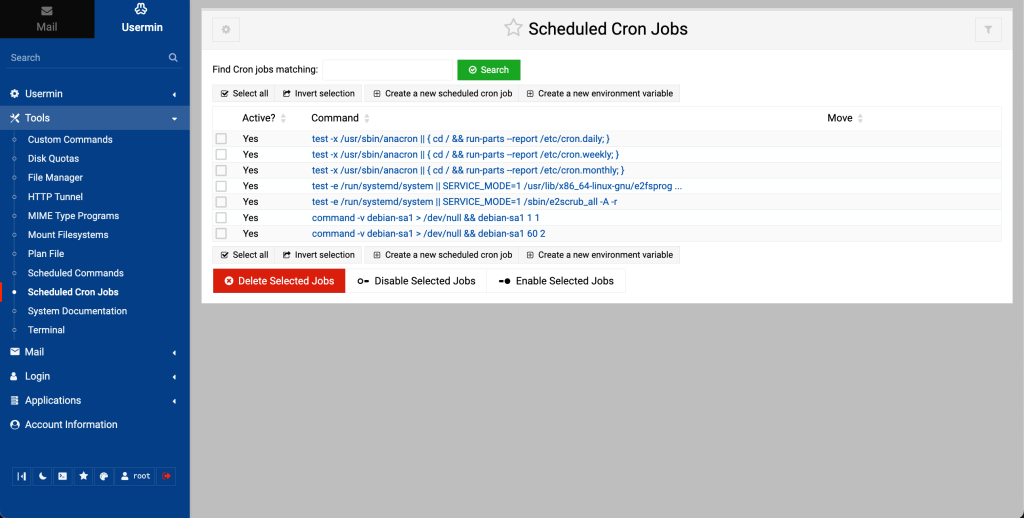
Scheduling cron jobs in Usermin.
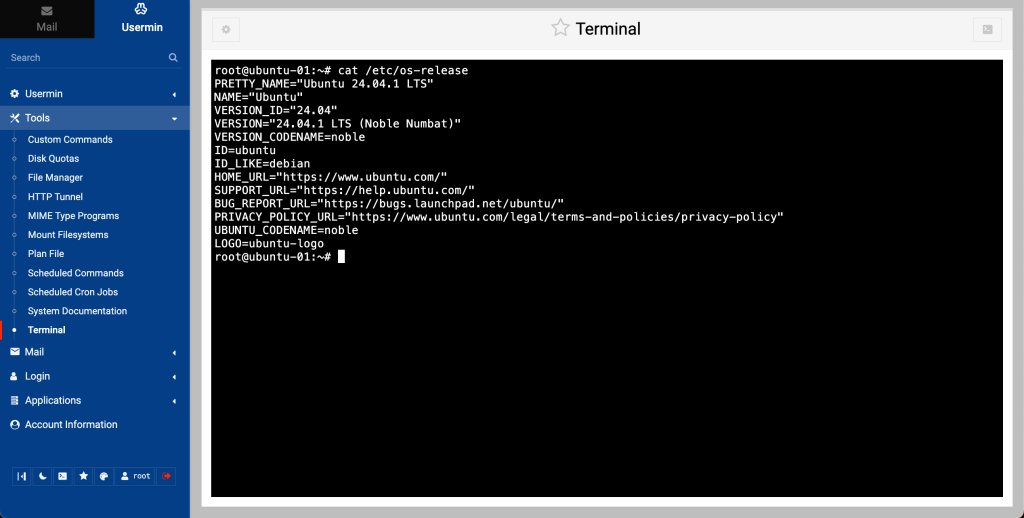
Usermin terminal is available for server management from the web.
Conclusion
This marks the end of our guide on the installation and use of Usermin on Ubuntu and Debian. We hope this guide has benefited you and you have learned how to manage systems remotely with Usermin. Stay tuned for more cool guides. Cheers!
Cools guides recommended for you:


