
This is a step-by-step guide on how to install and configure Zabbix with Nginx on Oracle Linux 9. Zabbix is a powerful monitoring tool and is 100% free. It is used in monitoring network devices, systems, server applications, hardware appliances and IoT devices among others. It ultimately monitors the performance of IT infrastructure components and services.
Zabbix works in a client/server architecture. An agent software is installed on a client machine which facilitates communication with the server. The client software is available for Linux, Unix and Windows. Tools such as SNMP can also be used with devices that do not have a compatible Zabbix agent.
Install Zabbix 7.0 LTS on Oracle Linux 9
For our complete zabbix installation, we require a database server (MySQL/ MariaDB), PHP and Nginx web server. In my installation, I preferred to disable SElinux. Edit SElinux configuration file, change the SELINUX line to ‘disabled’
sudo setenforce 0
sudo sed -i 's/^SELINUX=.*/SELINUX=permissive/g' /etc/selinux/config
cat /etc/selinux/config | grep SELINUX=
Install Zabbix dependencies
Install Epel and Remi repositories to use in installing required dependencies.
sudo dnf -y install https://dl.fedoraproject.org/pub/epel/epel-release-latest-9.noarch.rpm
sudo dnf -y install https://rpms.remirepo.net/enterprise/remi-release-9.rpm
Install required dependencies
We are going to install php8.0. Let’s disable php8.2 that comes with Oracle Linux 9 by default:
sudo dnf module reset php
sudo dnf module install php:remi-8.2
Install other php modules with the following command:
sudo dnf -y install php-fpm php-cli php-gd php-mysql php-snmp php-pear php-curl php-common php-mcryptInstall MariaDB Database server
Install MariaDB by running the following command:
sudo dnf -y install mariadb mariadb-serverEnable and start mariadb with the below commands
sudo systemctl enable mariadb
sudo systemctl start mariadb
sudo systemctl status mariadb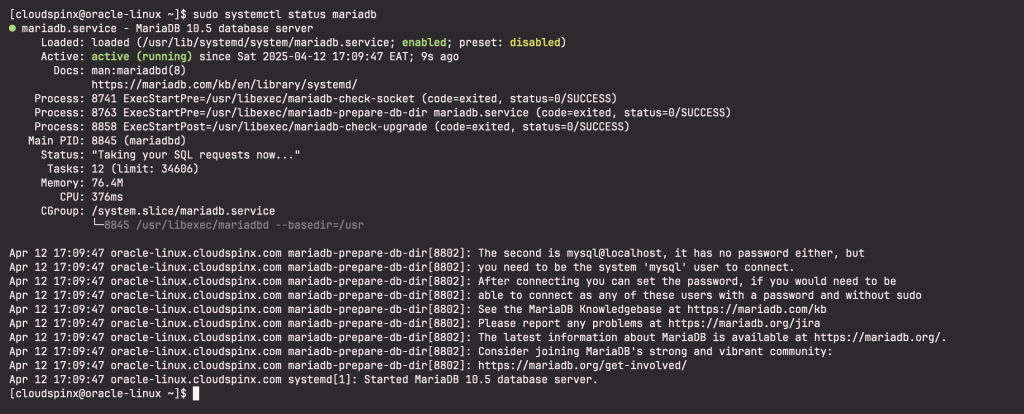
Secure MariaDB and set root password:
$ sudo mysql_secure_installation
Enter current password for root (enter for none): Just press Enter
Set root password? [Y/n] Y
New password:  New-root-password
Re-enter new password: Re-enter New-root-password
Remove anonymous users? [Y/n] Y
Disallow root login remotely? [Y/n] Y
Remove test database and access to it? [Y/n] Y
Reload privilege tables now? [Y/n] Y
Thanks for using MariaDB!
Connect to MariaDB and set up a database and a user
mysql -u root -pLogin with the password set above and run the following commands to create a database and a user.
CREATE DATABASE zabbix CHARACTER SET utf8 COLLATE utf8_bin;
CREATE USER 'zabbix'@'localhost' IDENTIFIED BY 'StrongDBPassw0rd';
GRANT ALL PRIVILEGES ON zabbix.* TO 'zabbix'@'localhost';
set global log_bin_trust_function_creators = 1;
FLUSH PRIVILEGES;
EXIT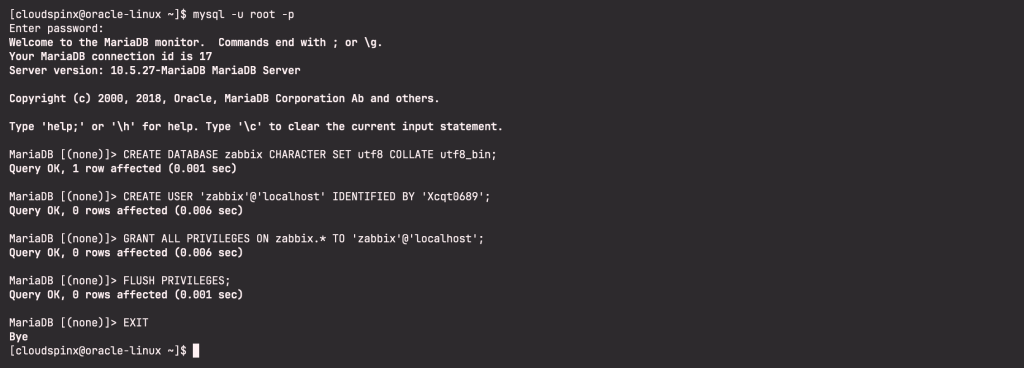
Install Nginx Web Server
Run the command below to install nginx:
sudo dnf -y install nginxEnable and start nginx:
sudo systemctl enable nginx
sudo systemctl start nginx
Install Zabbix server on Oracle Linux 9
Disable Zabbix packages provided by EPEL. Edit file /etc/yum.repos.d/epel.repo and add the following statement:
[epel]
...
excludepkgs=zabbix*
Use the below command to download and install Zabbix server on Oracle Linux 9:
sudo rpm -Uvh https://repo.zabbix.com/zabbix/7.0/oracle/9/x86_64/zabbix-release-latest-7.0.el9.noarch.rpm
sudo dnf clean all
Also install zabbix server, frontend, and agent using the below command:
sudo dnf install zabbix-server-mysql zabbix-web-mysql zabbix-nginx-conf zabbix-sql-scripts zabbix-selinux-policy zabbix-agent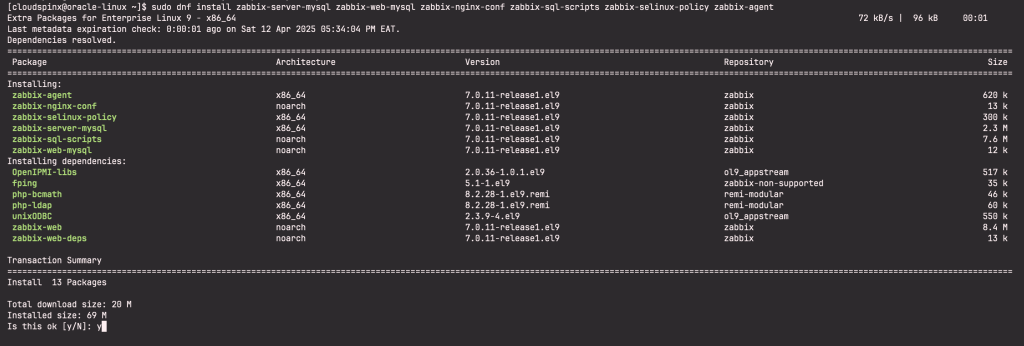
Agree to import GPG keys when prompted:

Now proceed and start and enable Zabbix server, agent:
sudo systemctl start zabbix-server zabbix-agent
sudo systemctl enable zabbix-server zabbix-agent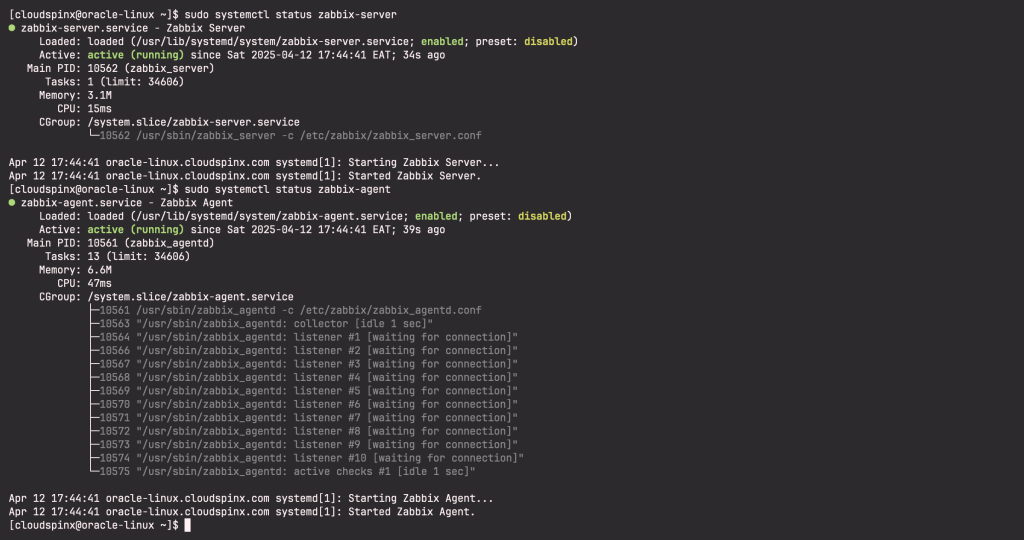
By default, Zabbix-server runs on port 10050 while Zabbix-agent runs on 10051. You can confirm if this is the case by running the following commands:
sudo ss -tlnup | grep 10050
sudo ss -tnlup | grep 10051
Configure Zabbix
On Zabbix server host import initial schema and data. You will be prompted to enter your newly created password:
zcat /usr/share/zabbix-sql-scripts/mysql/server.sql.gz | mysql --default-character-set=utf8mb4 -uzabbix -p zabbixDisable log_bin_trust_function_creators option after importing database schema:
$ mysql -u root -p
MariaDB [(none)]> set global log_bin_trust_function_creators = 0;
MariaDB [(none)]> quit;
Next, edit the zabbix_server.conf file and define your Zabbix database credentials:
sudo vim /etc/zabbix/zabbix_server.confAdd the credentials set when creating Zabbix database:
DBHost=localhost
DBName=zabbix
DBUser=zabbix
DBPassword=StrongDBPassw0rd
Next, configure PHP for Zabbix frontend by editing the following file:
sudo vim /etc/php-fpm.d/zabbix.confChange the timezone value to suit your timezone:
php_value[date.timezone] = Africa/NairobiSave the file and restart php-fpm
sudo systemctl start php-fpmConfigure Nginx as Proxy for Zabbix Server
A file zabbix.conf is already created in nginx path. Edit it to update your servername and listening port:
sudo vim /etc/nginx/conf.d/zabbix.confYour configuration file should look as below:
listen 80;
server_name zabbix.example.com;
Save the file and restart nginx:
sudo systemctl restart nginxConfigure Firewall Rules for Zabbix
If your firewall is active, you need to open zabbix and nginx ports as shown:
sudo firewall-cmd --permanent --add-port=10050/tcp
sudo firewall-cmd --permanent --add-port=10051/tcp
sudo firewall-cmd --permanent --add-port=80/tcp
sudo firewall-cmd --reload
Zabbix 5 Web access on Oracle Linux 9
Now access your zabbix server from the browser using your server name: http://zabbix.example.com. You should see a page as below:
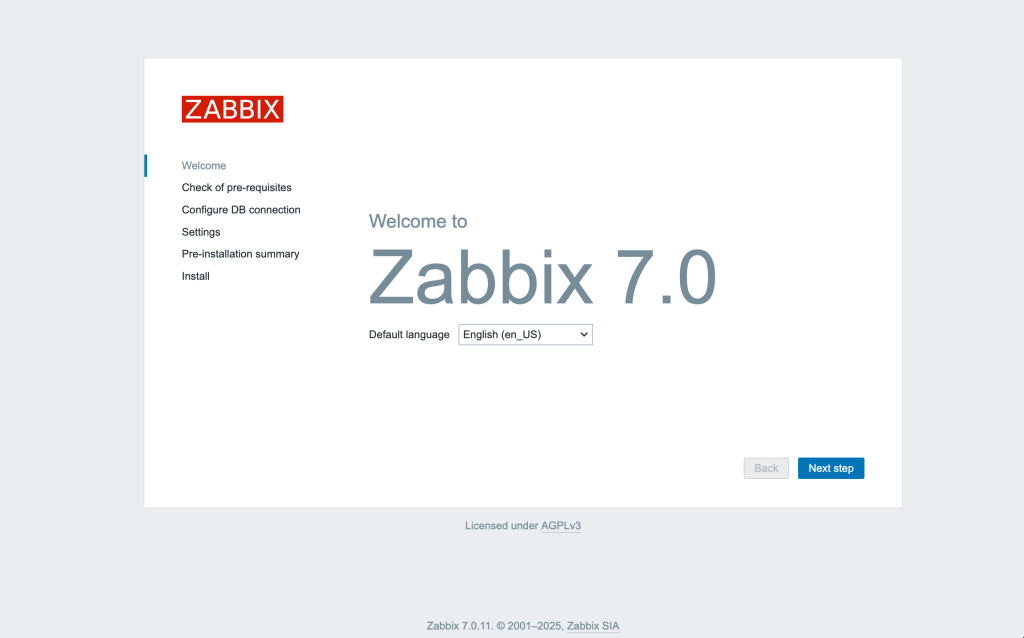
Click on next step to go to the next page to which is as shown below:
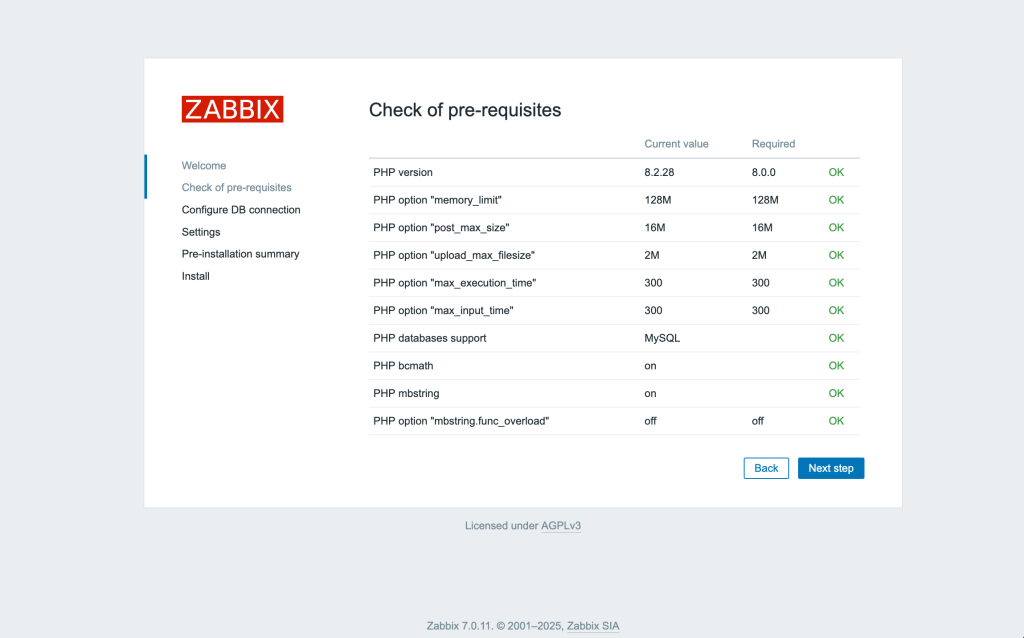
Click Next step once you have confirmed all is okay. In the next page, provide database credentials to connect to the zabbix database.
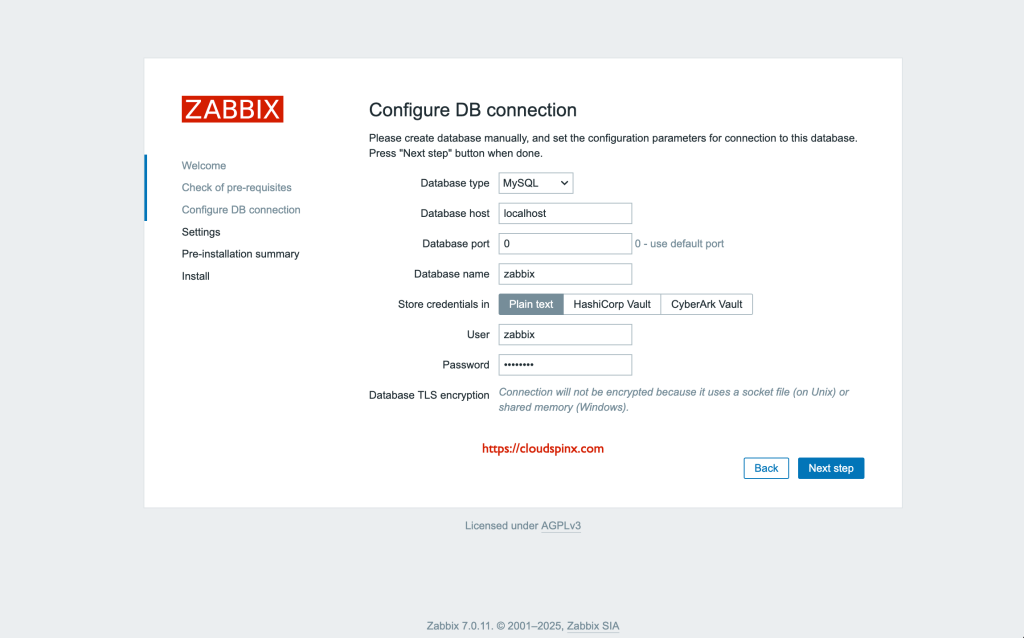
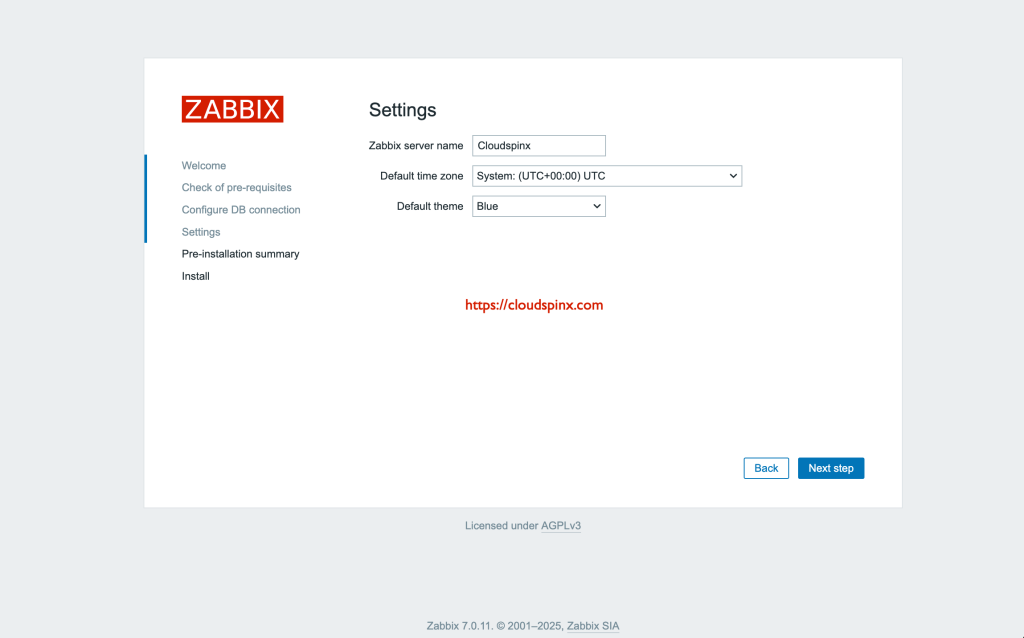
In the next page, provide zabbix server details.
The next page provides installation summary.
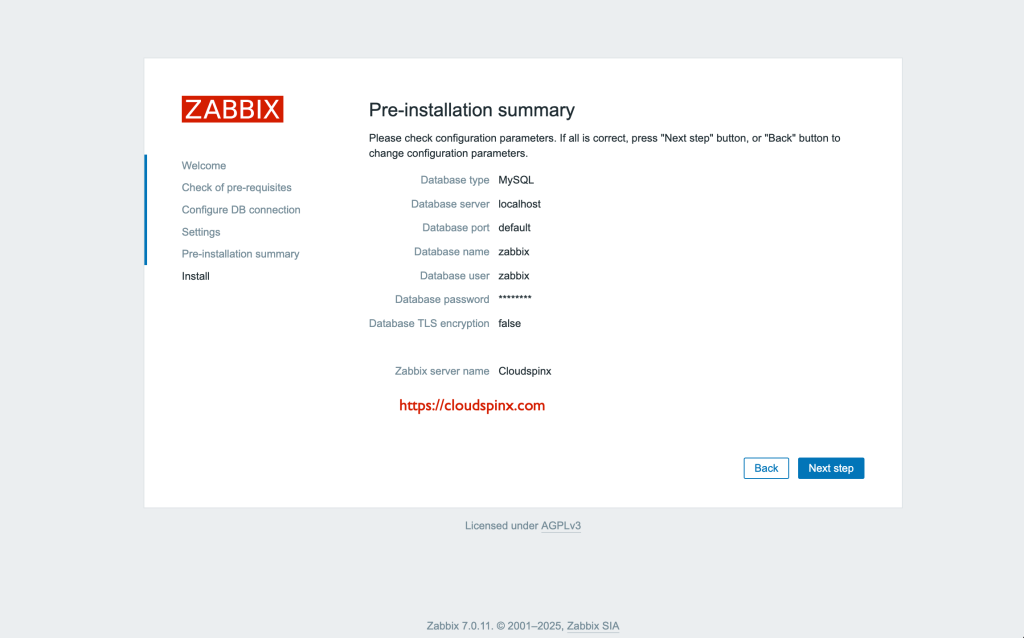
Click Next step:
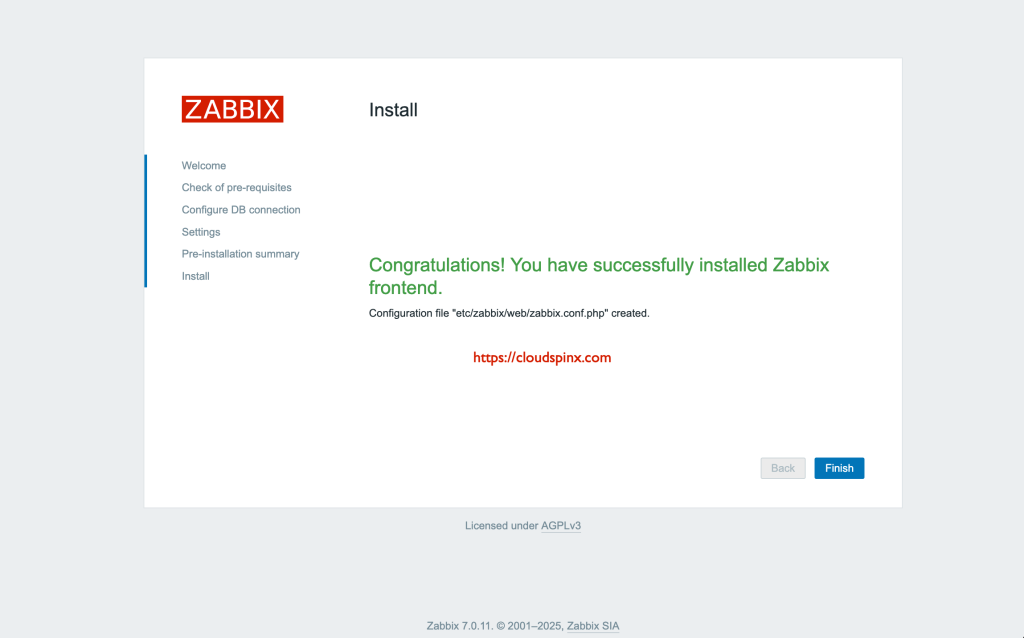
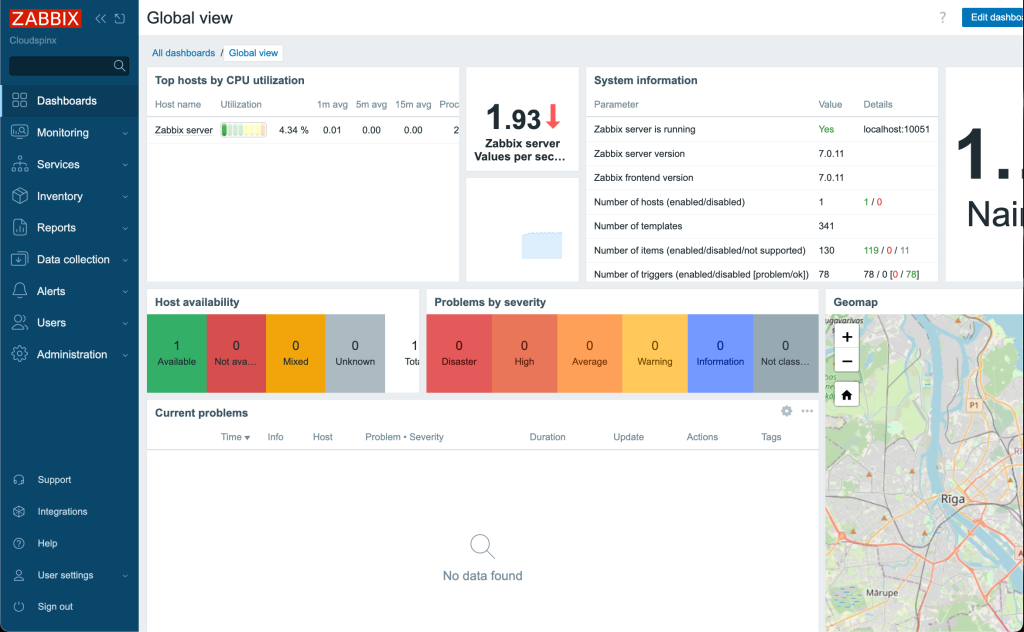
Click finish and you will be presented with Zabbix login page. Login with user Admin and password zabbix.
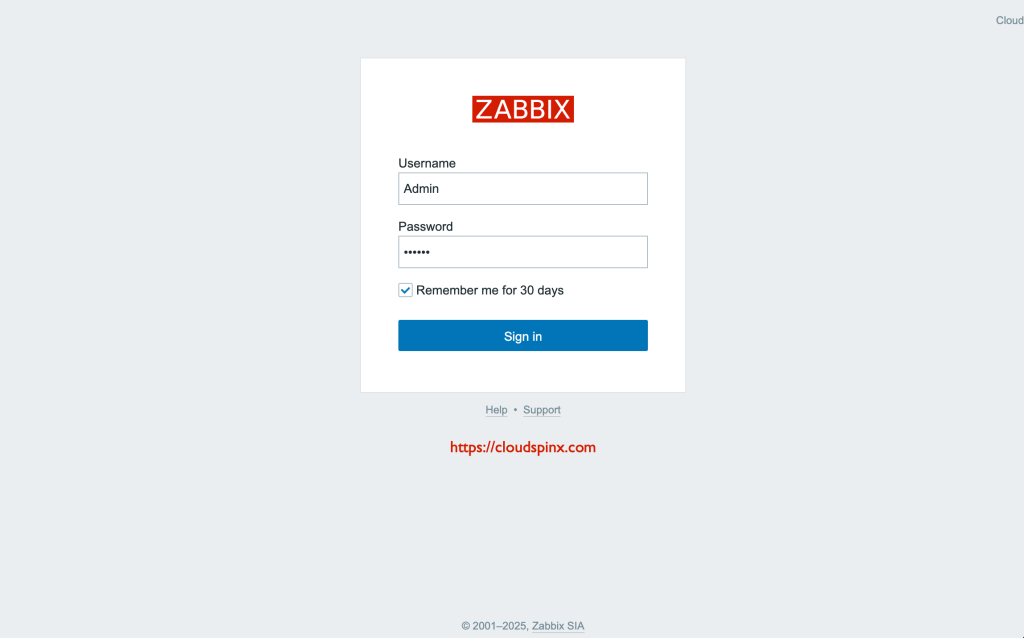
Once you login, you should see a page as shown below:
That’s it about how to install and configure Zabbix 7.0 with Nginx on Oracle Linux 9. Install and configure Zabbix agents on the servers you wish to monitor and enjoy your Zabbix Monitoring! Remember to check more interesting Linux guides below:


