SUSE is a German-based multinational software company well known to develop and sell Linux products to customers and businesses. This company was founded in 1992 as the first company to market Enterprise Linux. It is the same developers with close partnership with the primary sponsor of the community-supported openSUSE Project, that develop the openSUSE Linux distribution. The OpenSUSE Tumbleweed is an upstream distribution for both LEAP and SUSE Linux Enterprise.
SUSE Linux Enterprise Server 15 is a full-featured Linux operating system that allows one to run an innumerable number of workloads based on the multimodal platform of SUSE Linux Enterprise 15. The product family offered in the SUSE Linux Enterprise 15 SP6 are:
- SUSE Linux Enterprise Server 15 SP6
- SUSE Linux Enterprise Server for SAP Applications 15 SP6
- SUSE Linux Enterprise High Availability Extension 15 SP6
- SUSE Linux Enterprise Desktop 15 SP6
- SUSE Linux Enterprise Workstation Extension 15 SP6
- SUSE Linux Enterprise Live Patching 15 SP6
- SUSE Linux Enterprise Real Time 15 SP6
- SUSE Linux Enterprise High Performance Computing 15 SP6
This guide offers a detailed illustration of how to install SUSE Linux Enterprise Server 15 (SLES 15).
System Requirements
Minimum Linux server system requirements for installation
- Local installation: 1024 MiB RAM, 512 MiB Swap recommended
- 2 GiB available disk space (more recommended, 8.5 GiB for all patterns)
- 32 GiB for snapshot/rollback of the OS
Recommendations for specific uses
- 1 GiB to 8 GiB RAM, at least 512 MiB per CPU
- 8 GiB hard-disk space, 32 GiB for snapshot/rollback of the OS
- Network interface
- For print servers – a faster processor or additional processors to improve server-based printing
- For web servers – additional RAM to improve caching, and additional processors to improve web application performance
- For database servers – additional RAM to improve caching, and multiple disks for parallel I/O
- For file servers – additional memory and disks, or a RAID system to improve I/O throughout
1. Download SUSE Linux Enterprise Server 15 (SLES 15) ISO
Before we dive into the nub of this tool, you need to download the SUSE Linux Enterprise Server 15 (SLES 15) ISO image. This image is provided on the official SUSE downloads page.
On the page, you can download the below files:
- “SLE-15-SP6-Full-*-GM-Media1.iso” for installation without the internet.
- “SLE-15-SP6-Online-*-GM-Media1.iso” for online installation.
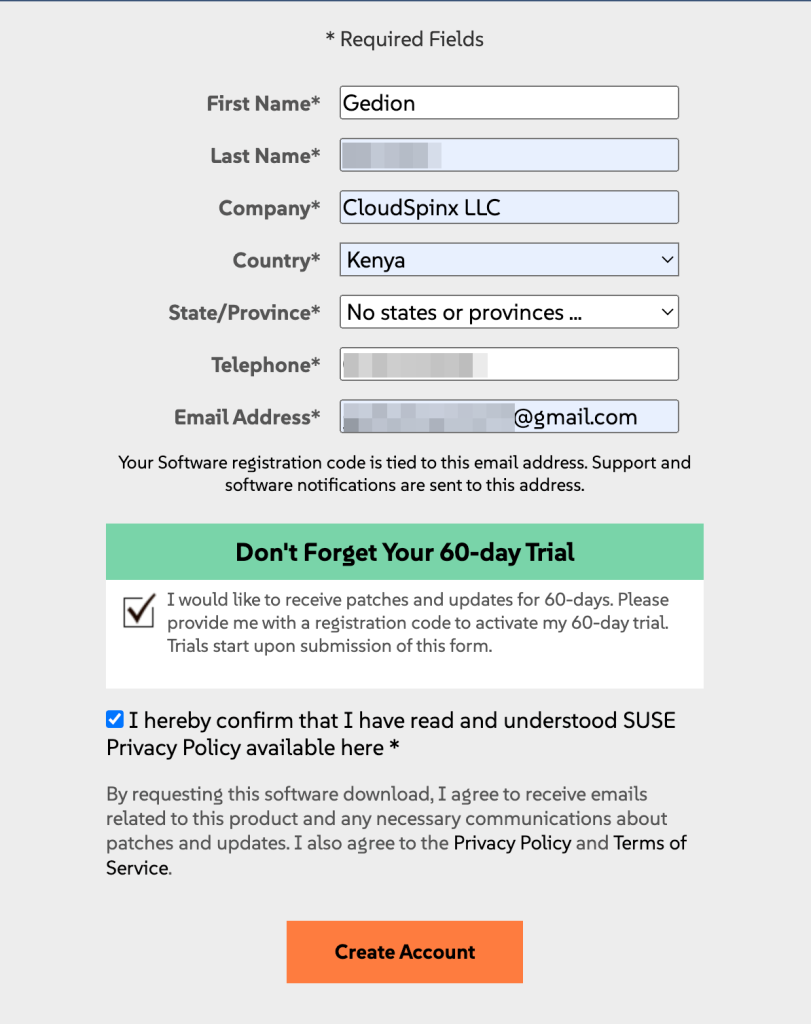
For this guide, we will use the SLE-15-SP6-Full-*-GM-Media1.iso. To be able to download the image, you need to create an account by providing the below credentials.
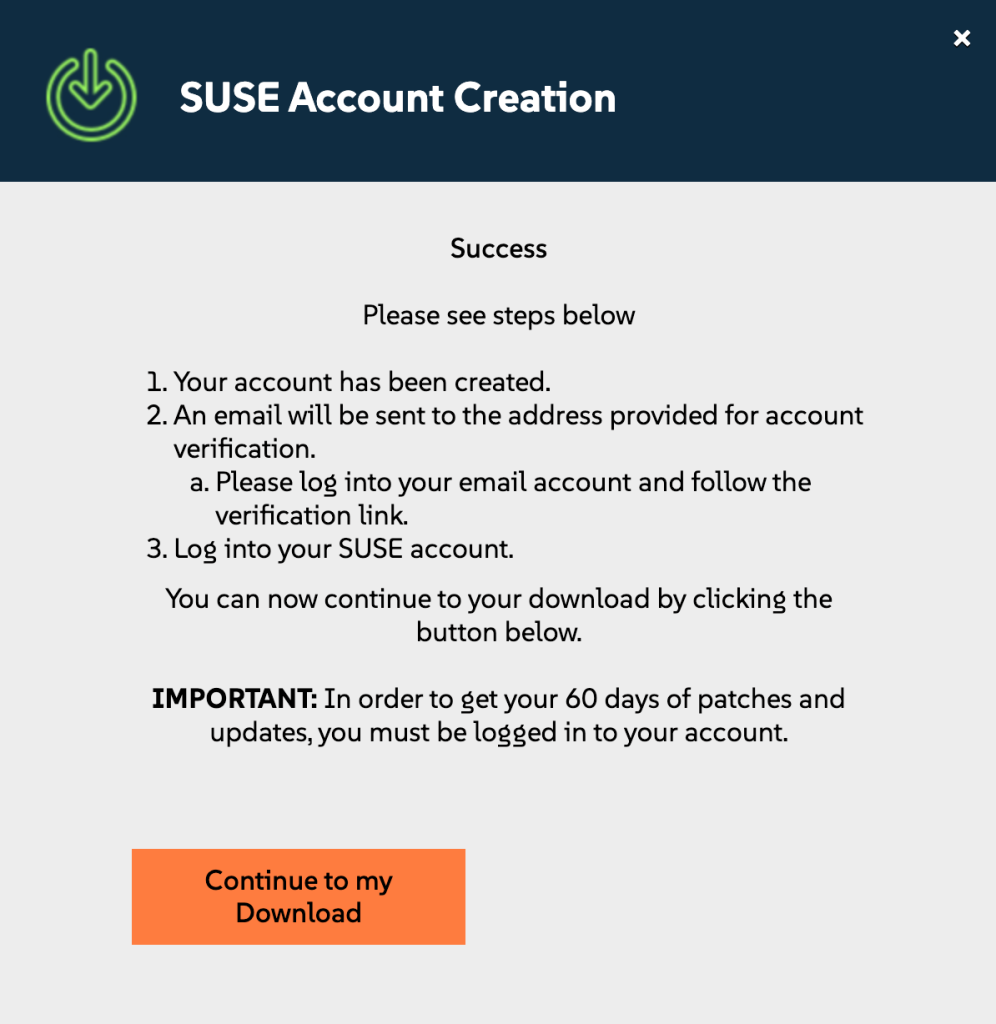
After creating your account, click on Continue to my Download.
Once downloaded, proceed to the next step.
2. Create a Bootable Media For Physical Installation.
To be able to install SUSE Linux Enterprise Server 15 (SLES 15) on a physical machine such as a desktop, laptop, or server, you need to create a bootable USB/DVD media.
There are several options to create bootable media. Some of them are listed below:
- Ventoy– this is a Linux application used to create bootable disks
- Etcher Tool for macOS users
- Rufus – This is a popular Windows and macOS-based tool used to create bootable media.
- woeUSB for Linux users
Still, from the Linux terminal, you can create bootable media by executing the commands below:
##Identify USB/DVD device
sudo lsblk

##Flash SUSE Linux Enterprise Server 15 (SLES 15)
sudo dd bs=4M if=/SLE-15-SP6-Full-*-GM-Media1.iso of=/dev/sdx status=progress oflag=sync
Remember to replace SLE-15-SP6-Full-*-GM-Media1.iso with the ISO path and /dev/sdx with the path of your USB/DVD device.
3. Install SUSE Linux Enterprise Server 15 (SLES 15) on PC | VMware|VirtualBox
For Virtualbox and Vmware, you need to create a VM that meets the required specifications and mount the IOS file. For PCs, insert the created bootable media and modify the boot options to boot from it.
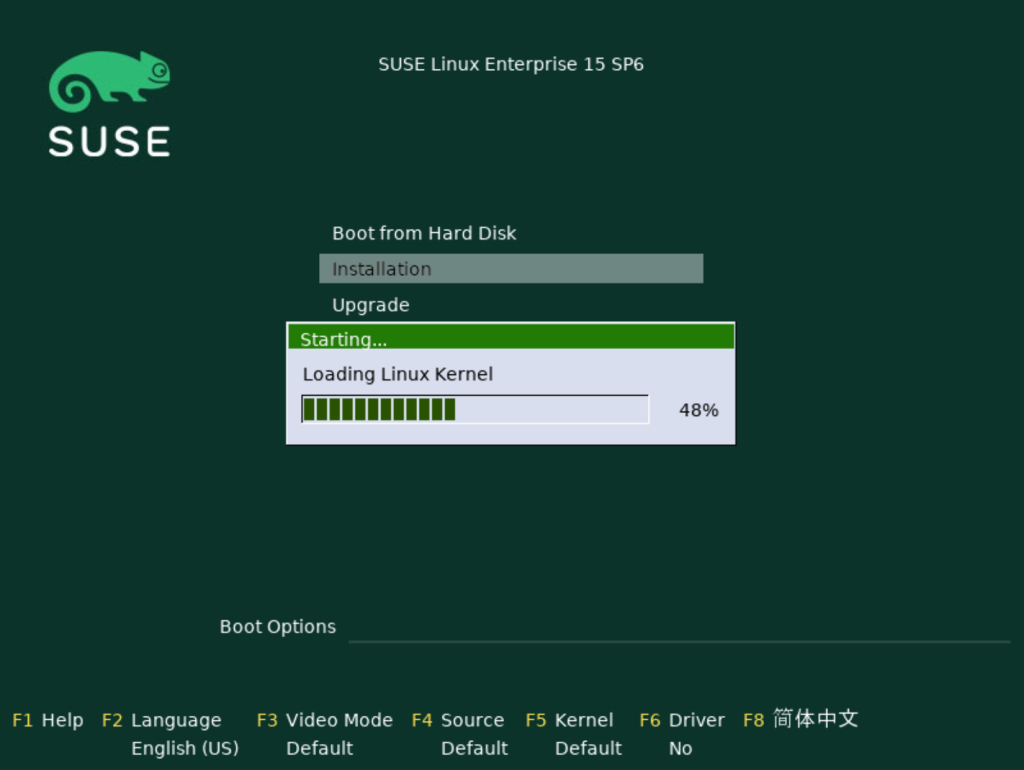
Power on your machine and start the installation as shown below.
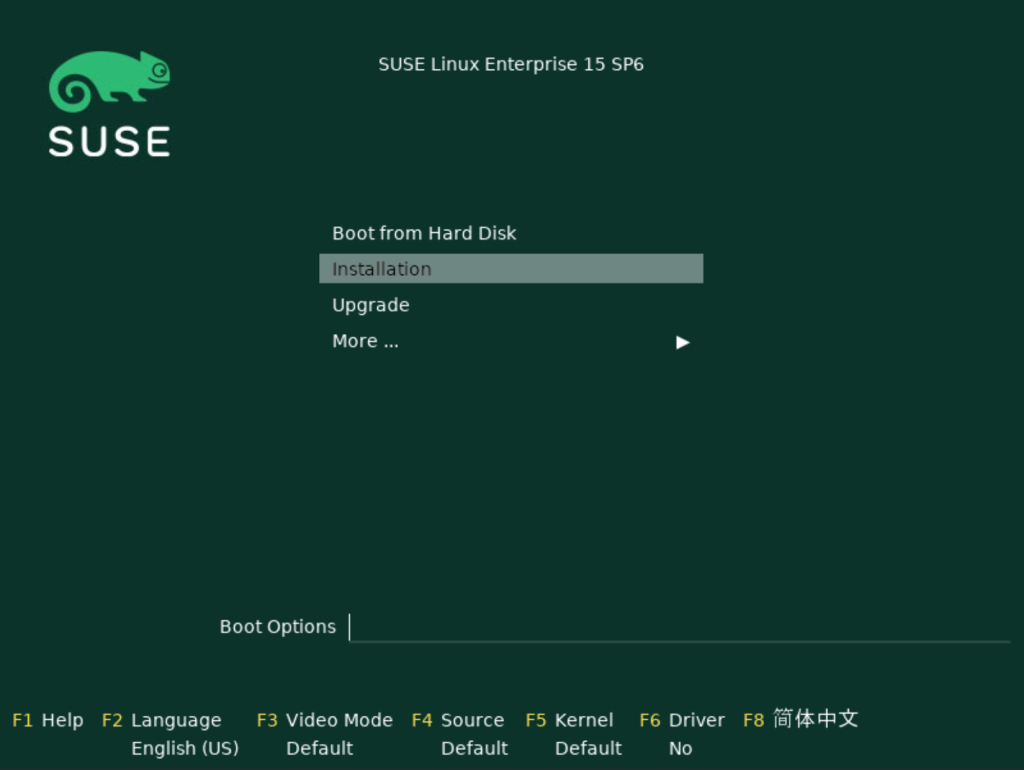
The Kernel will load and you’ll be booted into the installer.
Select Language, Keyboard, and Product
The next step requires you to select the preferred Language, Keyboard and the SUSE Linux Enterprise Server 15 (SLES 15)product to install.
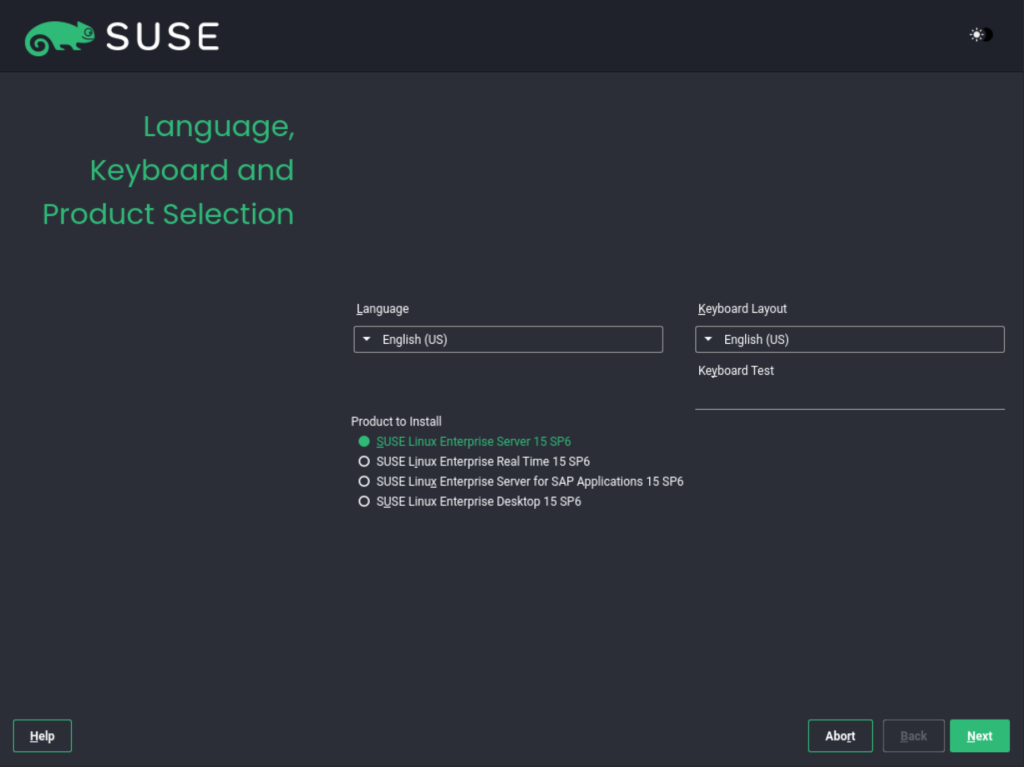
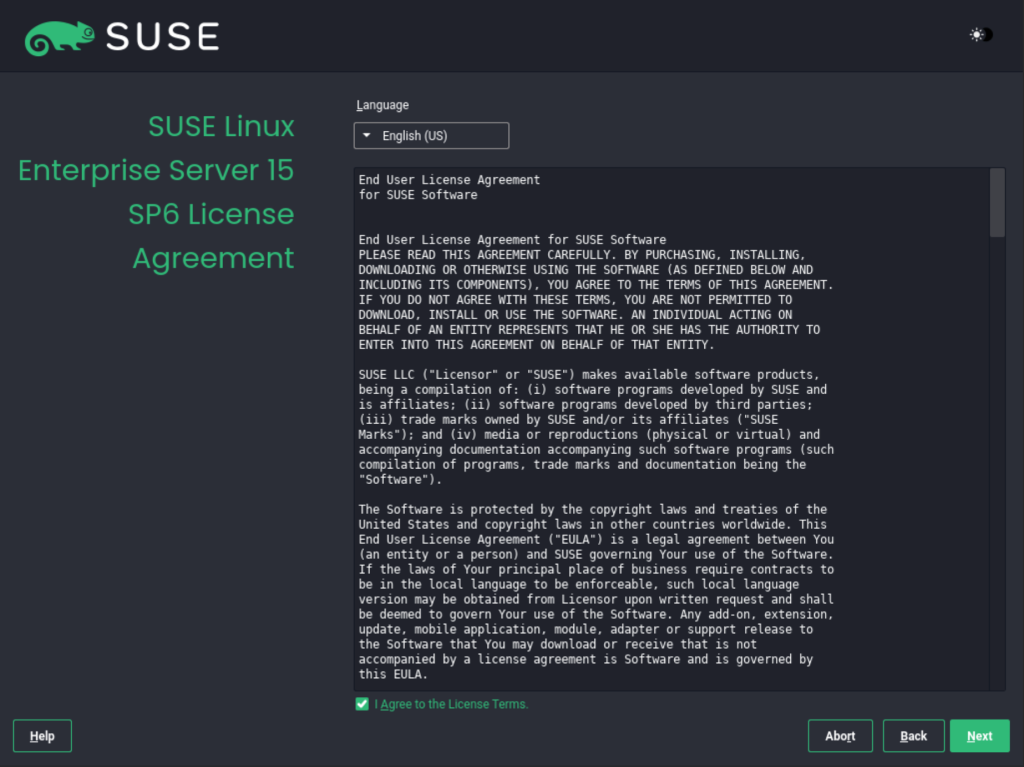
In this guide, we will select the SUSE Linux Enterprise Server 15 SP6 product. Proceed and agree to the license terms.
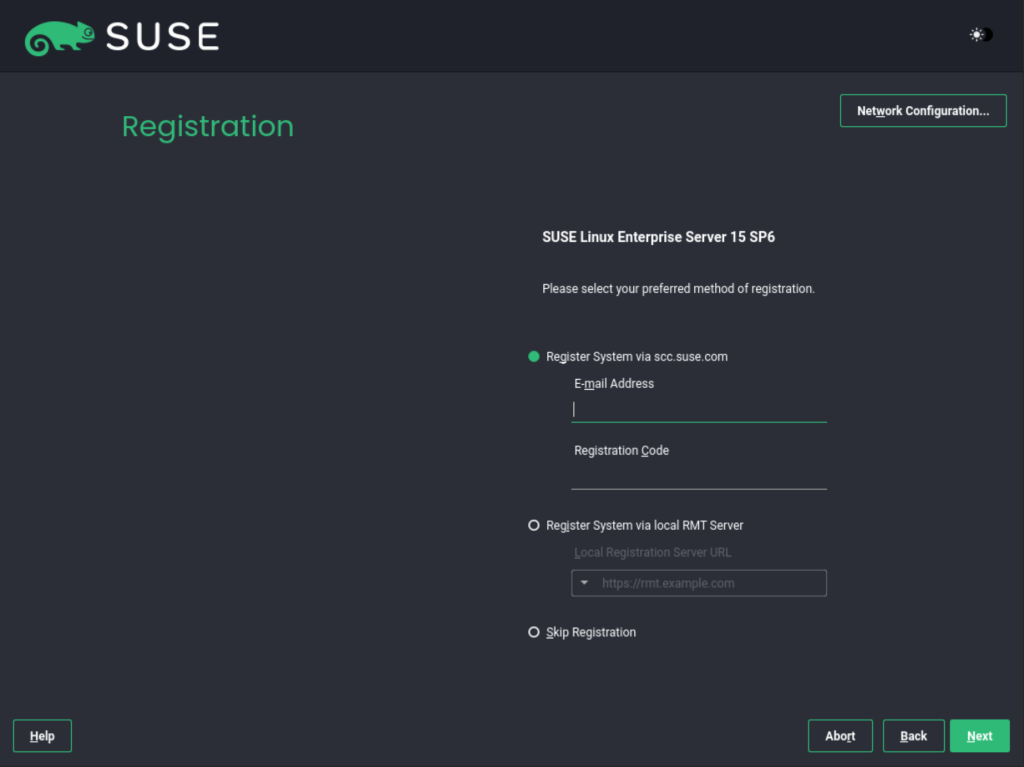
Registration
On this page, you may first need to configure your network by clicking on Network Configuration
Configure your network as per your preferences. The default configuration is DHCP.
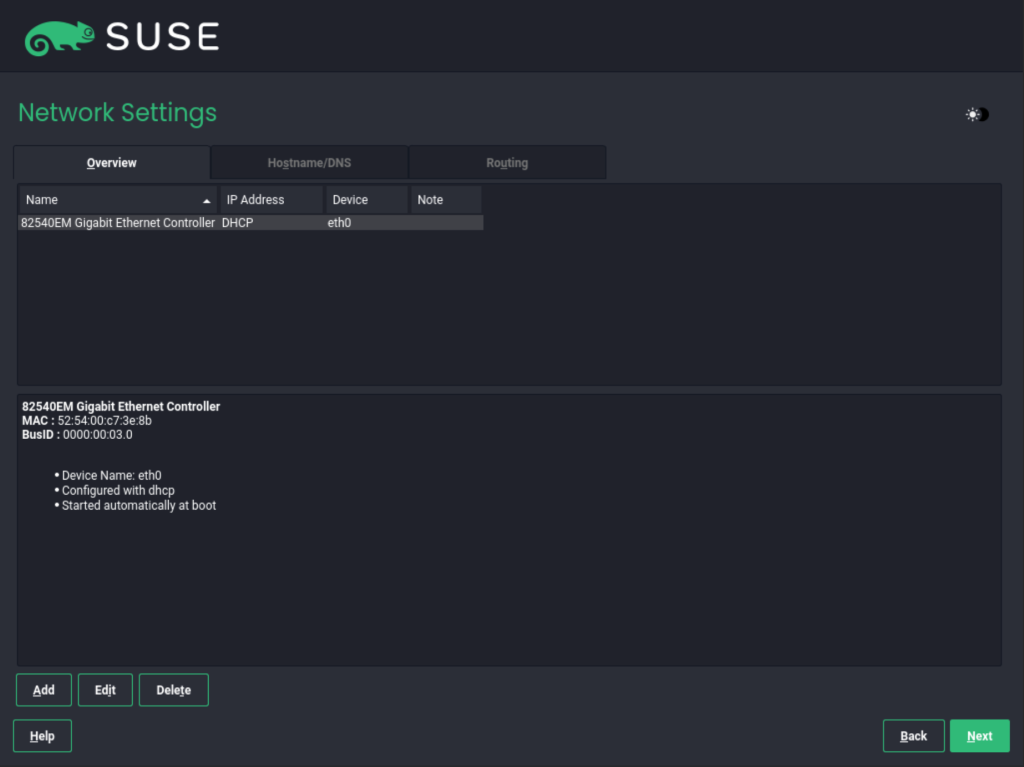
You can still edit this and set a static IP as below.
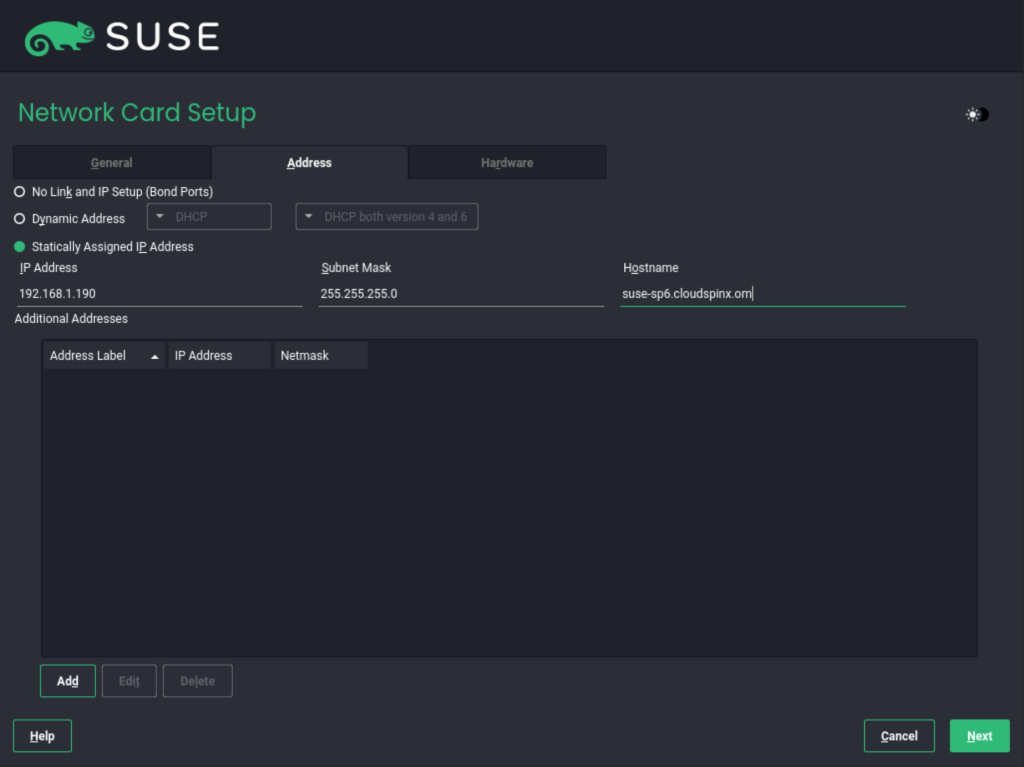
Click Next to proceed.
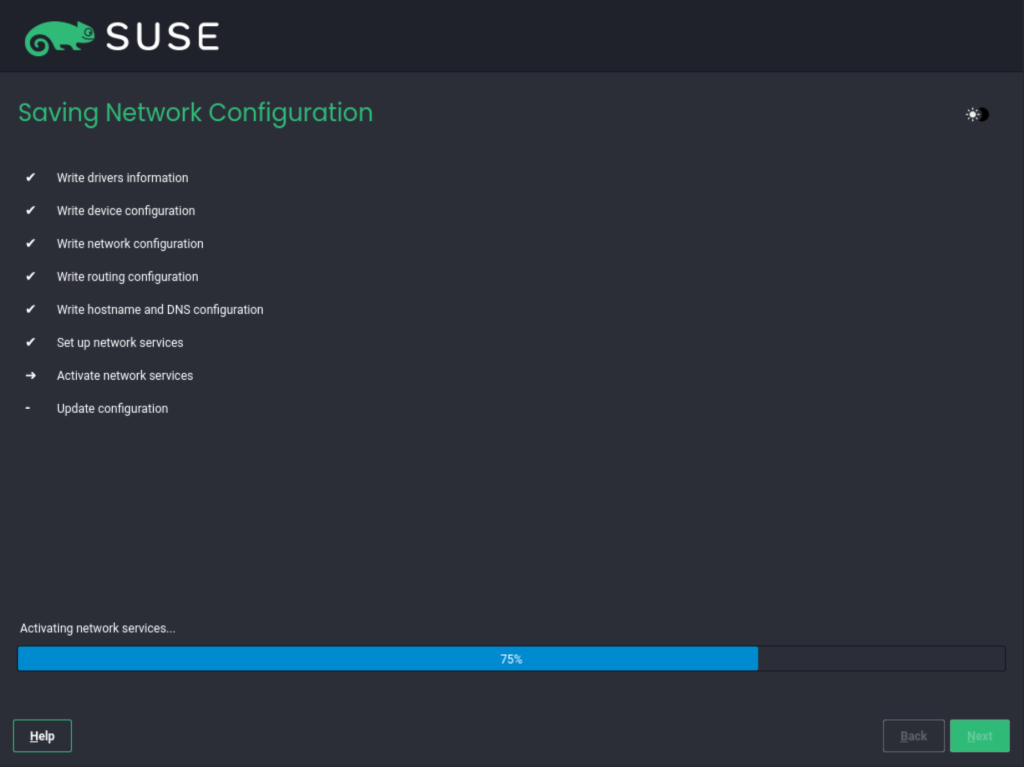
Once the network has been configured, proceed and register the system. Here, there are 3 options:
- Register system via scc.suse.com
- To register with the SUSE Customer Center, with the E-mail Address associated with your SCC account and the Registration Code for SUSE Linux Enterprise Server.
- Register system via local RMT server
- If your organization provides a local registration server, you may alternatively register there. Activate Register System via the local RMT Server and either choose a URL from the drop-down box or type in an address.
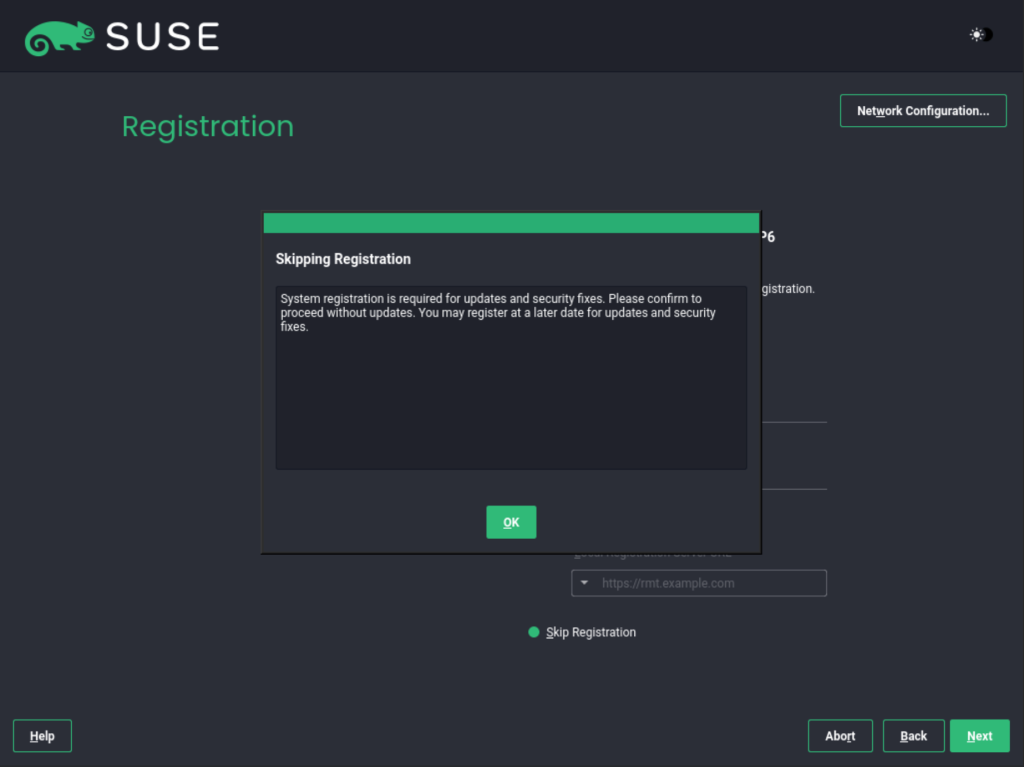
- Skip registration
- If you are running the installation offline or want to skip registration, choose Skip Registration. Accept the warning with OK and proceed with Next.
On this system, Skip this and register later. Proceed and accept the warning.
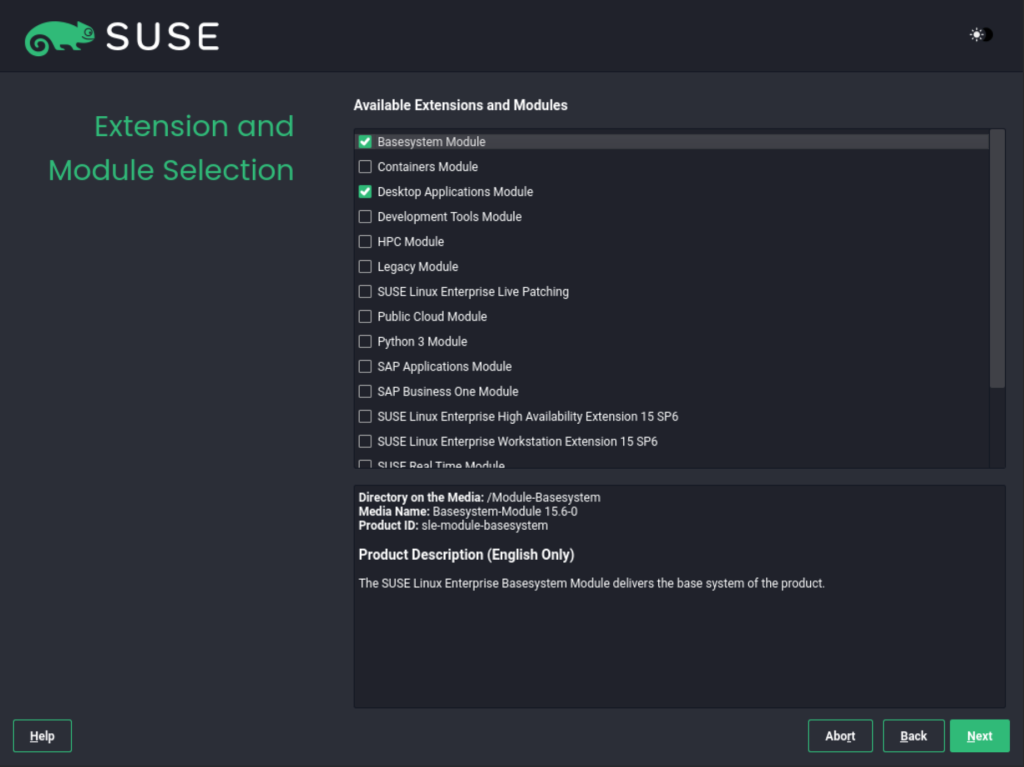
Extension and module selection
Now install the required modules and extensions. Here remember to add the Desktop Applications Module to your selection if you want to install the server with GUI.
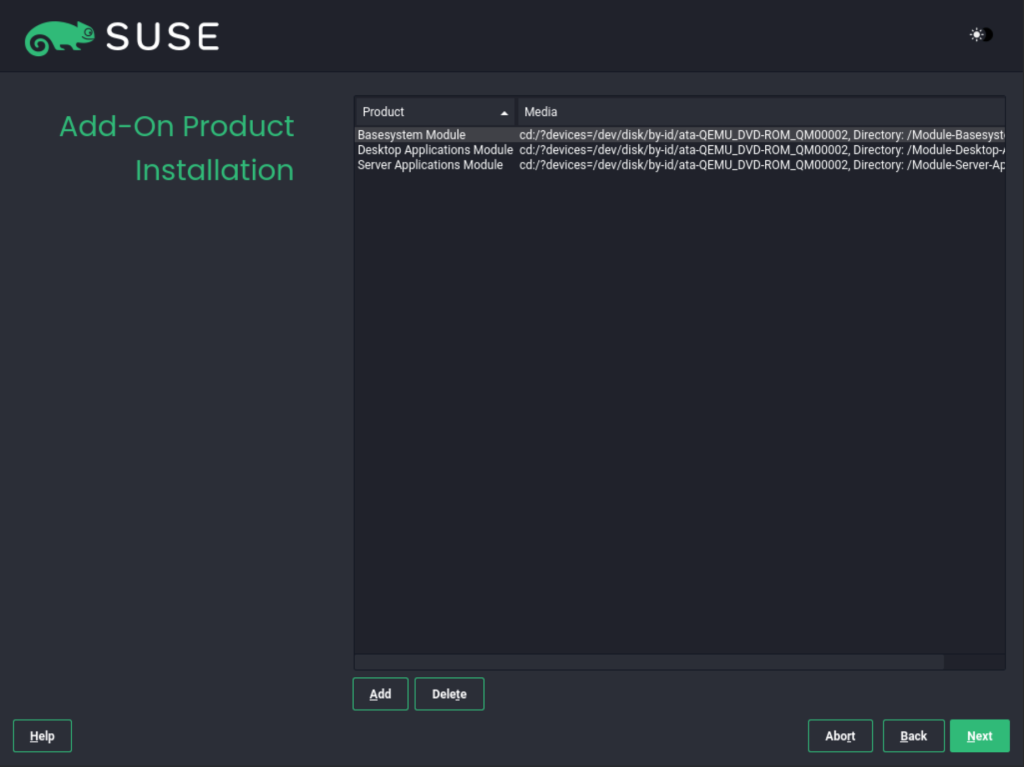
The modules will be added as below:
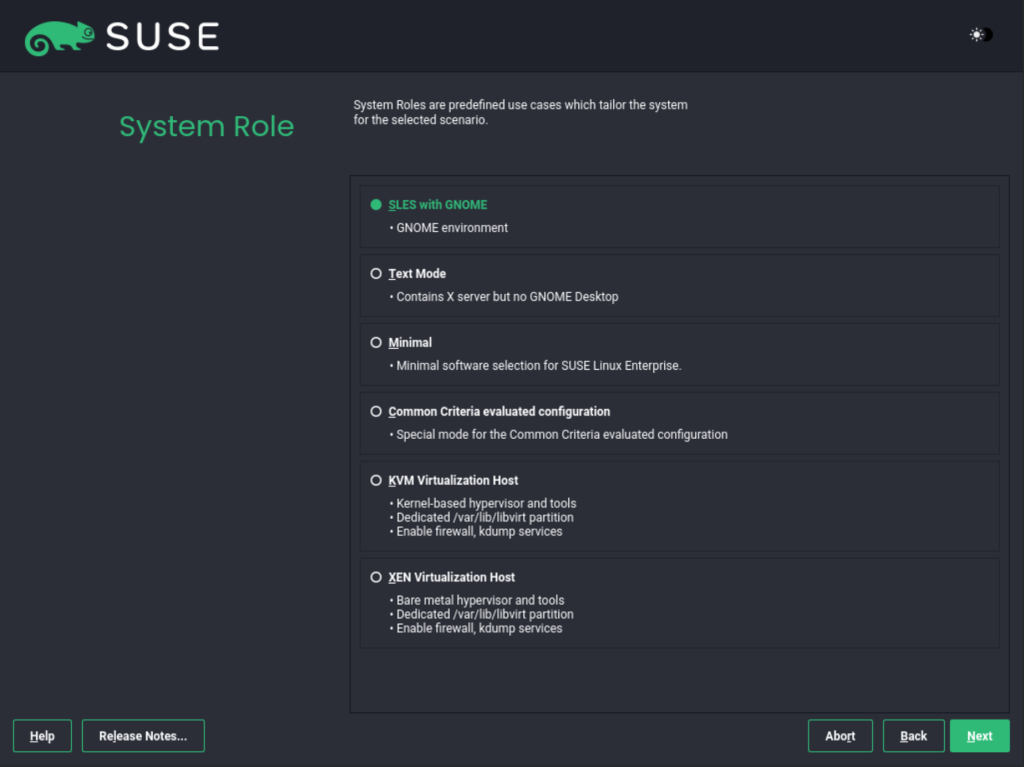
System role
The system roles depend on the selected extensions and modules. For this guide, we will install the SLES with GNOME role
Disk partitioning
Here there are two options to partition your disk.
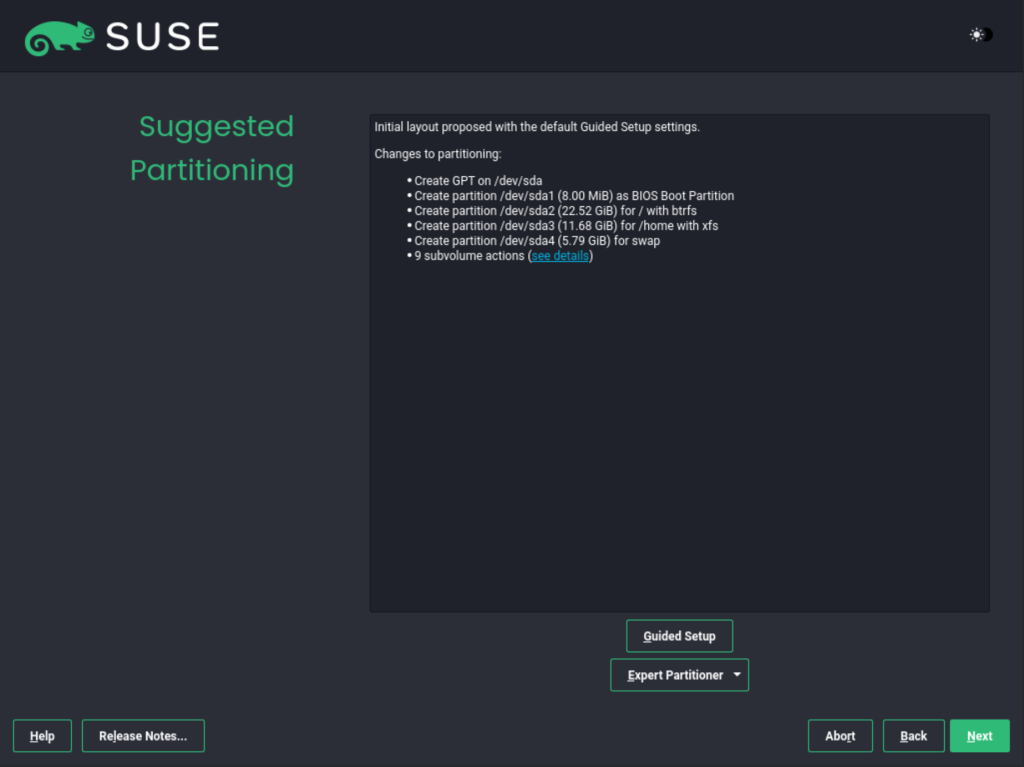
The options are:
- Guided setup this option is recommended for those who do not have deep knowledge of disk partitioning.
- Expert partitioner for detailed disk partitioning
For this guide, we will proceed with the Guided setup. For this option, you can enable LVM and disk encryption.
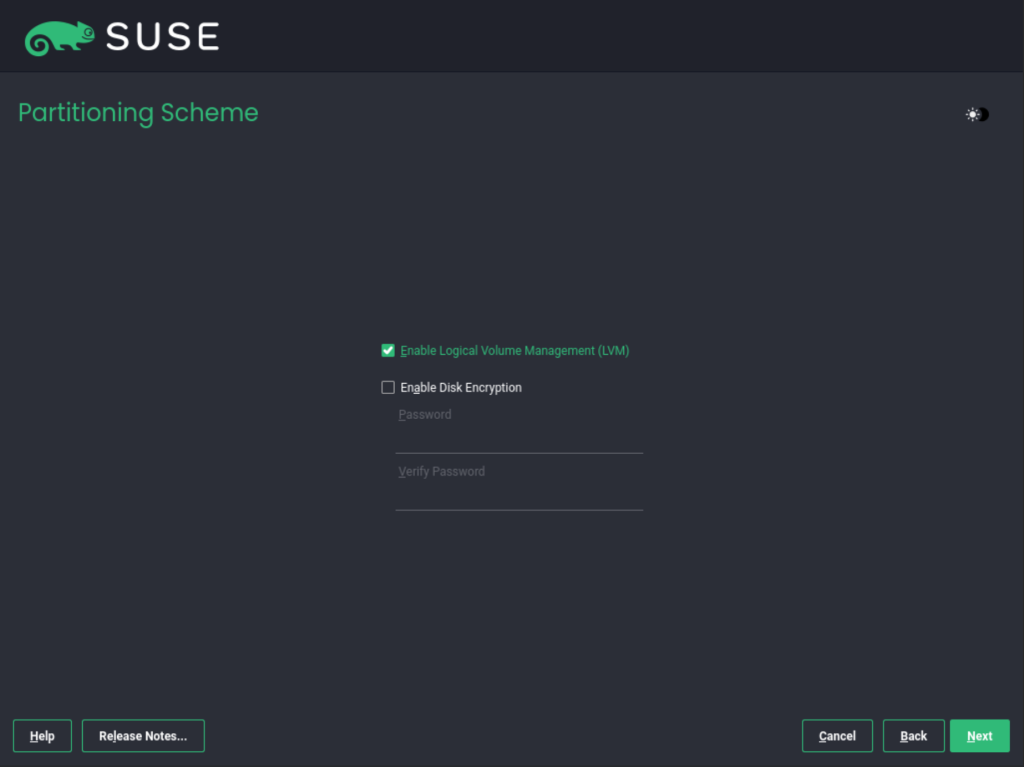
Proceed and set the file system.
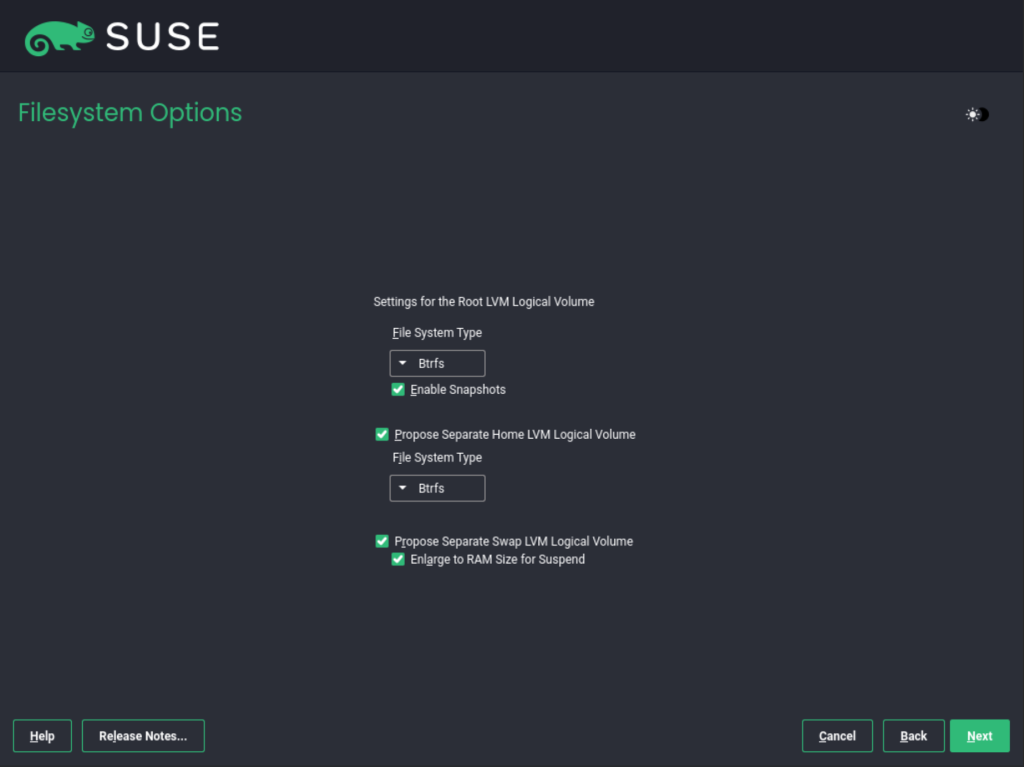
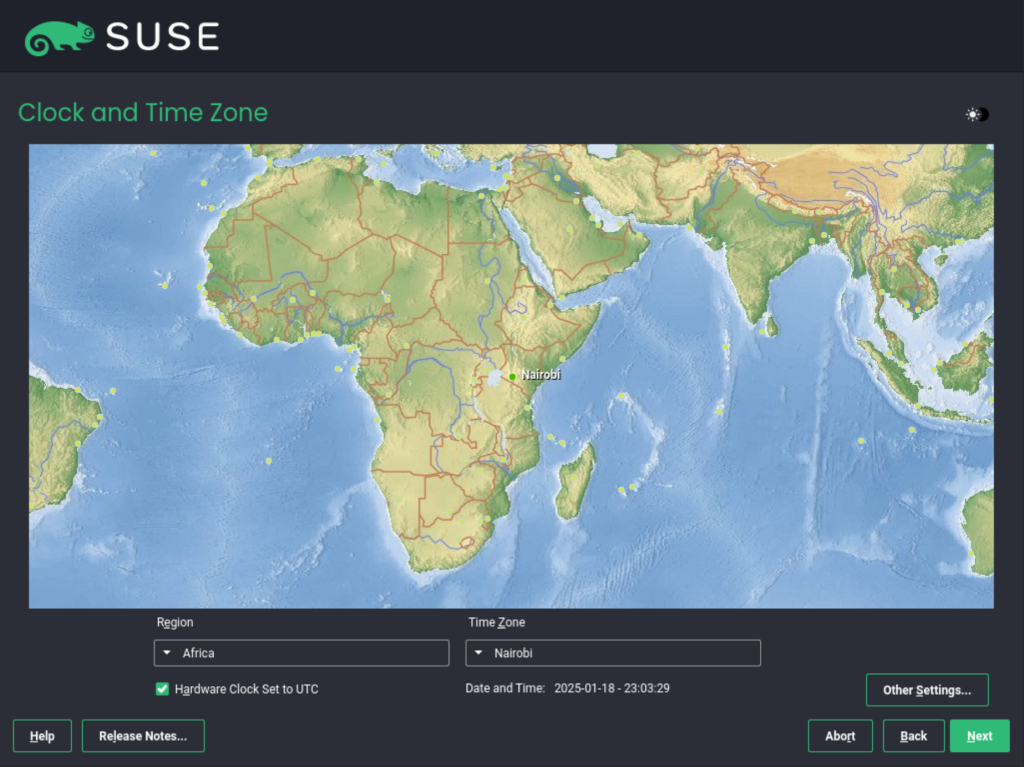
Configure Clock and Timezone.
Set your preferred Timezone.
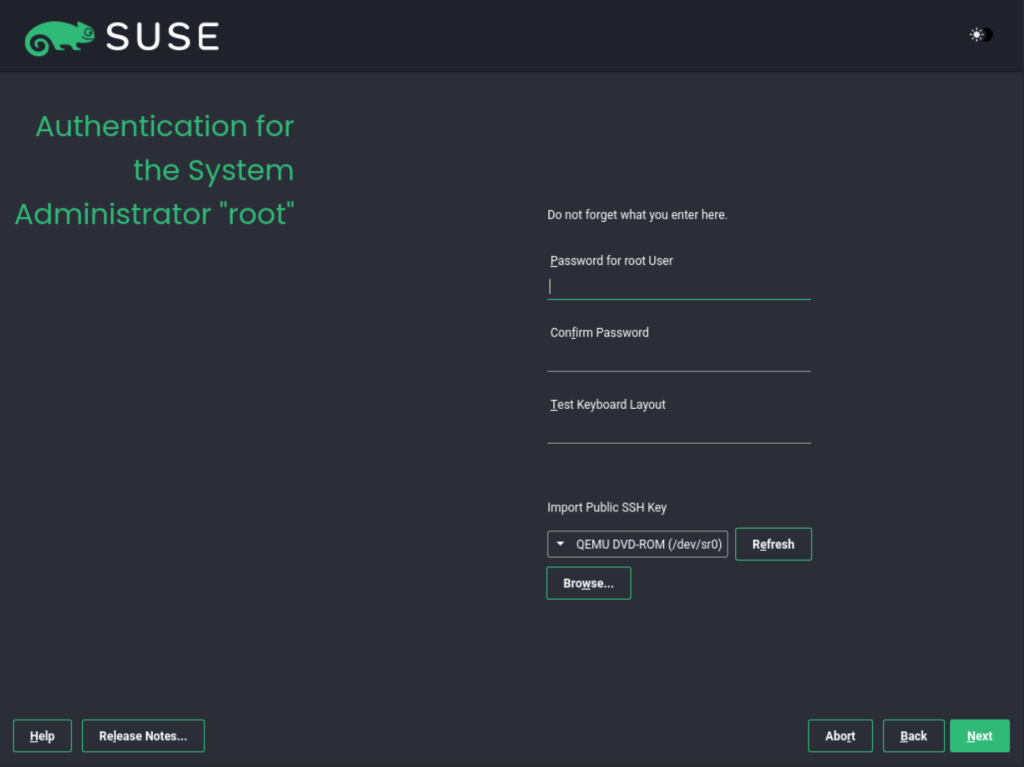
Create the system User.
Create a user and password for the SUSE Linux Enterprise Server 15 (SLES 15) system.
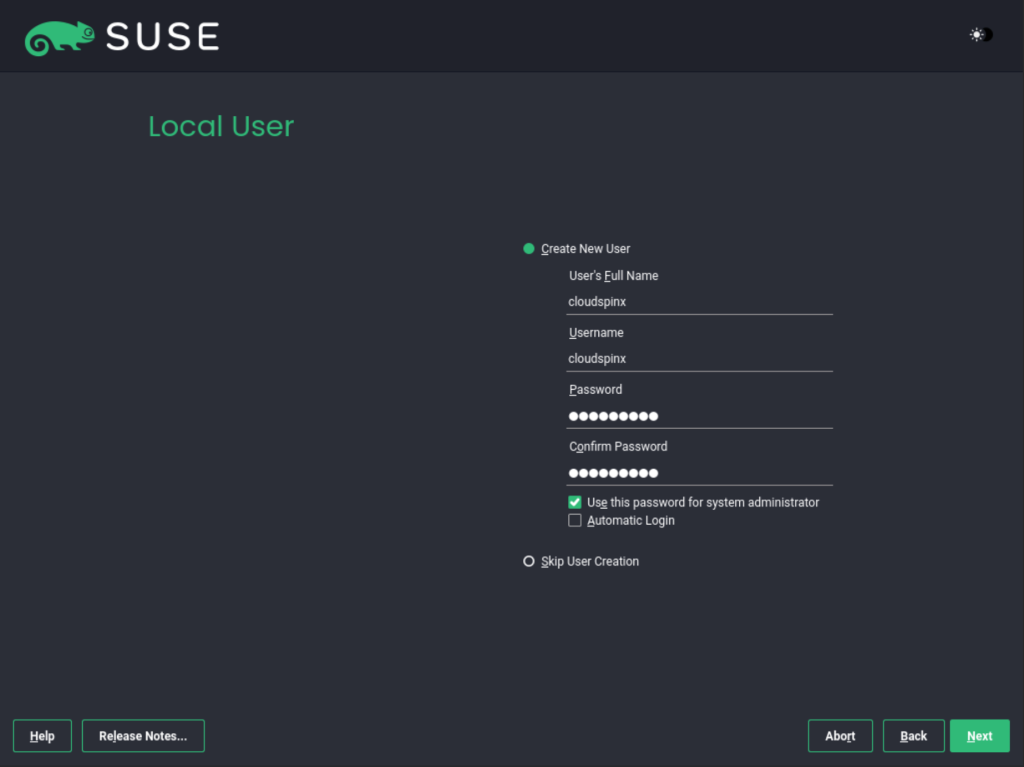
You can use the same password for the root user as well, or set it up in the next window.
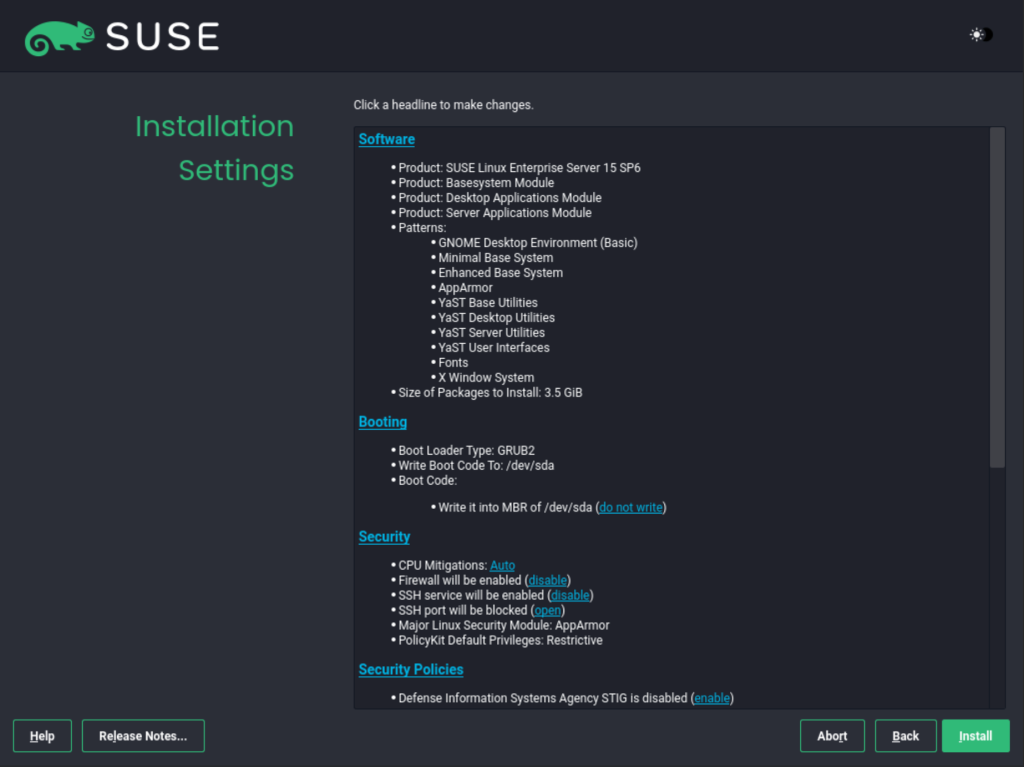
Preview Settings.
A preview of the made settings will be presented to you. If everything is okay, click install
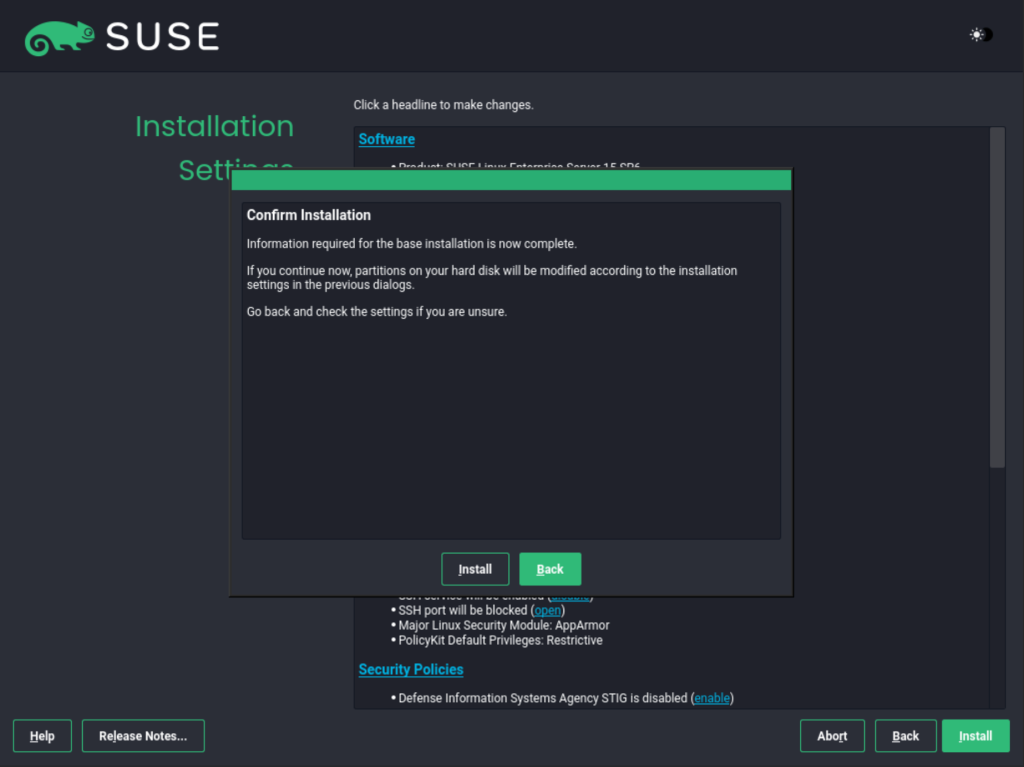
Install the system
Accept the prompt to install SUSE Linux Enterprise Server 15 (SLES 15).
The installation will begin as below.
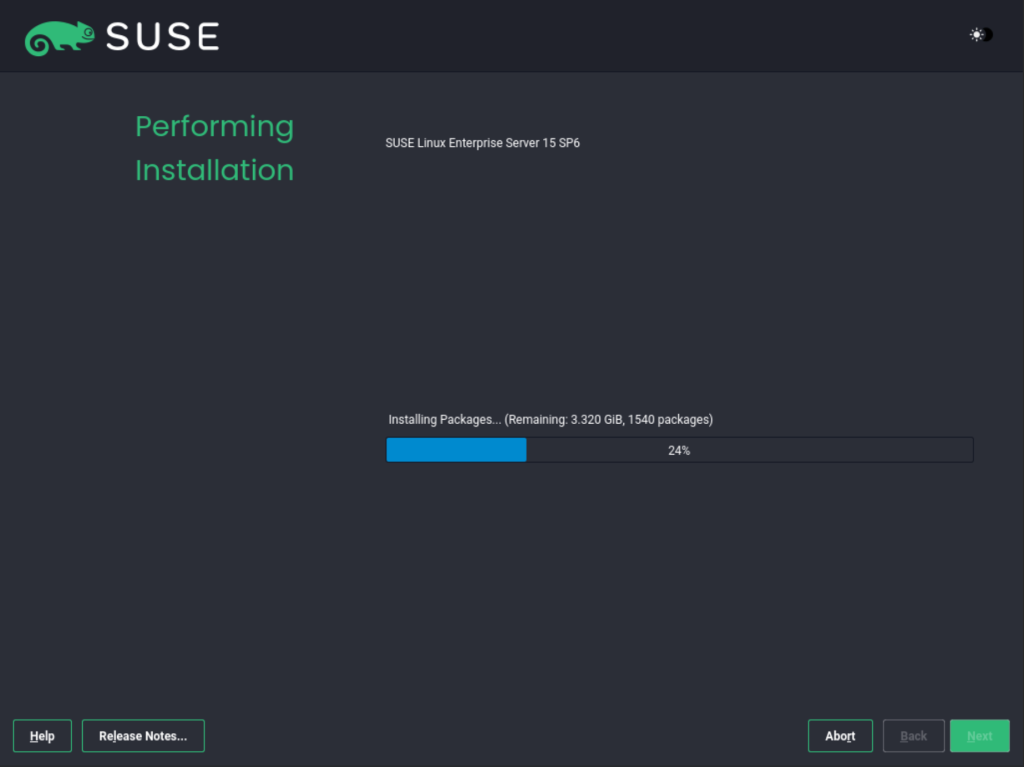
Once the installation is complete the system will reboot. Now eject the installation media and boot into the installation.
4. Post-installation configurations of SUSE Linux Enterprise Server 15 (SLES 15)
Login using the created user.
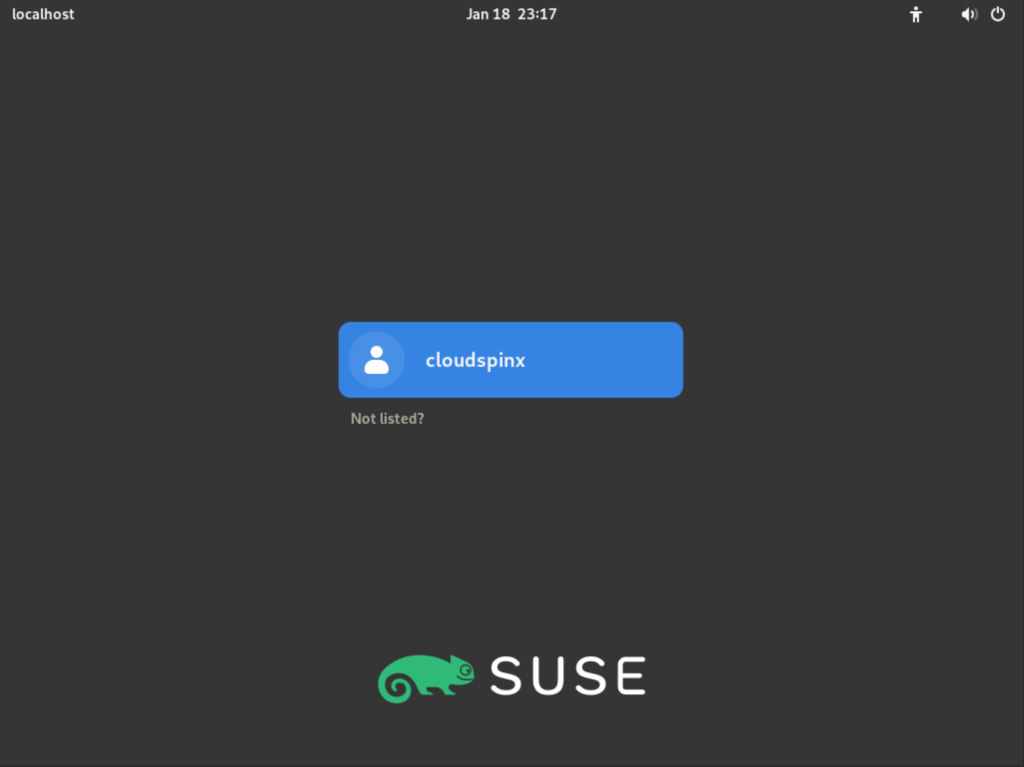
On successful authentication, the GNOME desktop will appear as below.

Register the System.
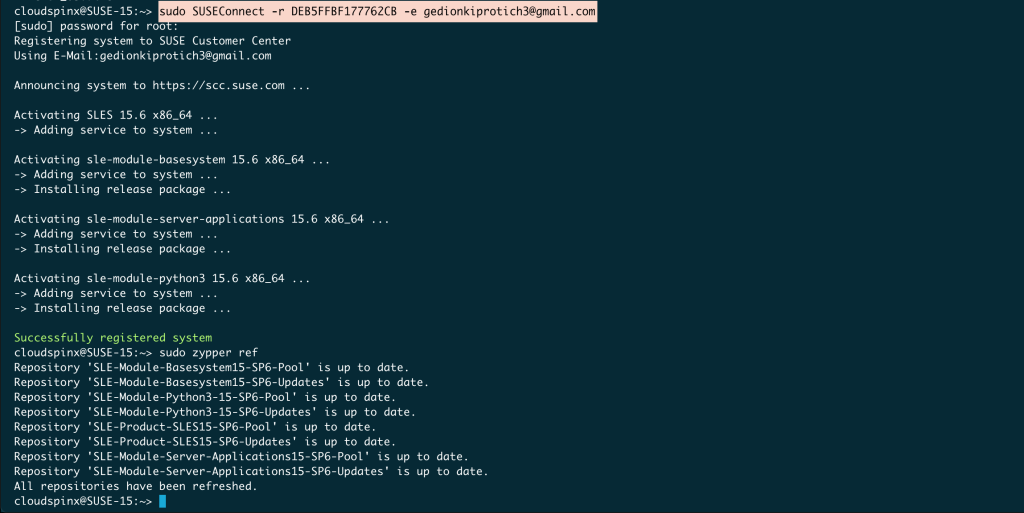
At this point, register the system using the SUSEConnectutility tool as below:
sudo SUSEConnect -r <ActivationCode> -e <EmailAddress>
DEB5FFBF177762CB
You can obtain your Activation code by logging into your SUSE account and purchasing the product or by obtaining a 60-day free trial code.
Once the system has been registered. Proceed and update the package repositories.
sudo zypper refSample Output:
Update the packages:
sudo zypper updateVoila!
We have triumphantly installed SUSE Linux Enterprise Server 15 (SLES 15). Proceed and enjoy the awesomeness of this SUSE Linux Enterprise 15 product. I hope this was significant.

